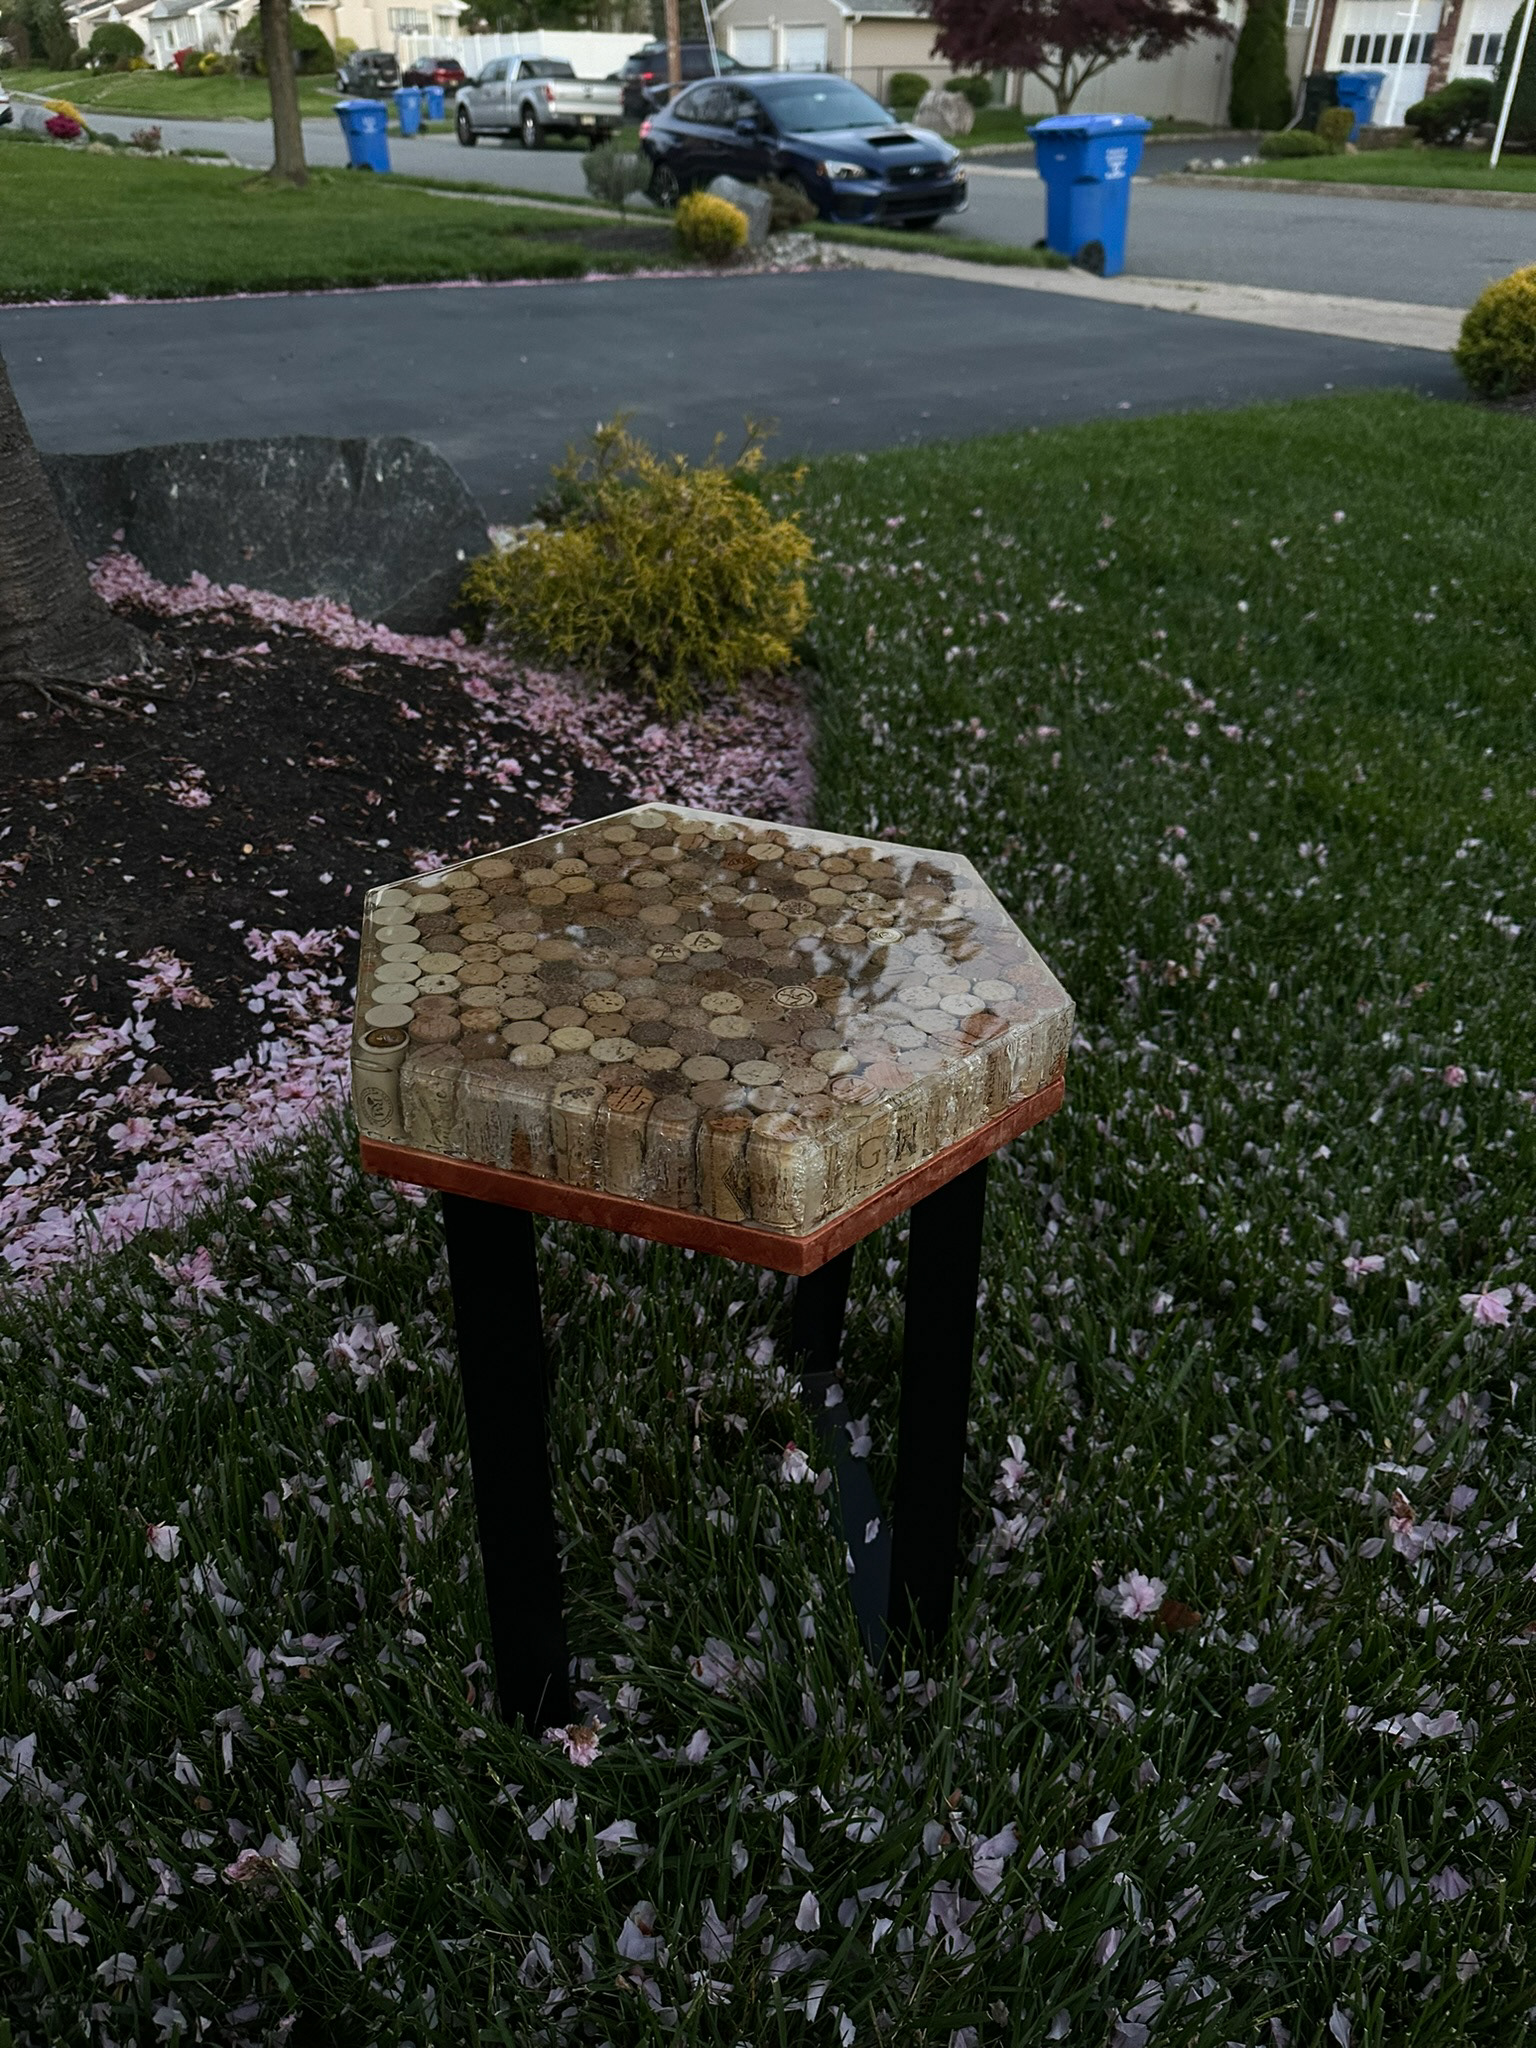
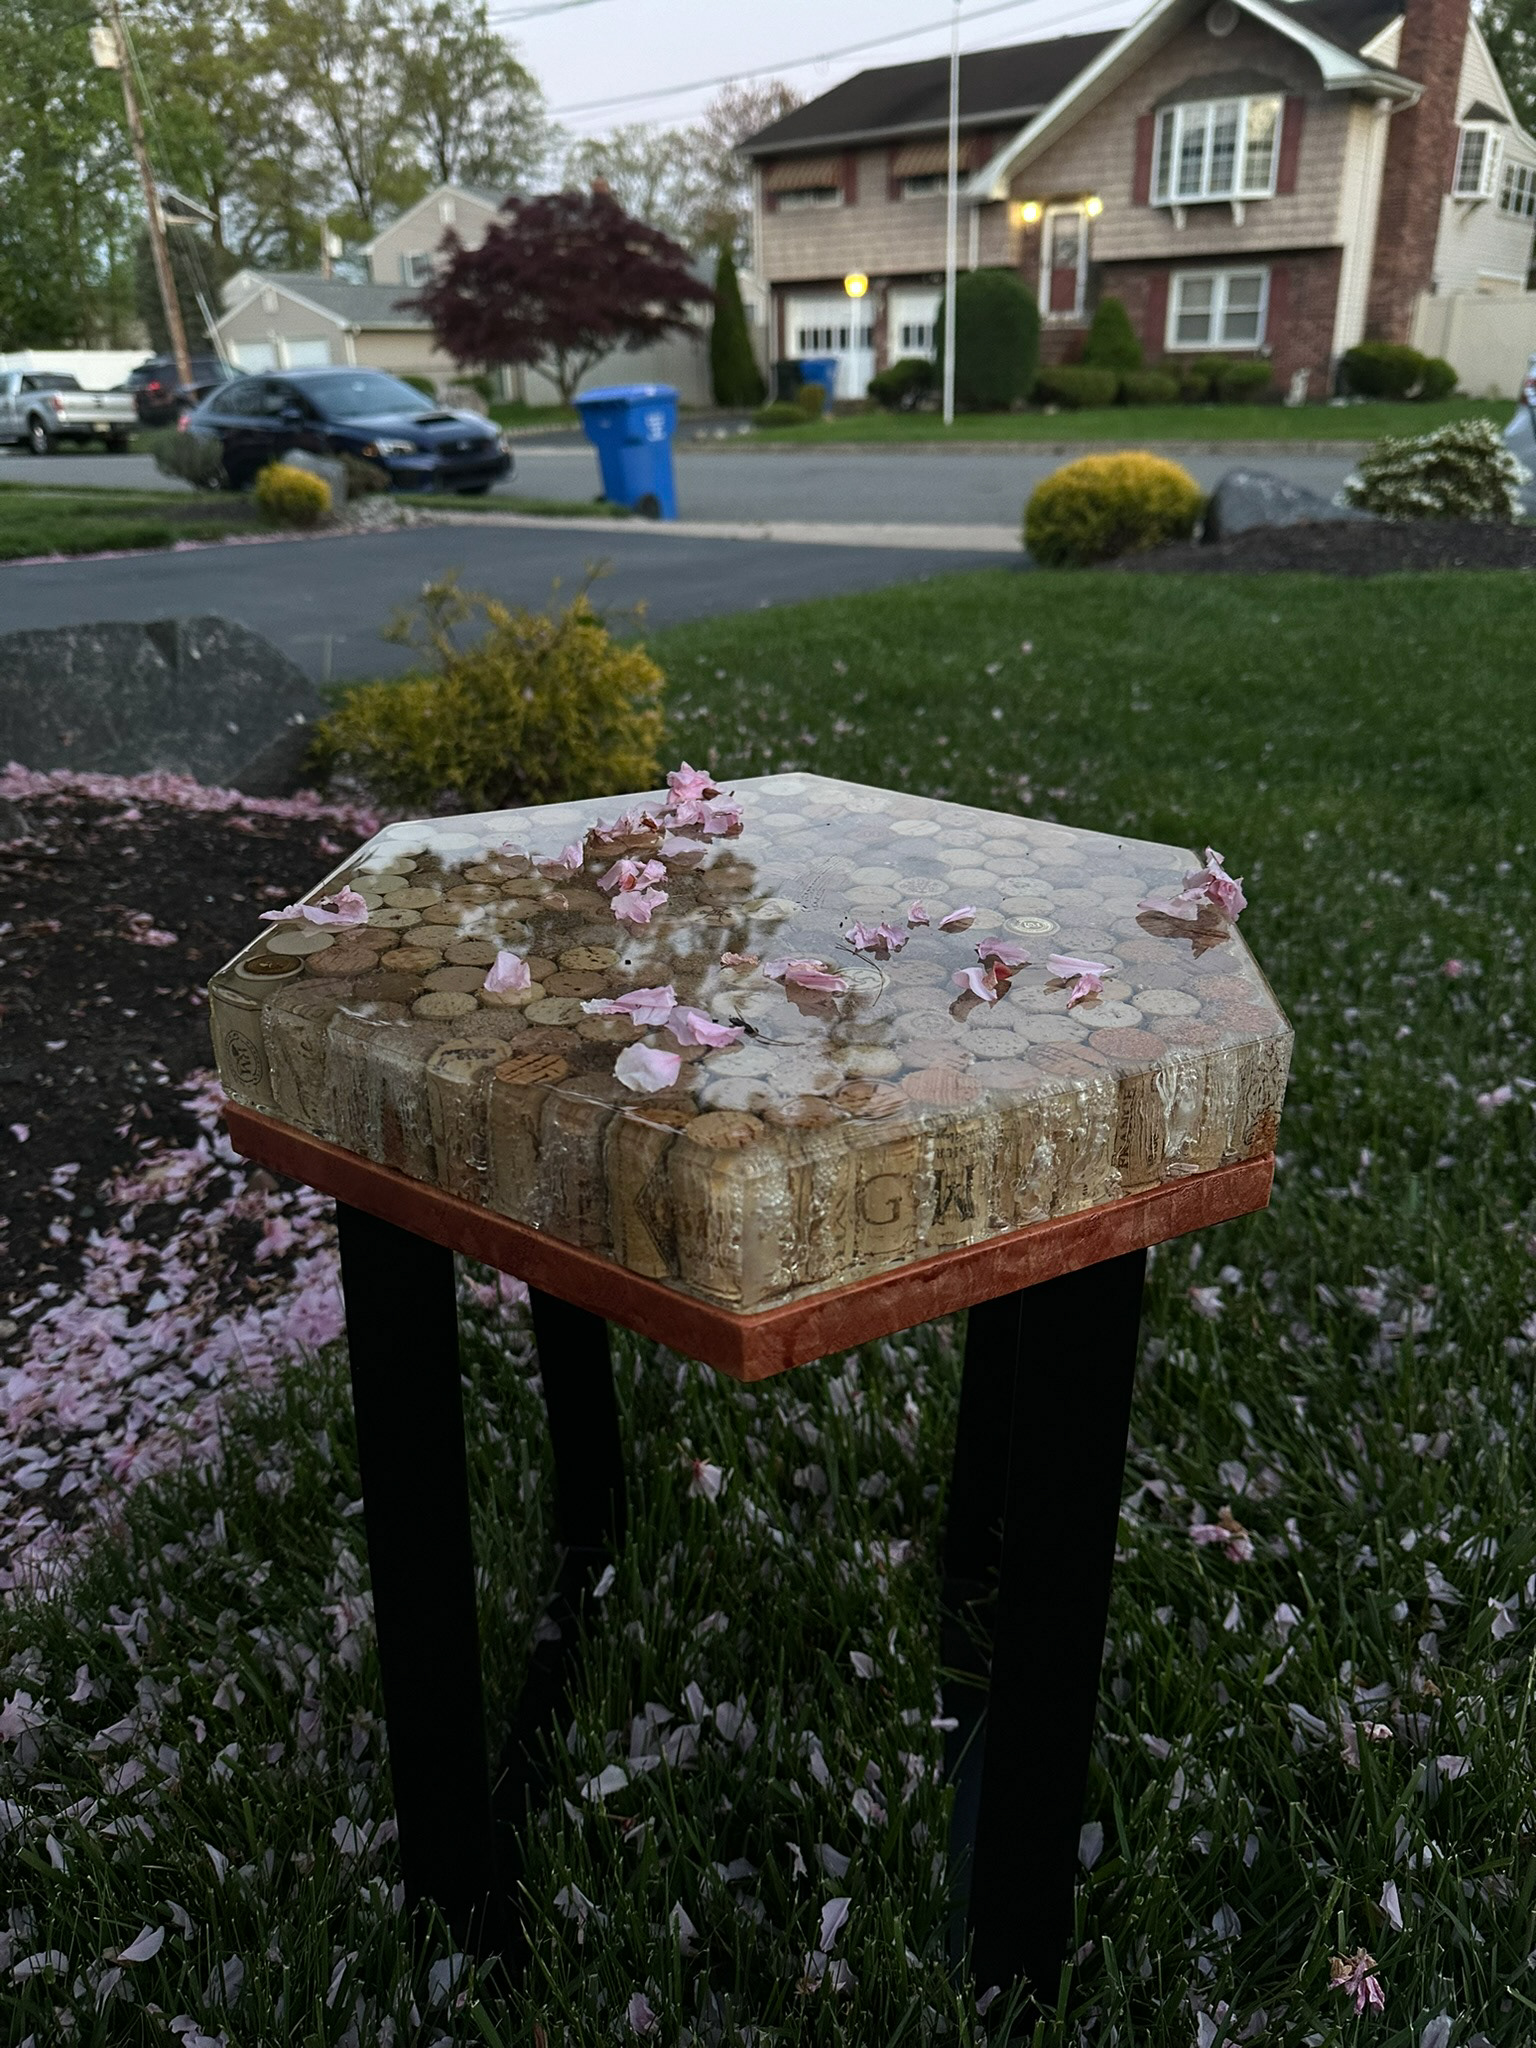
I started off College as a Business and Marketing major but shortly after a year switched over to Industrial Design. I wanted to create a piece of furniture that bridges the gap between the Business world and the Design world, and one item came to mind, corks. Many bottles of Wine are shared over important business meetings, I want to encapsulate all those memories of an item that would normally be thrown away. With an approach to upcycling with the reuse of a sustainable material.
The Brief
Design a piece of furniture that captures the idea of new beginnings, changes and transitions.
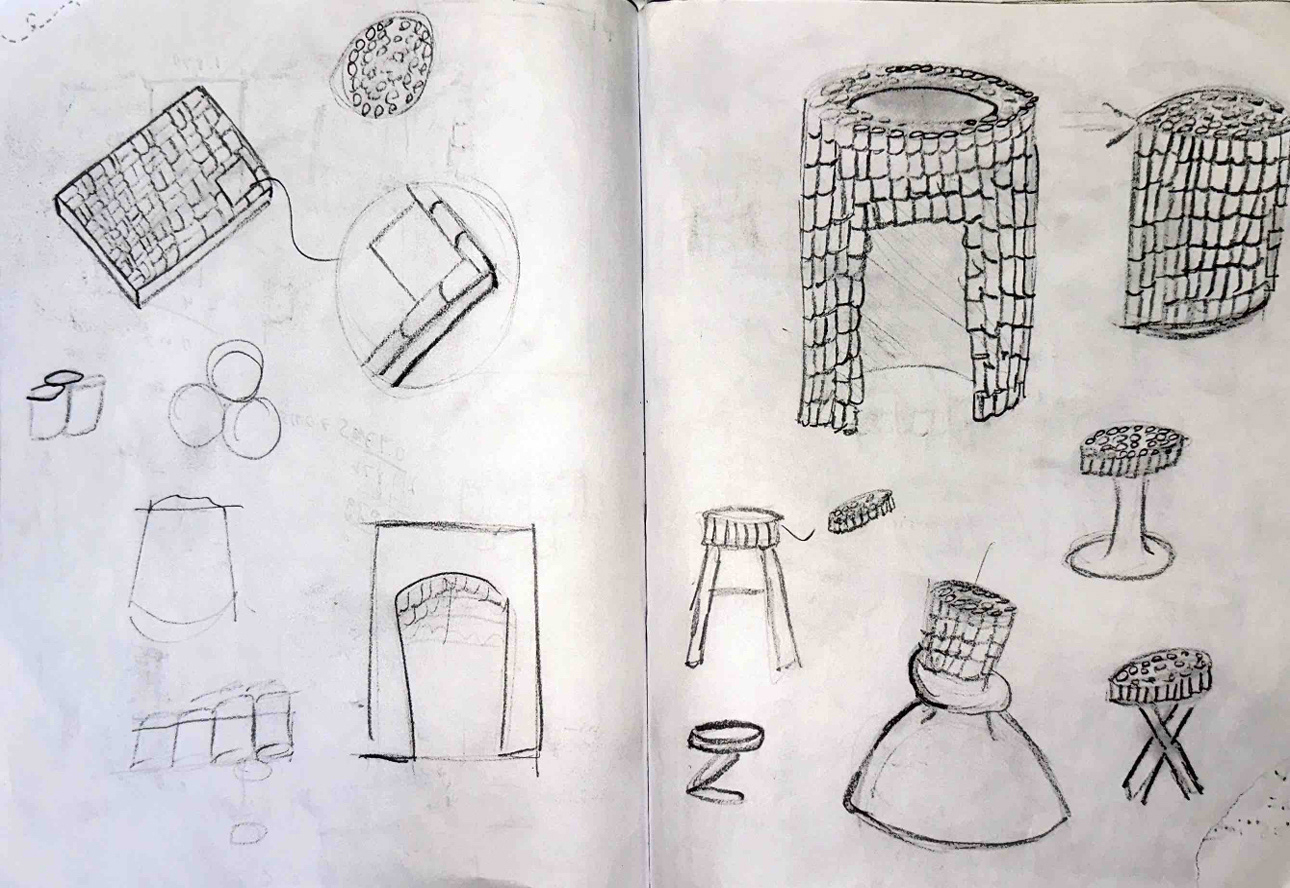
Below are some very early sketches on corks and how they can be arranged
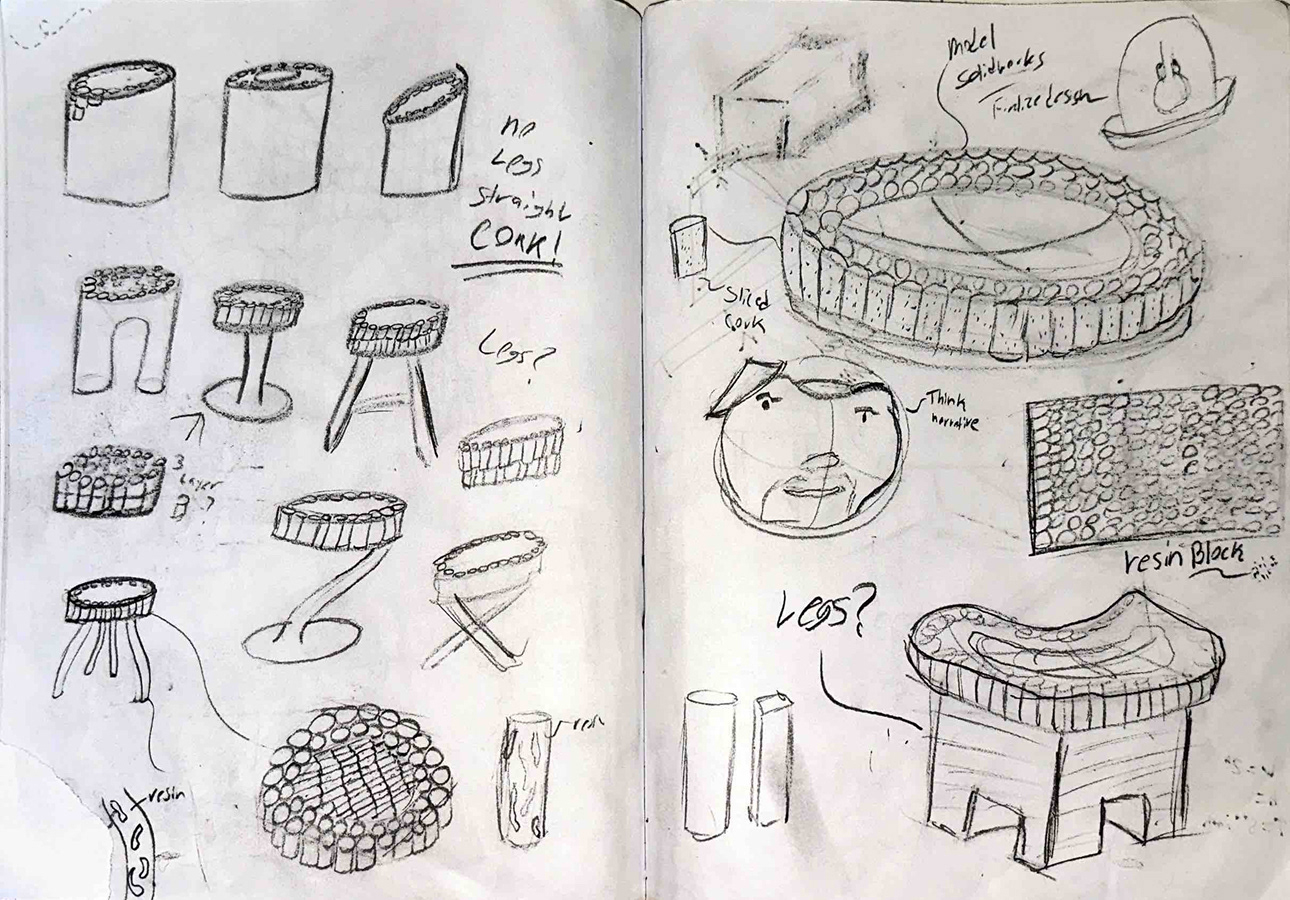
Ideation
The process began with figuring out how the design of the stool itself and how it could be incorporated with cork in many different forms.
Creating the Base
Arranging the Corks in a way that would still show some designs and allow for a comfortable sit down.
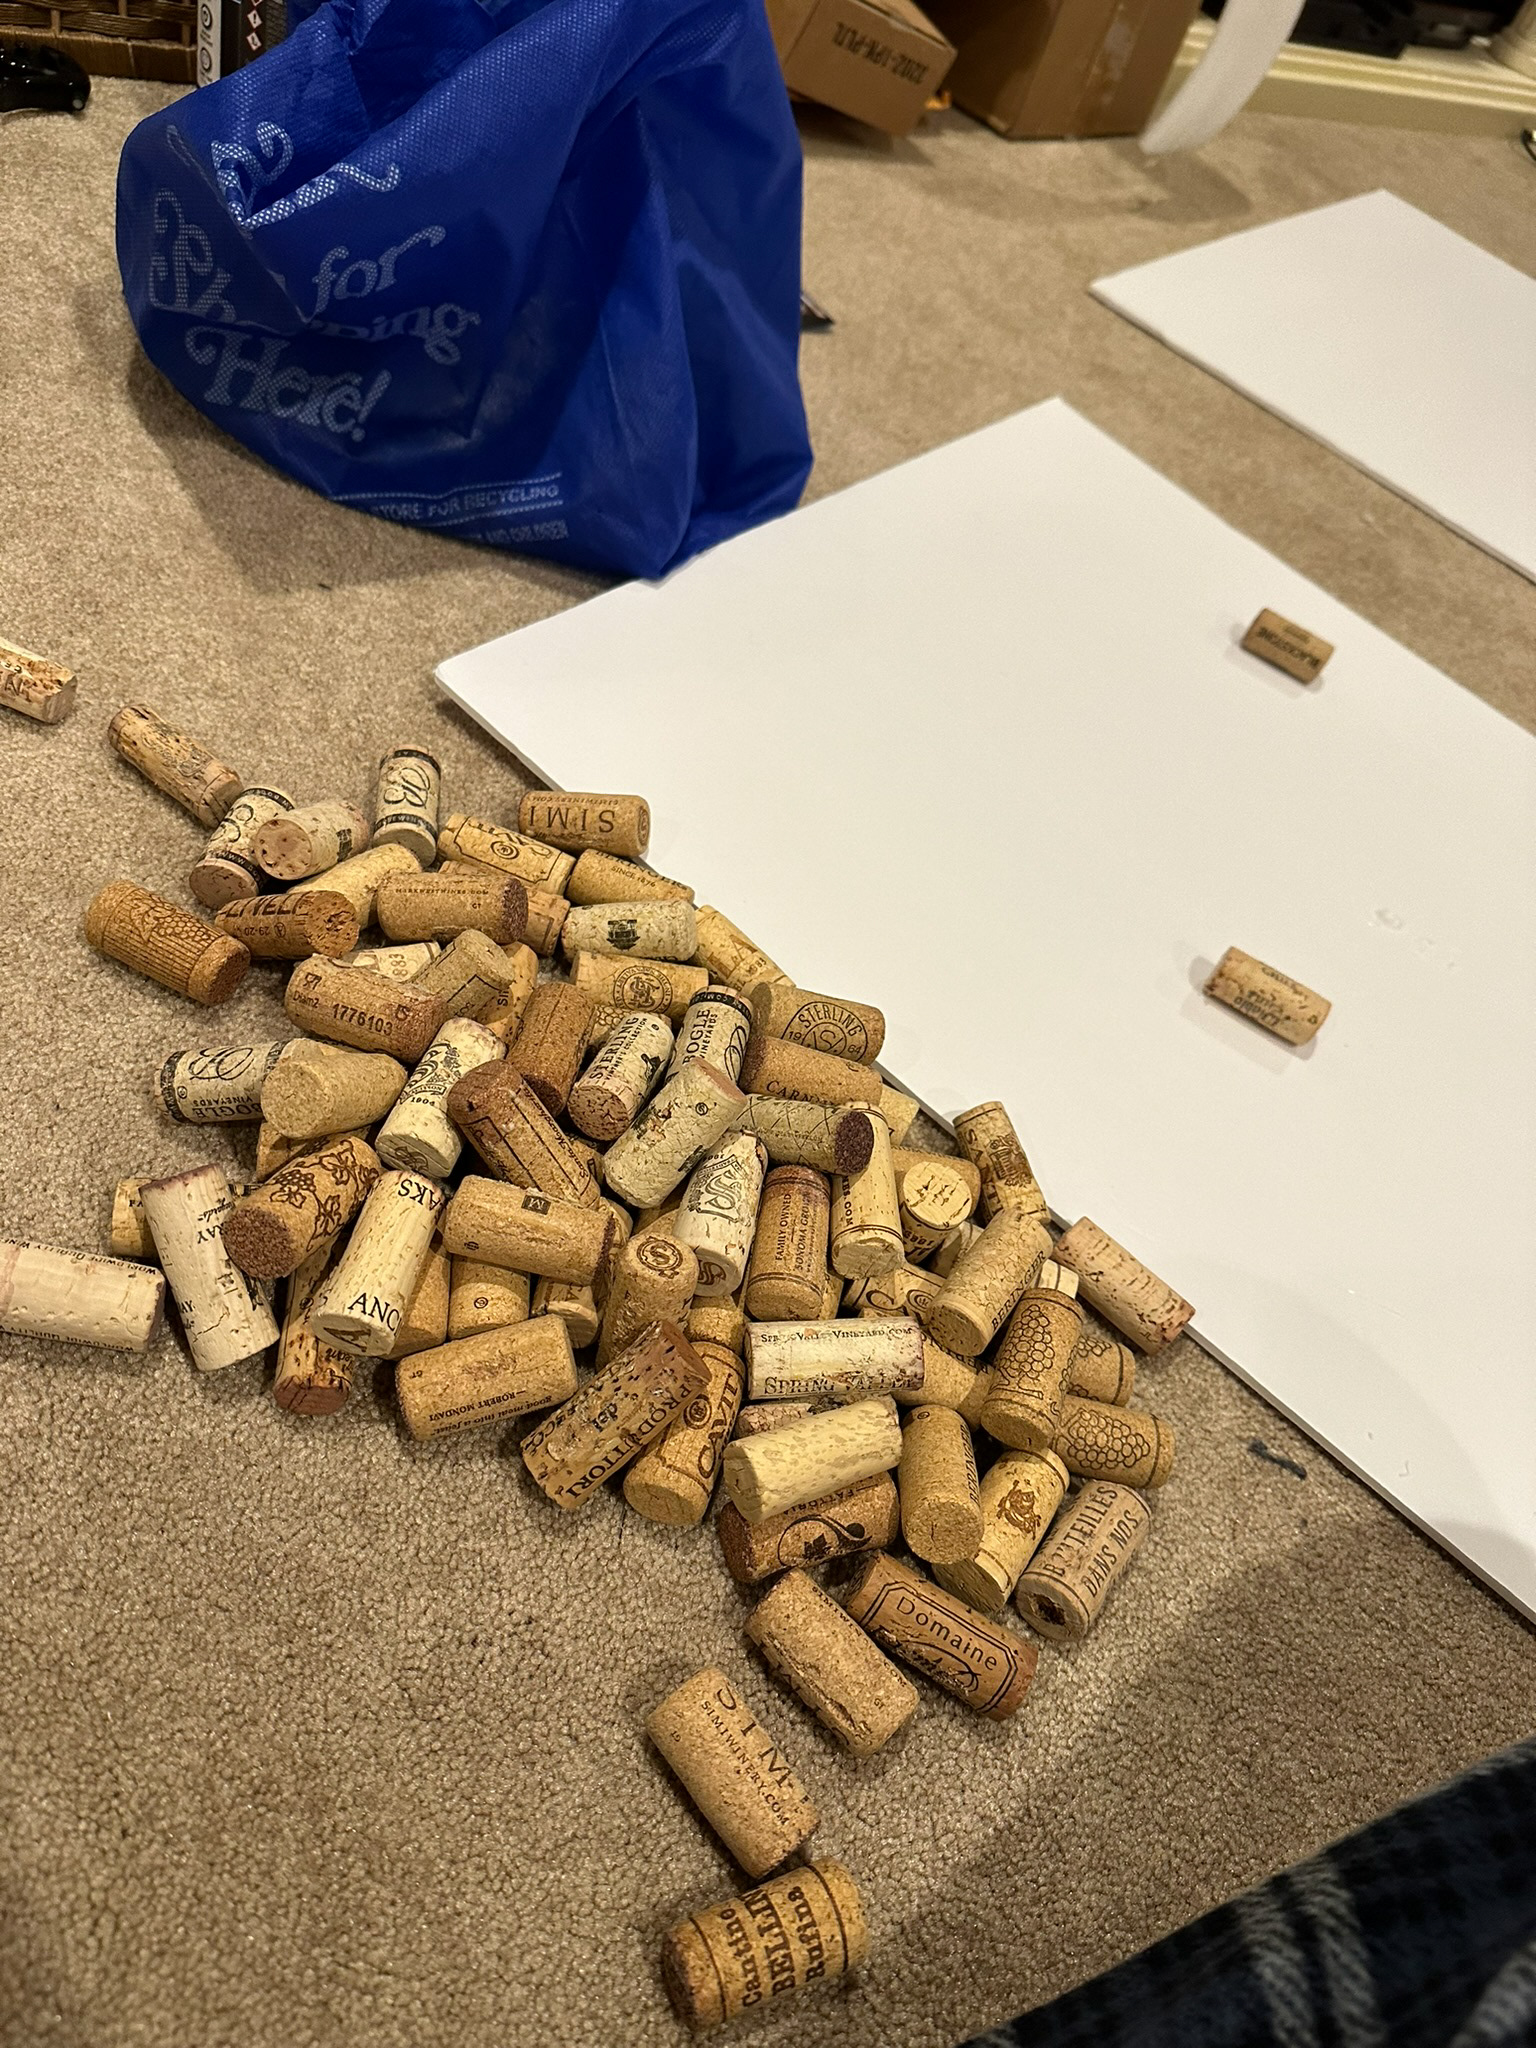
Checking the Corks for Size Differences
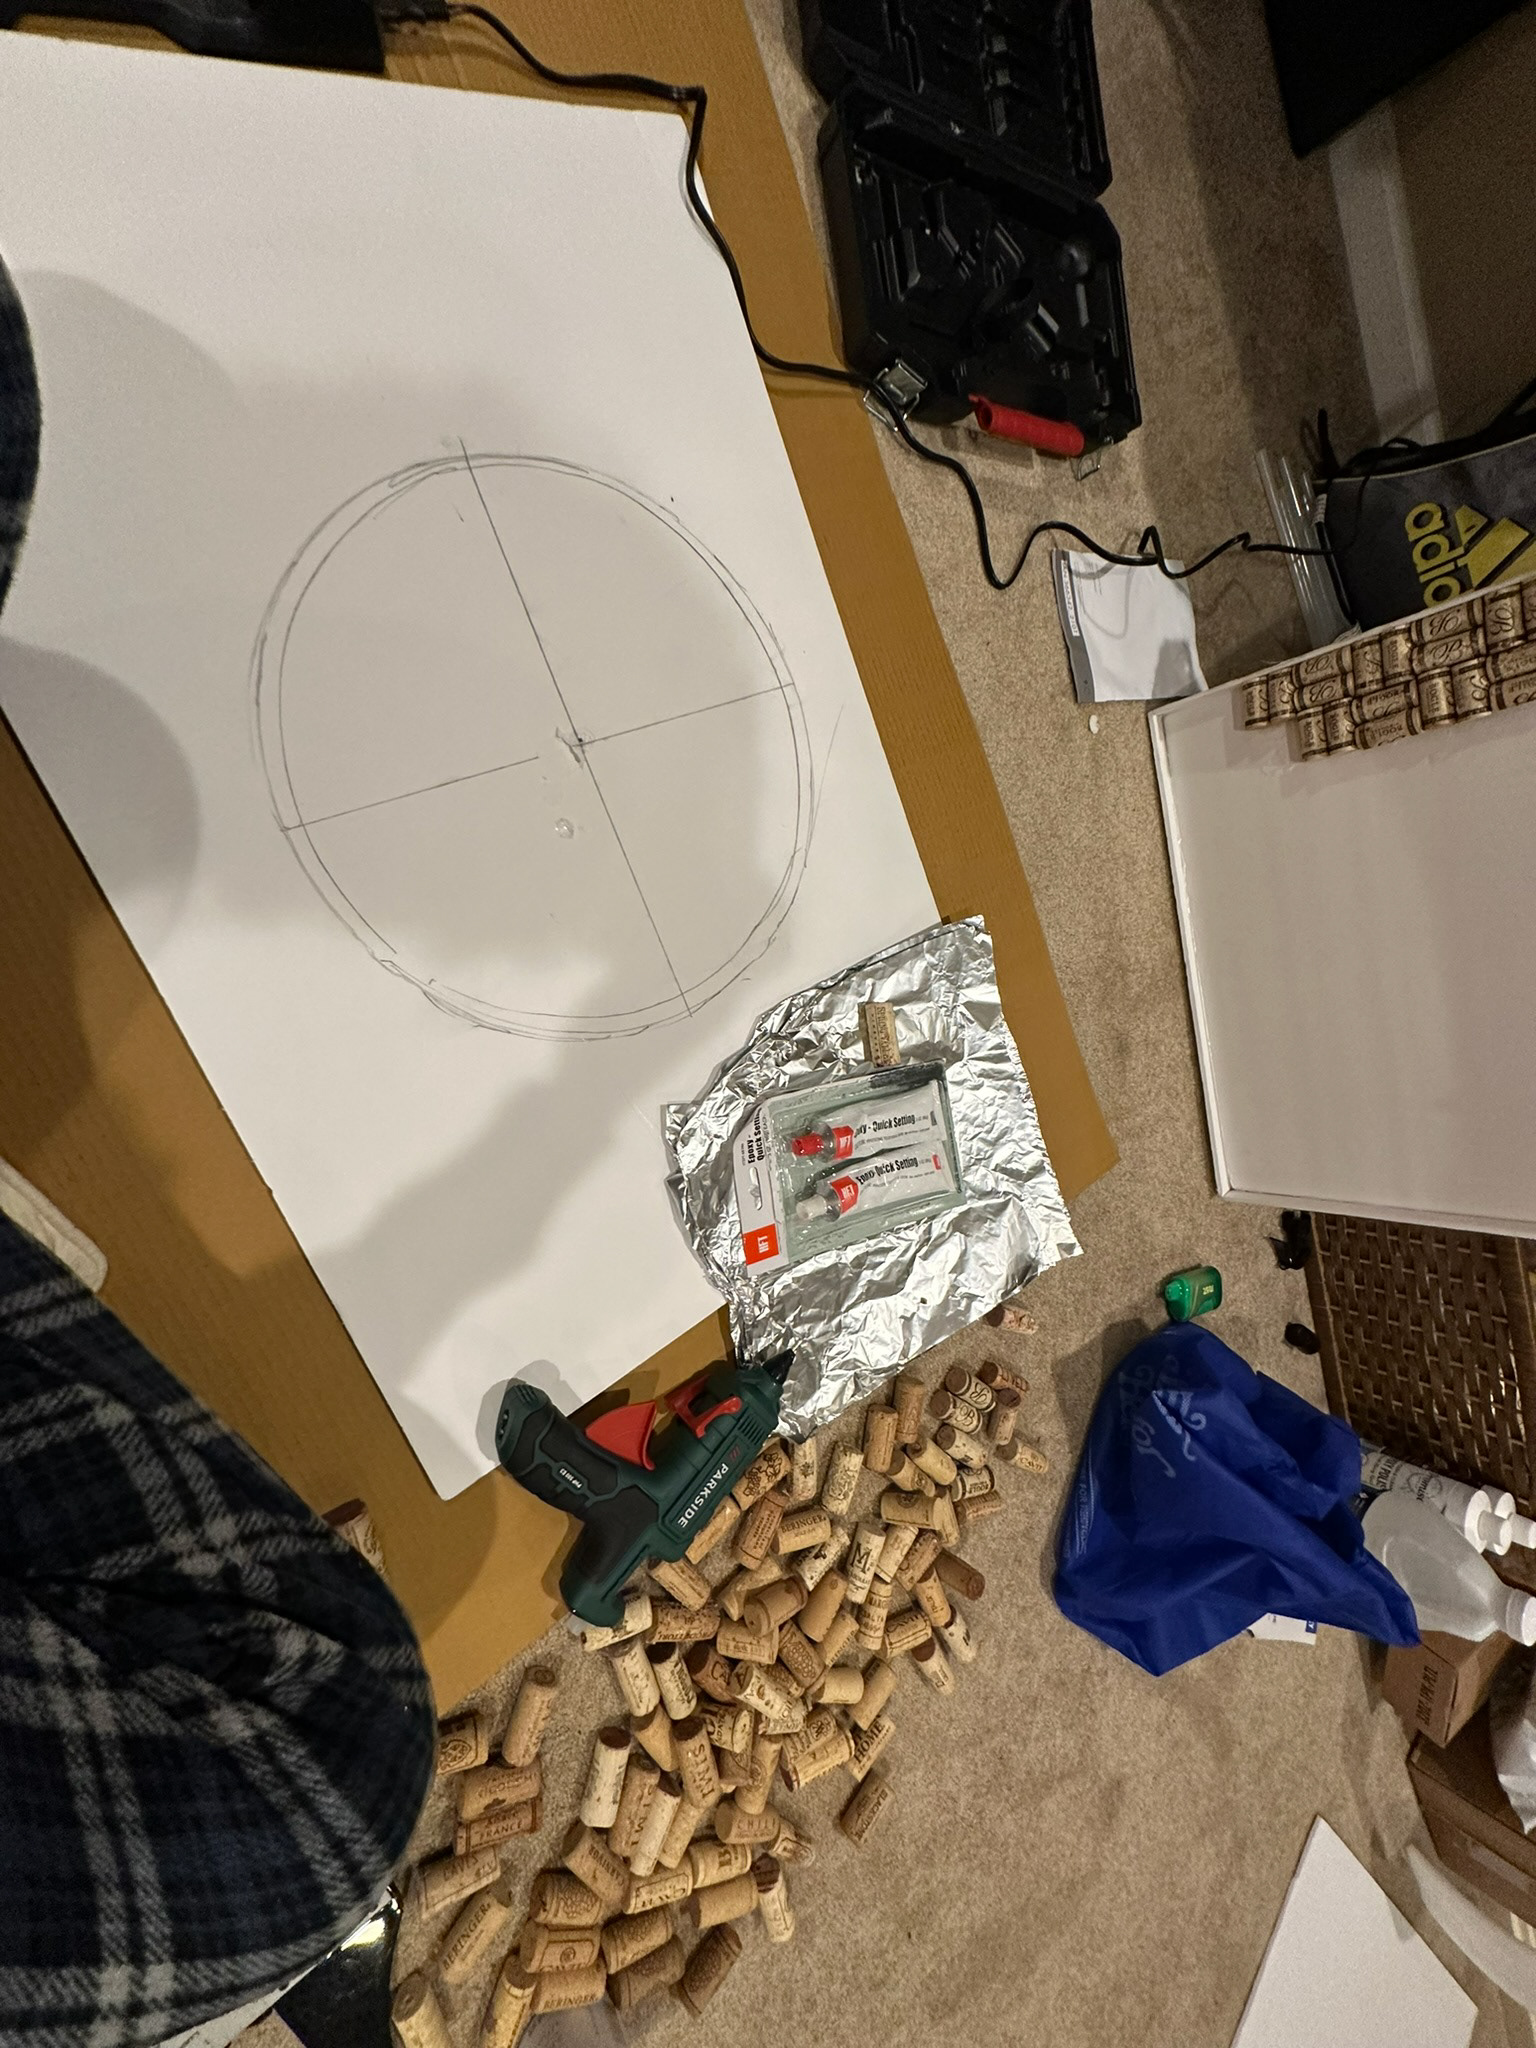
Creating the Template
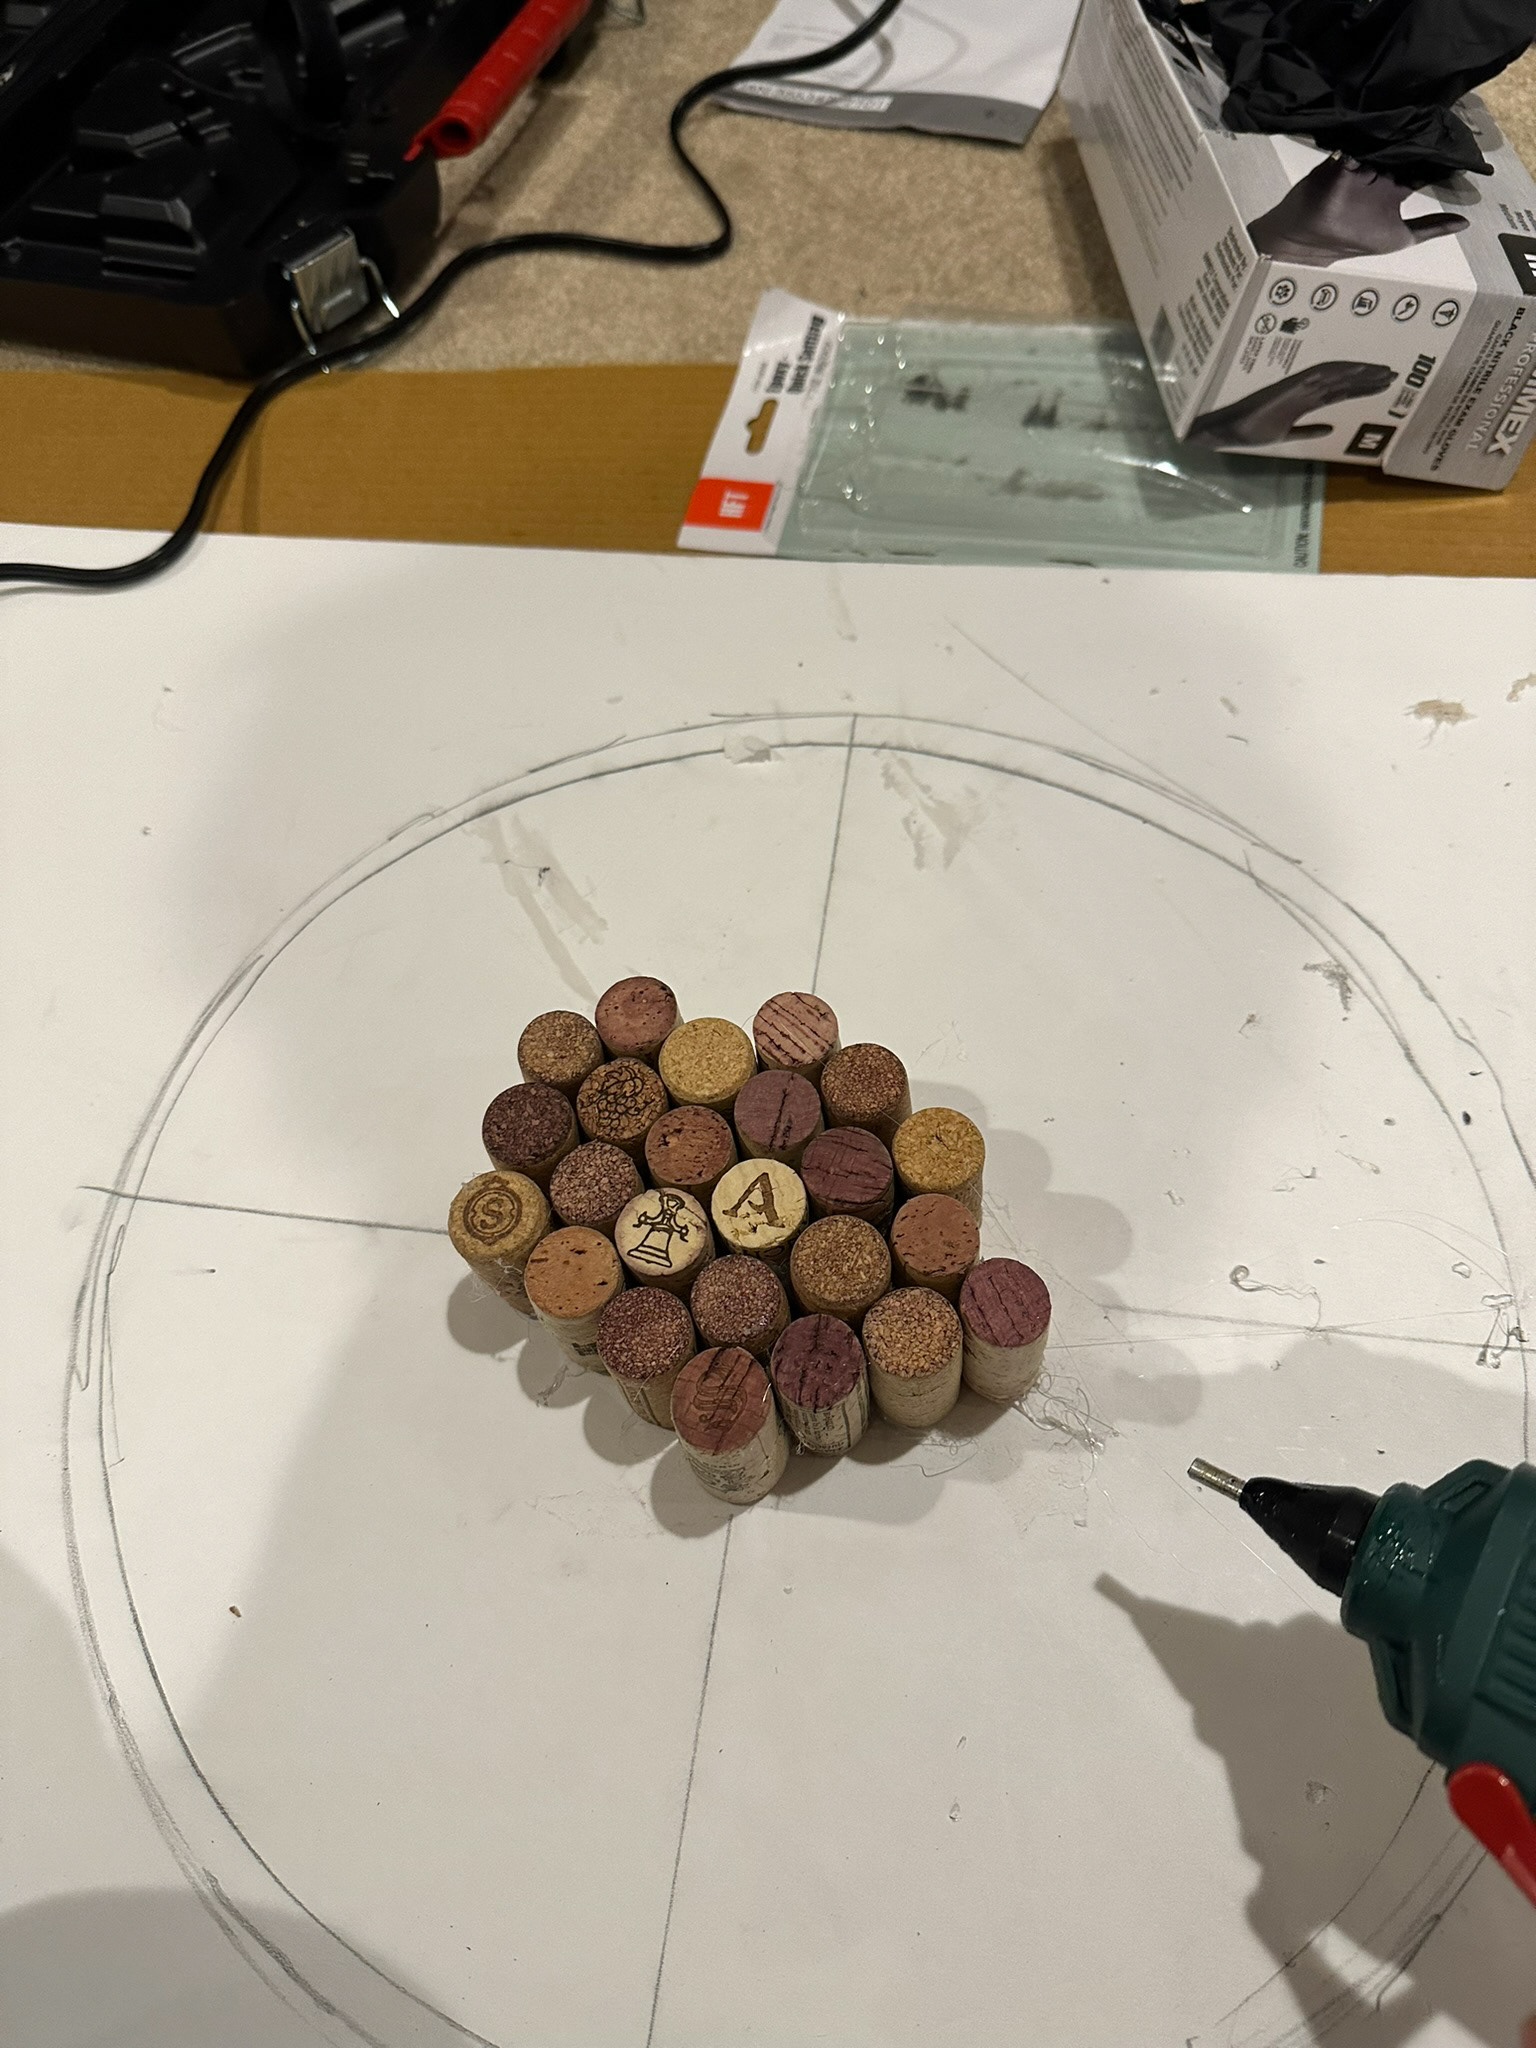
Gluing the Corks to the Base
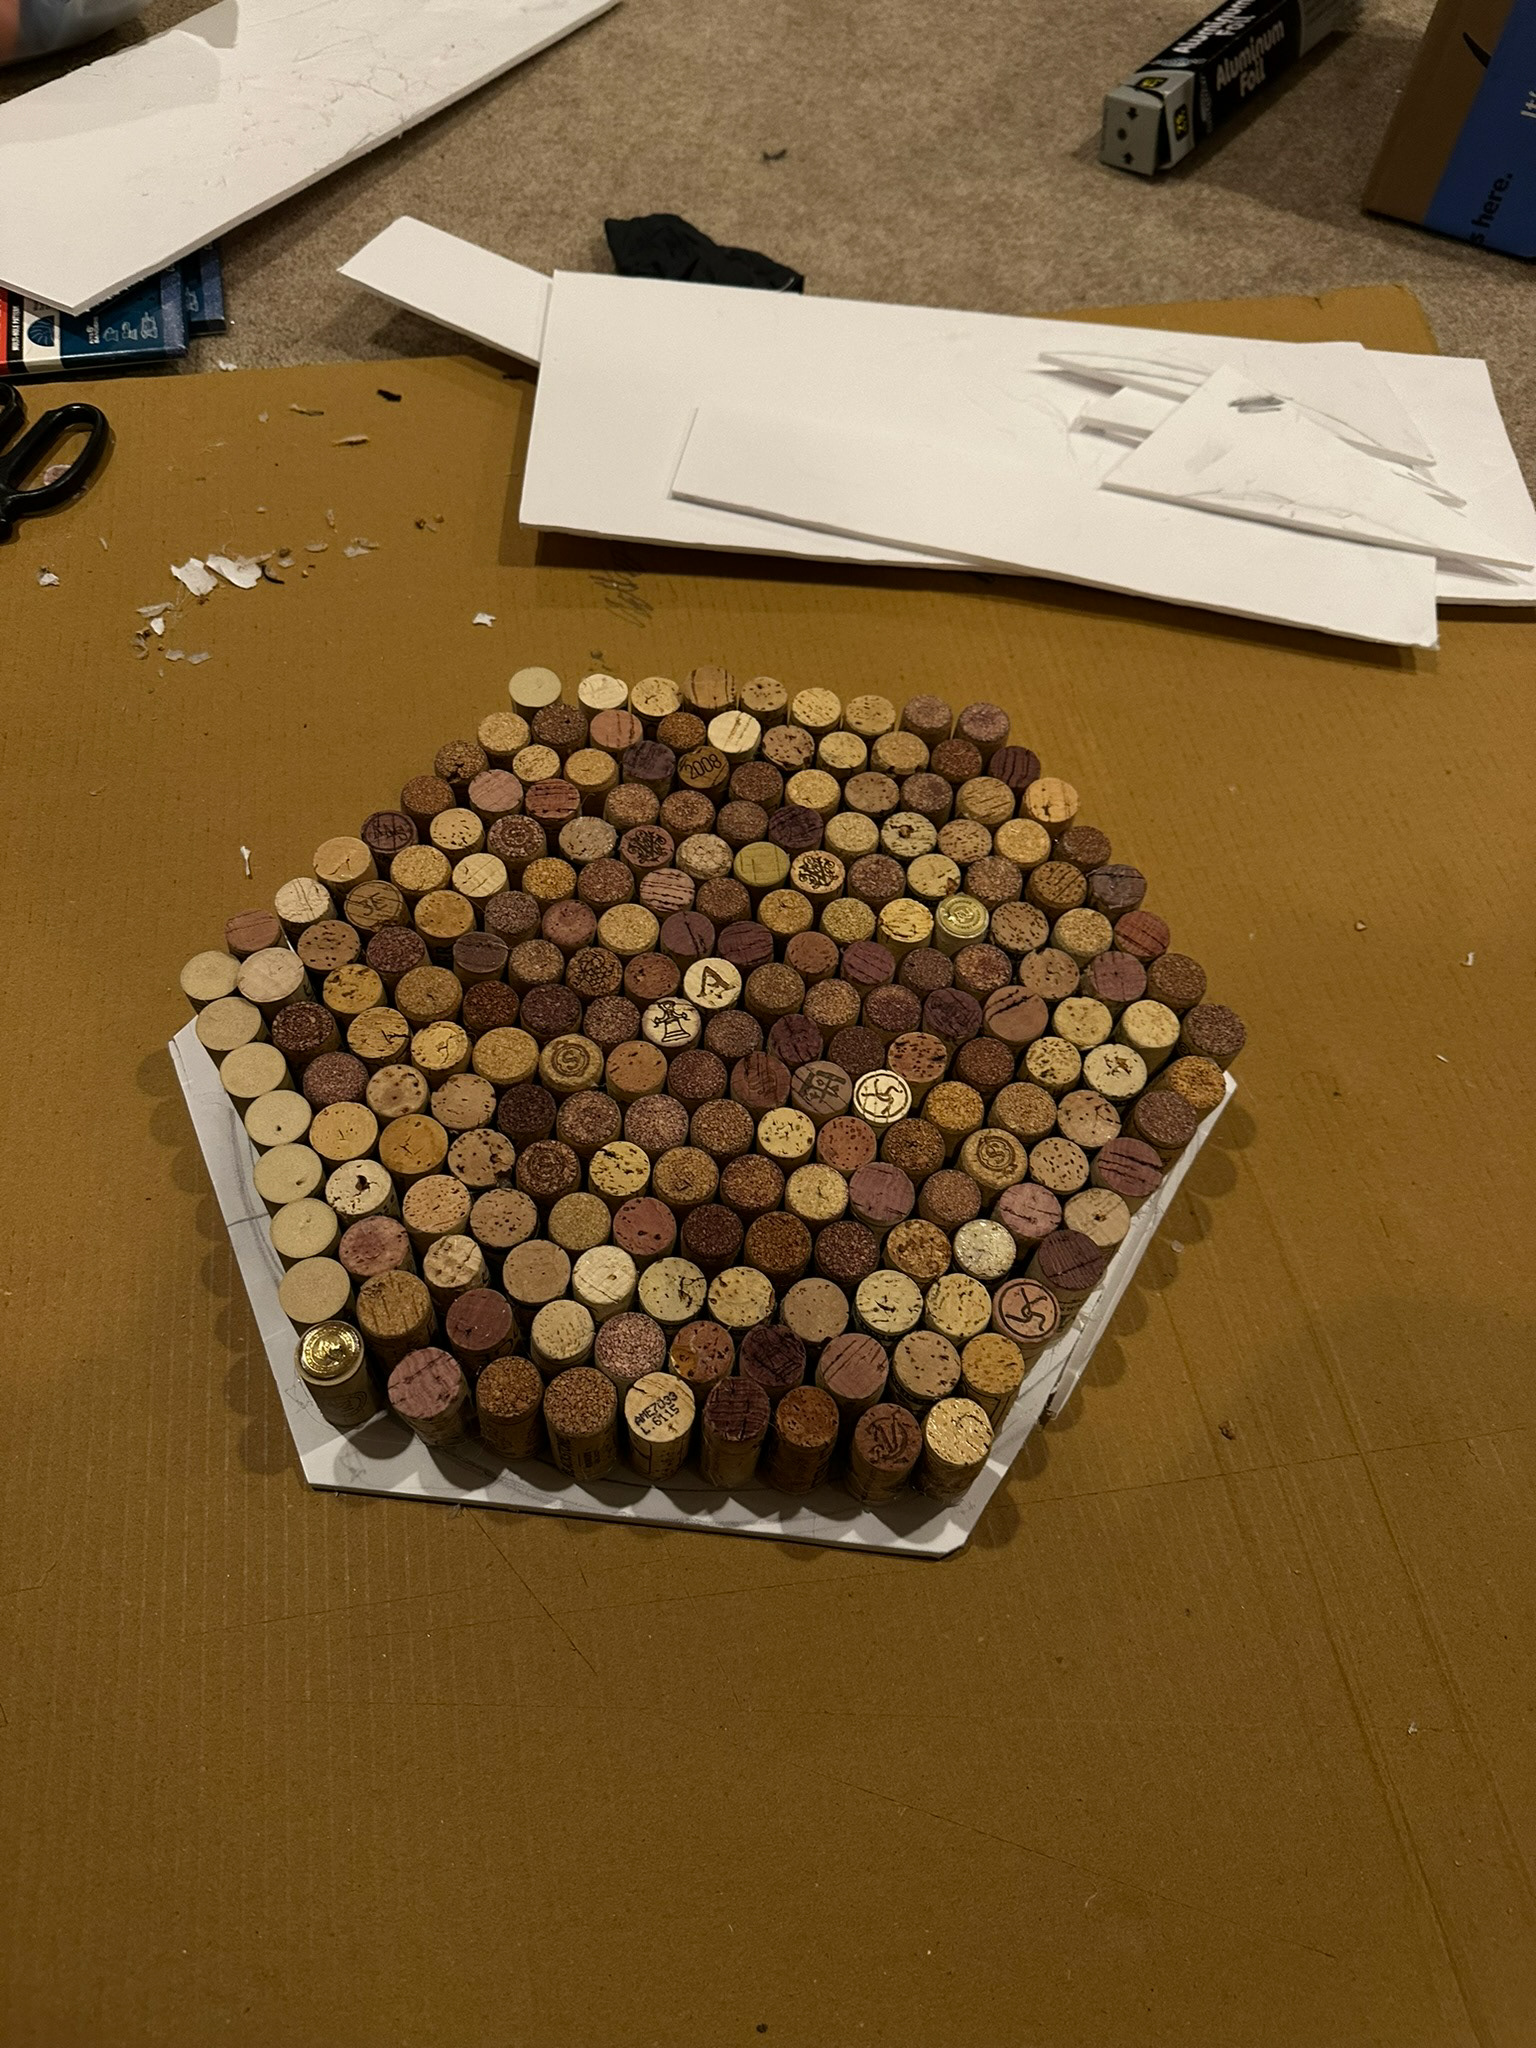
The Shape Formed
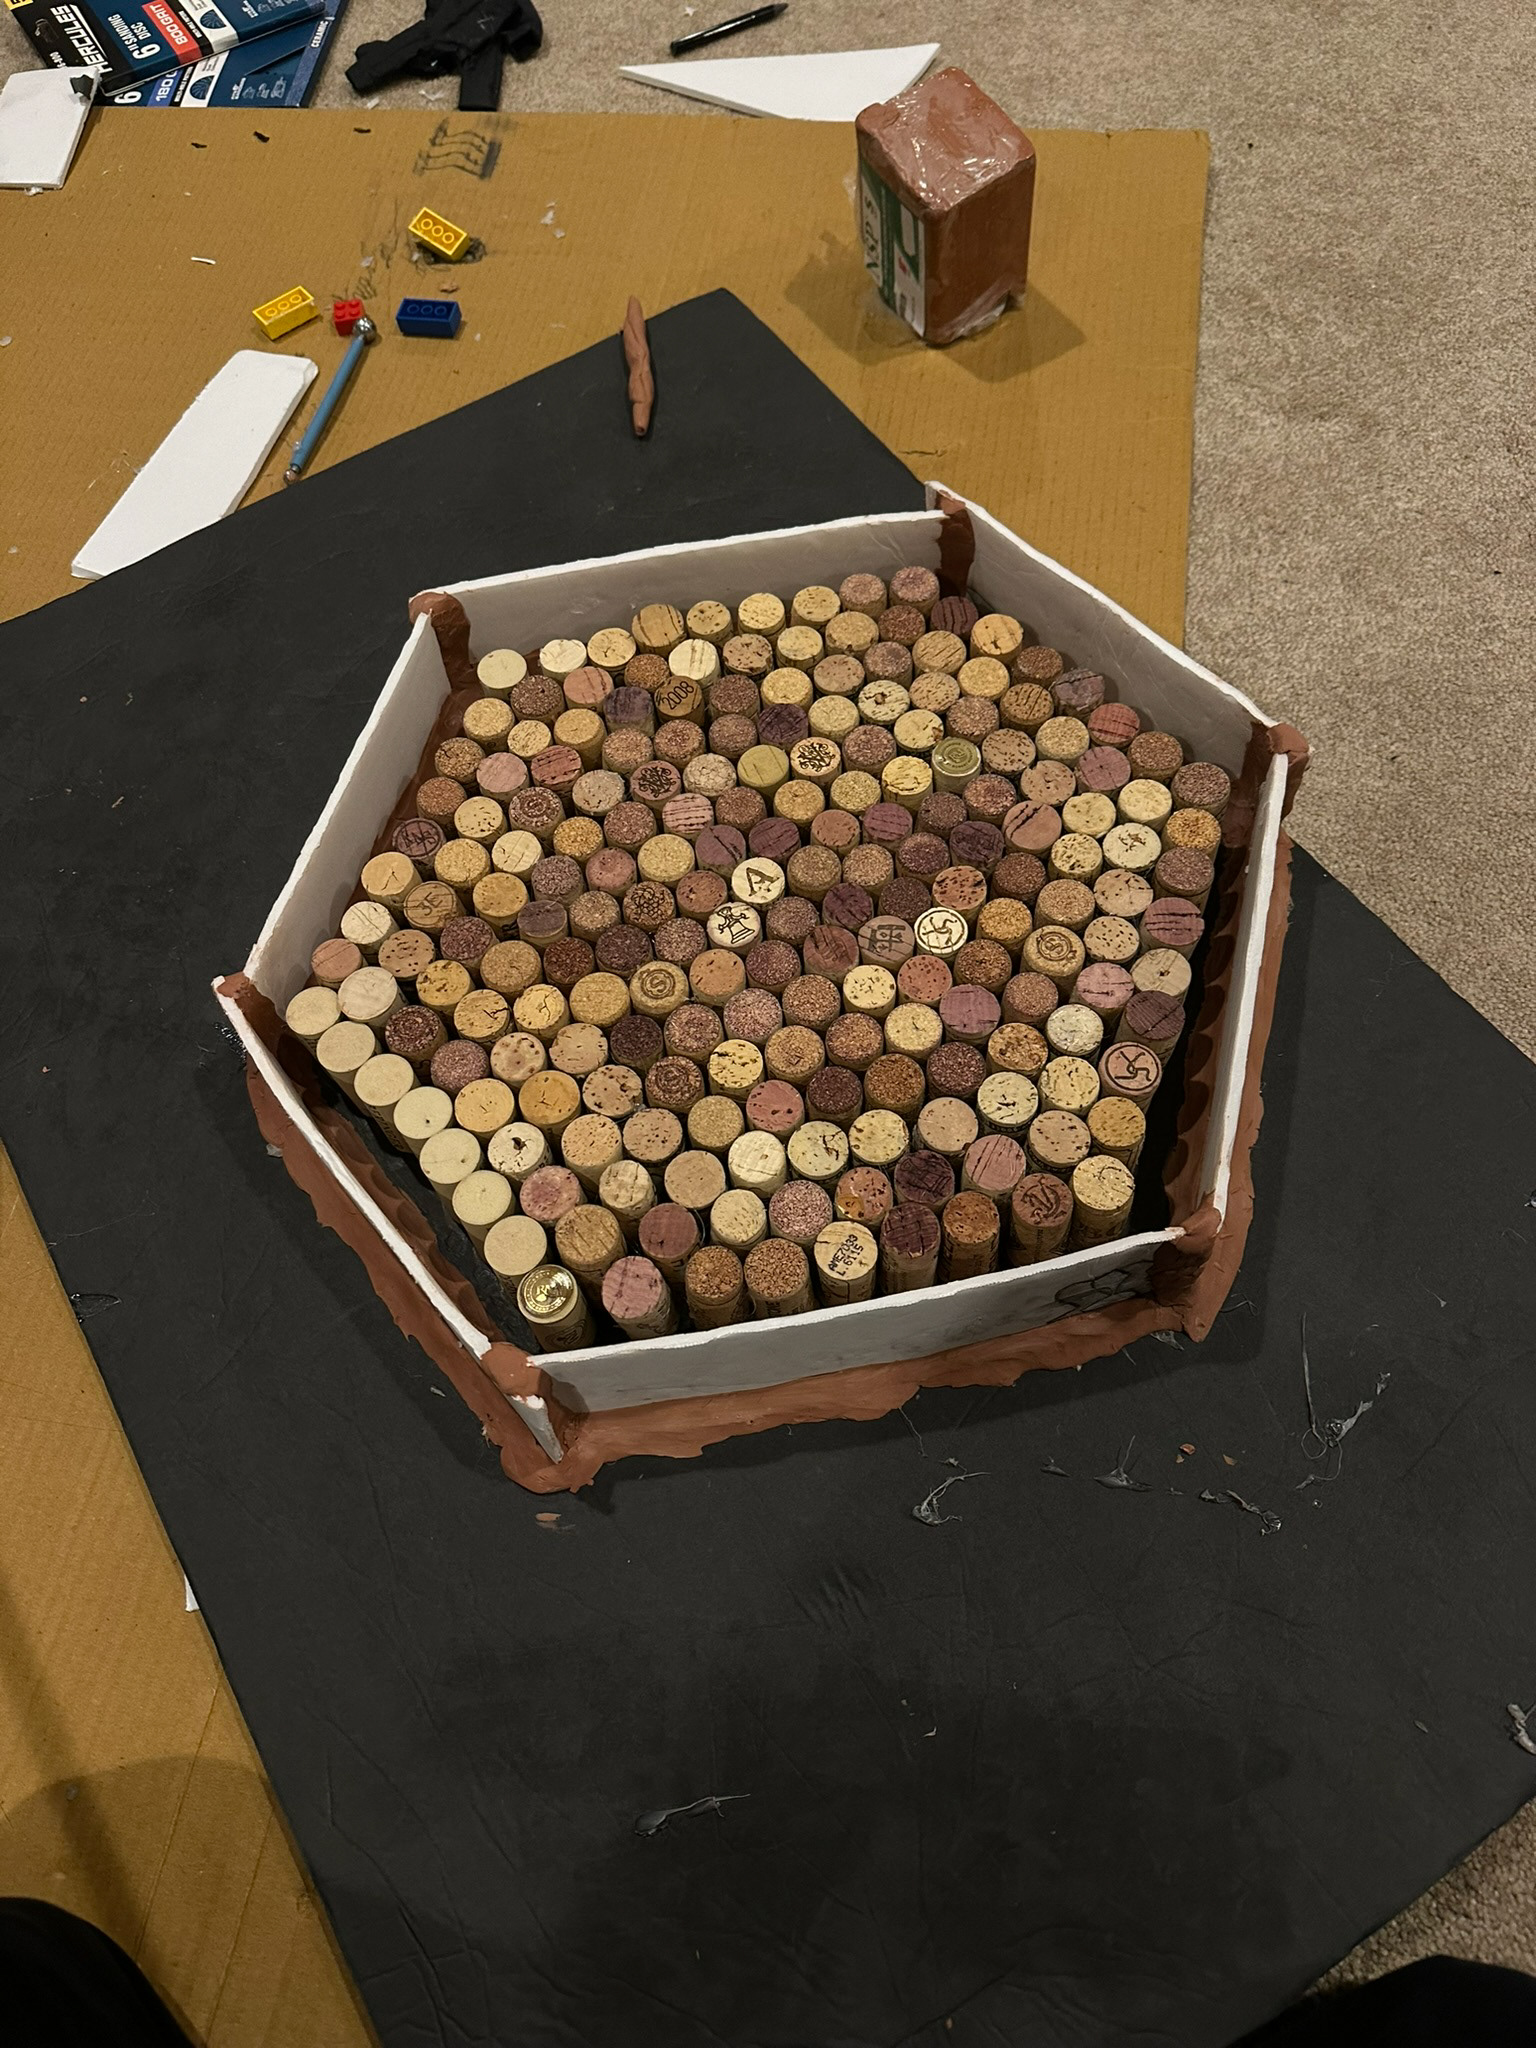
Surround the Edge with Clay to Prevent Leakage
Pouring the Resin
The Resin was poured out carefully to allow for a smooth even curing process.
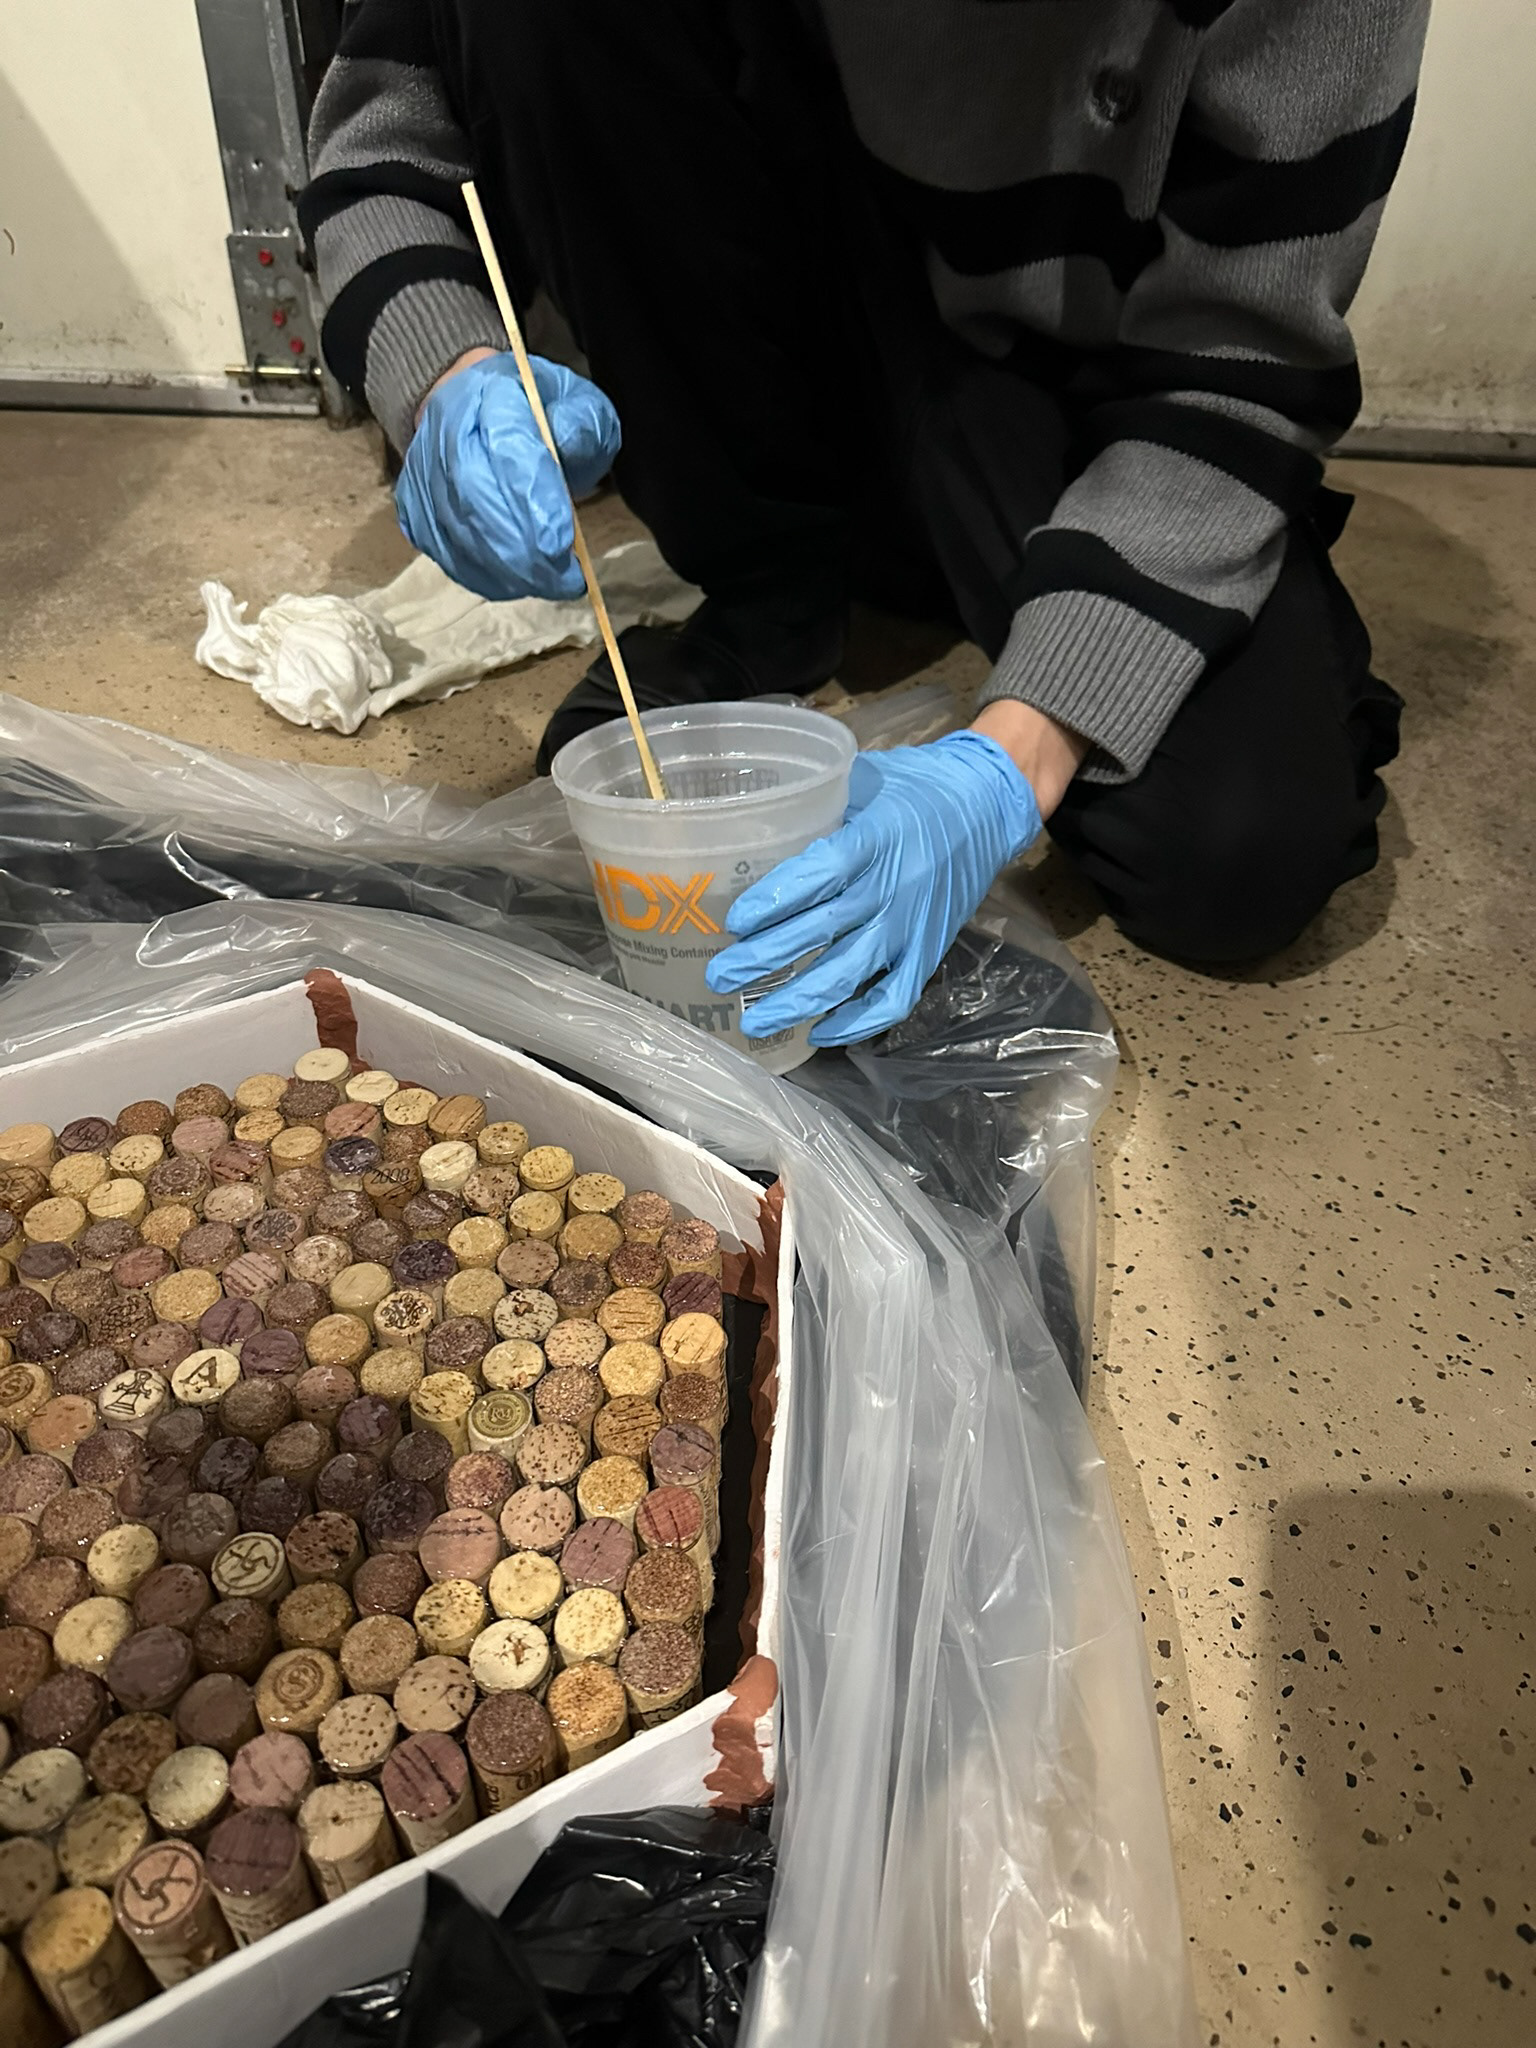
Mixing Together Part A & Part B
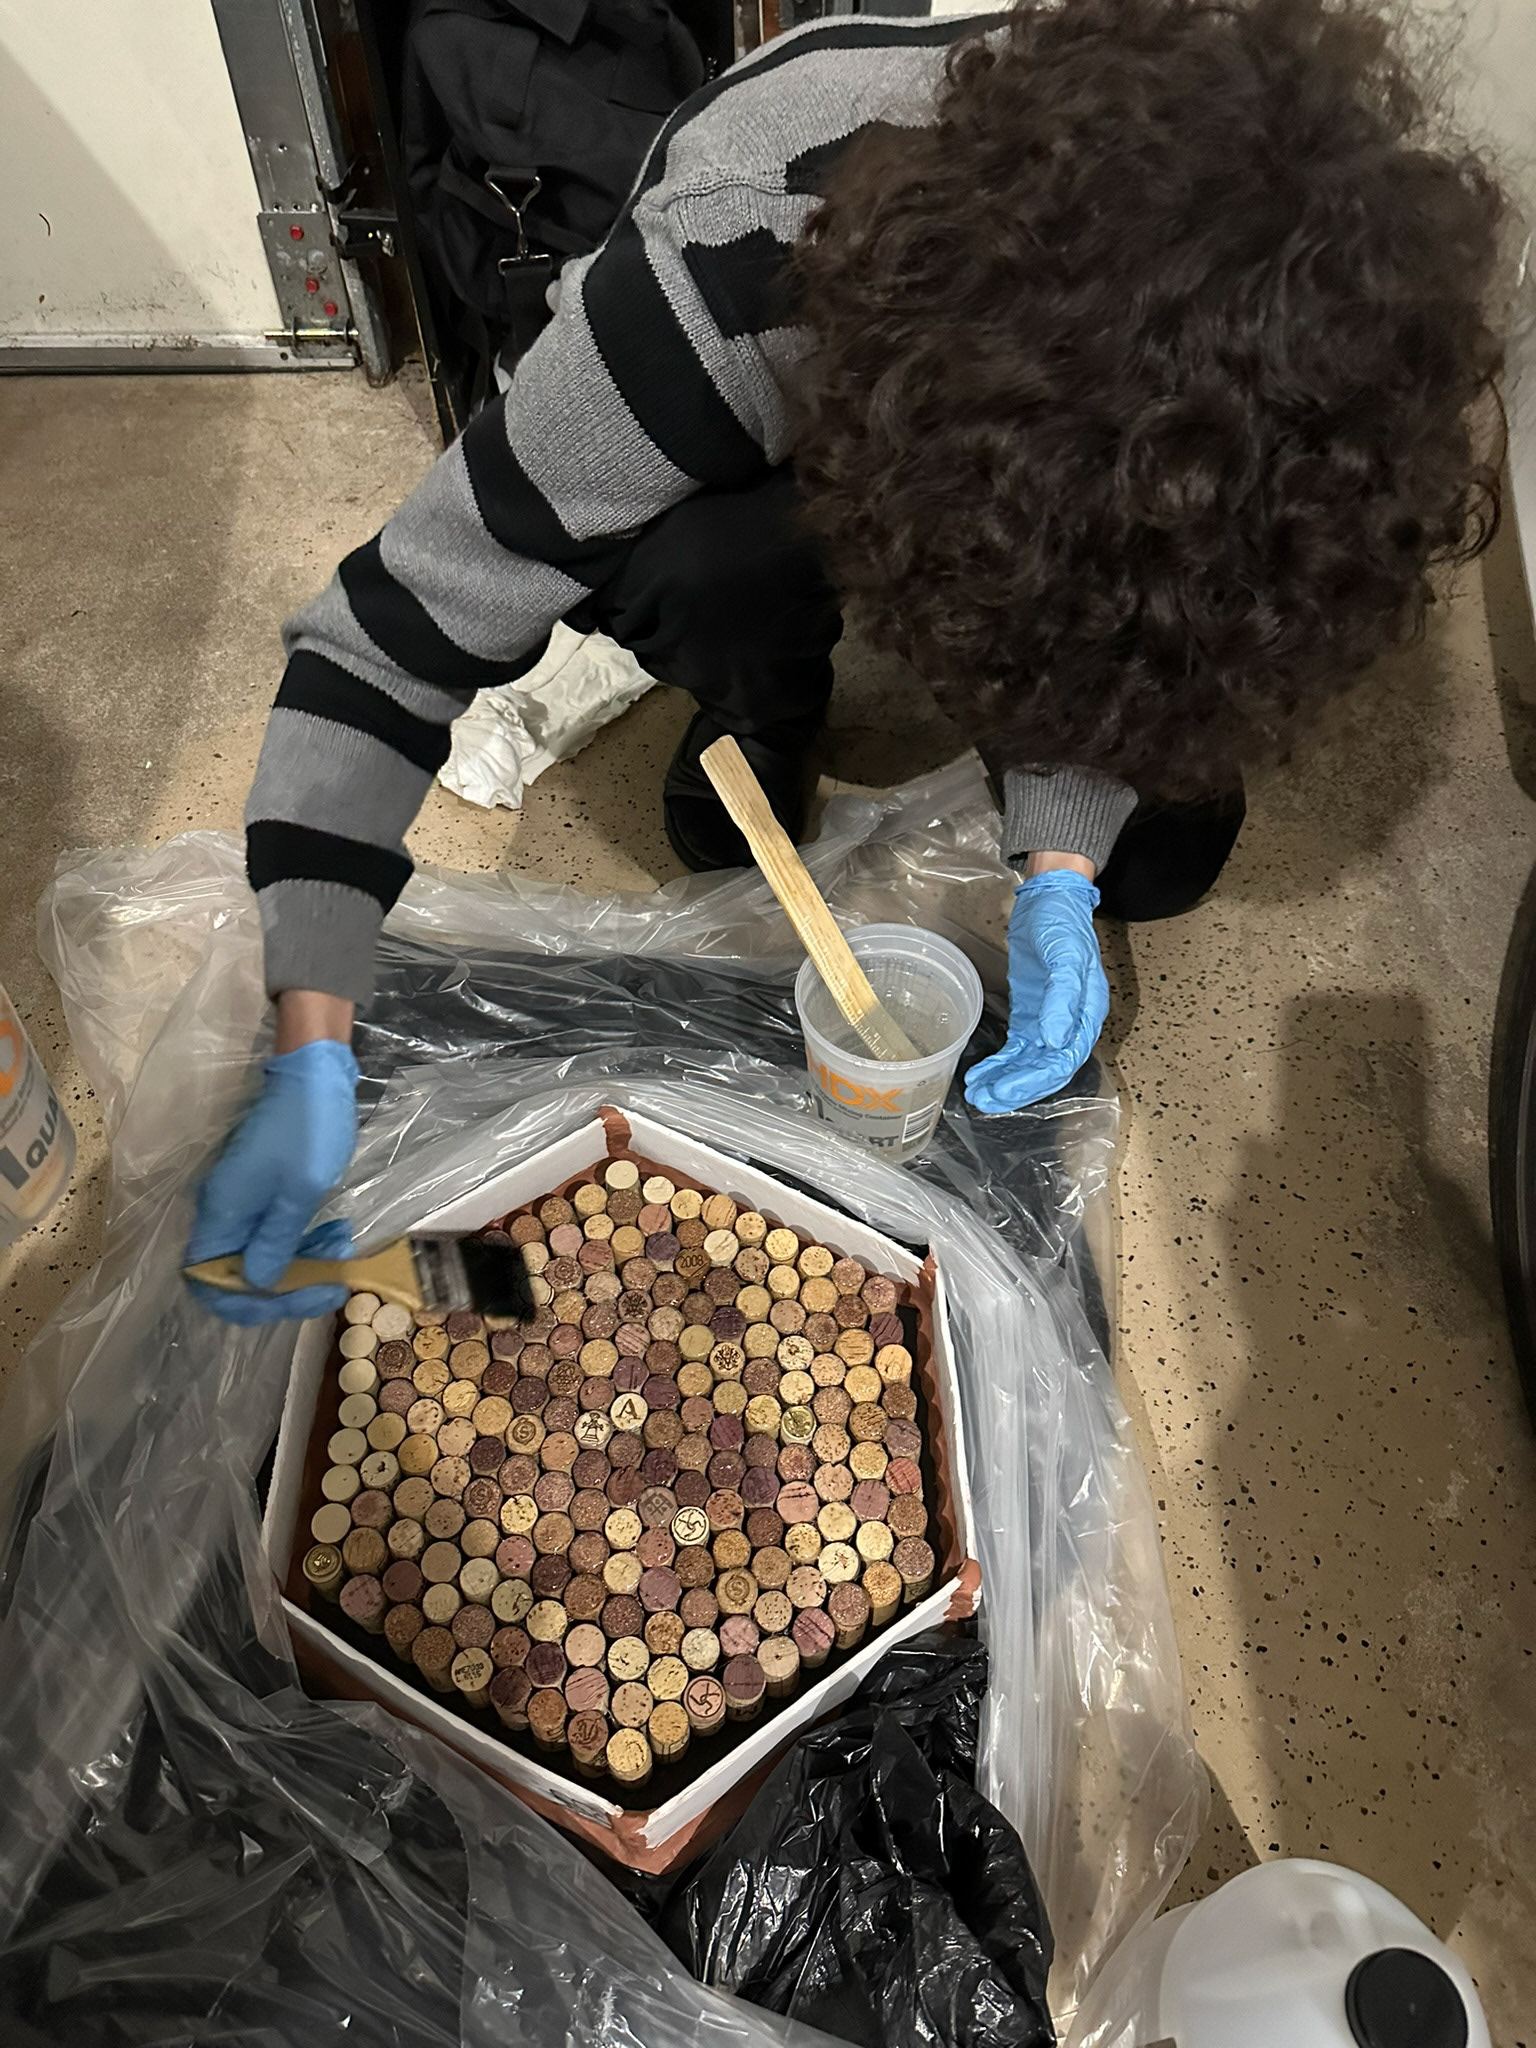
Applying a Thin Coat to the Upper Layer
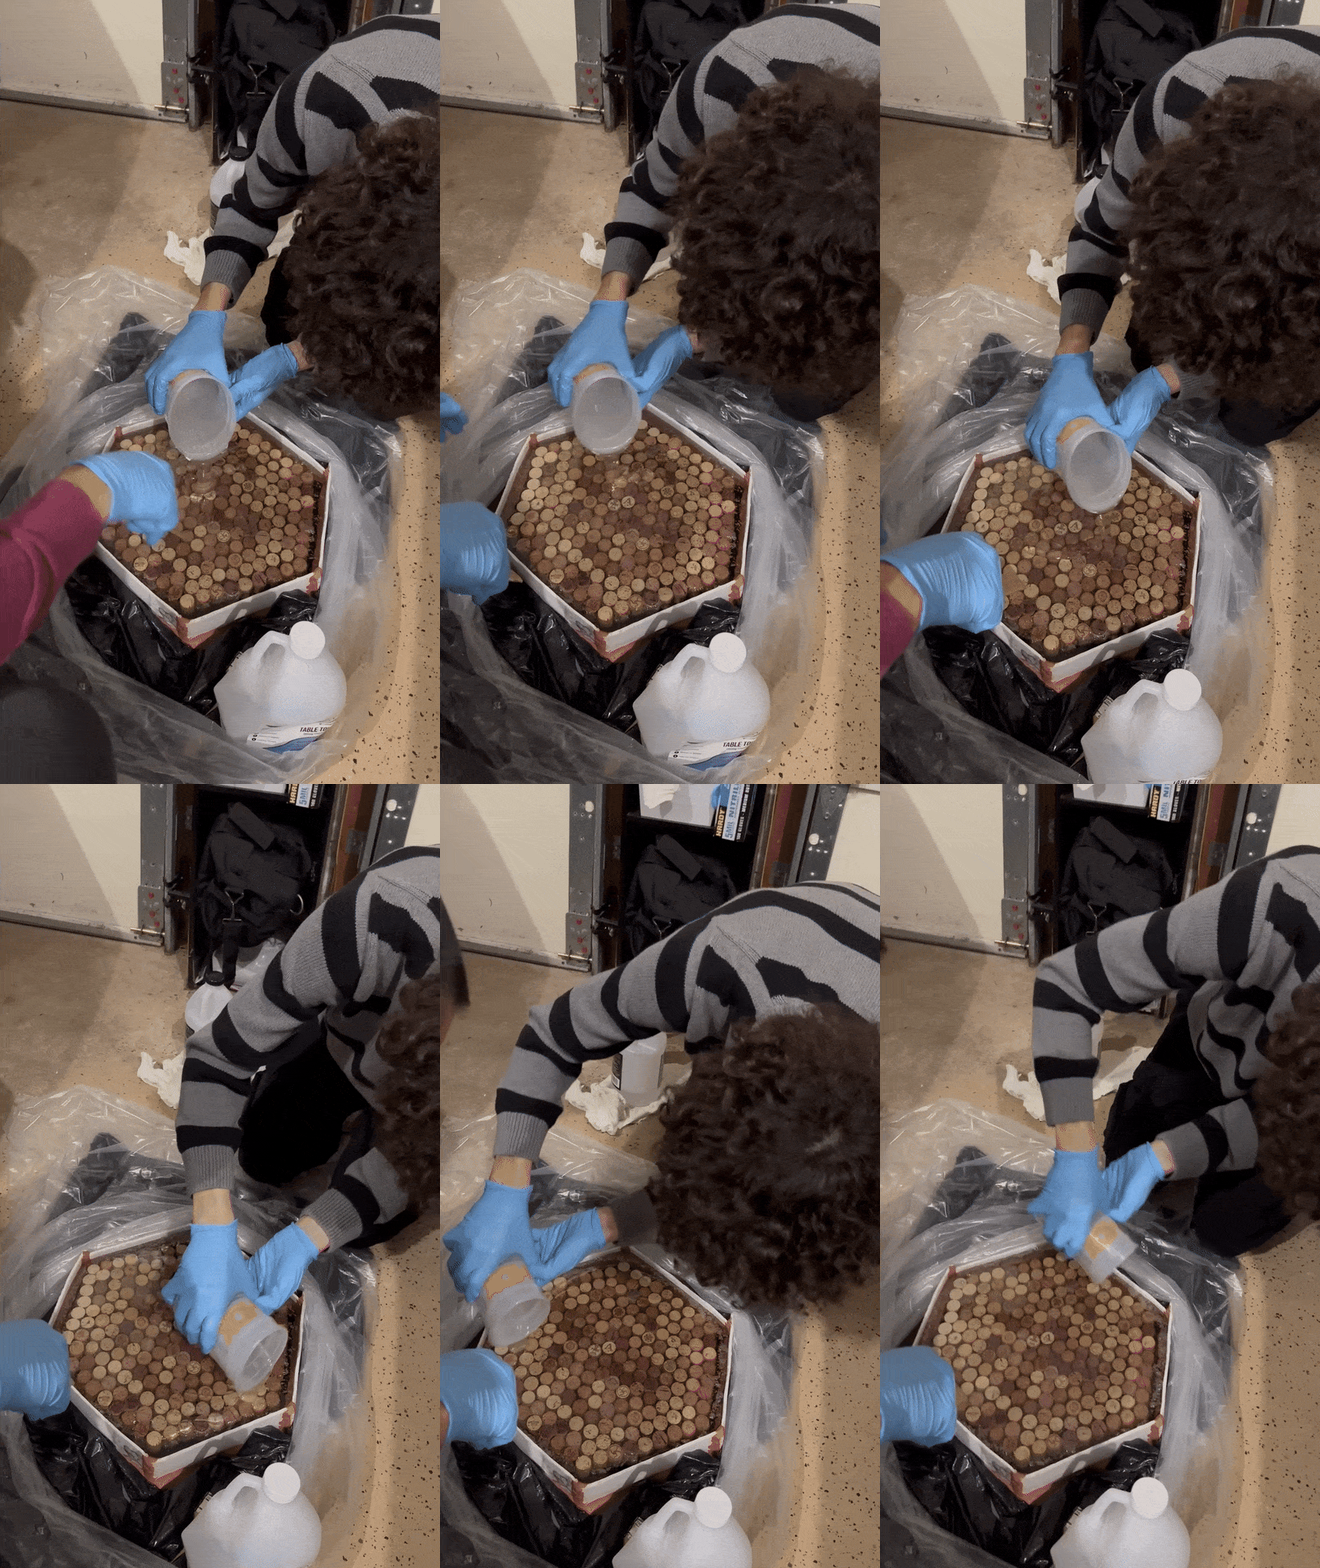
Pouring the Resin in a Circular Motion
Popping the Bubbles
A heat gun was used to remove excess bubbles that were forming, but disaster strikes over night!
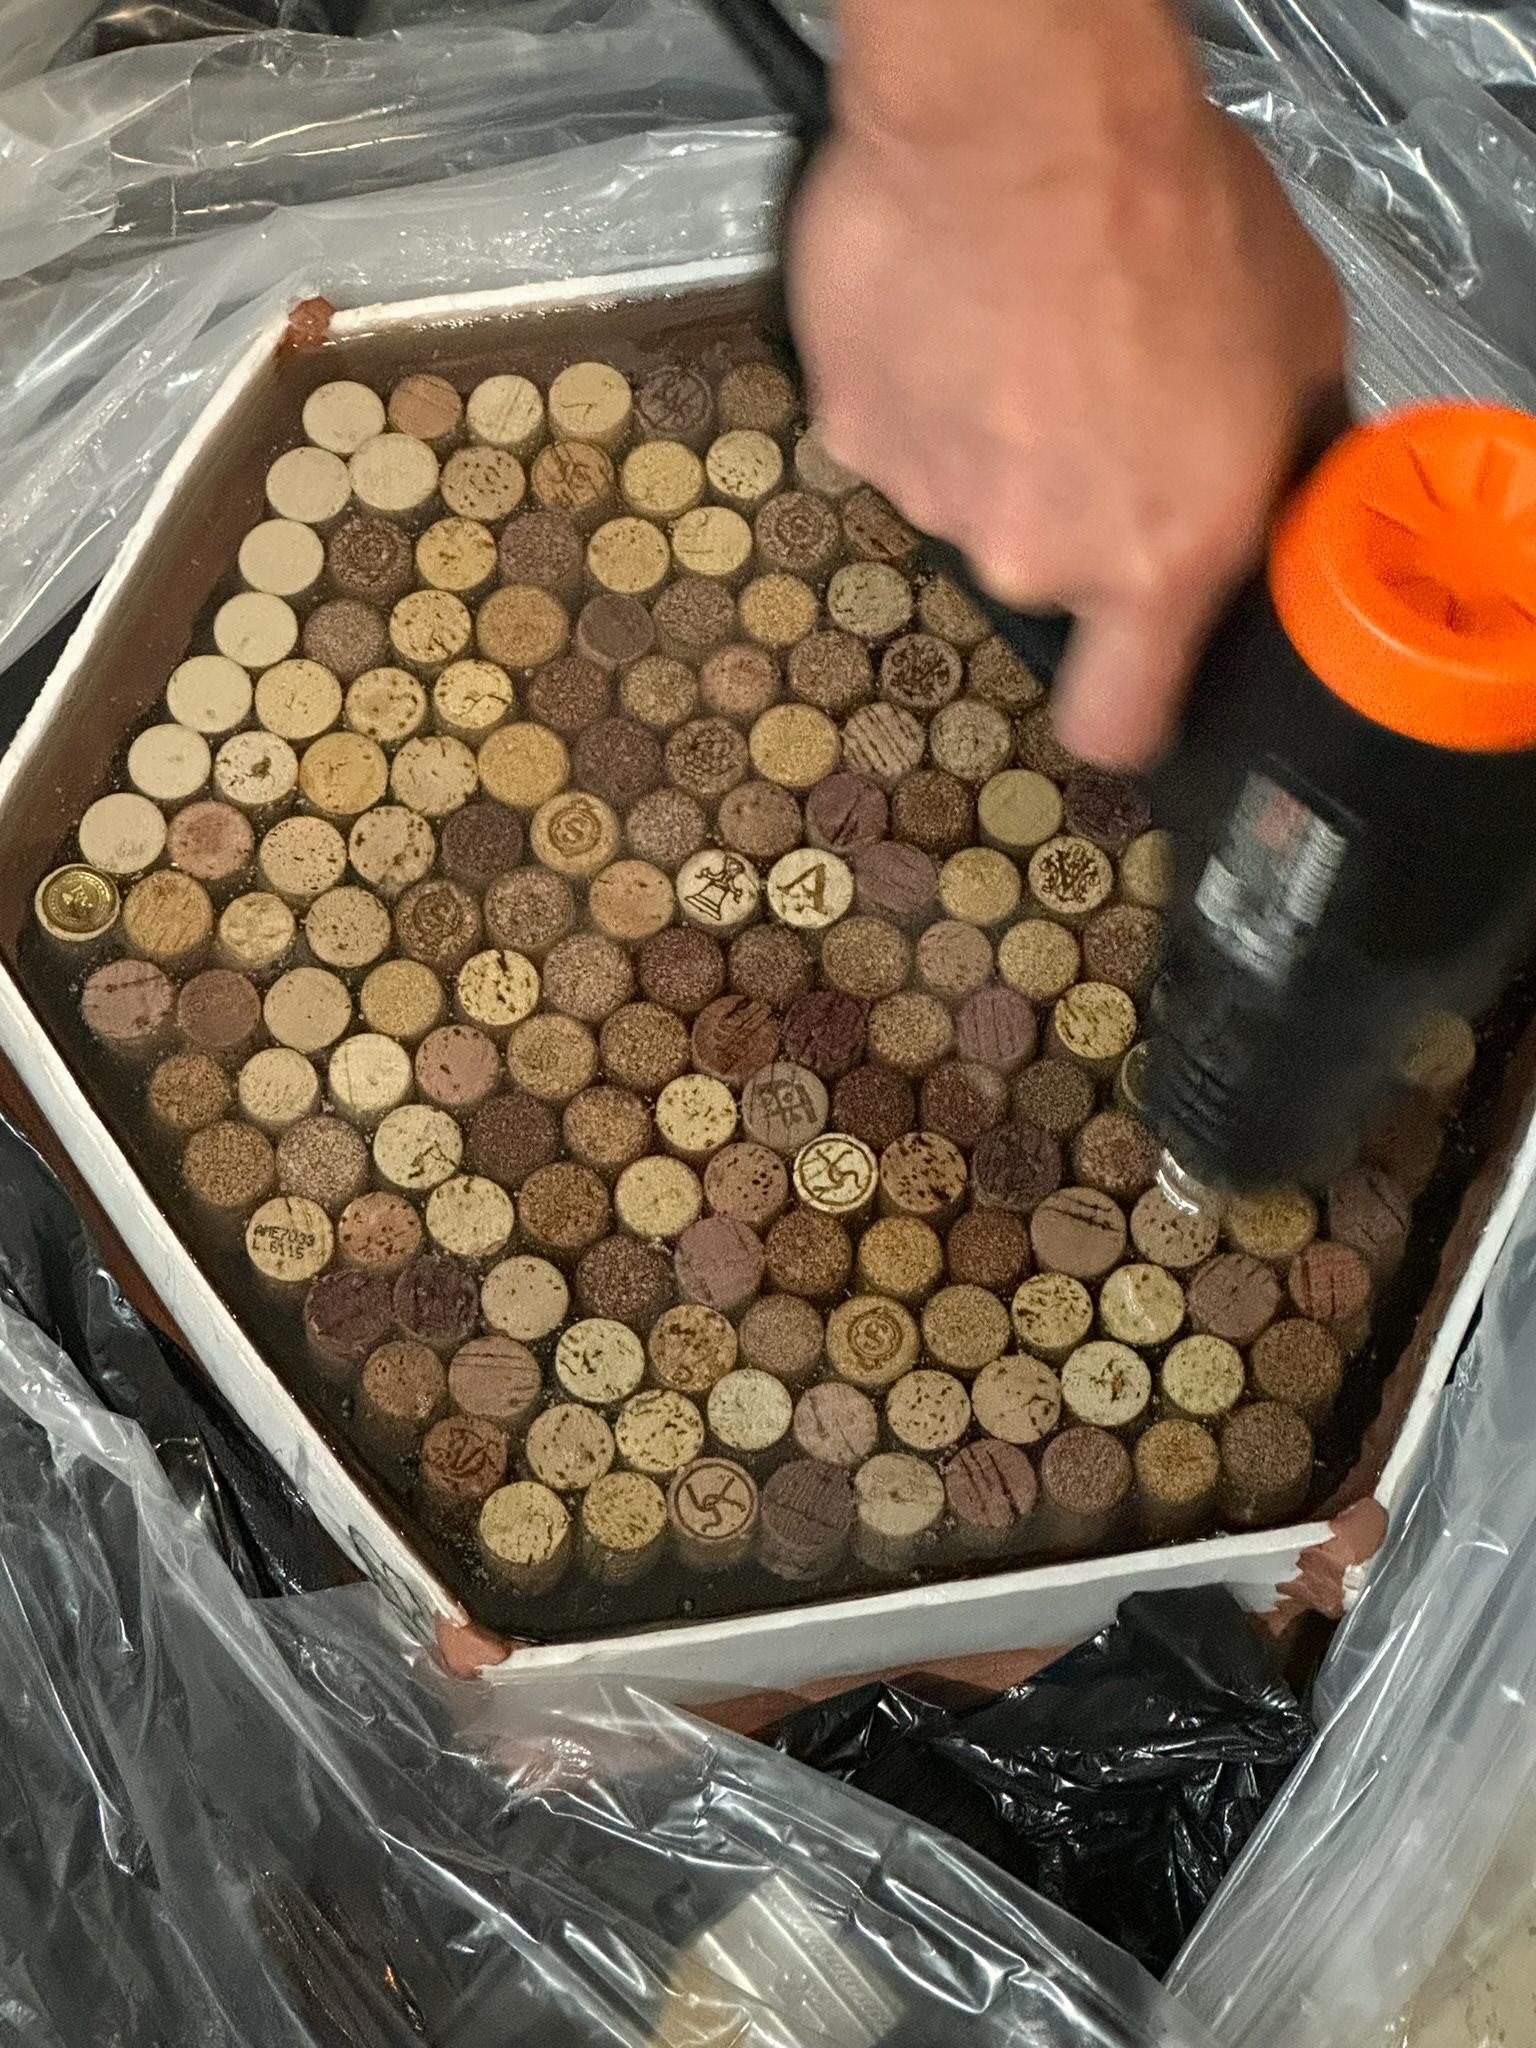
Using Heatgun to Pop Bubbles
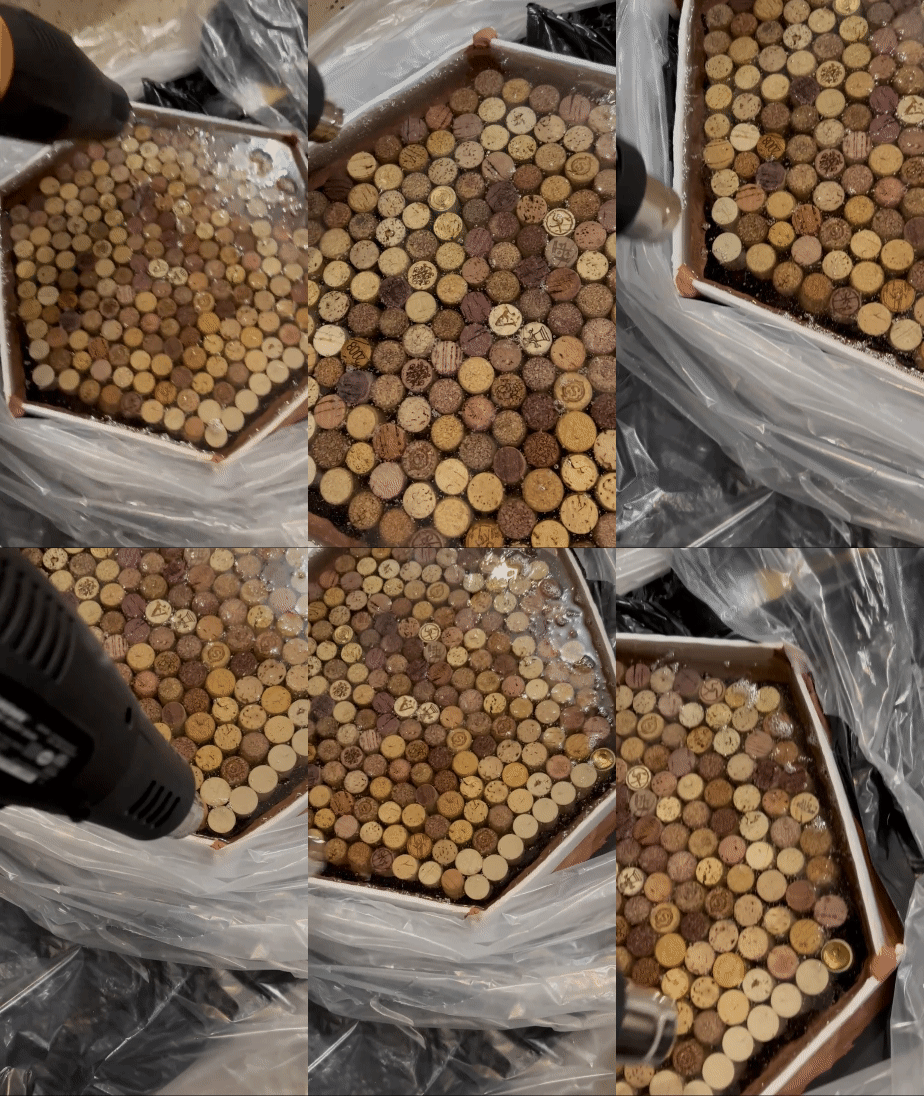
Bubbles Popping
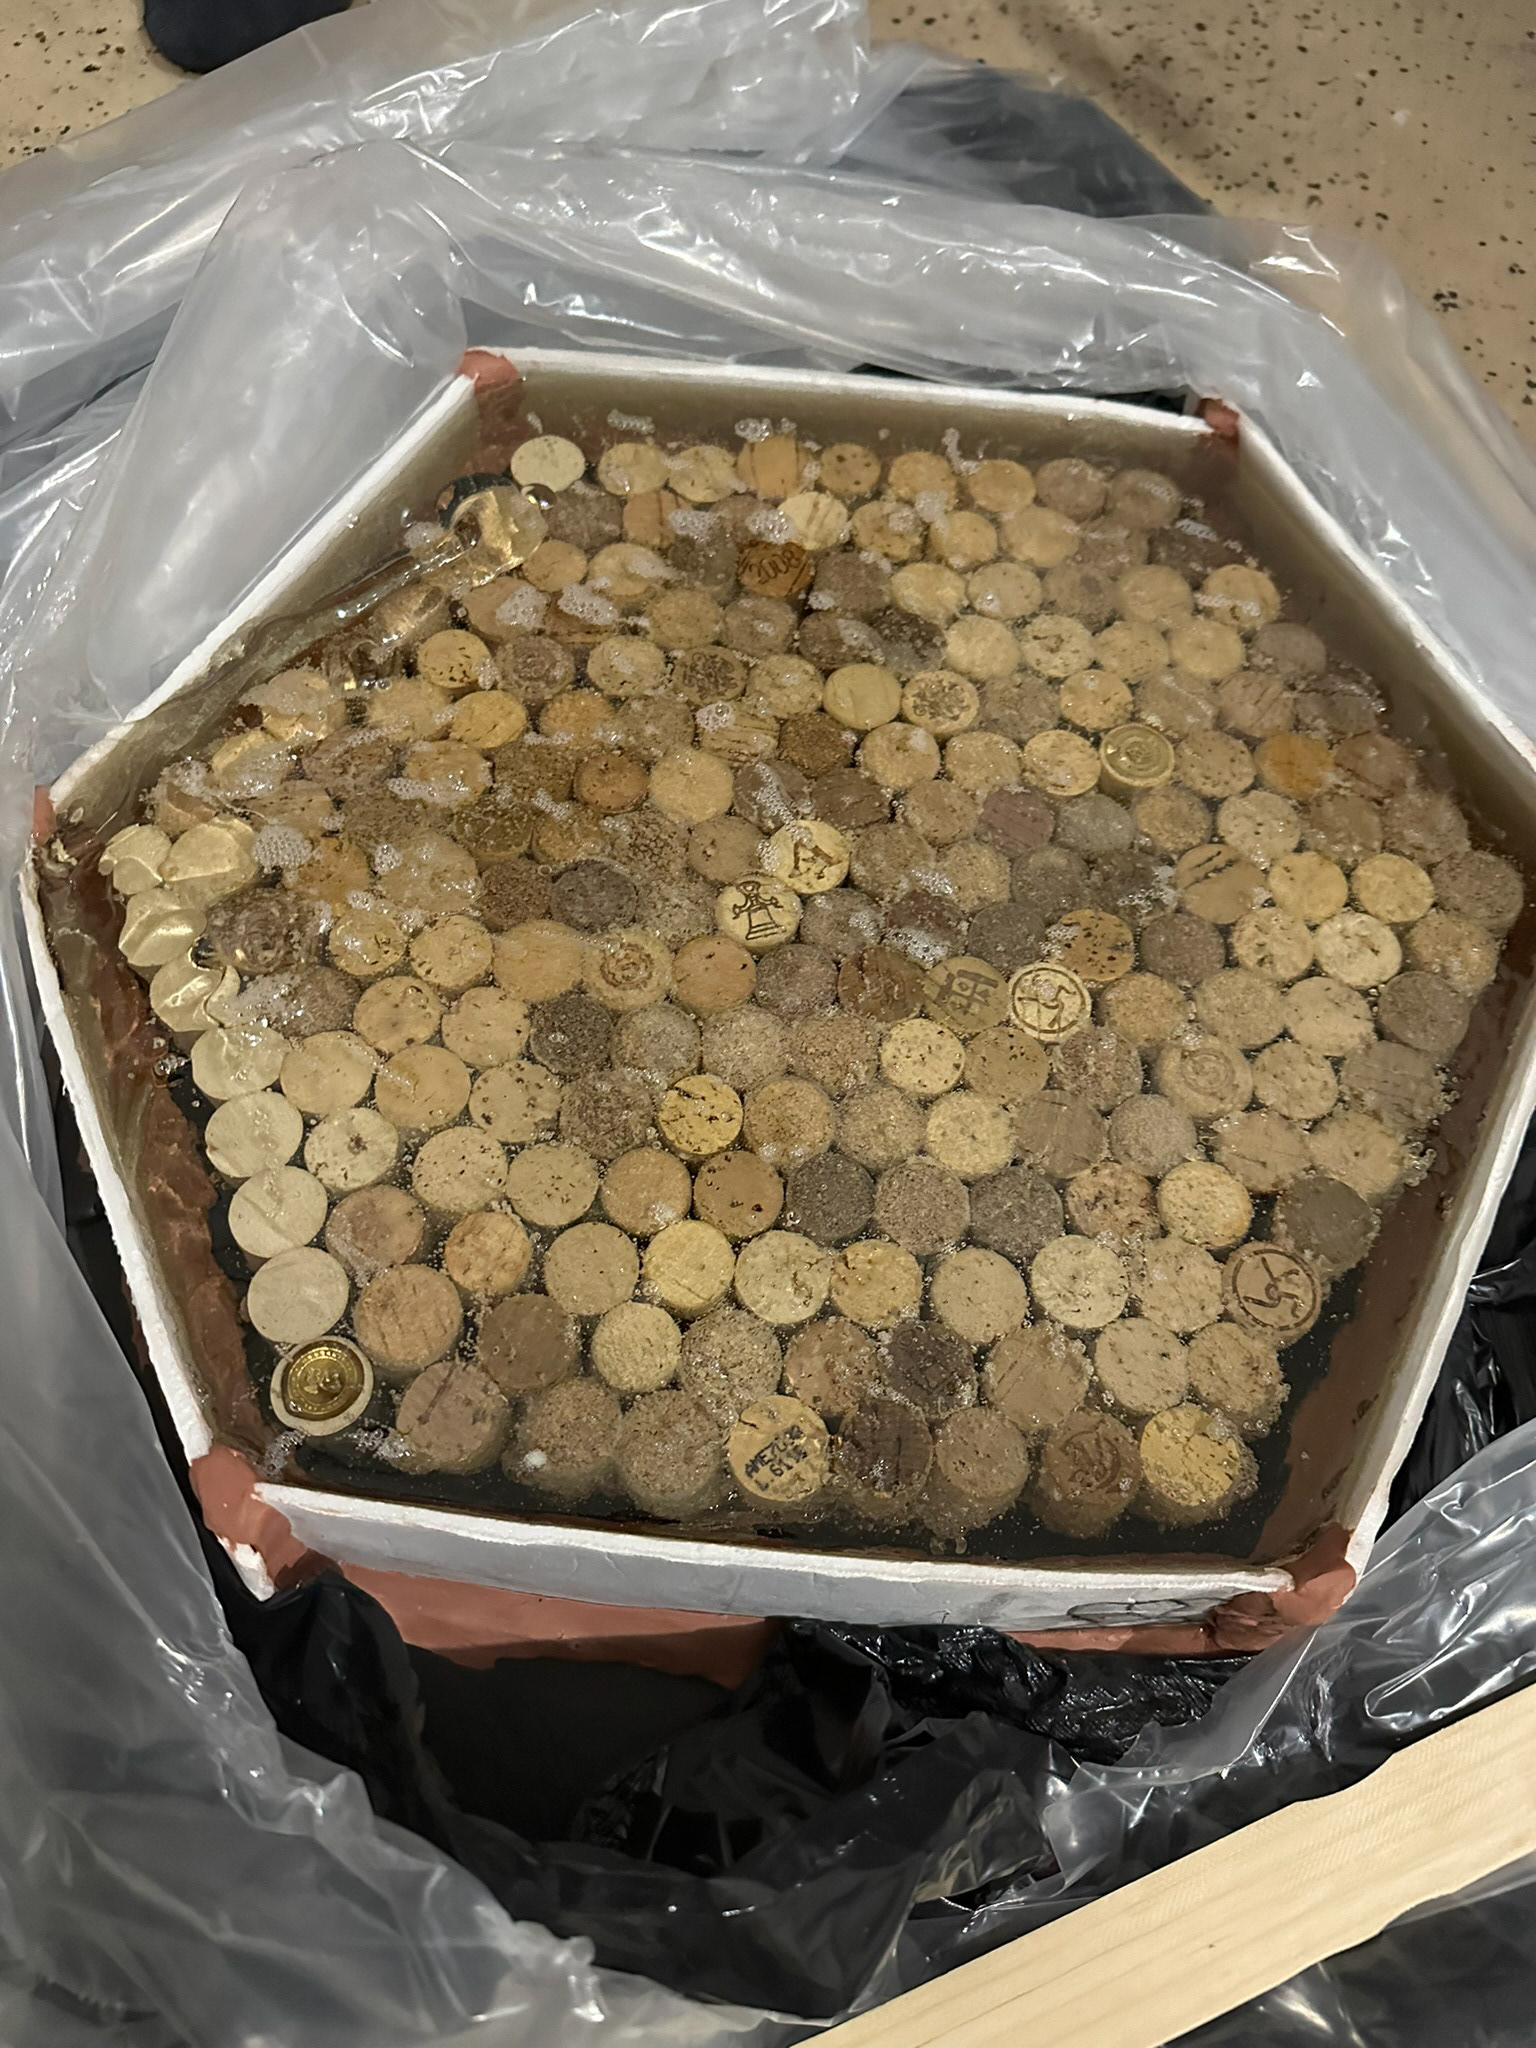
Resin Cures on Slant Causing Spillage
Scraping off the Excess
The Resin completely cured to the foamcore and clay opening the doors to a whole new process.
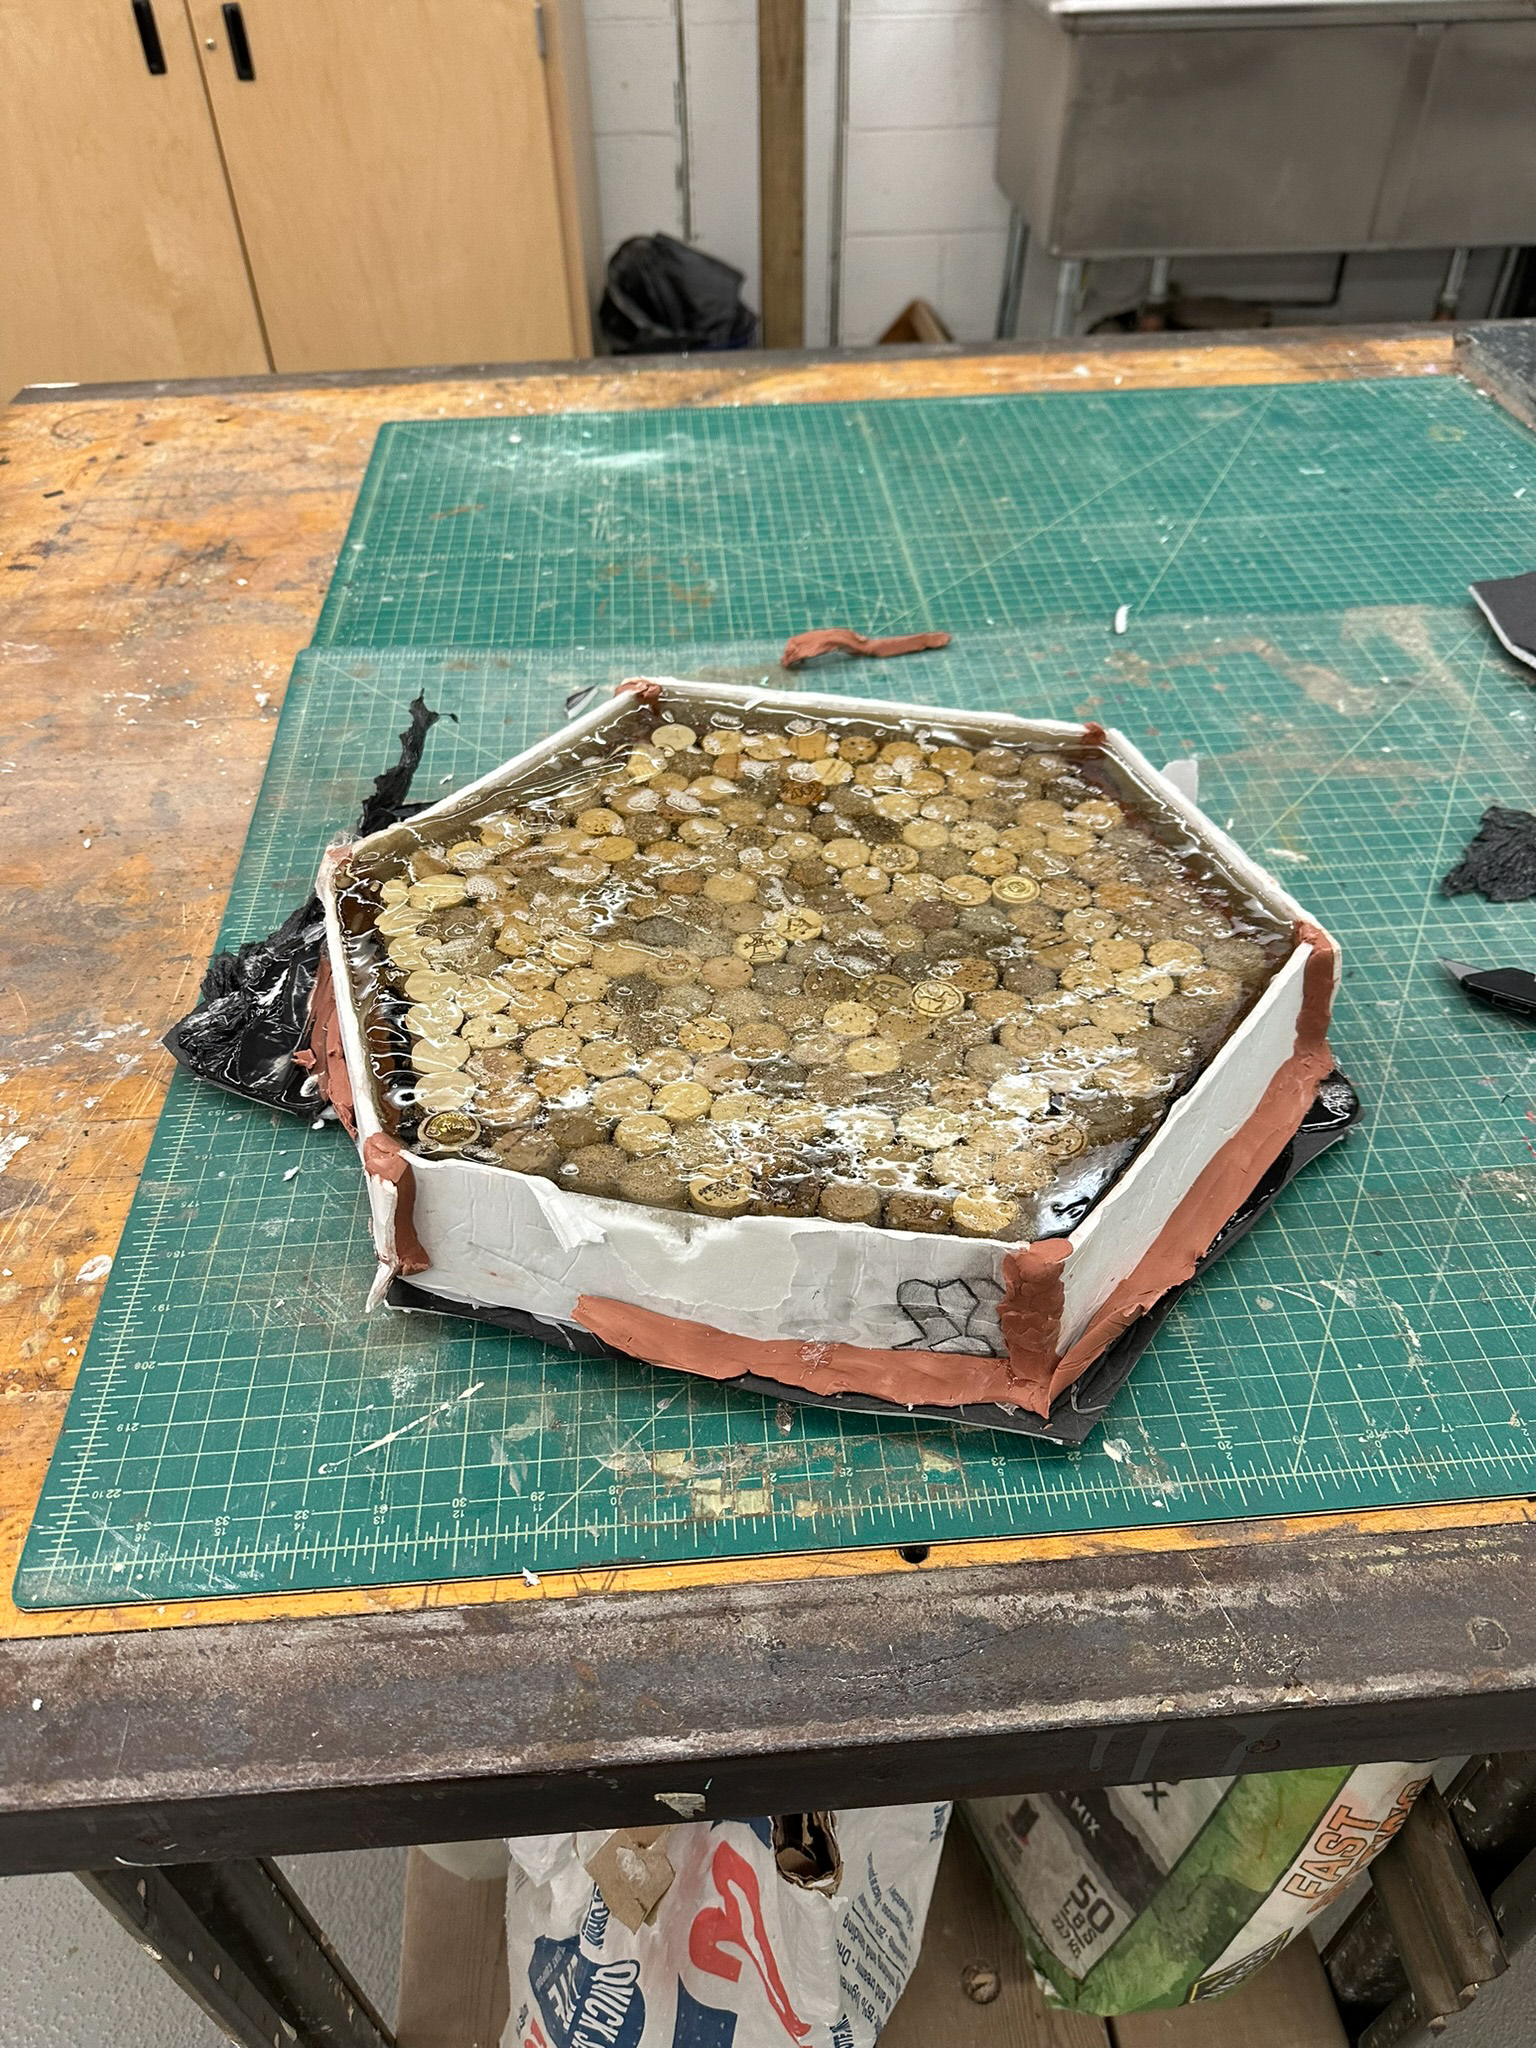
Before the Removal
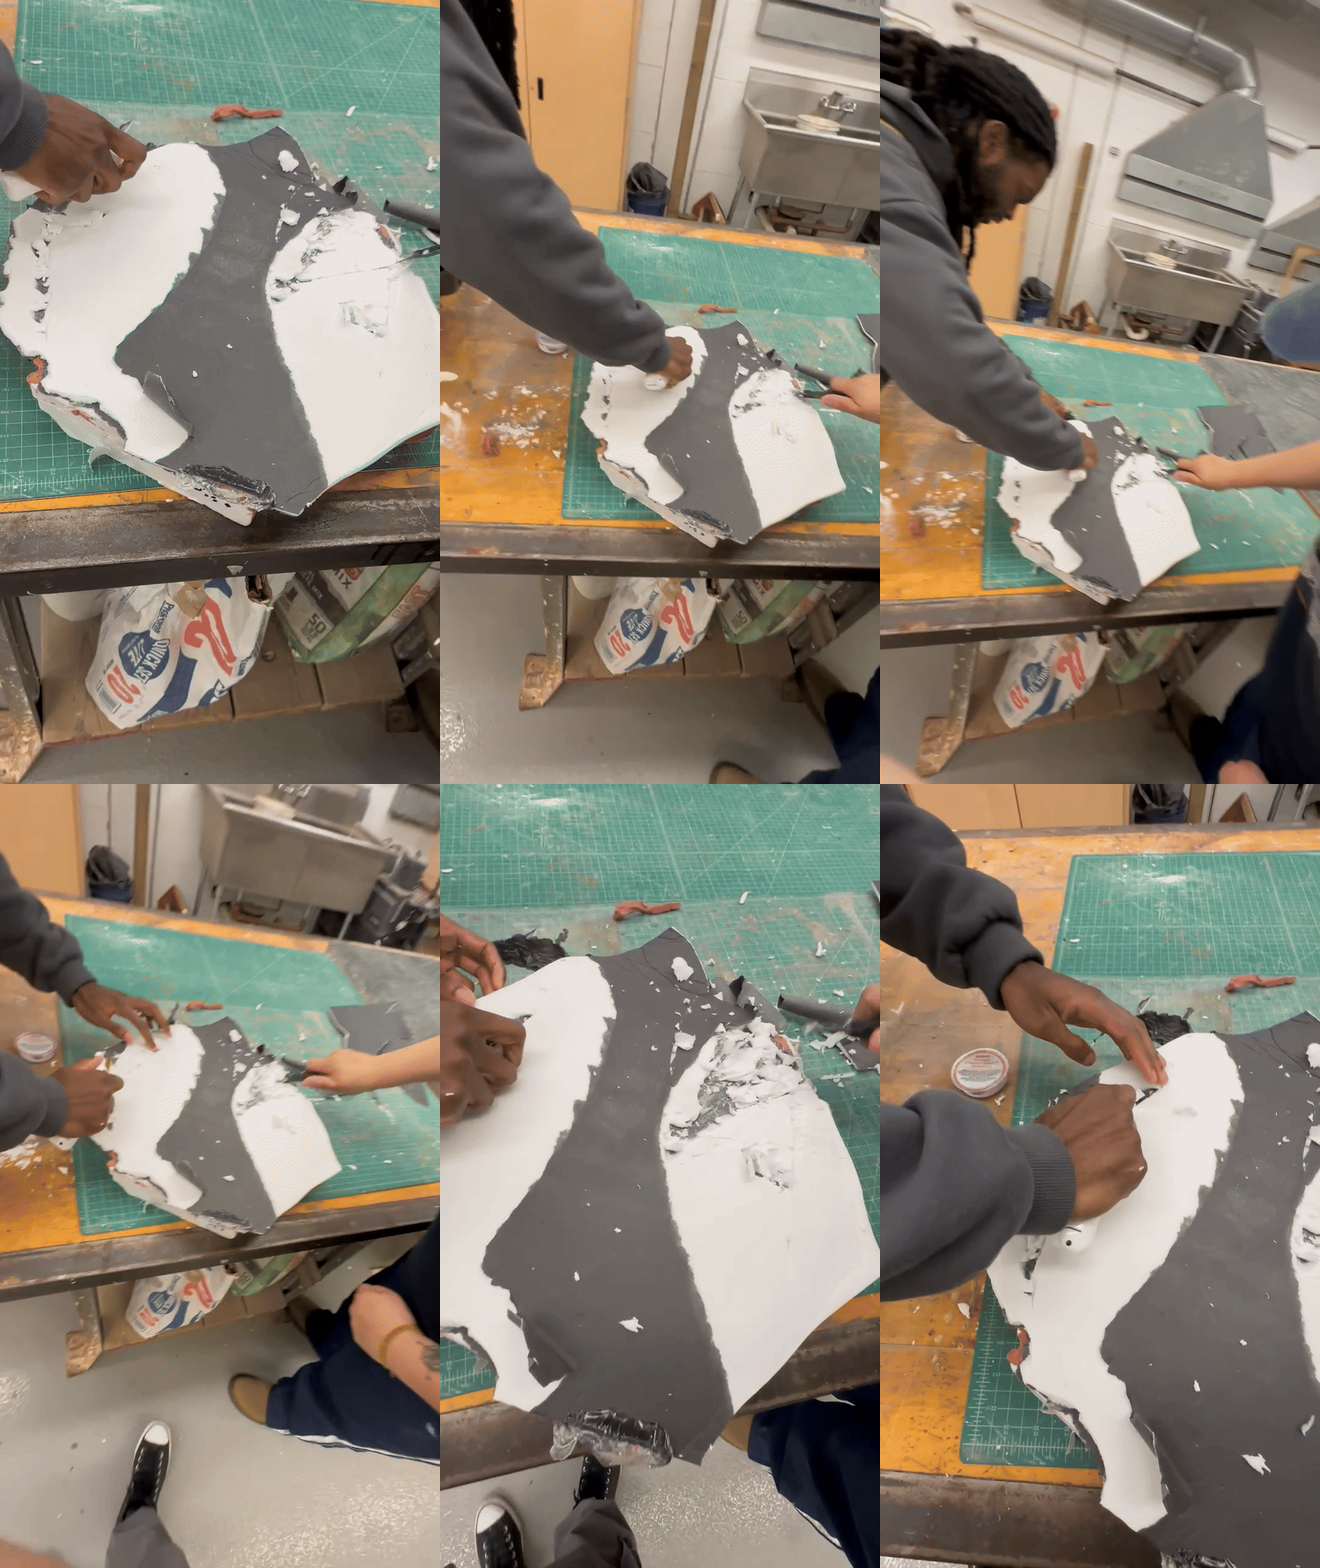
Scraping Away the Foam Core
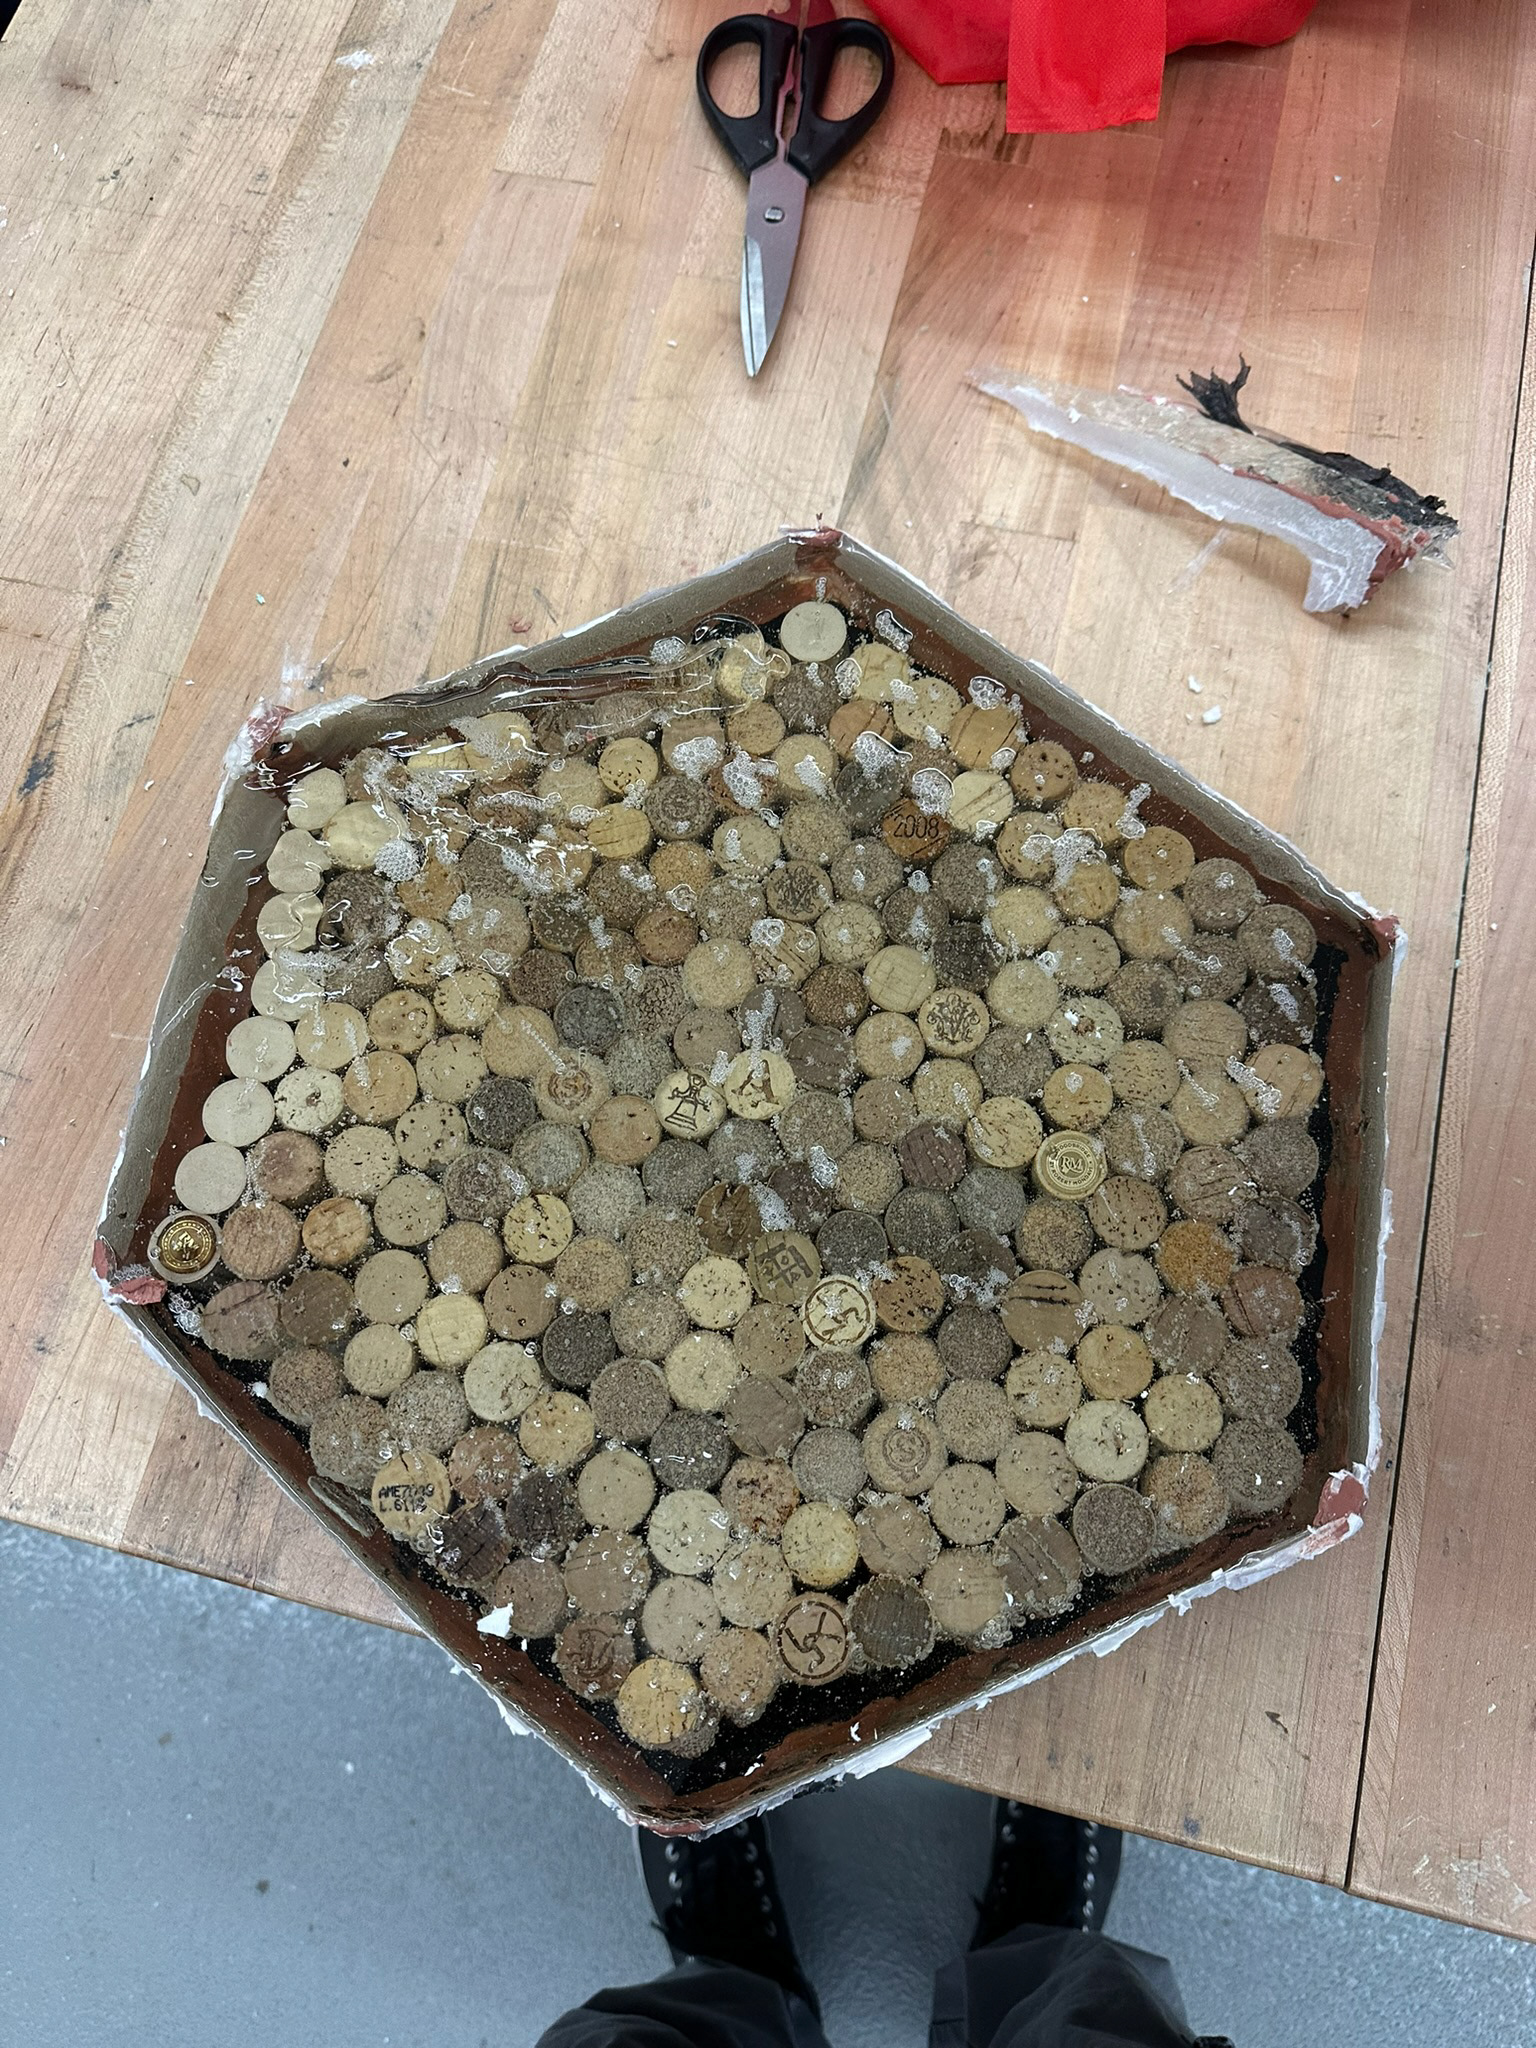
After the Removal
CNC
The CNC machine allowed for an even cut and removed all the excess bubbles and uneven cures, as well as most of the remaining foamcore.
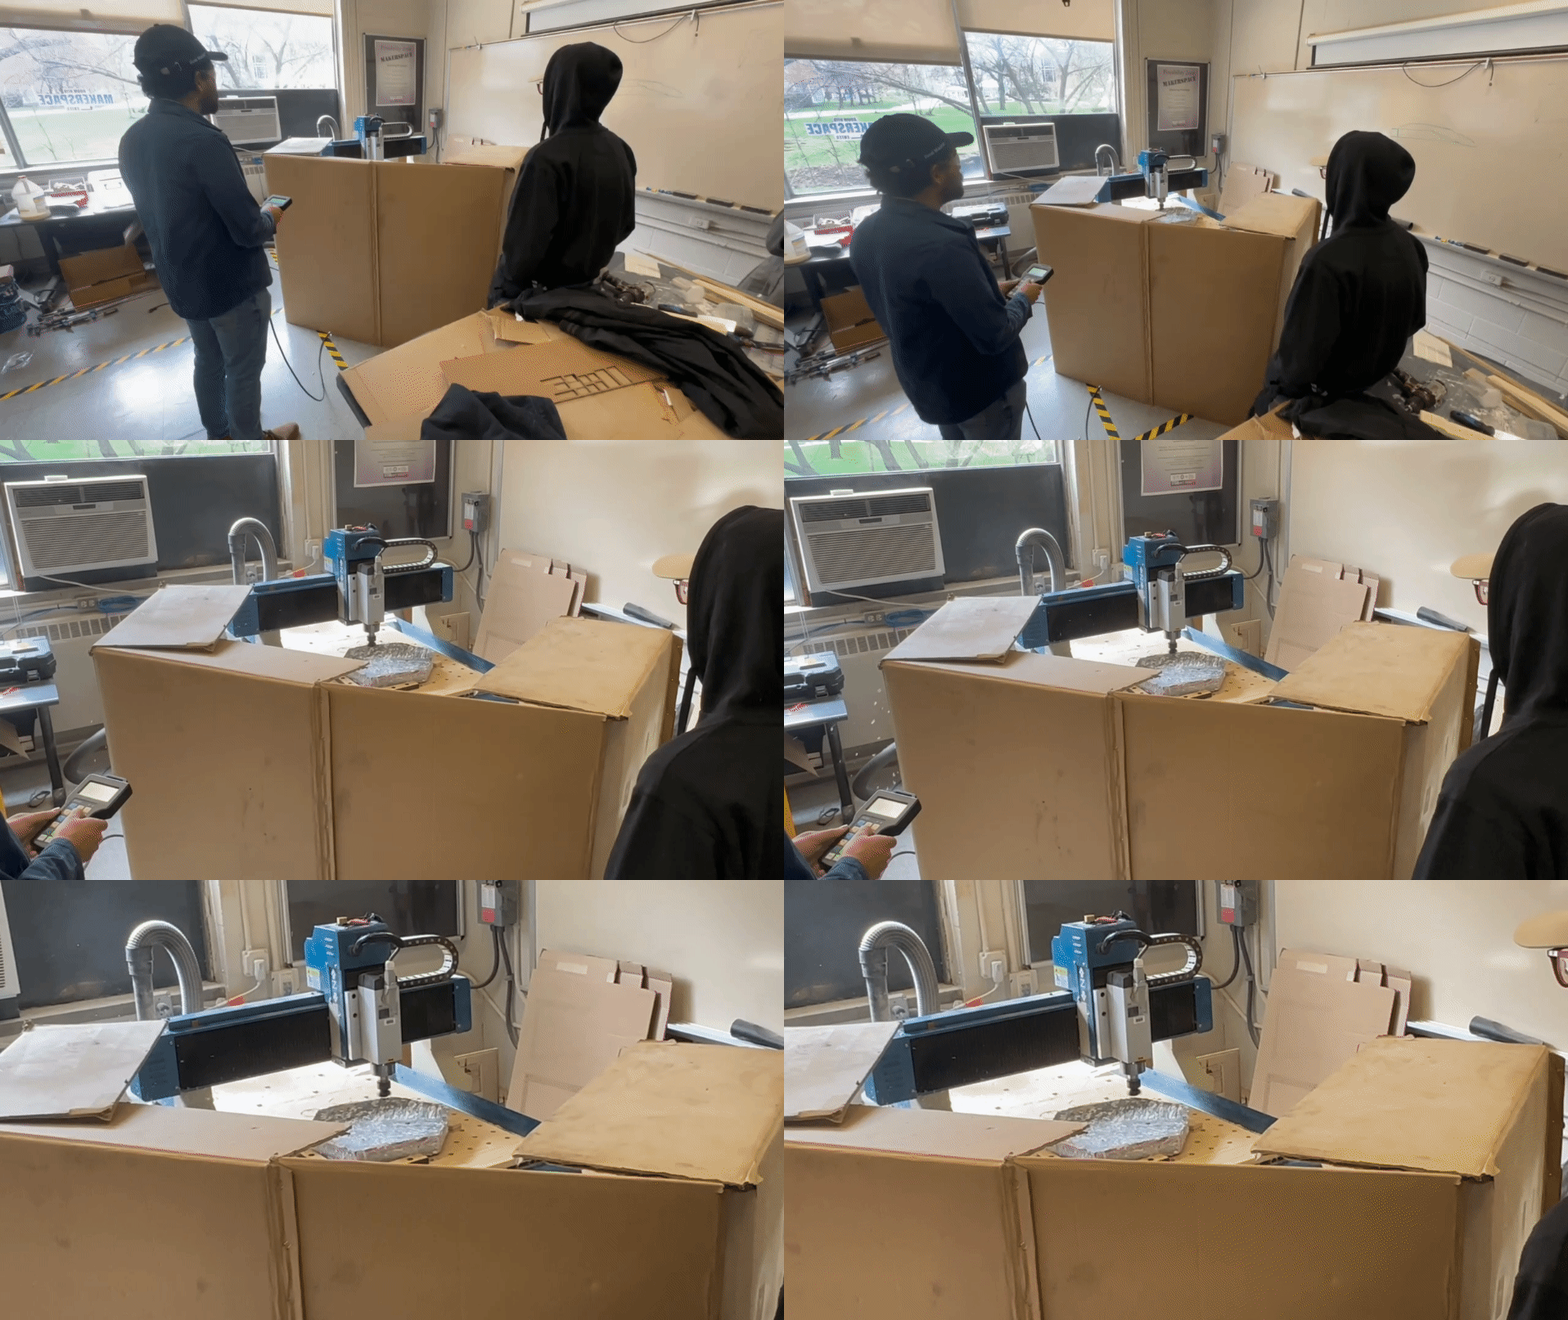
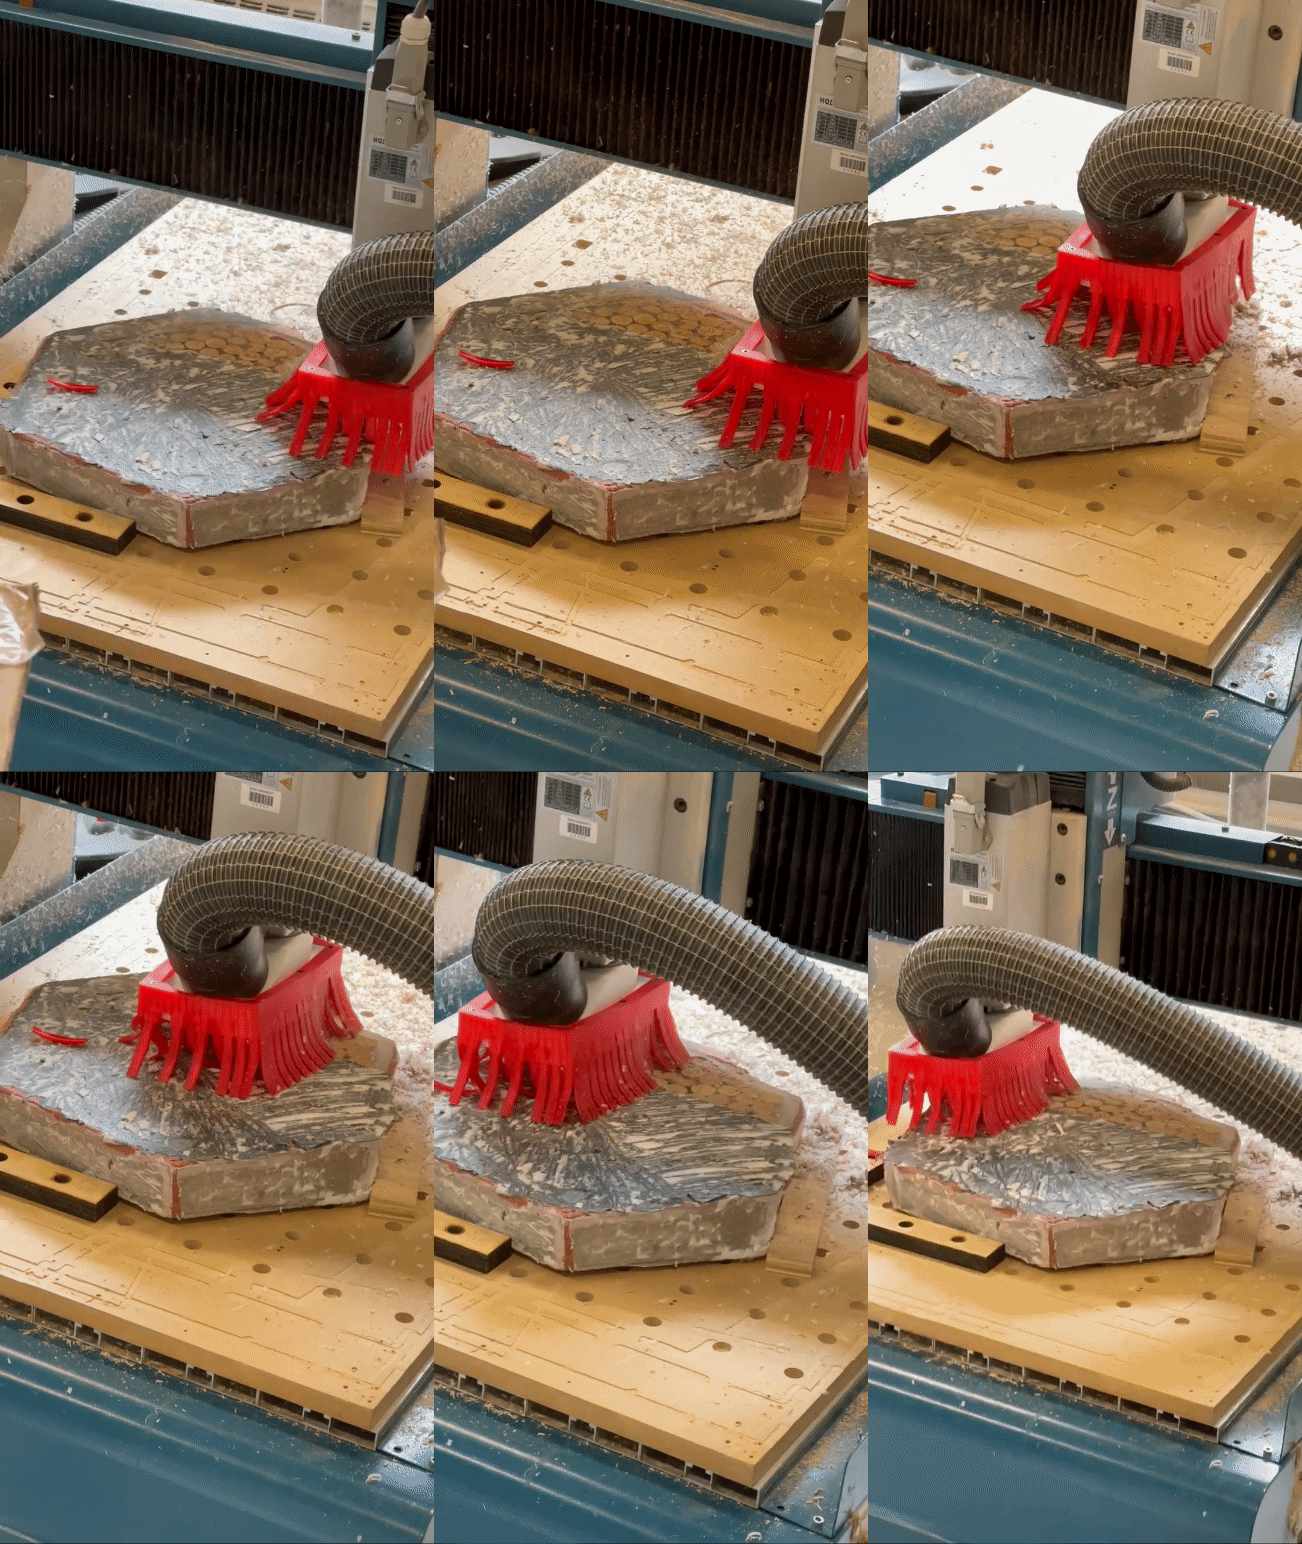
Bottom Layer being removed

Many Passes
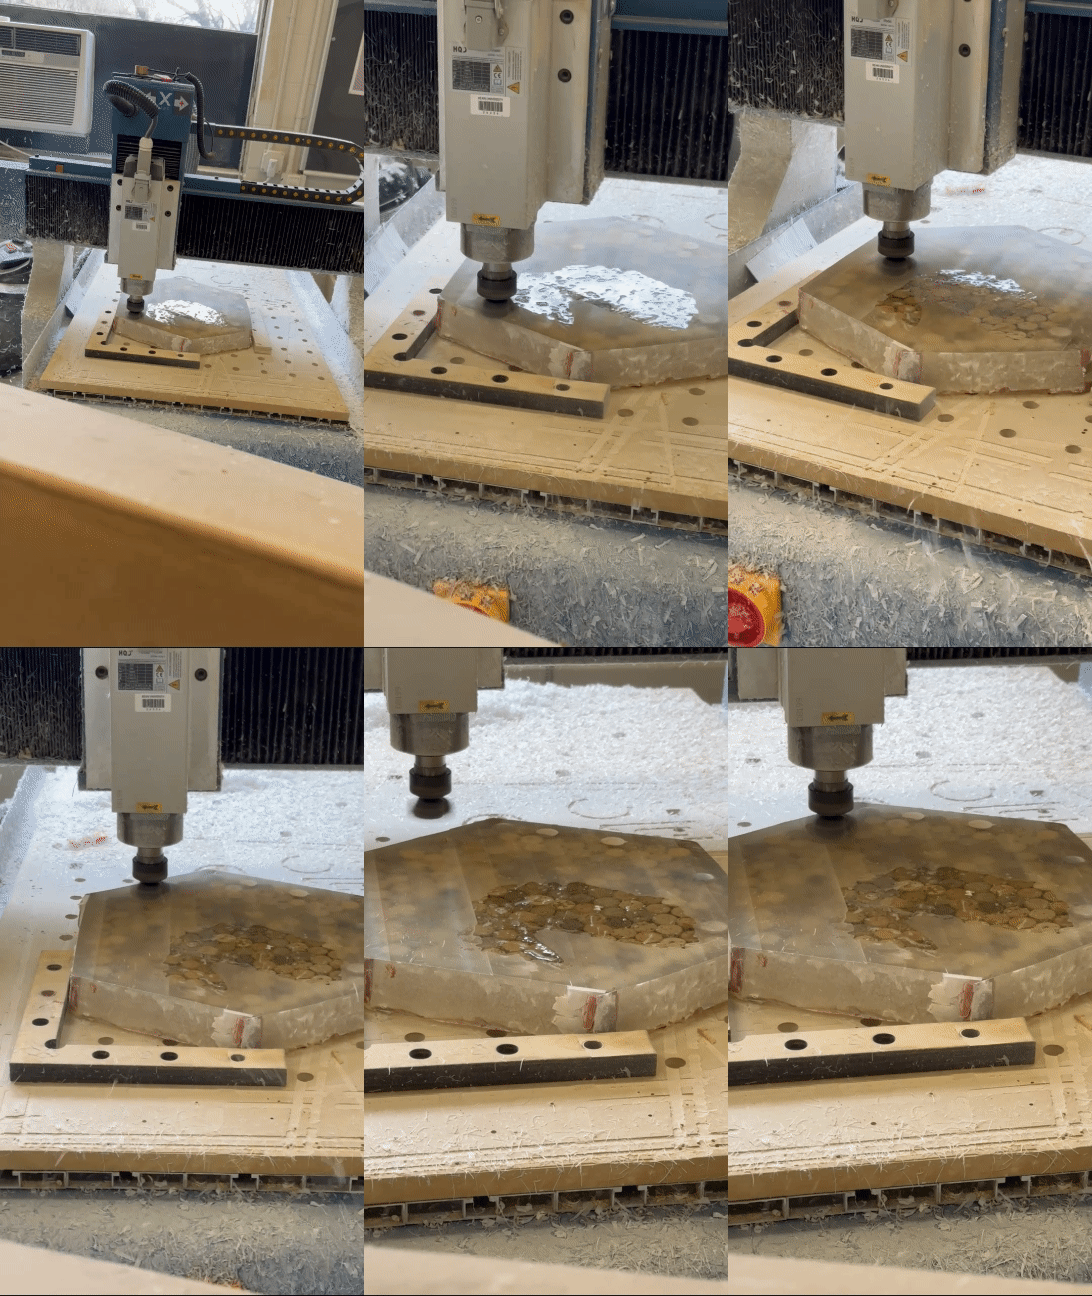
Top Layer being removed

Bubbles Disappearing
Sanding Down
Once the CNC was finished, I hand sanded down the Top and Bottom of the seat to make sure it was completely even.
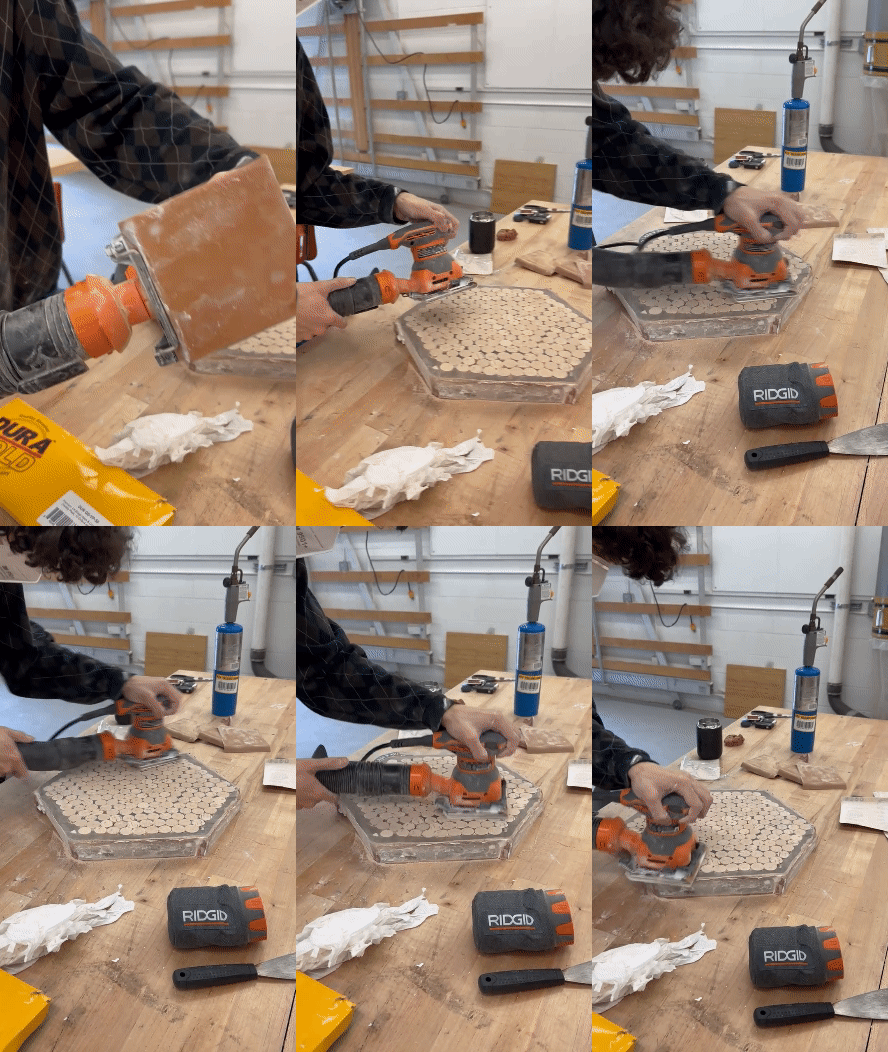
Sanding Down
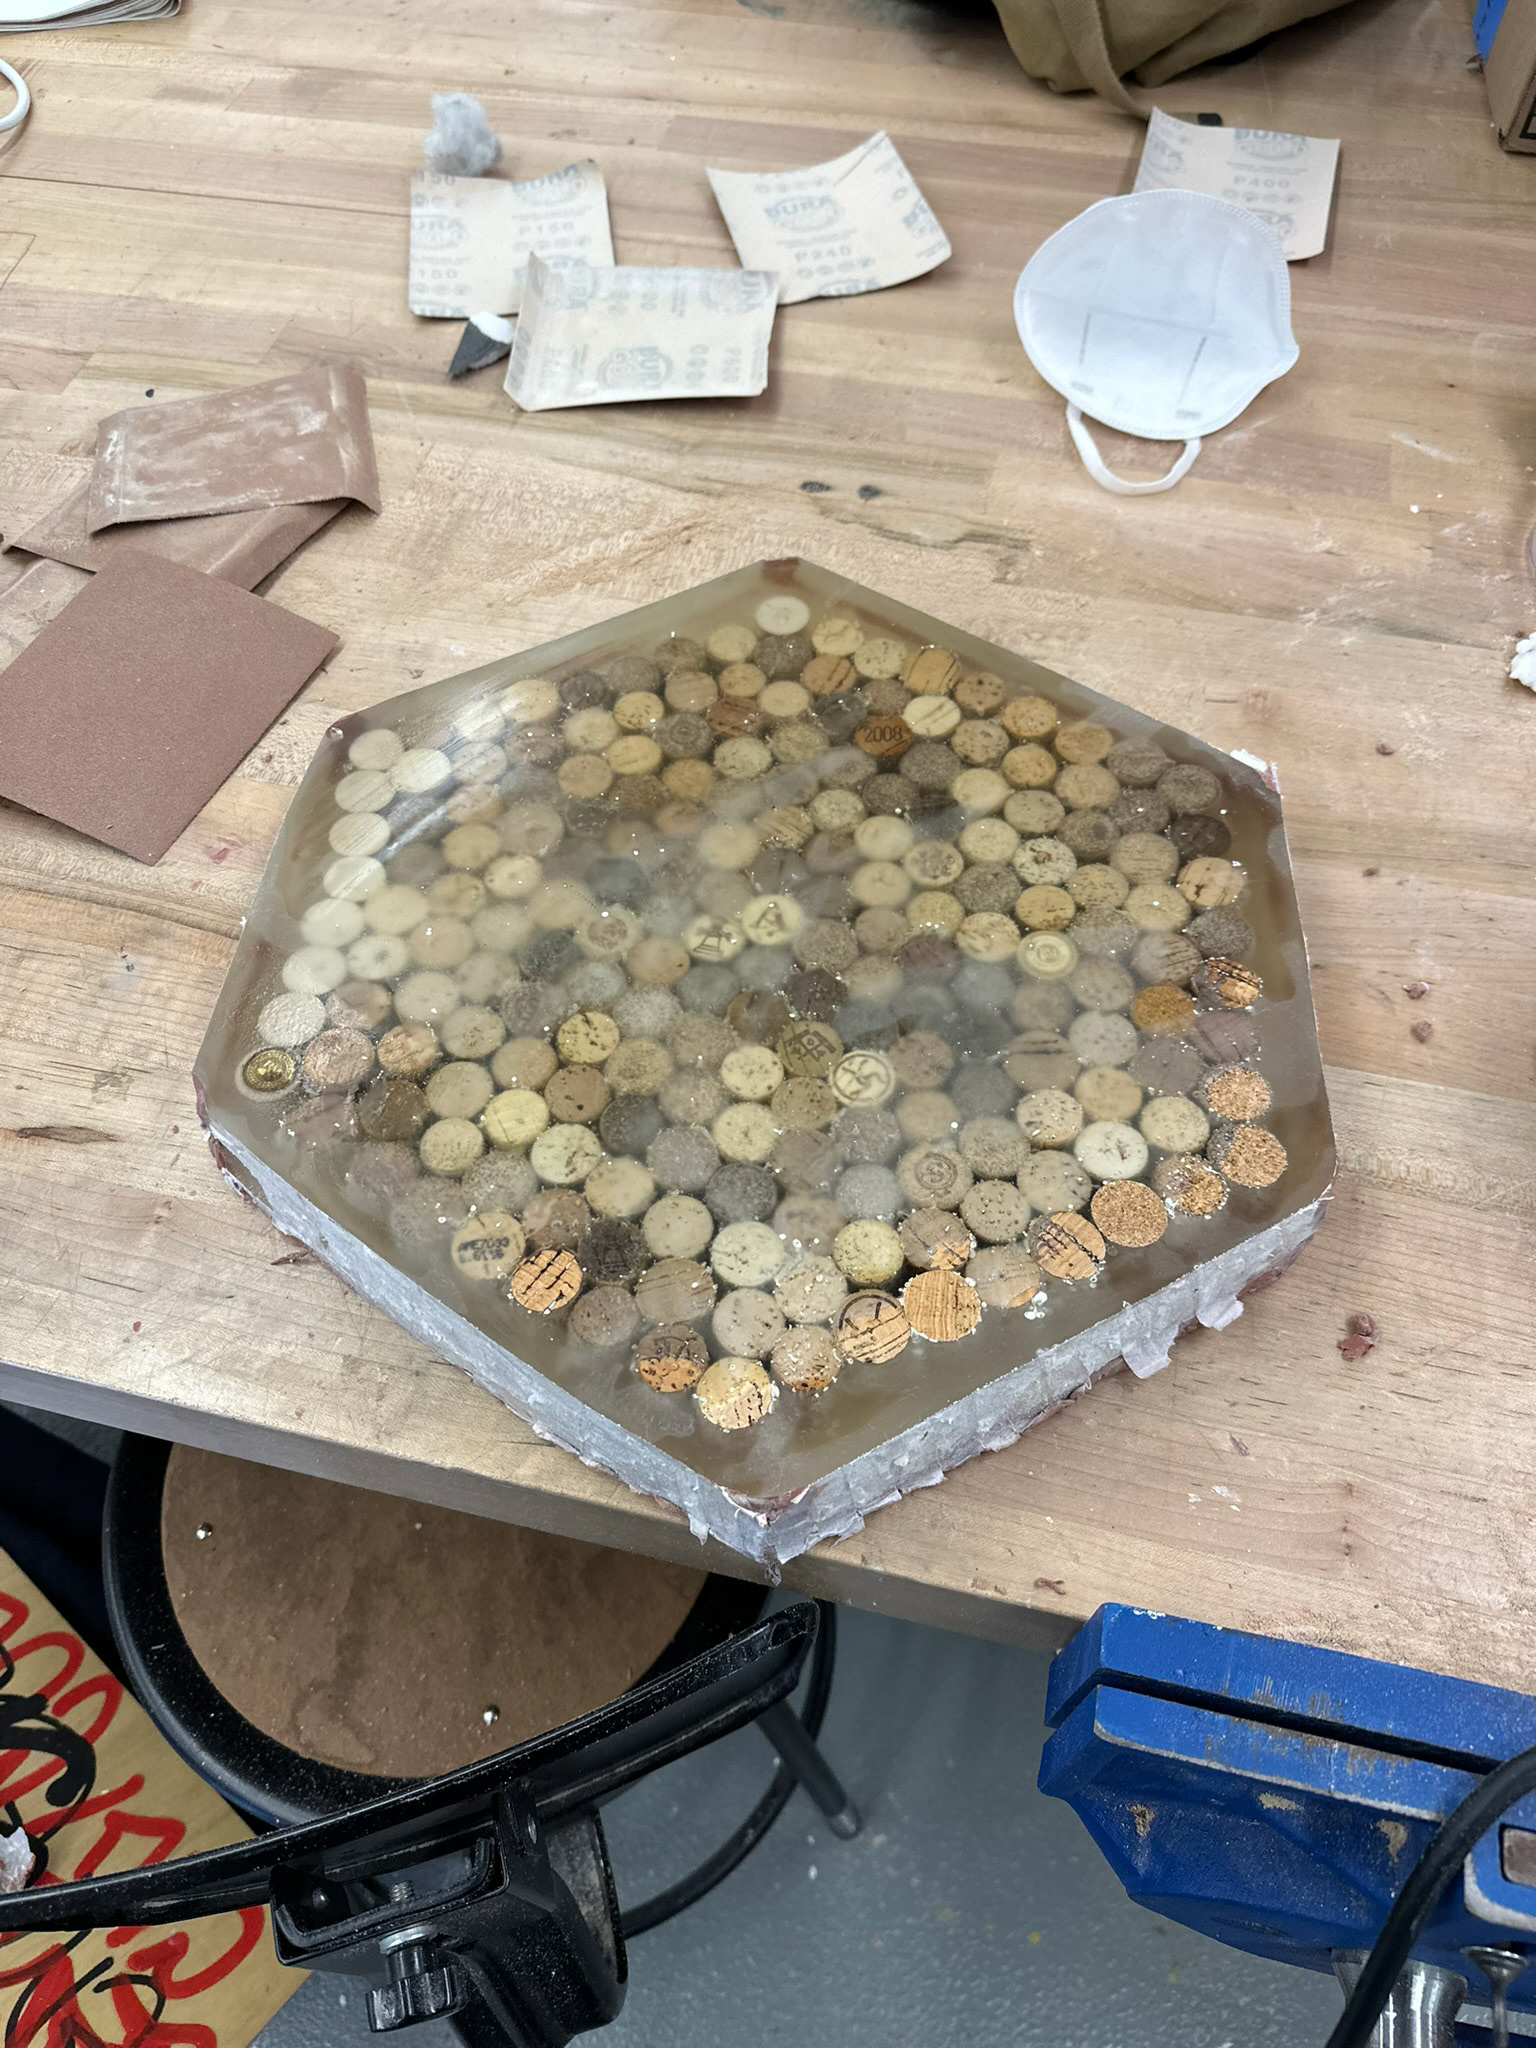
Finished Top Sanded
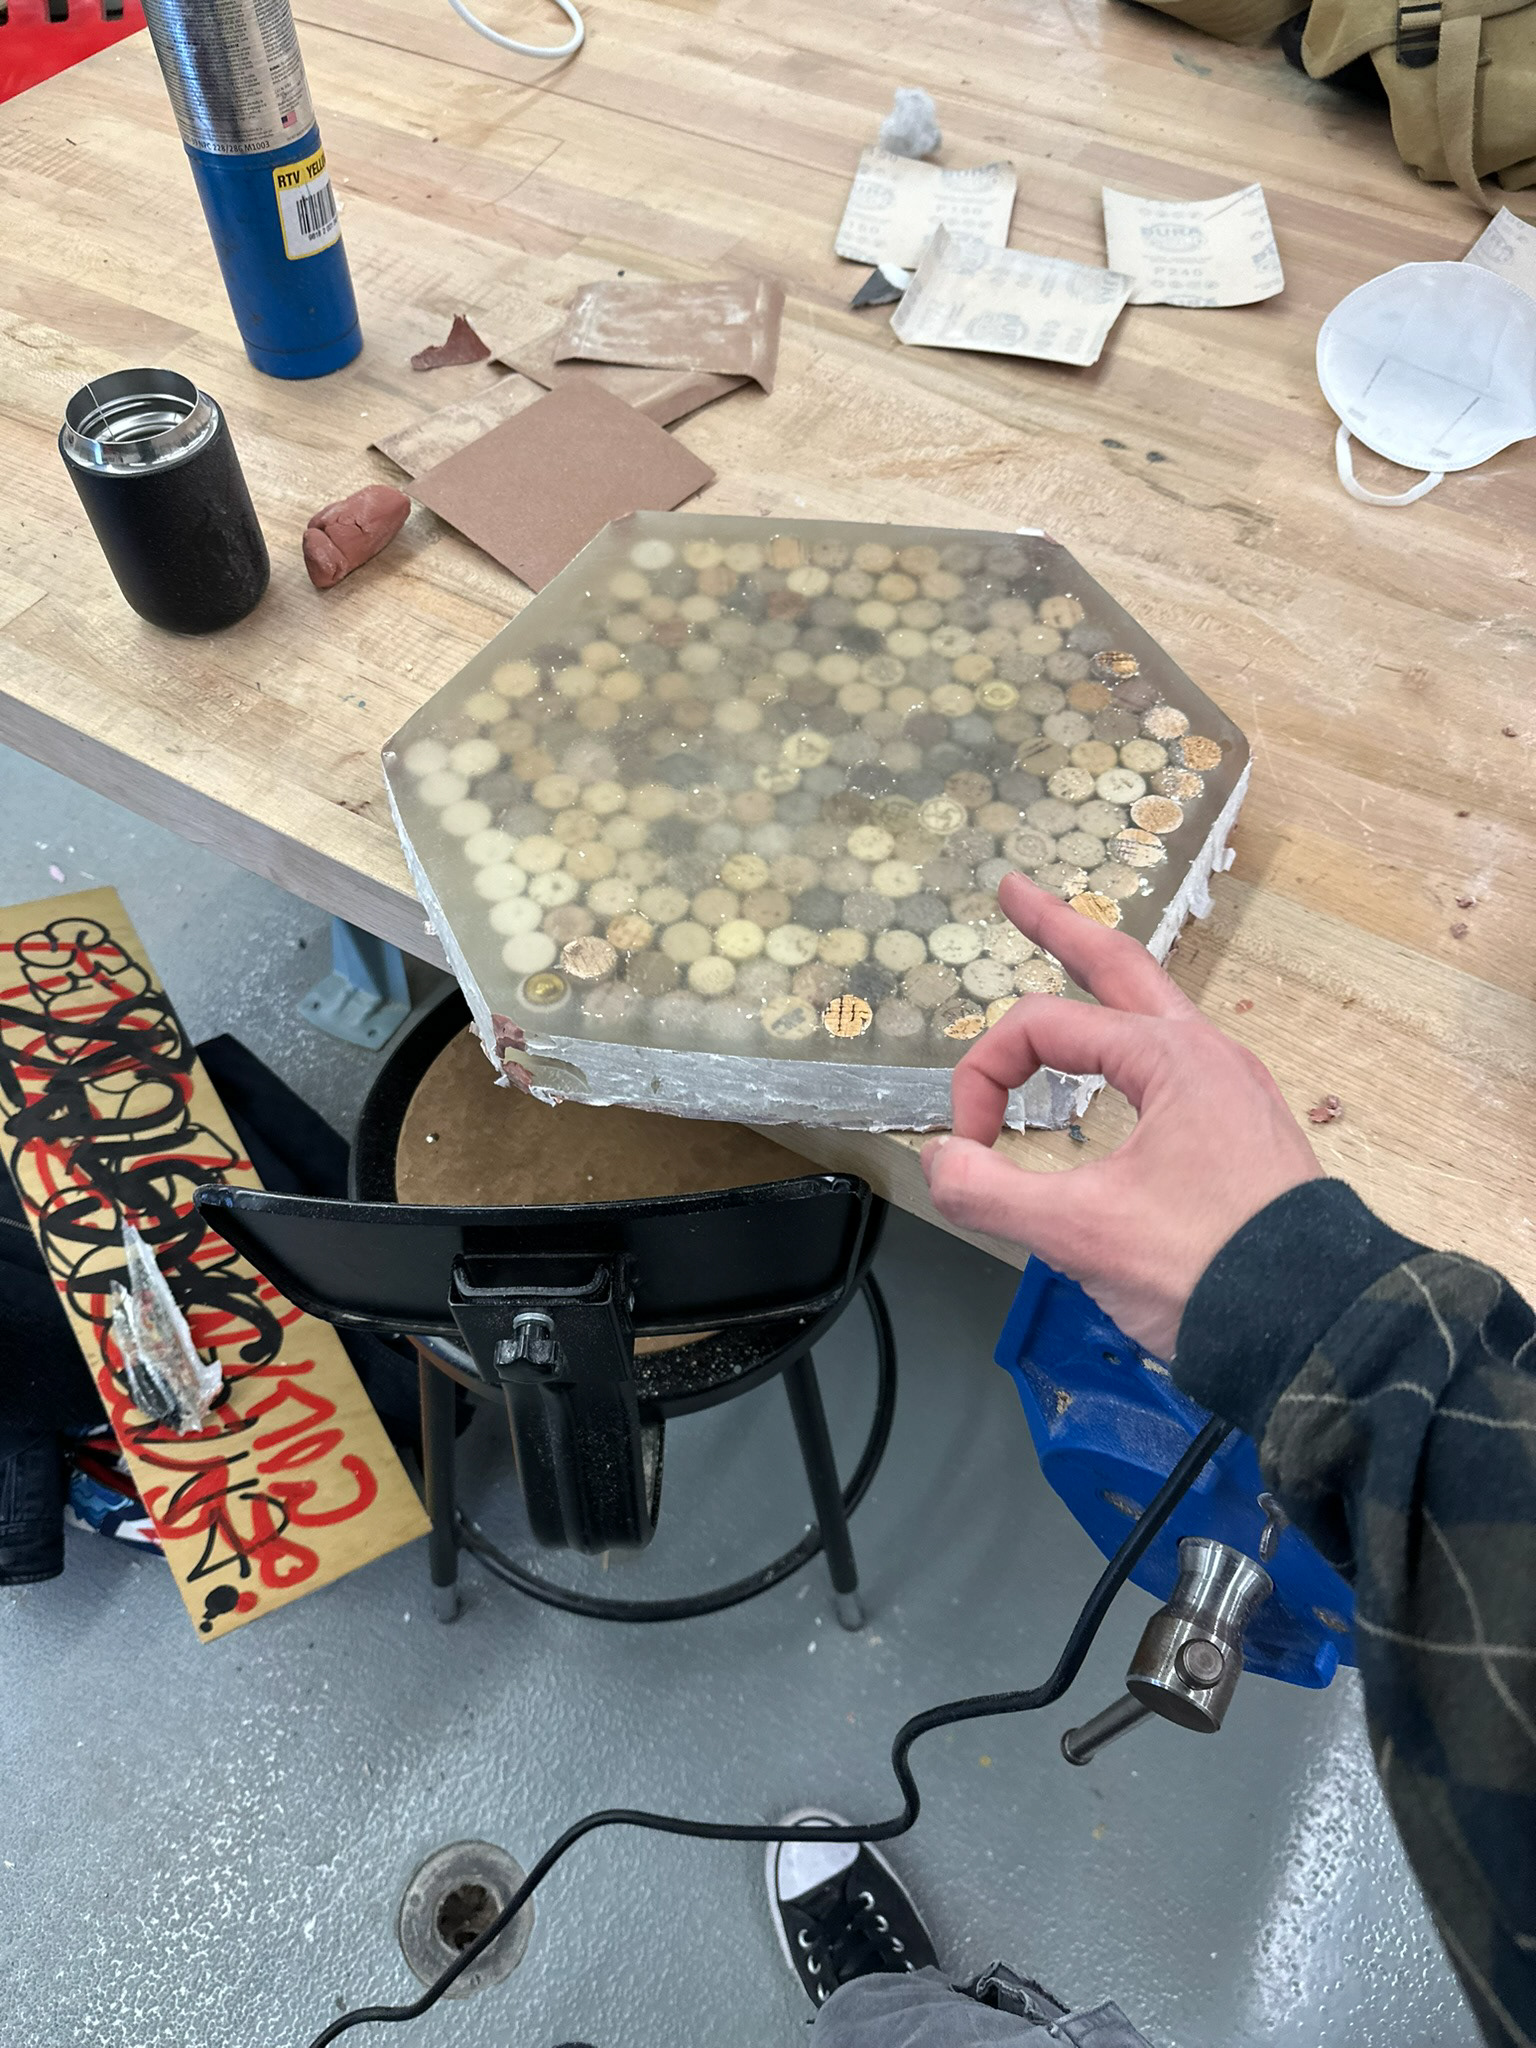
Looking Good!
Cutting the Edges
The remaining foamcore was taken off from some side cuts on the saw stop, this part was very delicate as taking off too much material would be catastrophic.
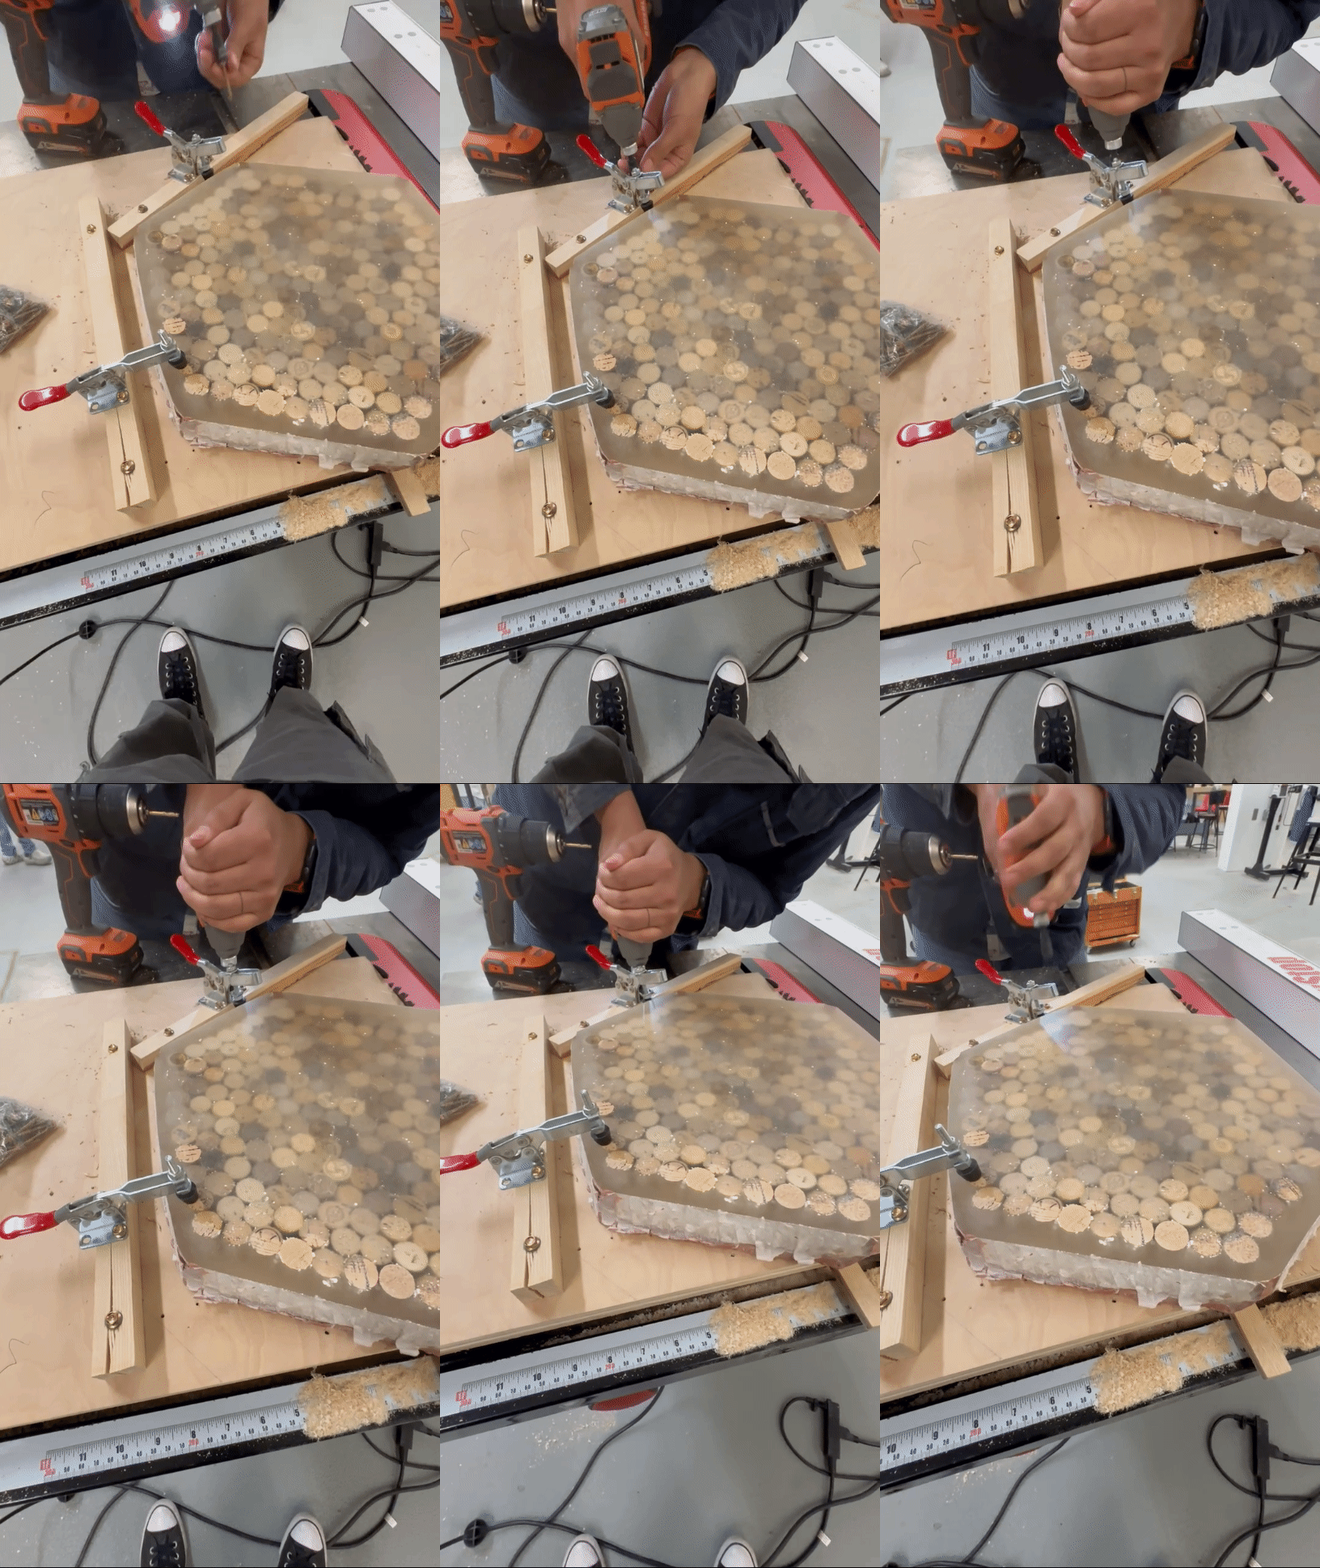
Clamping Down the Stool
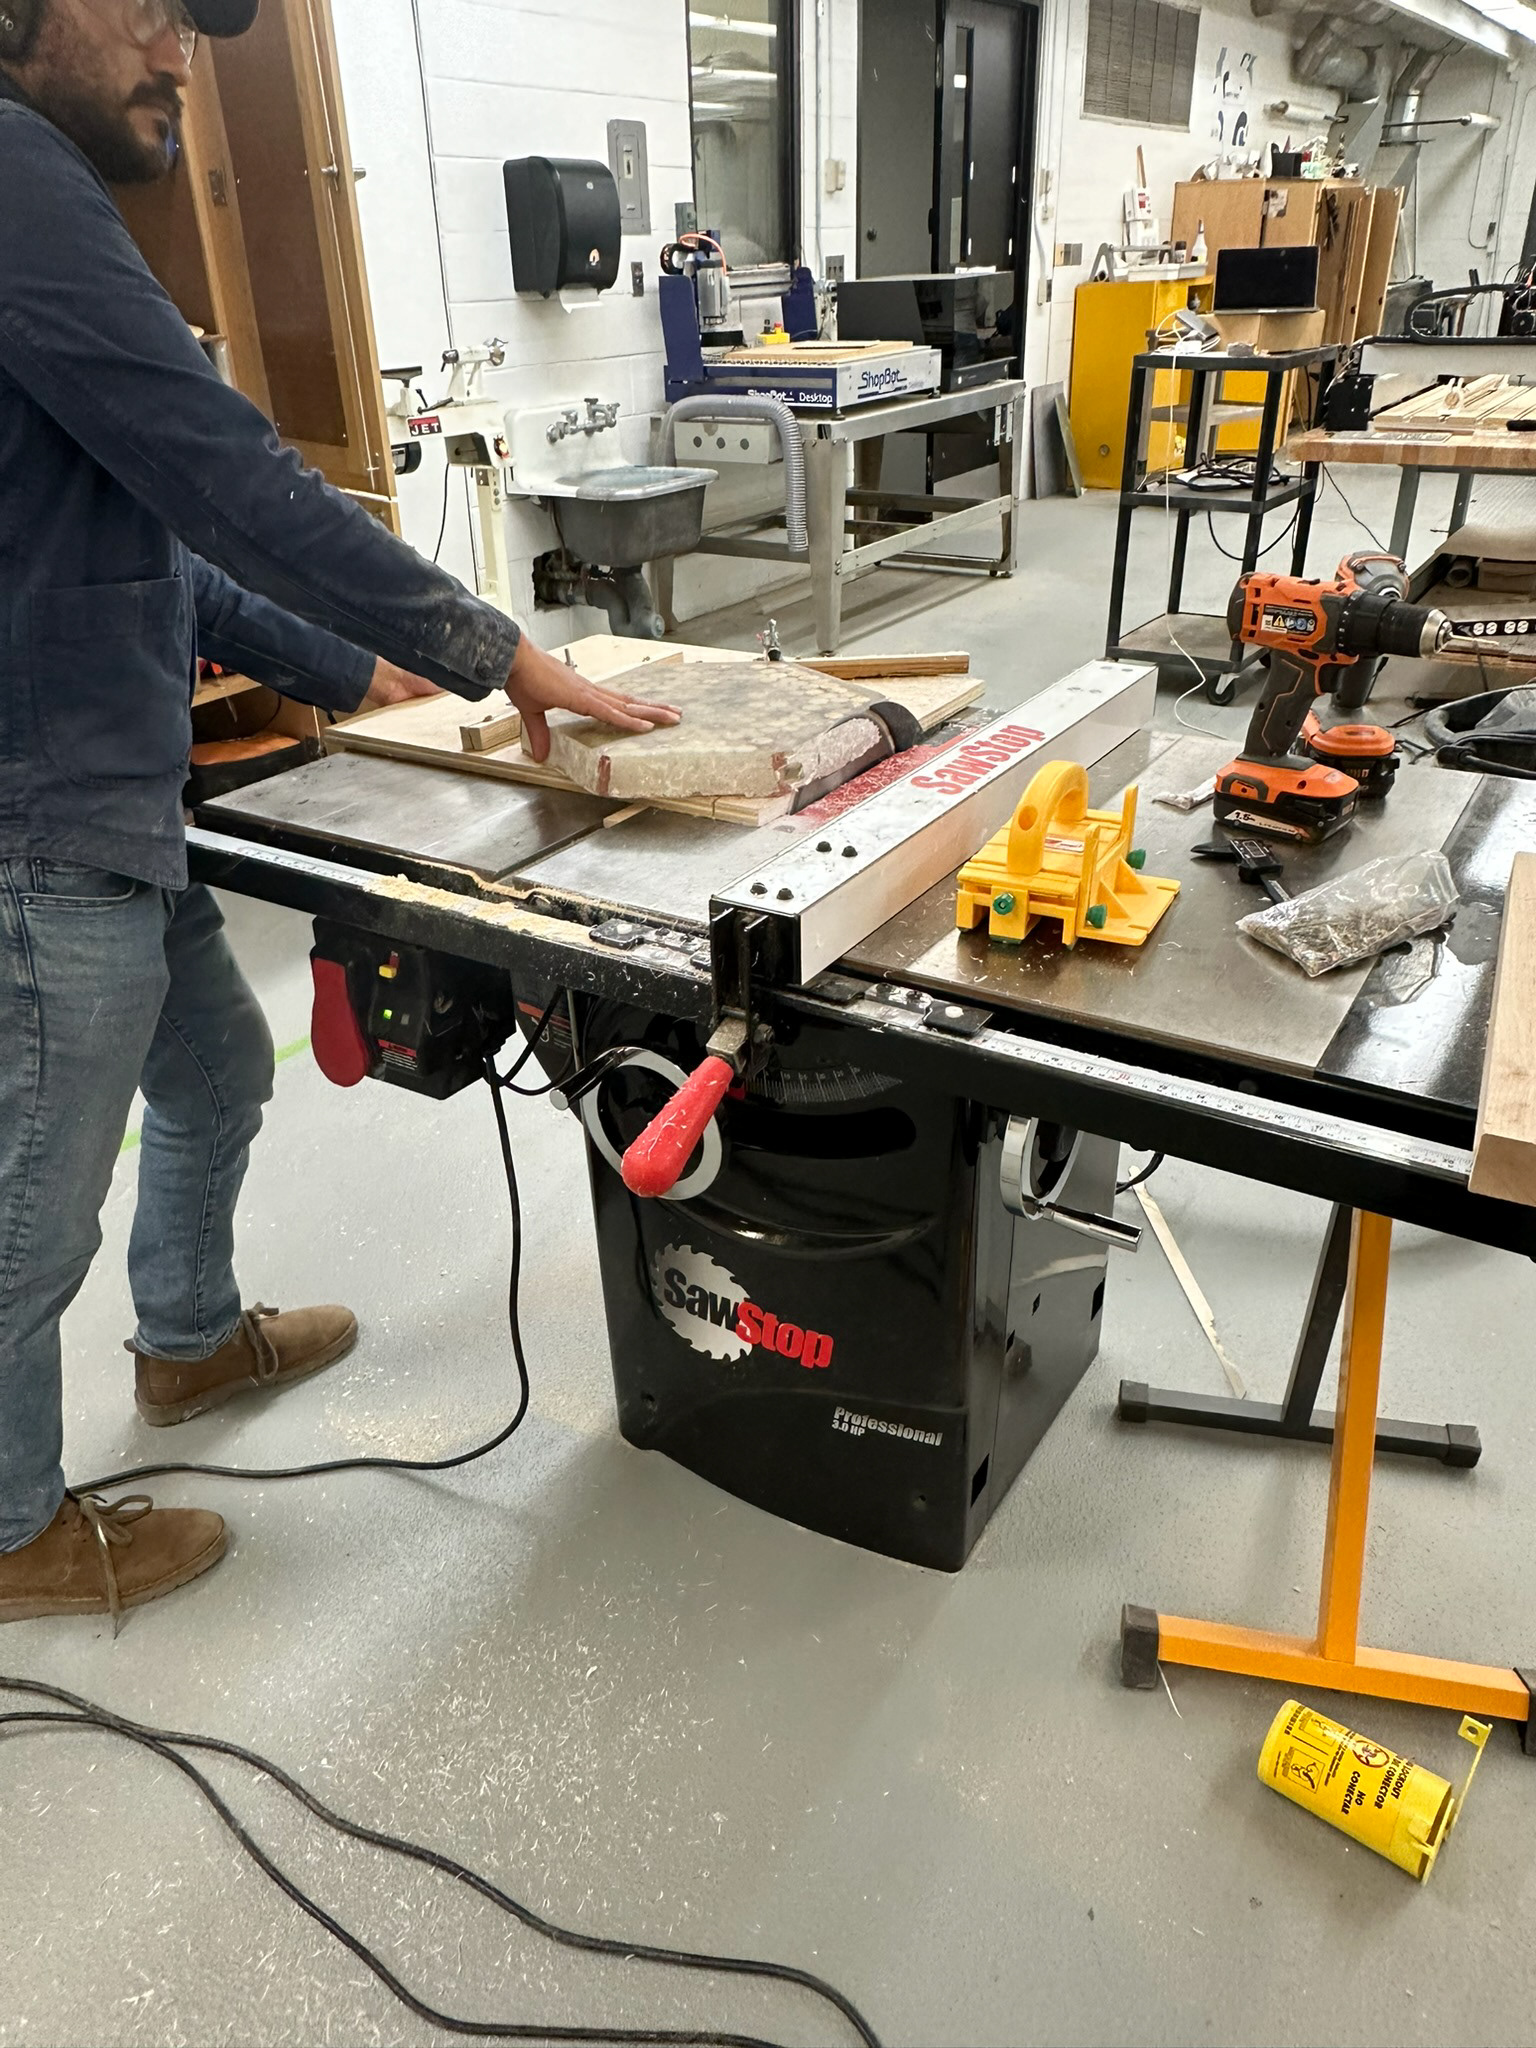
One Edge at a Time
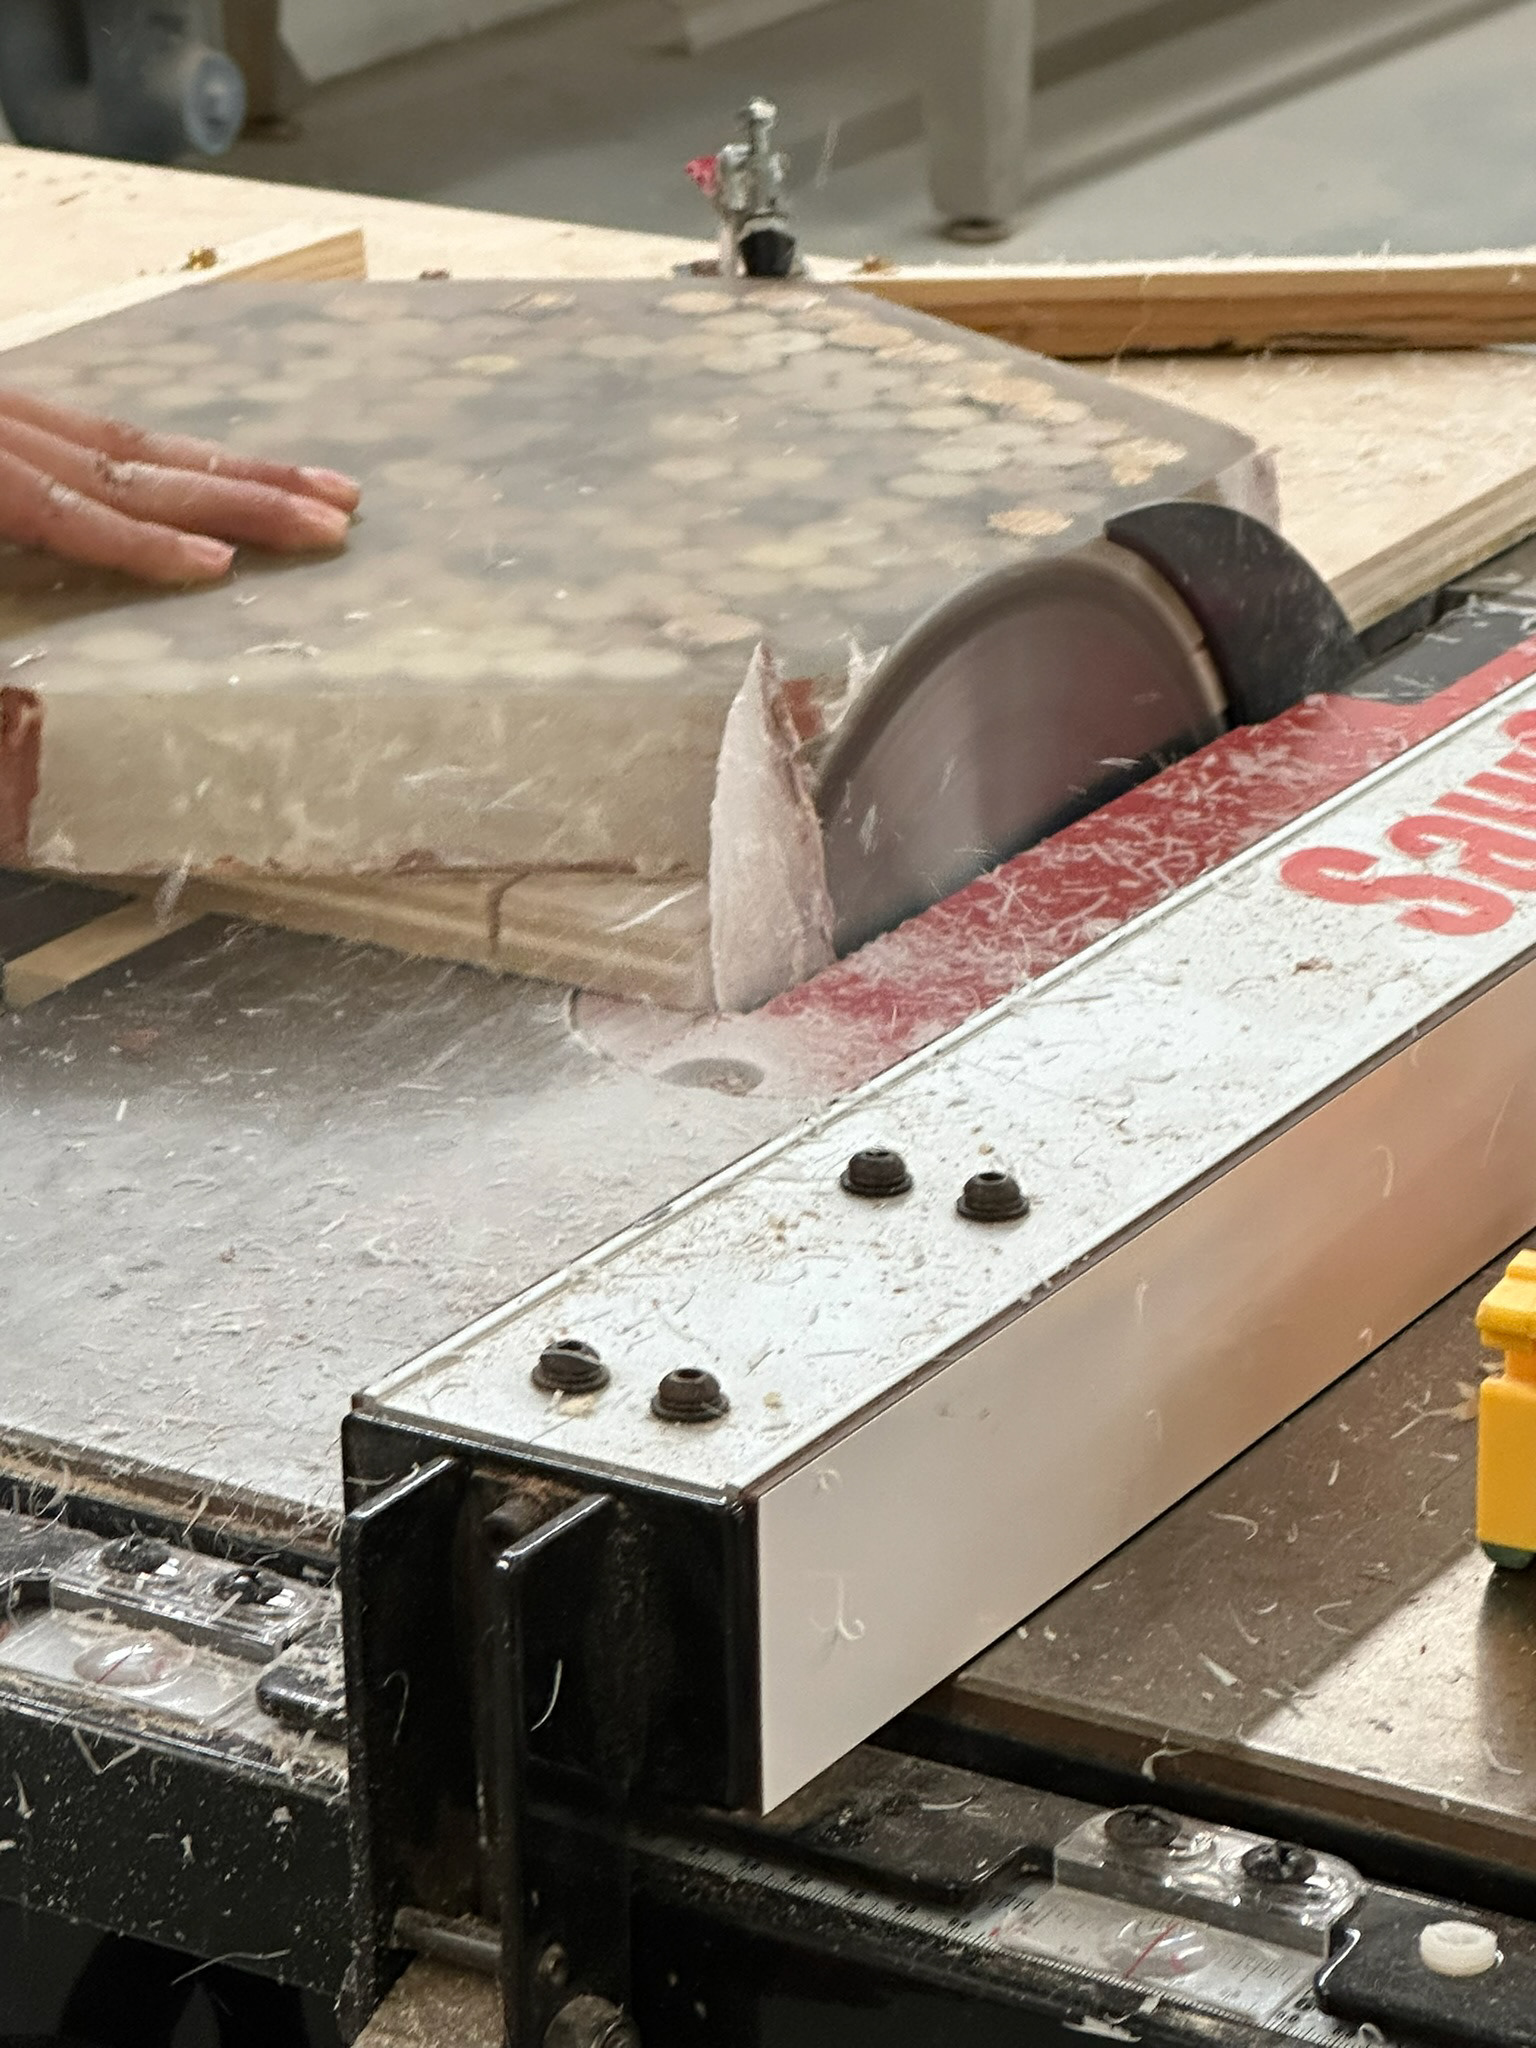
No More Foamcore
A Final Pour
Due to a lot of bubbles the surface had a ton of little holes in it so another pour onto after sanding was needed, I elevated the stool so that the resin would pour off nicely creating a natural chamfer fillet.
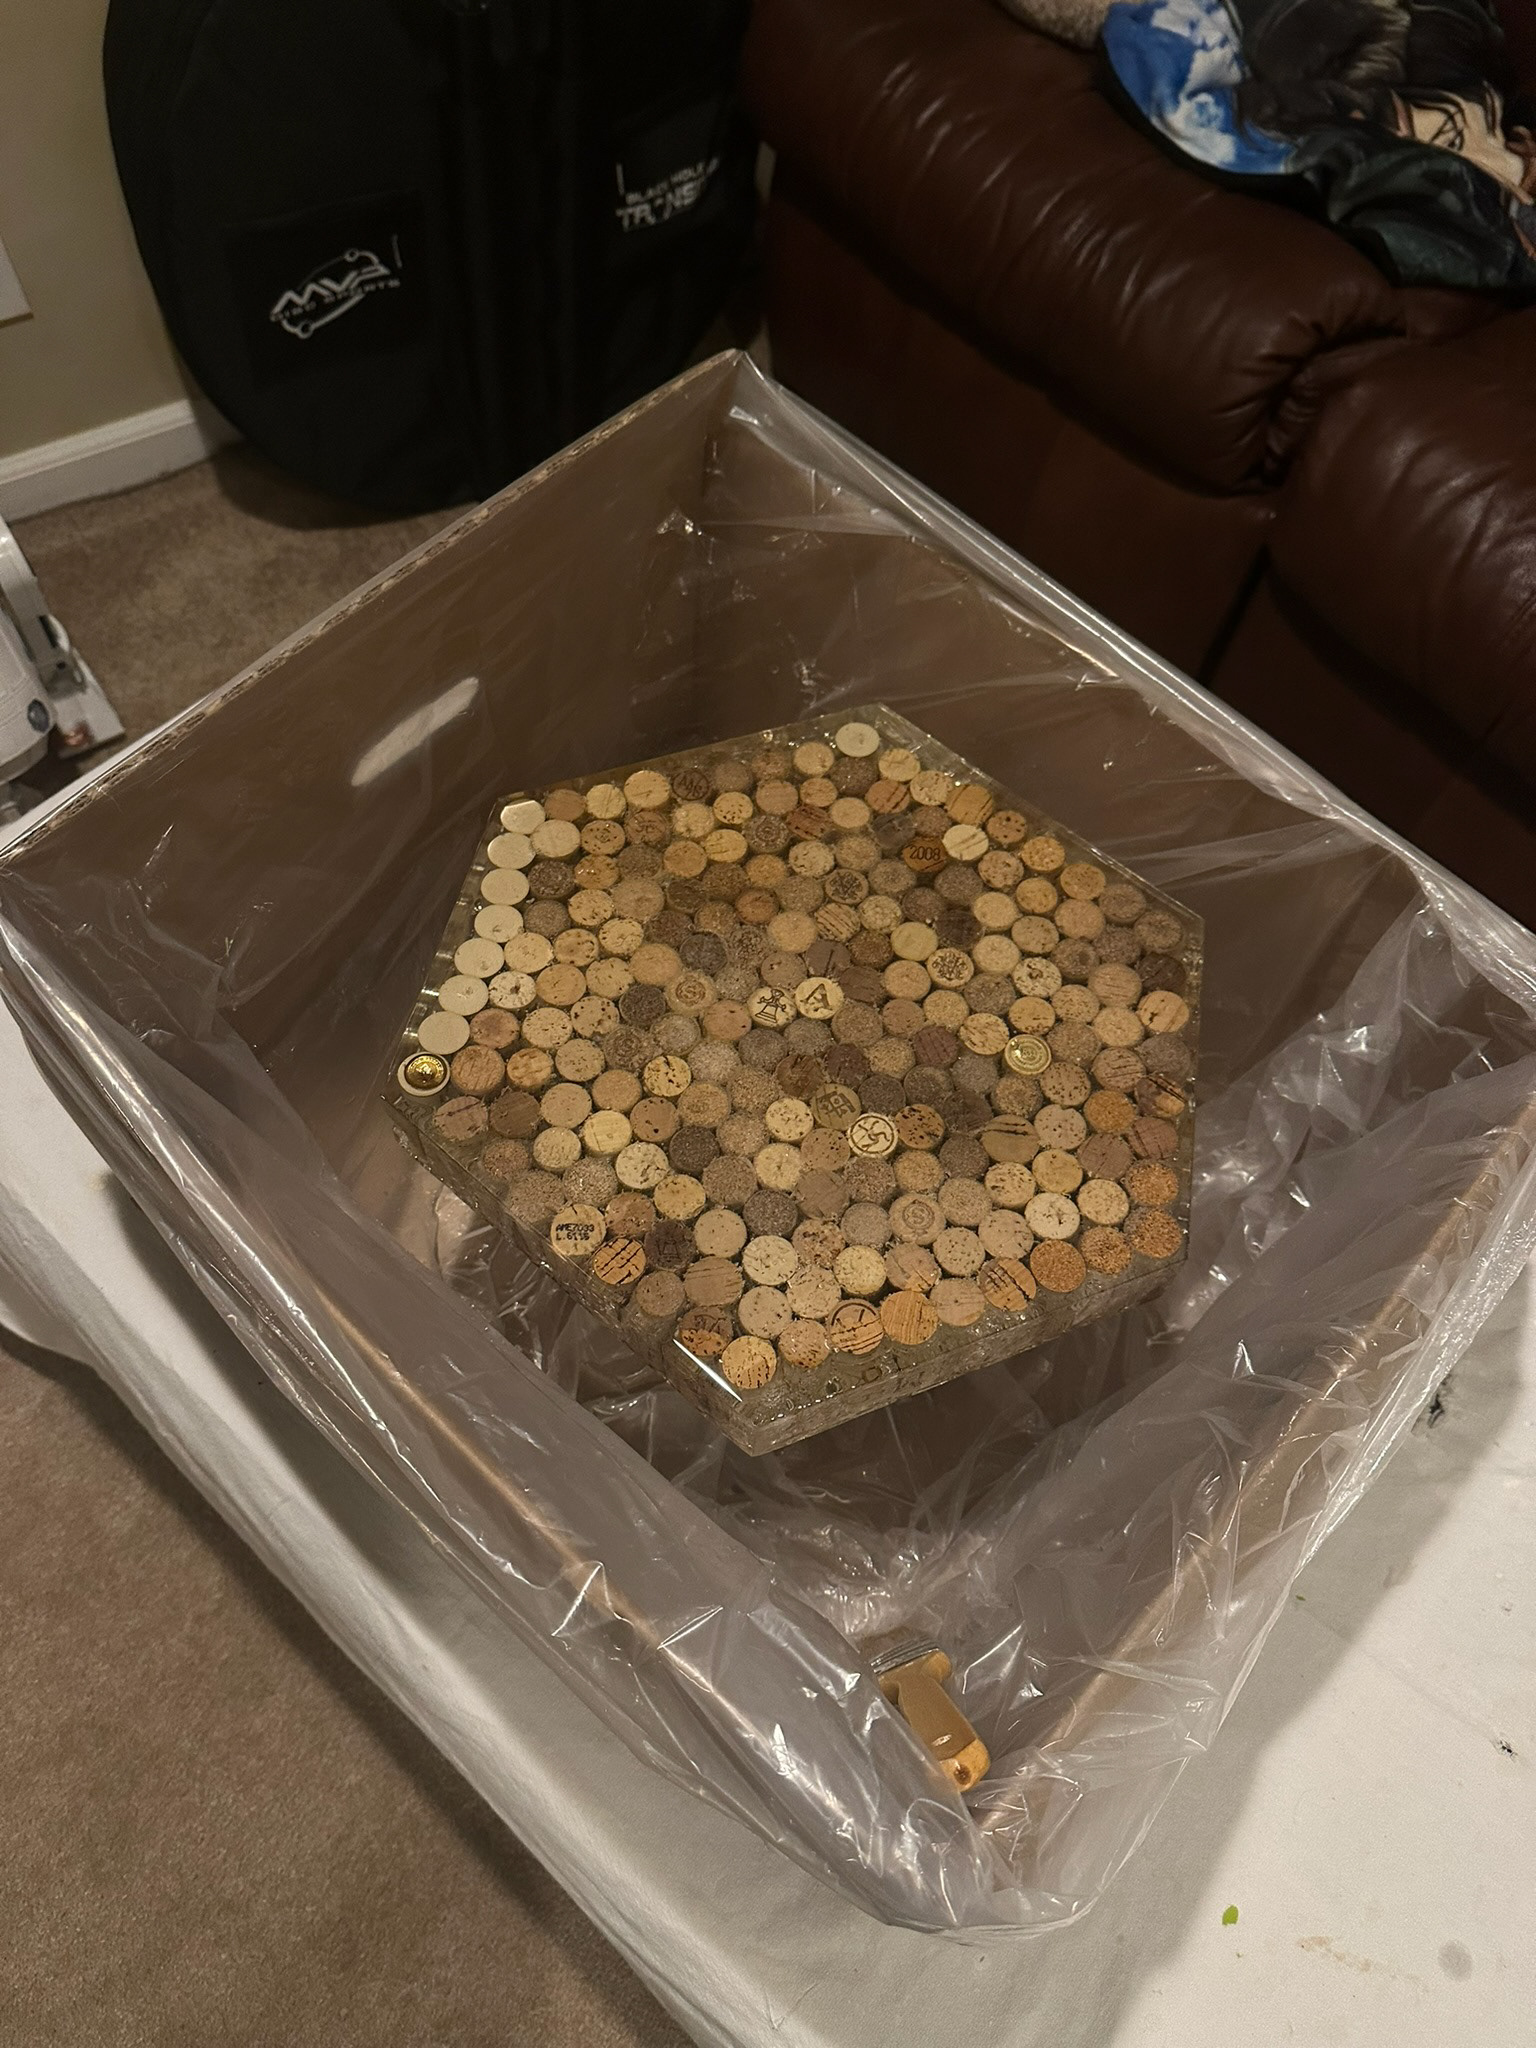
Stool Elevated off Surface
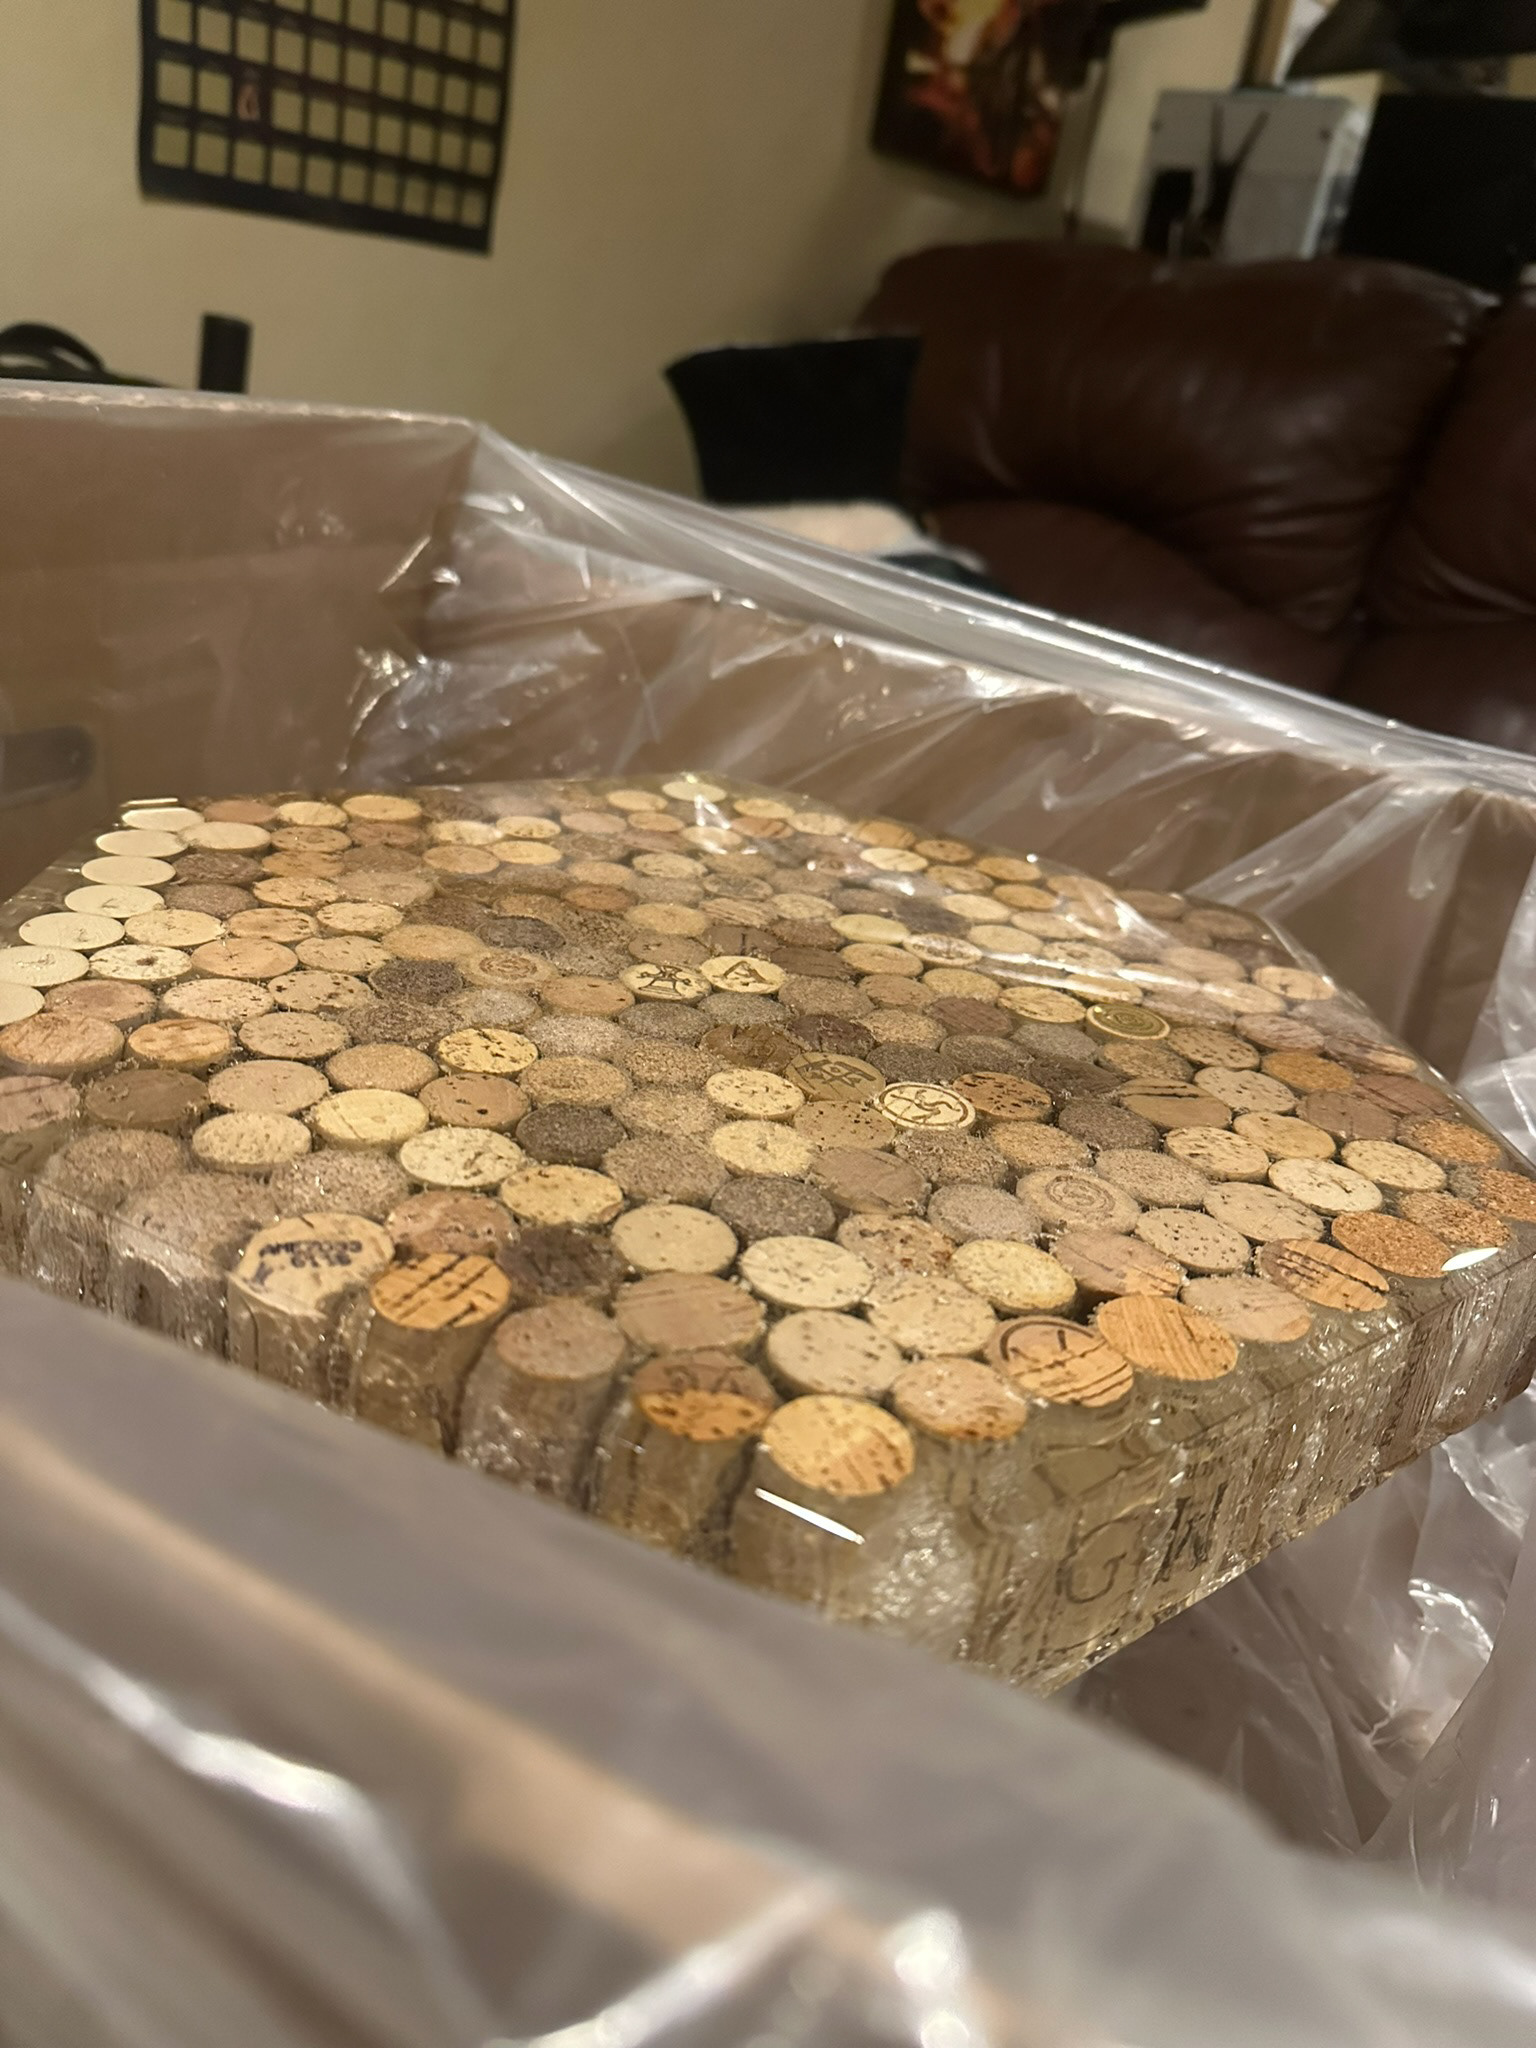
Natural Chamfer Fillet
Polishing
The final step for the resin was to buff out and polish it up. I used a 4-step polishing kit Hard, Medium, Soft, Polish to help create a nice mirrorlike finish. Each Polishing brush was done with three passes.
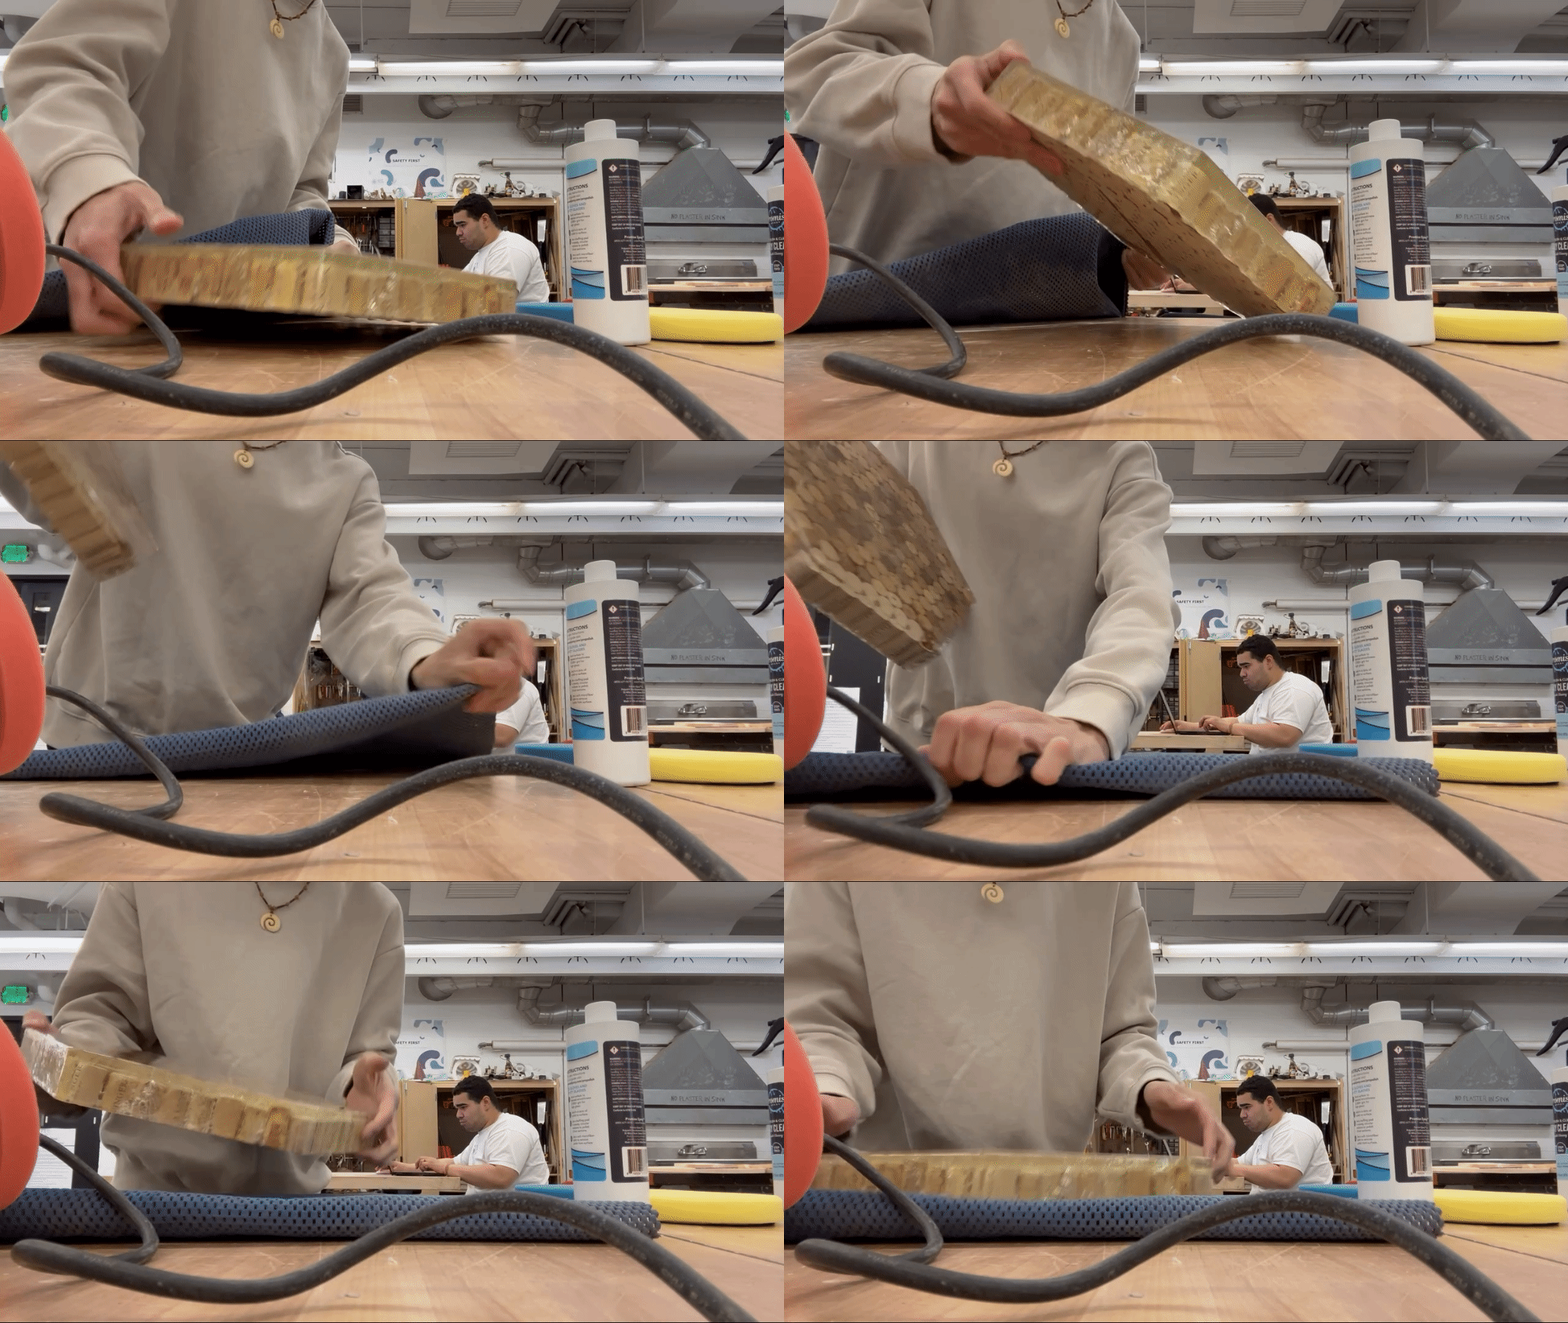
Laying out a Mat to Prevent Dust
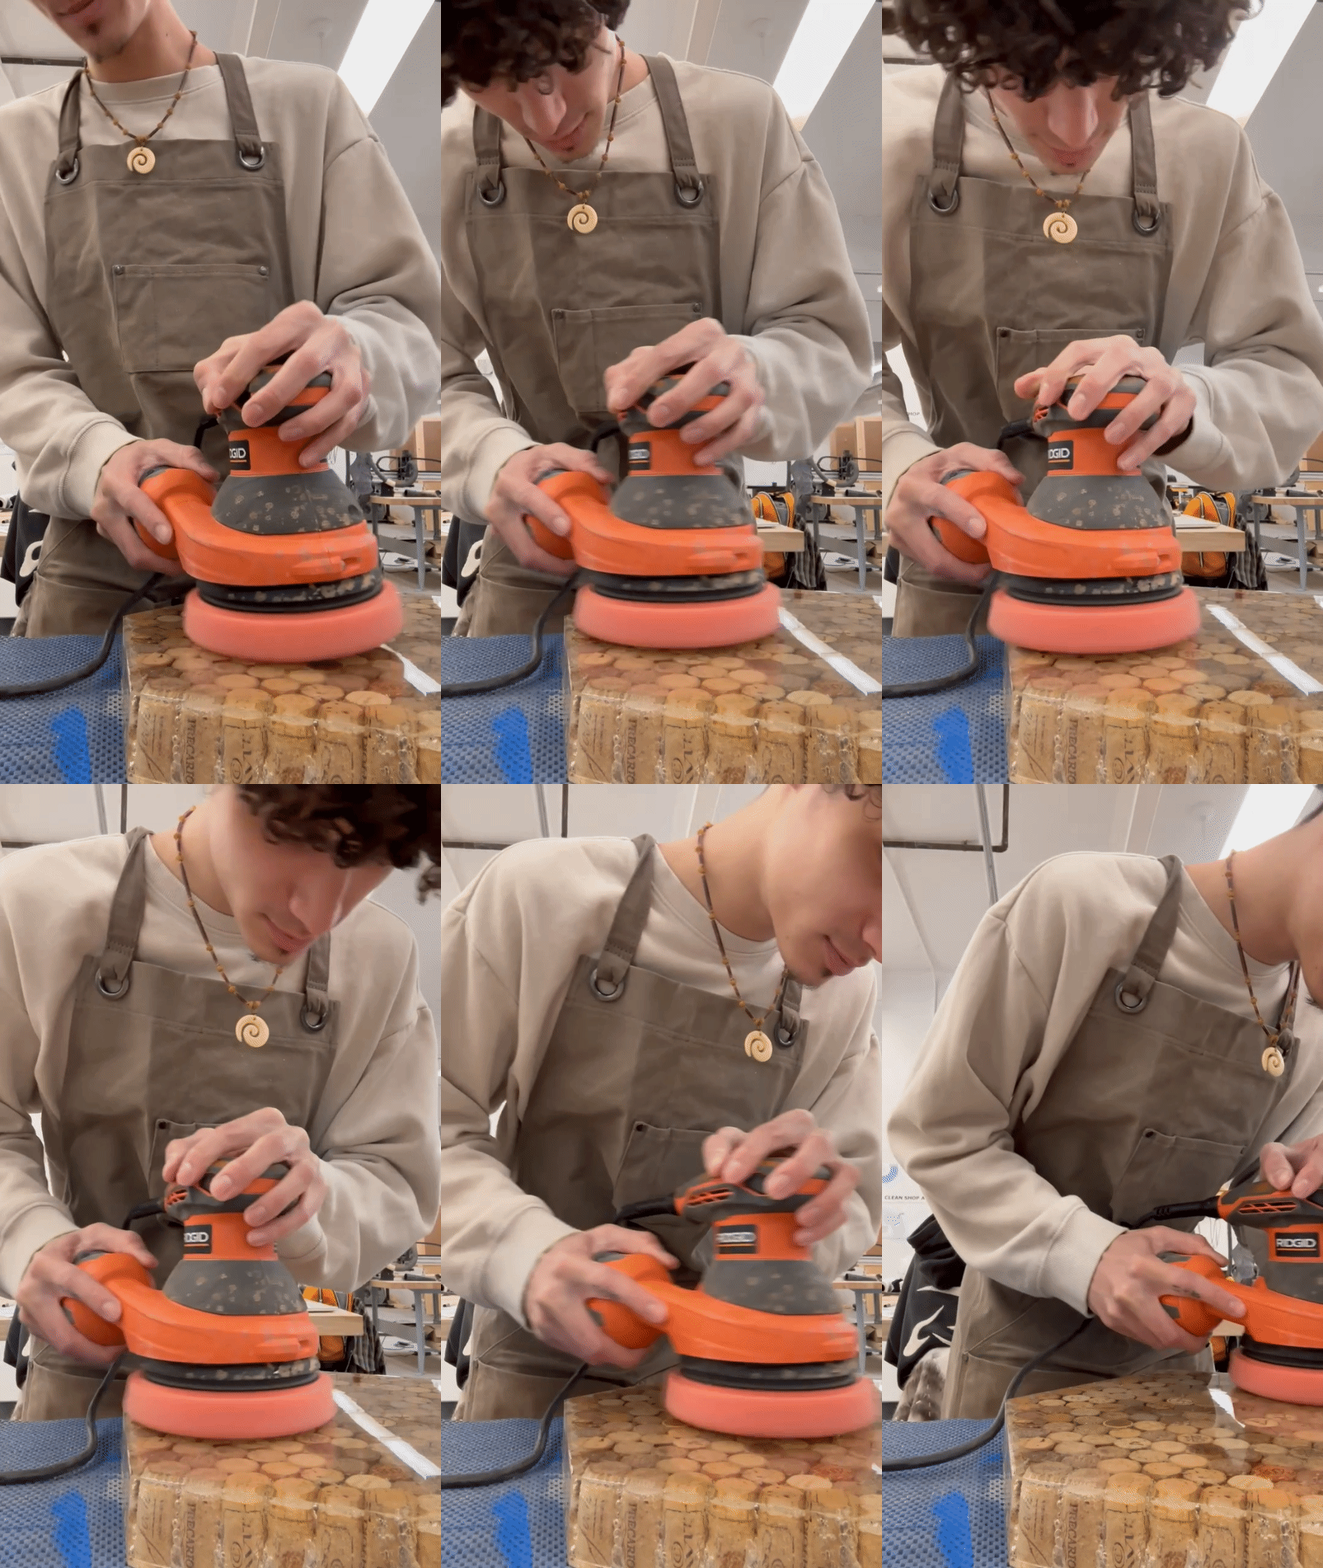
Hard Grit Polish
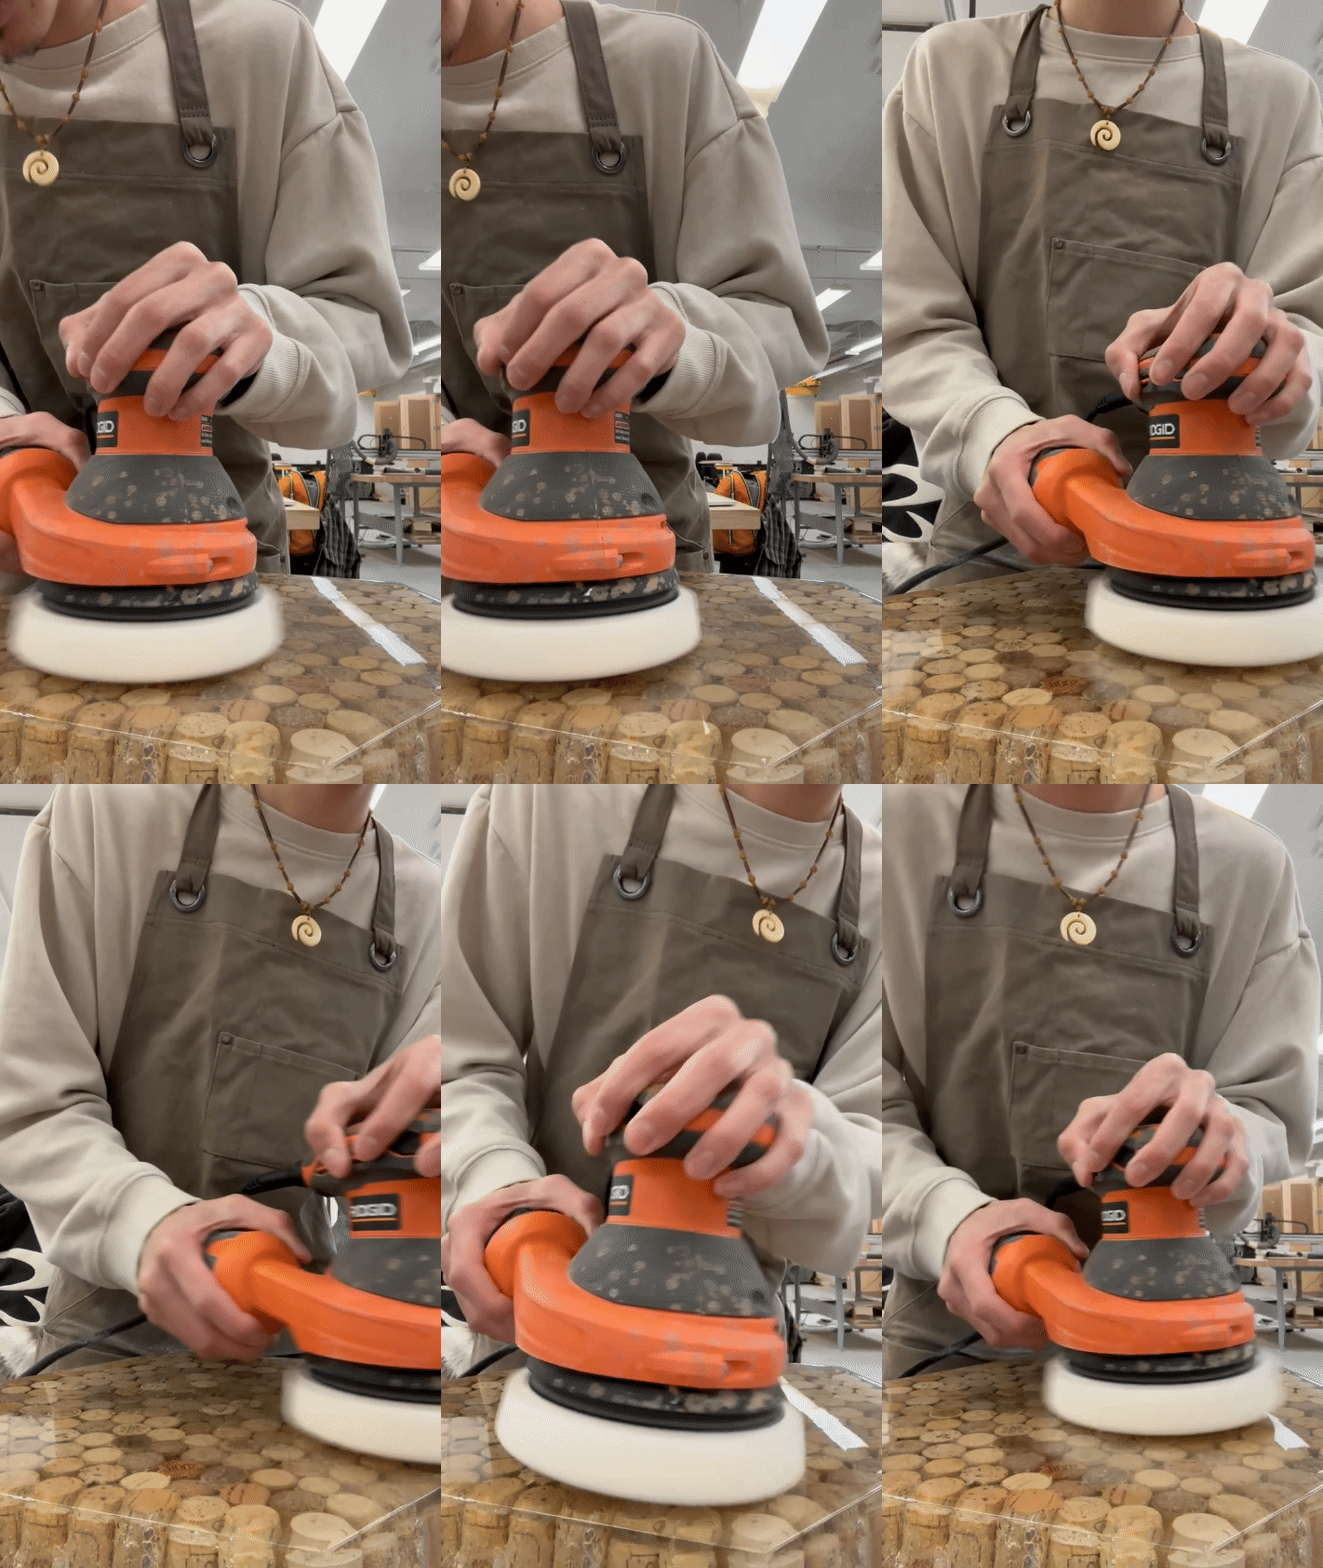
Soft Grit Polish
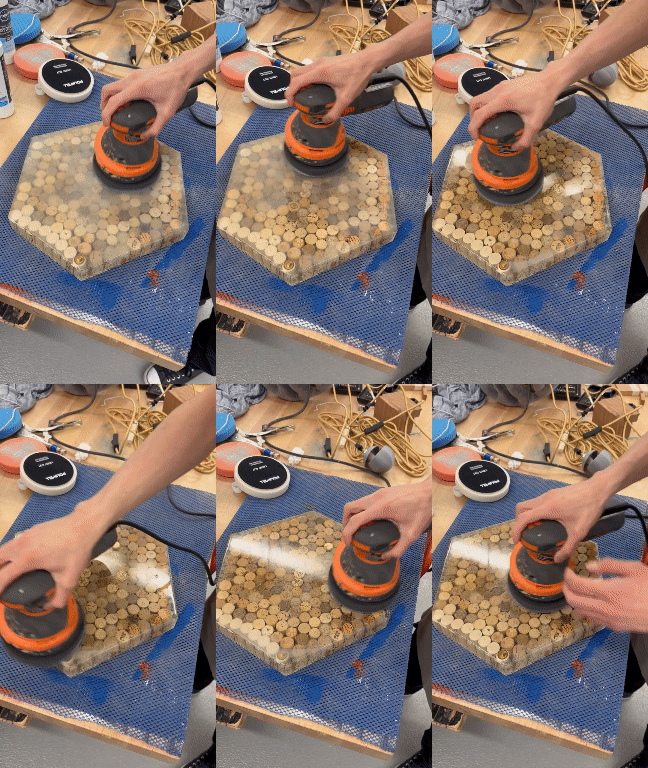
Final Polish
The Base
The base was created from a circular piece of wood that I cut to match the shape of the resin cork seat. The bottom of the base itself was chamfered to give it a lighter appearance.
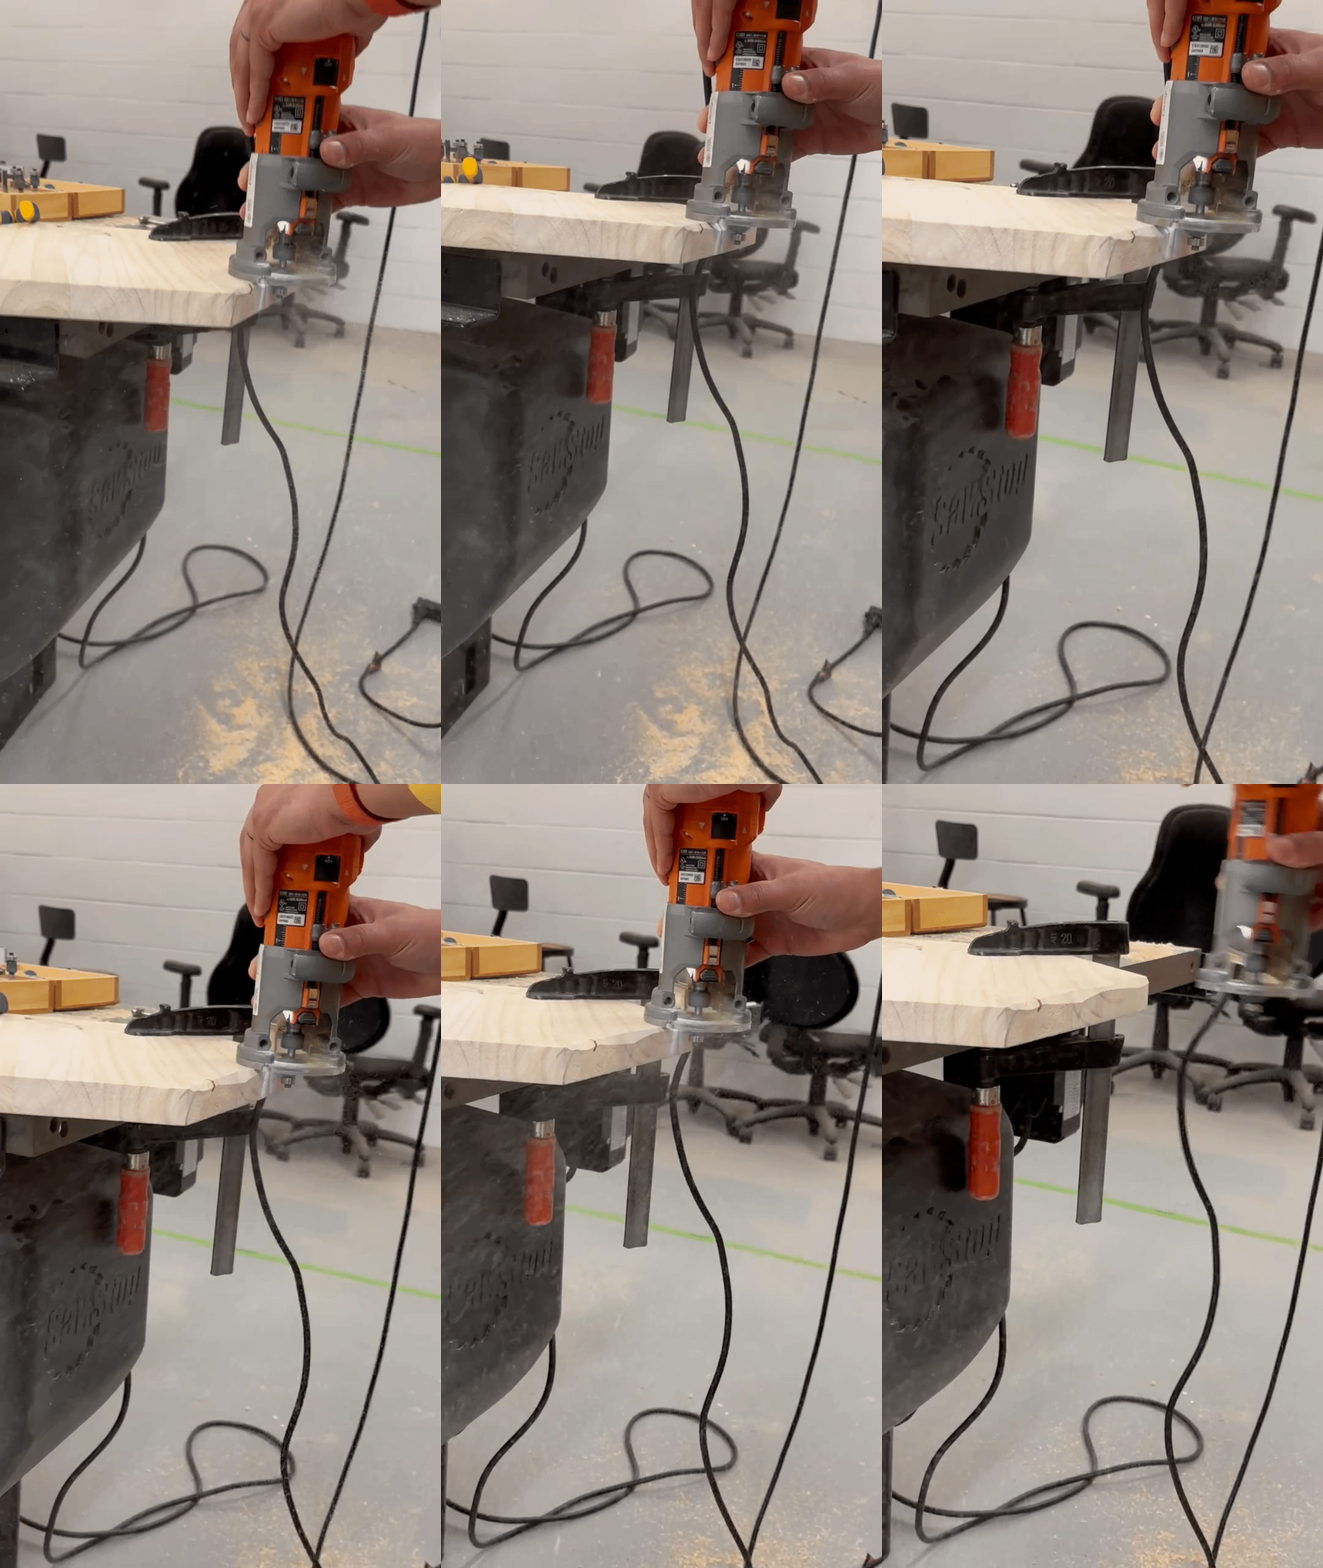
The First Edge
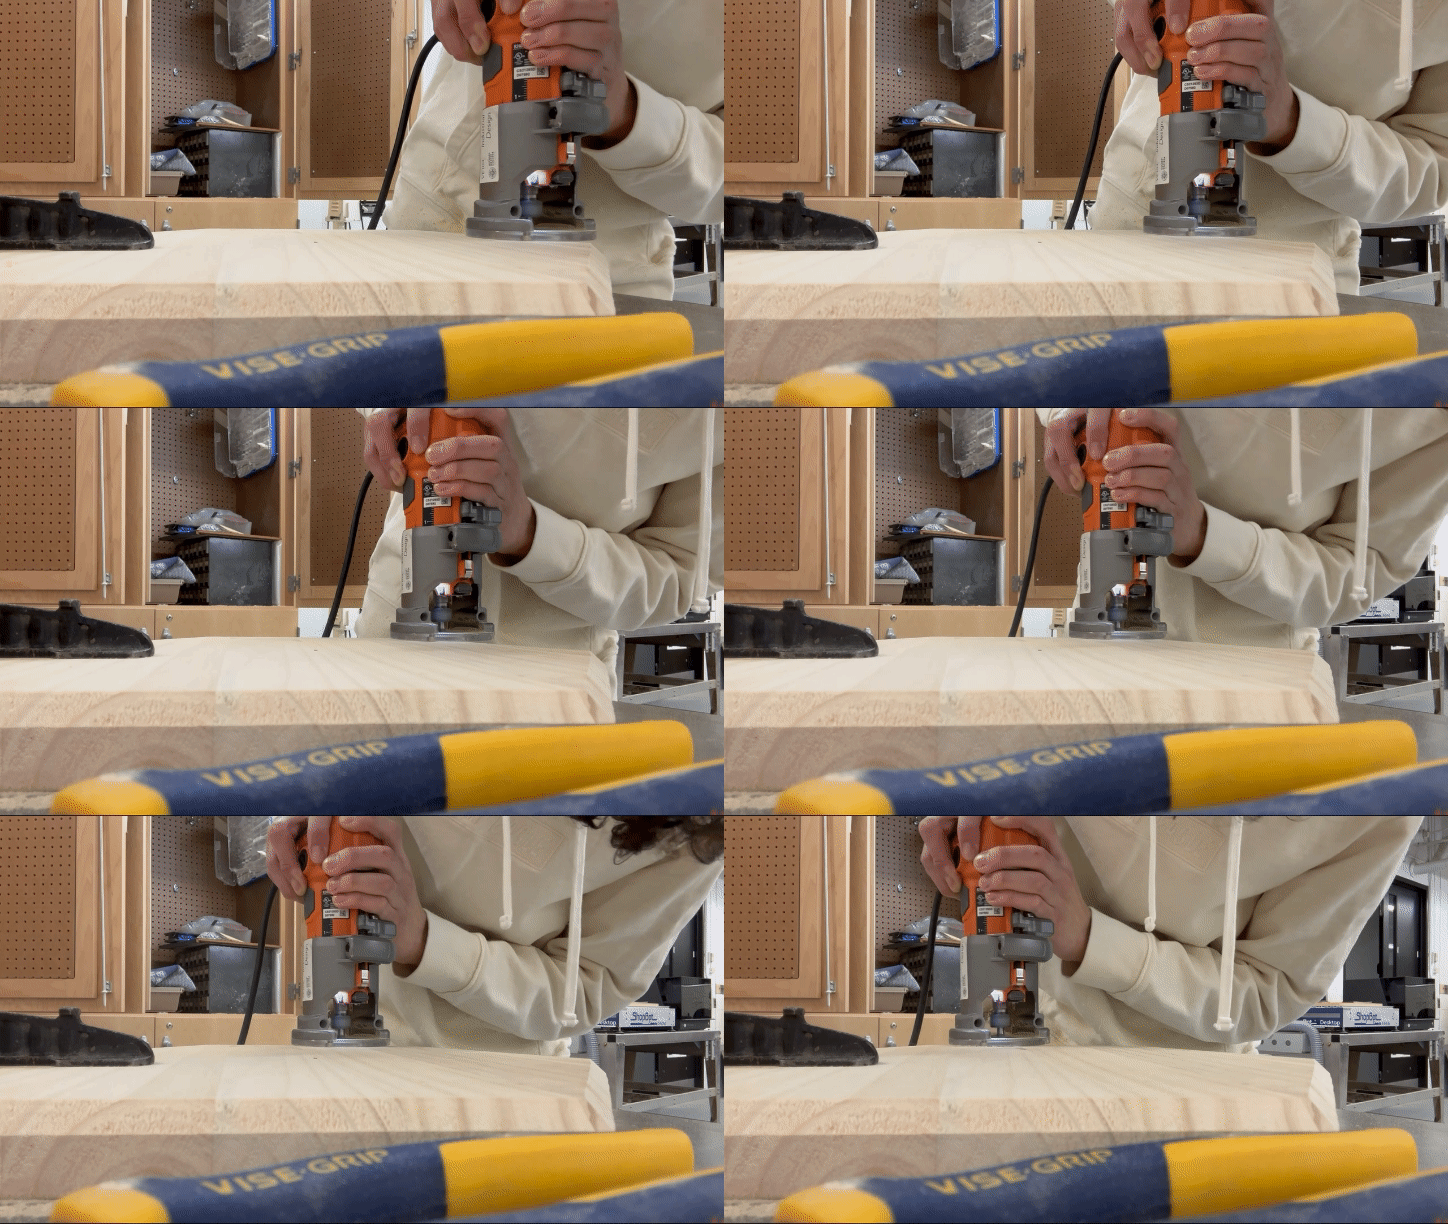
Chamfering the Base
The Stain & Bond
The natural wood look was then stained to a pecan color to compliment the cork. Then once the base was finished drying, I applied liquid nails to the bottom and clamped the Resin and wood together to bond overnight.
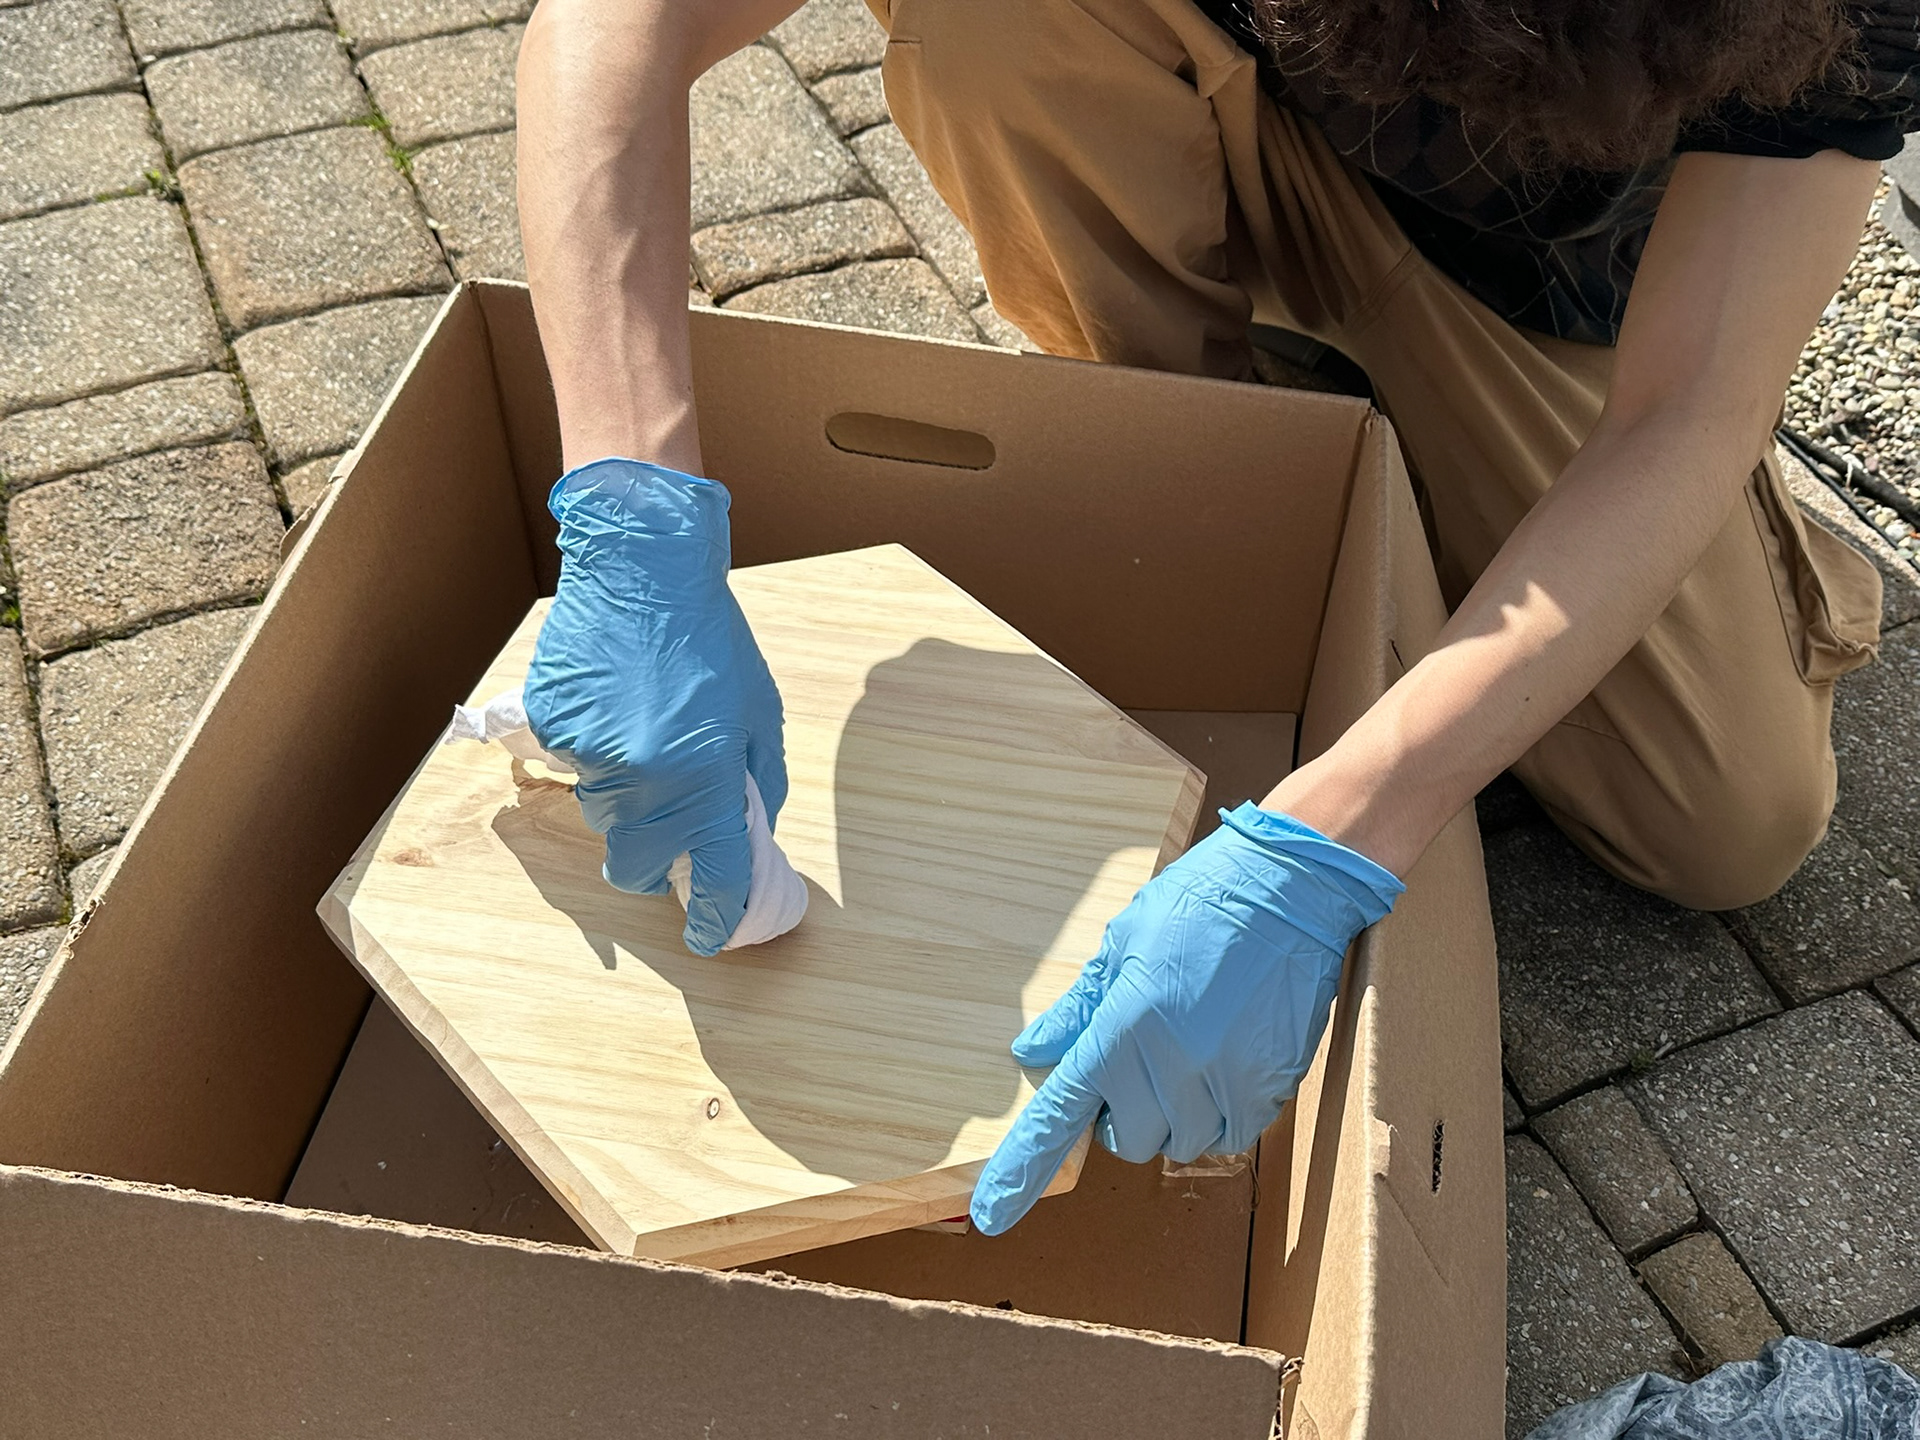
Before the Stain
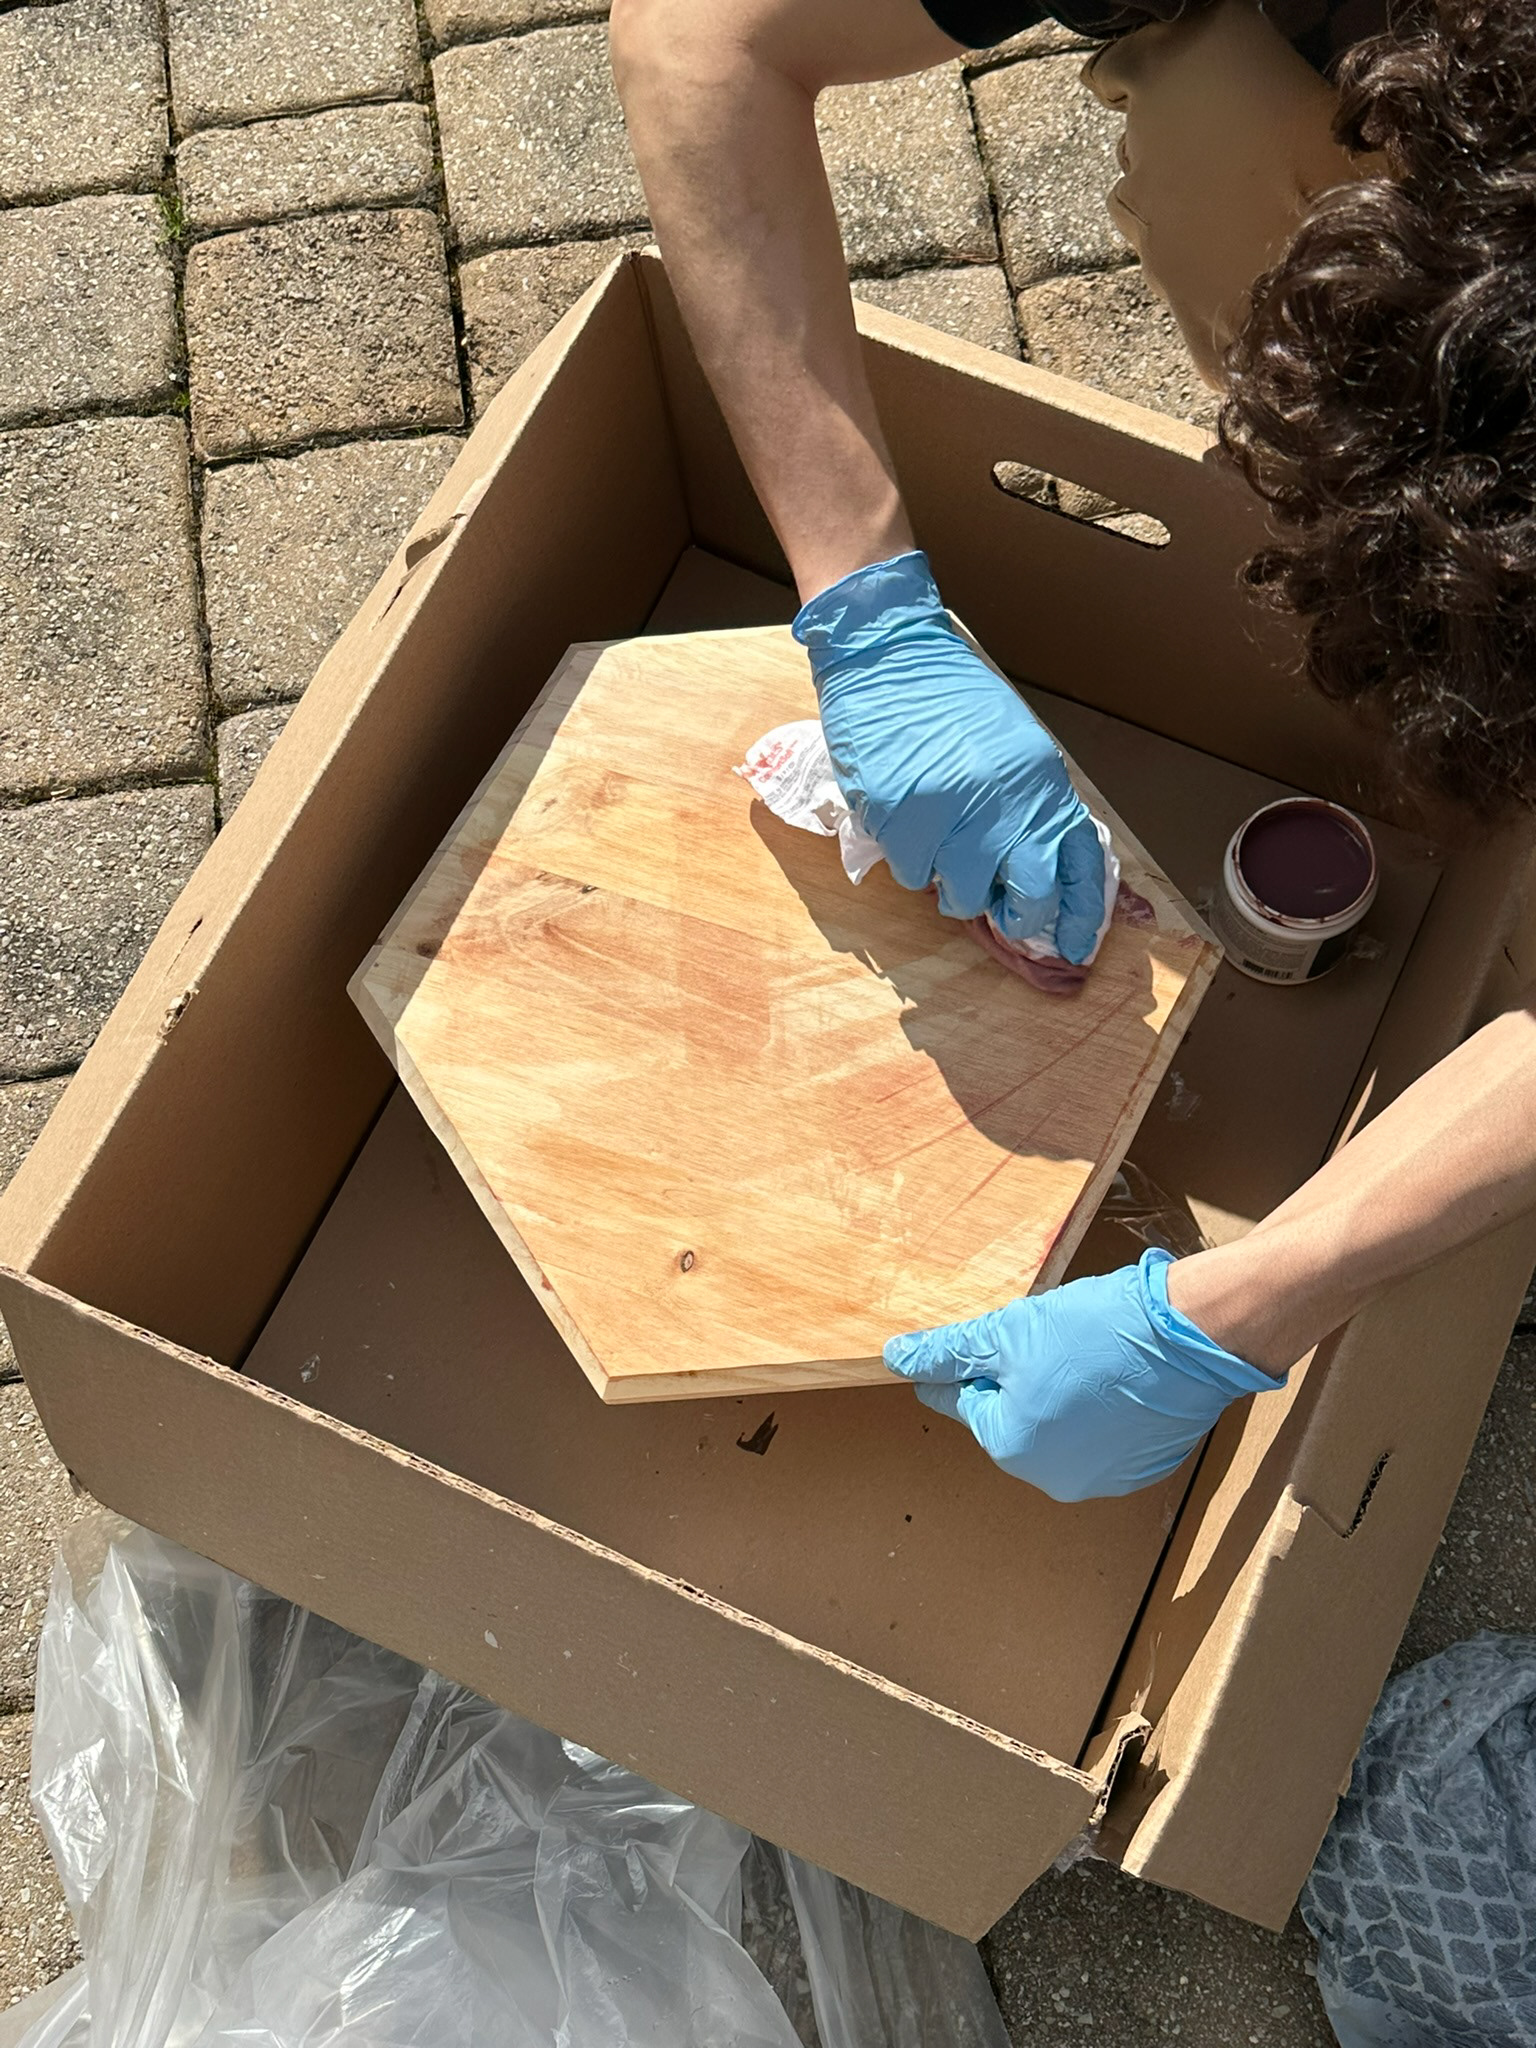
Applying the Pecan Stain with Dry Cloth
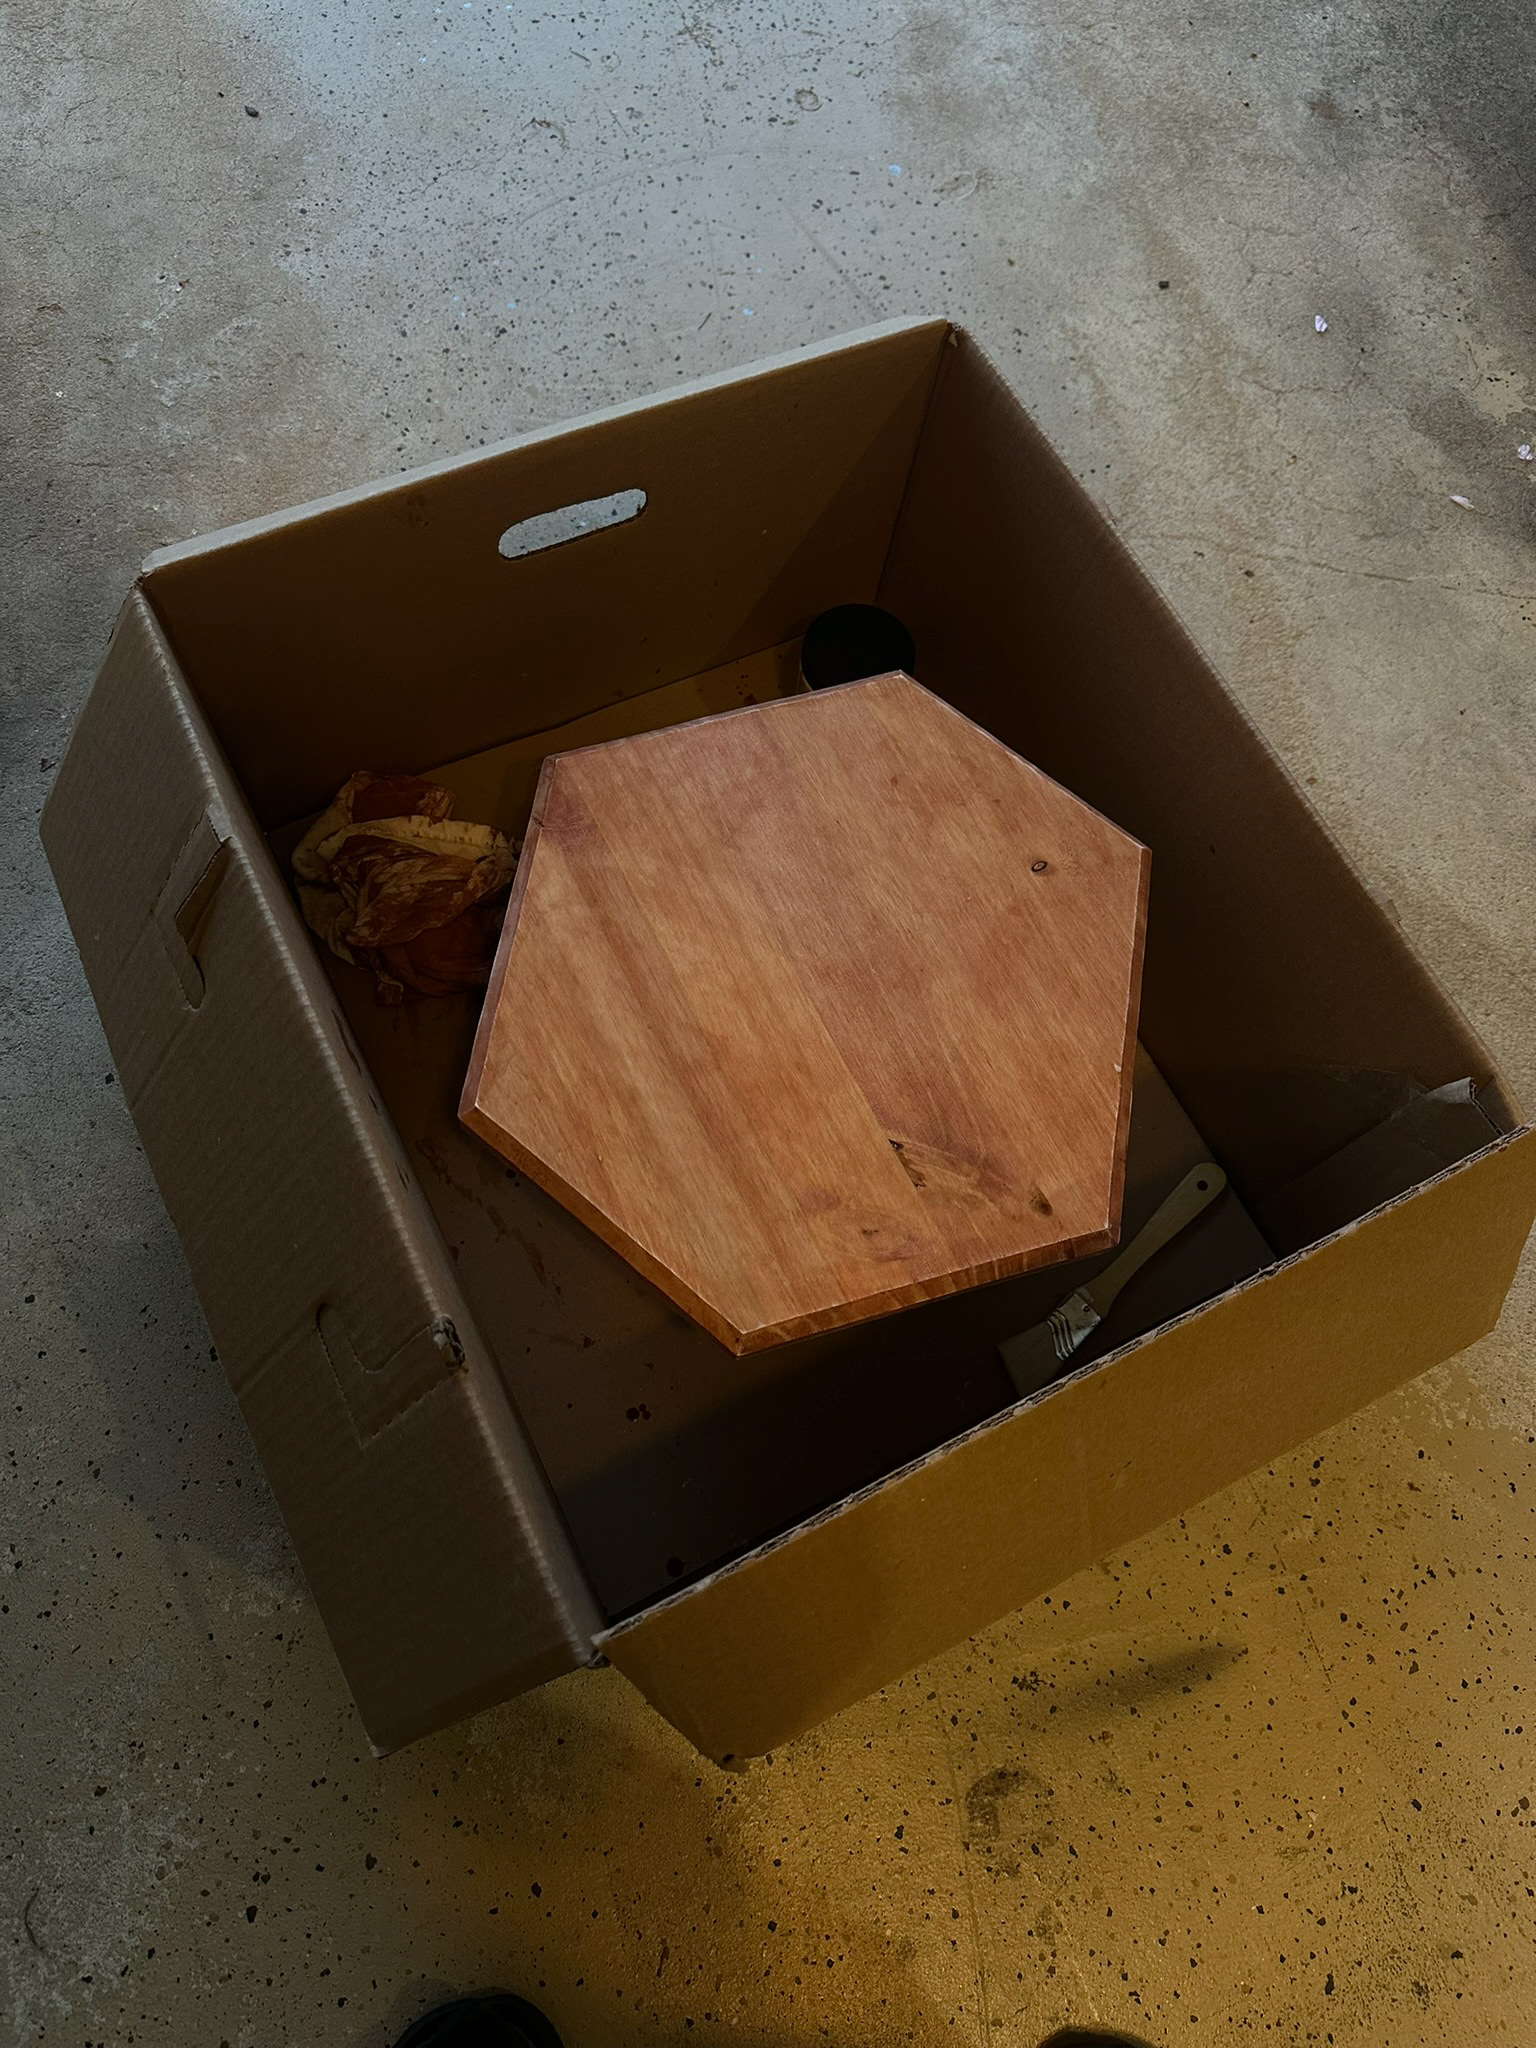
The Finished Stain
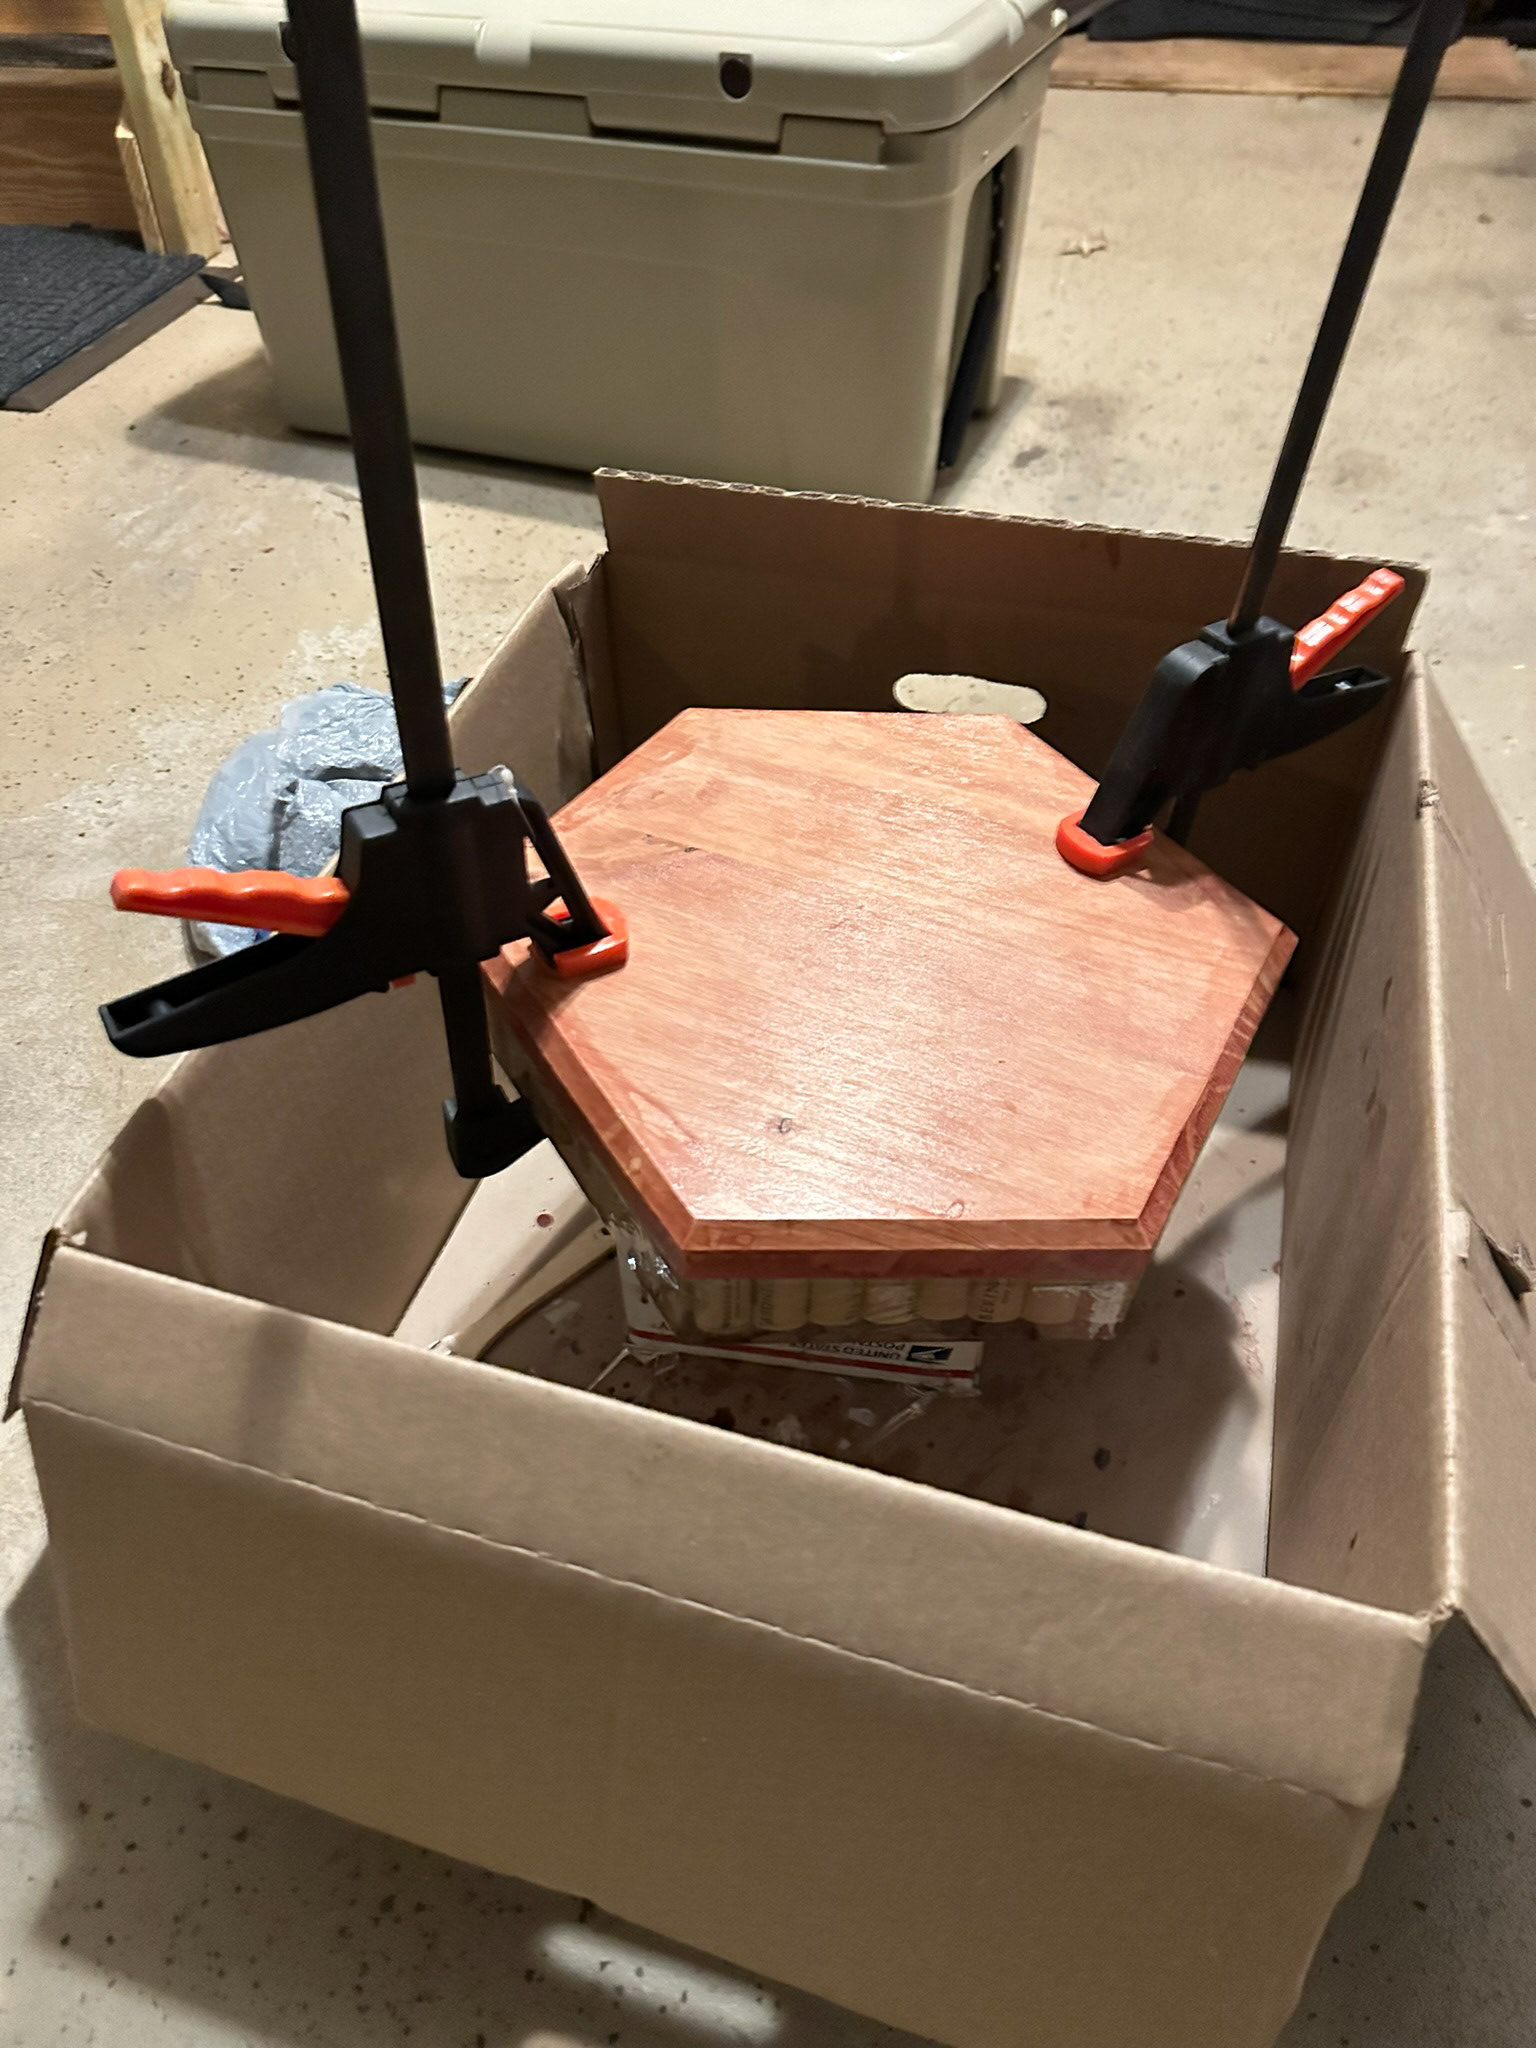
When Clamps were Added
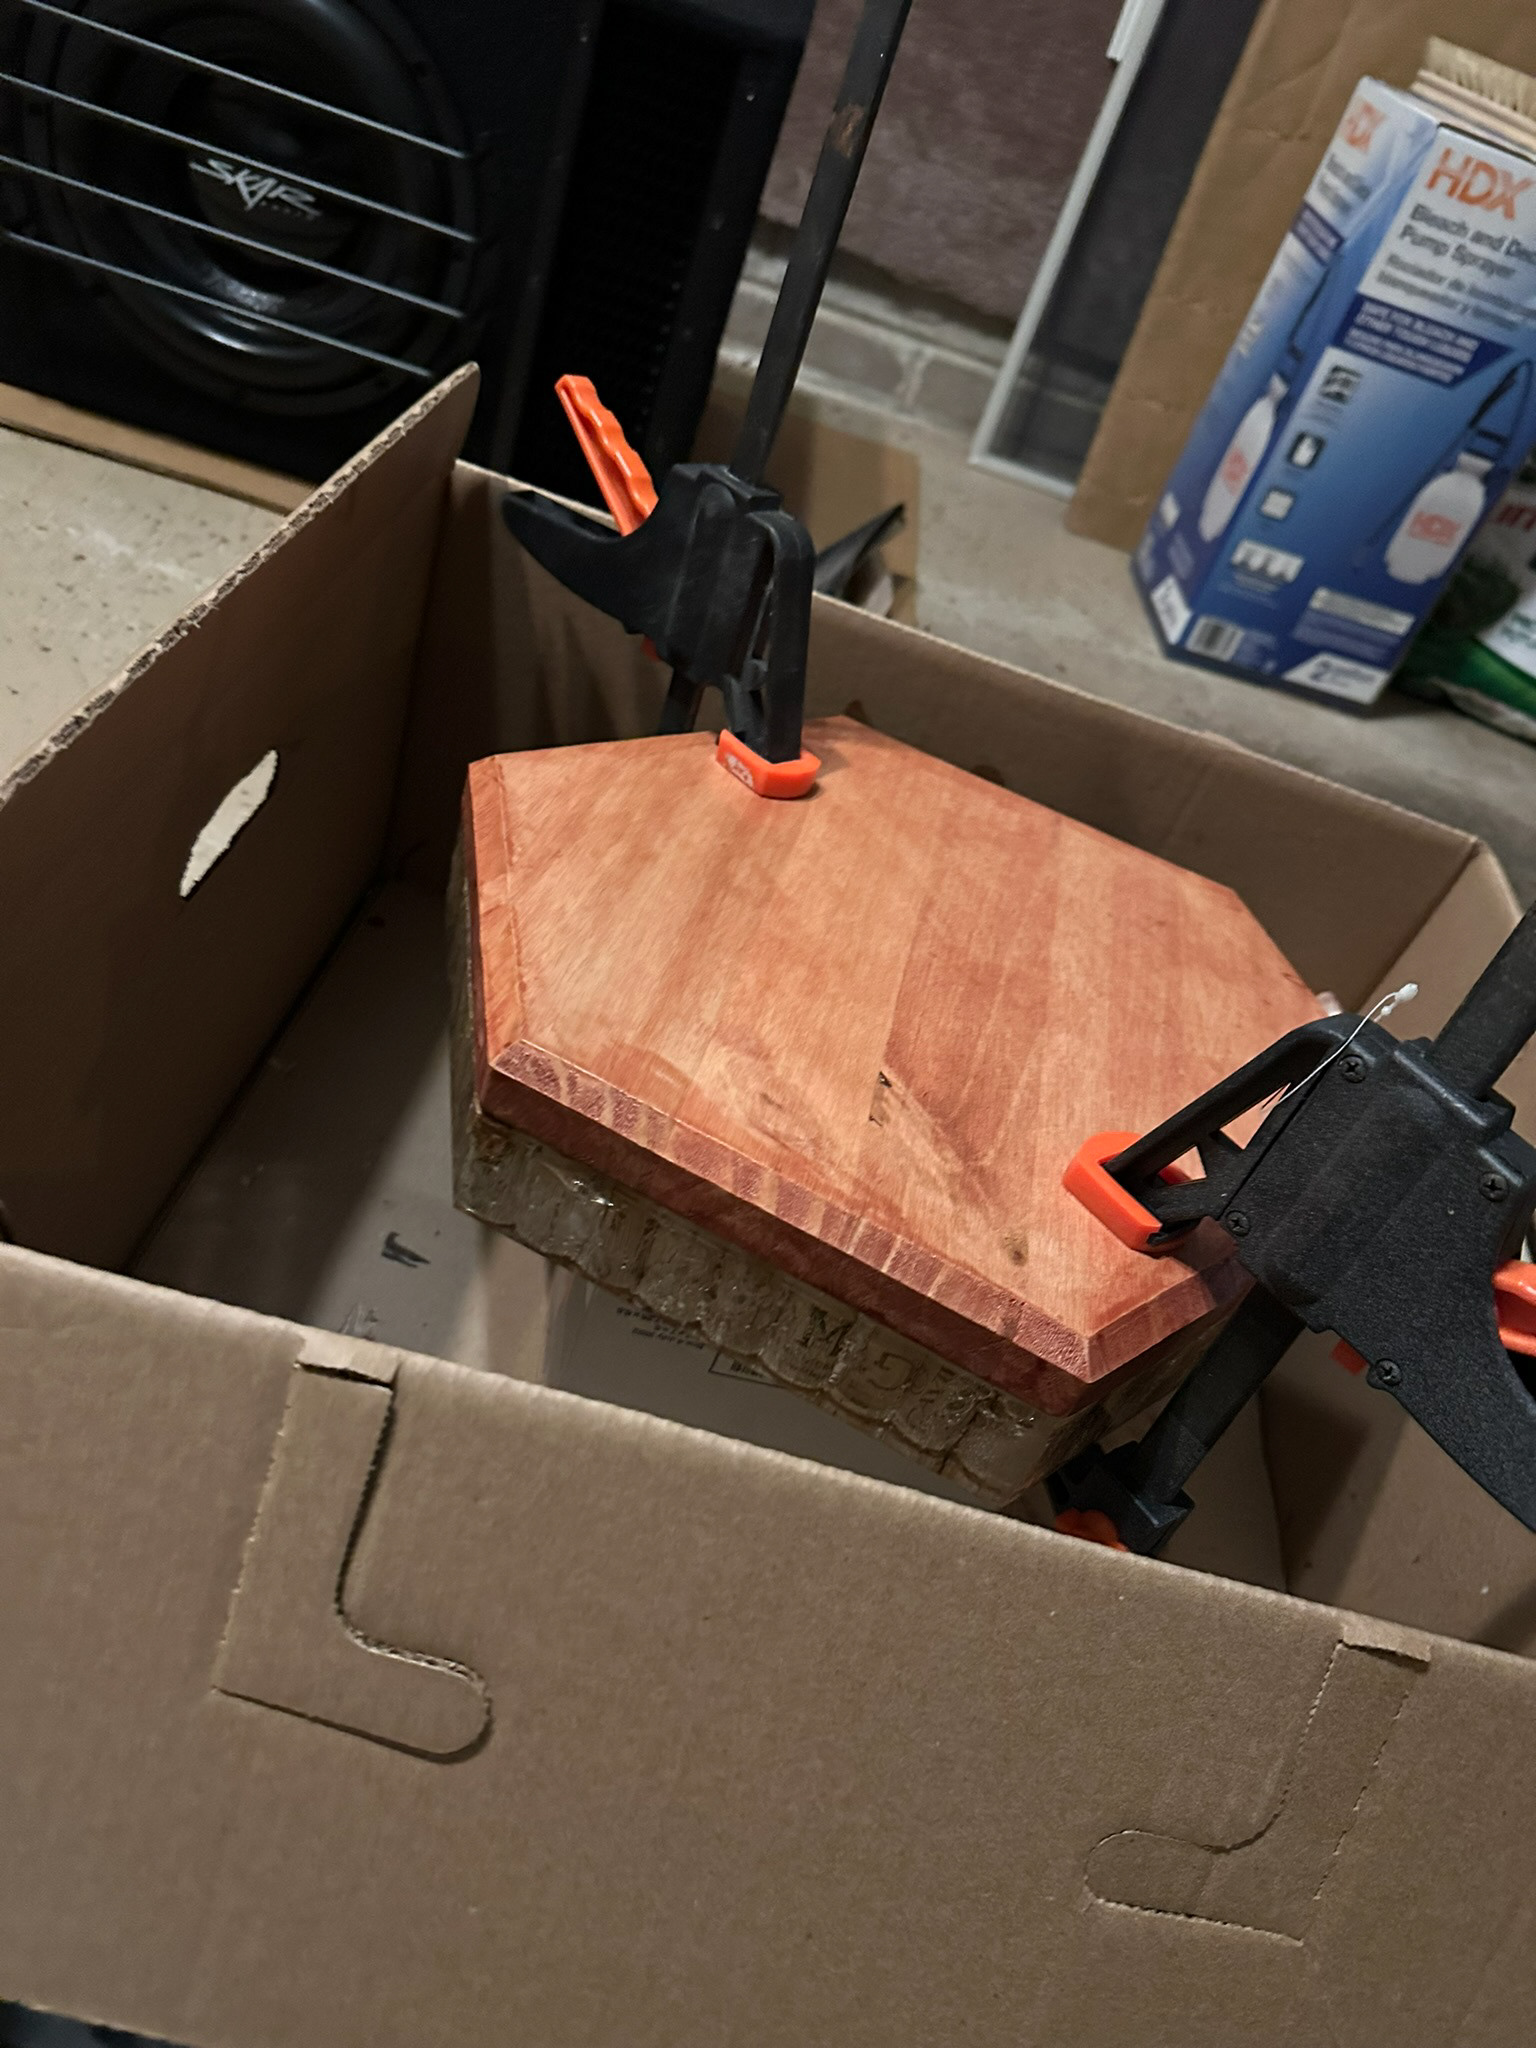
The Final Bond
Adding the Legs
The Final step was to add the legs to the base, this completed the final design and brought the stool to life. The black legs were intentional to compliment the pecan color with minimalistic color choice.
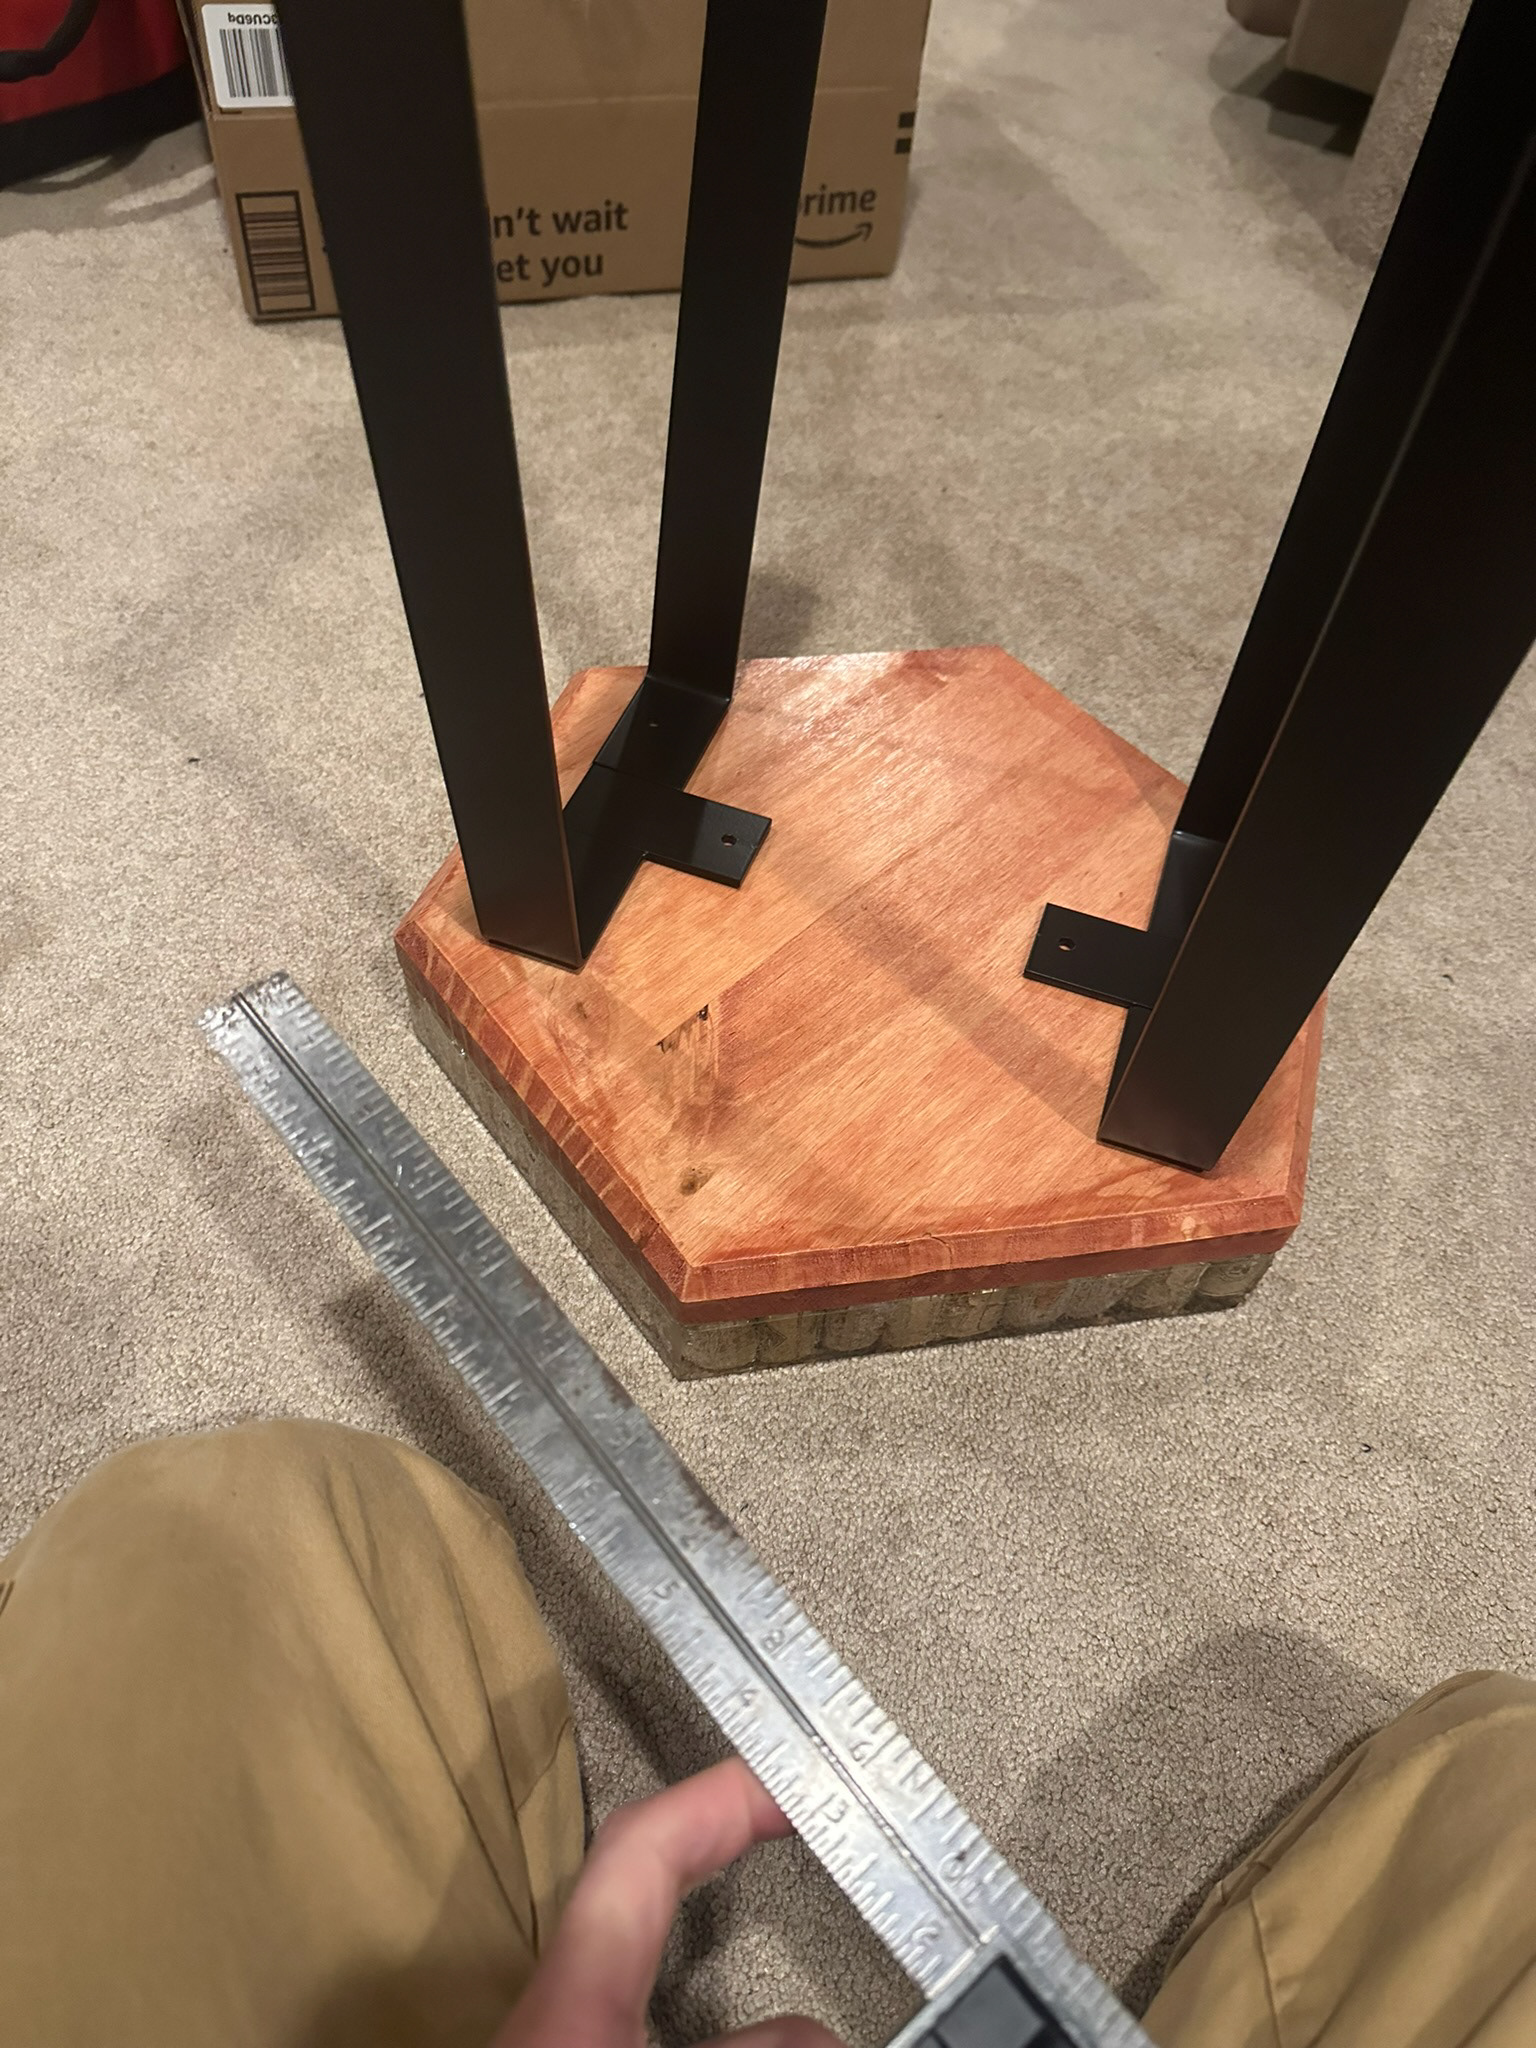
Measuring out the Correct Distance
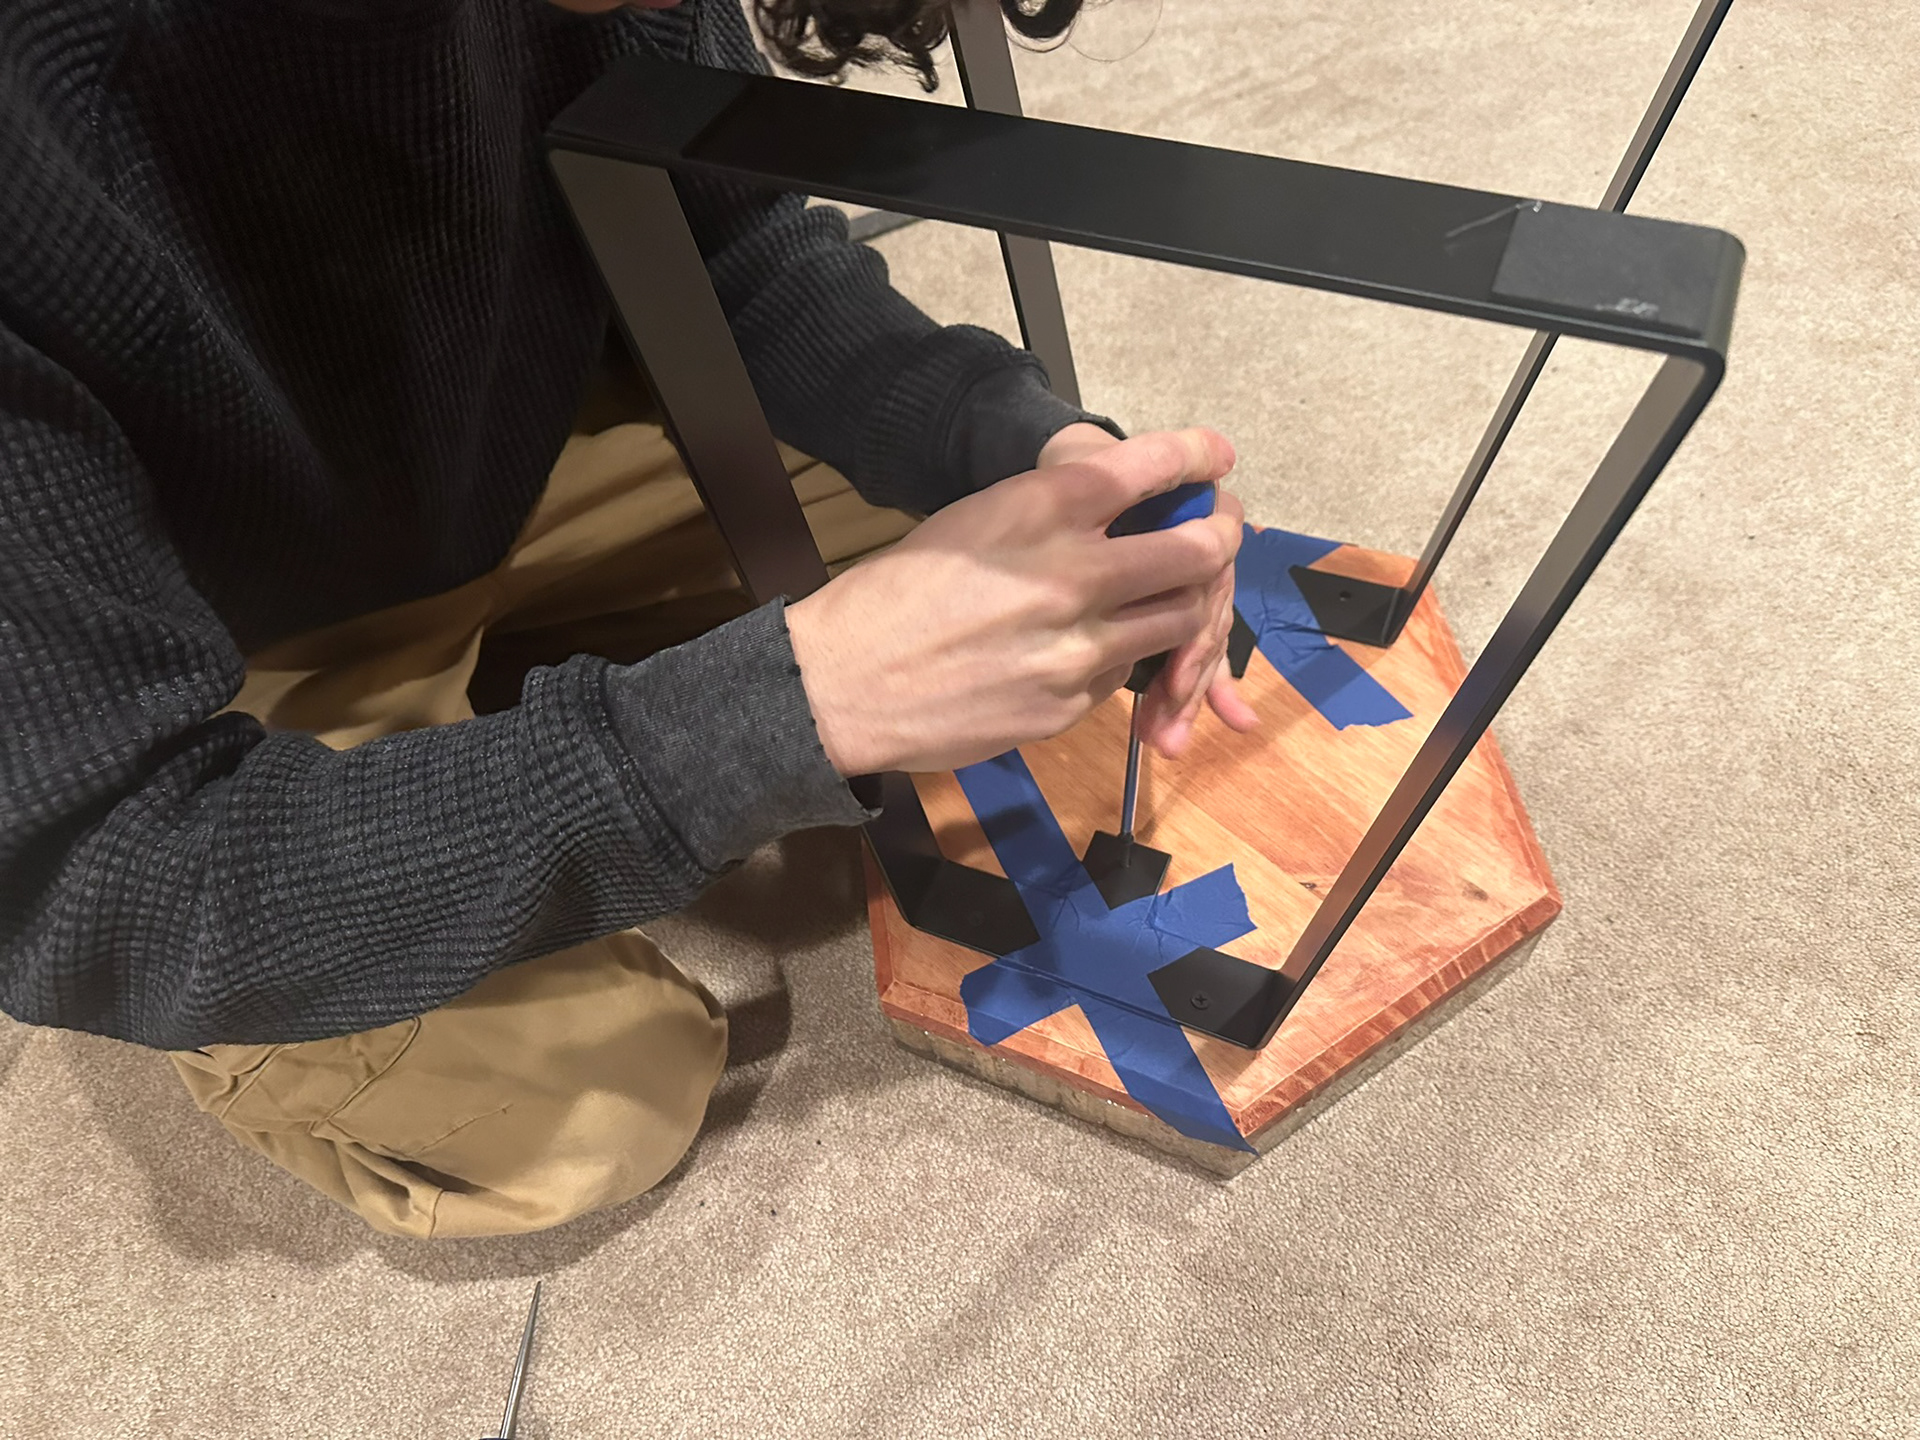
Applying the Screws
The Cork Stool
"The Bridge Between Business & Design"
