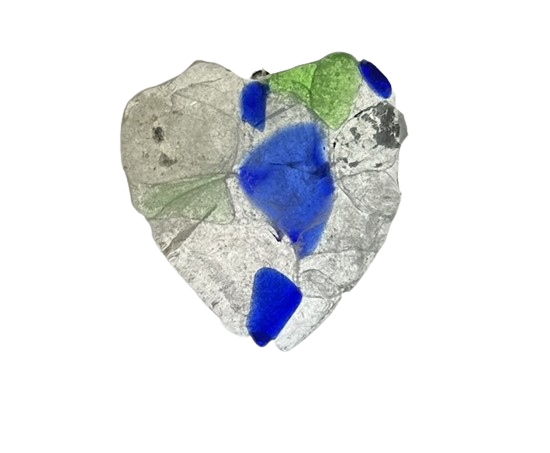
A desire and passion on helping reduce the waste of beaches with upcycling beach glass to create authentic memorable pieces.
The Brief
How can we change how design is created?
Designing for the future with a new fabrication method in design.
- Upcycling
- Creating a new molding process
- Sea Glass
My innovative solution proposes the transformation of sea glass—weathered, recycled glass fragments found along shorelines—into sustainable products that contribute to ocean conservation efforts. By collecting and repurposing sea glass, we not only prevent further pollution but also promote the reuse of existing materials, reducing the demand for virgin resources and mitigating environmental degradation.
Color Rarities
Some colors of sea glass are rarer than others. For example, red, orange, yellow, and turquoise are often harder to find because fewer bottles were made in these colors historically. On the other hand, green and brown sea glass are more common because they come from beer bottles, which were more prevalent.
Beachcombing
Beachcombing is a timeless and cherished hobby of mine. It involves walking along beaches, shorelines, and coastal areas in search of treasures washed ashore by the sea. Whether it's shells, sea glass, driftwood, or other natural and man-made objects, beachcombing offers a unique opportunity to connect with nature, explore coastal ecosystems, and uncover hidden gems. Sea glass is one of the main things I look for when beachcombing. With Sea glass I aimed to create a product based off the beauty and wonder of this upcycled material.
The Gathering Process
I set out to my favorite beachcombing spot in Fort Laurence New Jersey to start collecting material for this newfound project. Many pieces were found that day of all colors ranging from white, green, brown, and blue.
Cleaning off the Pieces
The Smashed Sea Glass Protected inside a Garbage Bag
Smashing the Glass
In order to start creating with this upcycled material it had to be broken down into smaller pieces so that it can be manipulated and designed with. I had an idea in mind to melt down the glass and create new purpose for a once forgotten and discarded item.
What's the Solution?
Microwavable Kiln
The kiln is made of a white insulating fiber and lined on the inside of the chamber with a black compound that absorbs the microwave radiation.
The First Fires of Glass to Test Properties of the Kiln
The First Tests
I started the process with throwing some glass into the kiln and seeing what happened. This exploration was very important to the understanding of the kiln. From this I learned the proper firing time of 20 minutes with my 800-watt microwave. I also learned to leave the piece sitting for around 45 minutes to completely cool down and solidify.
Mold Experimentation
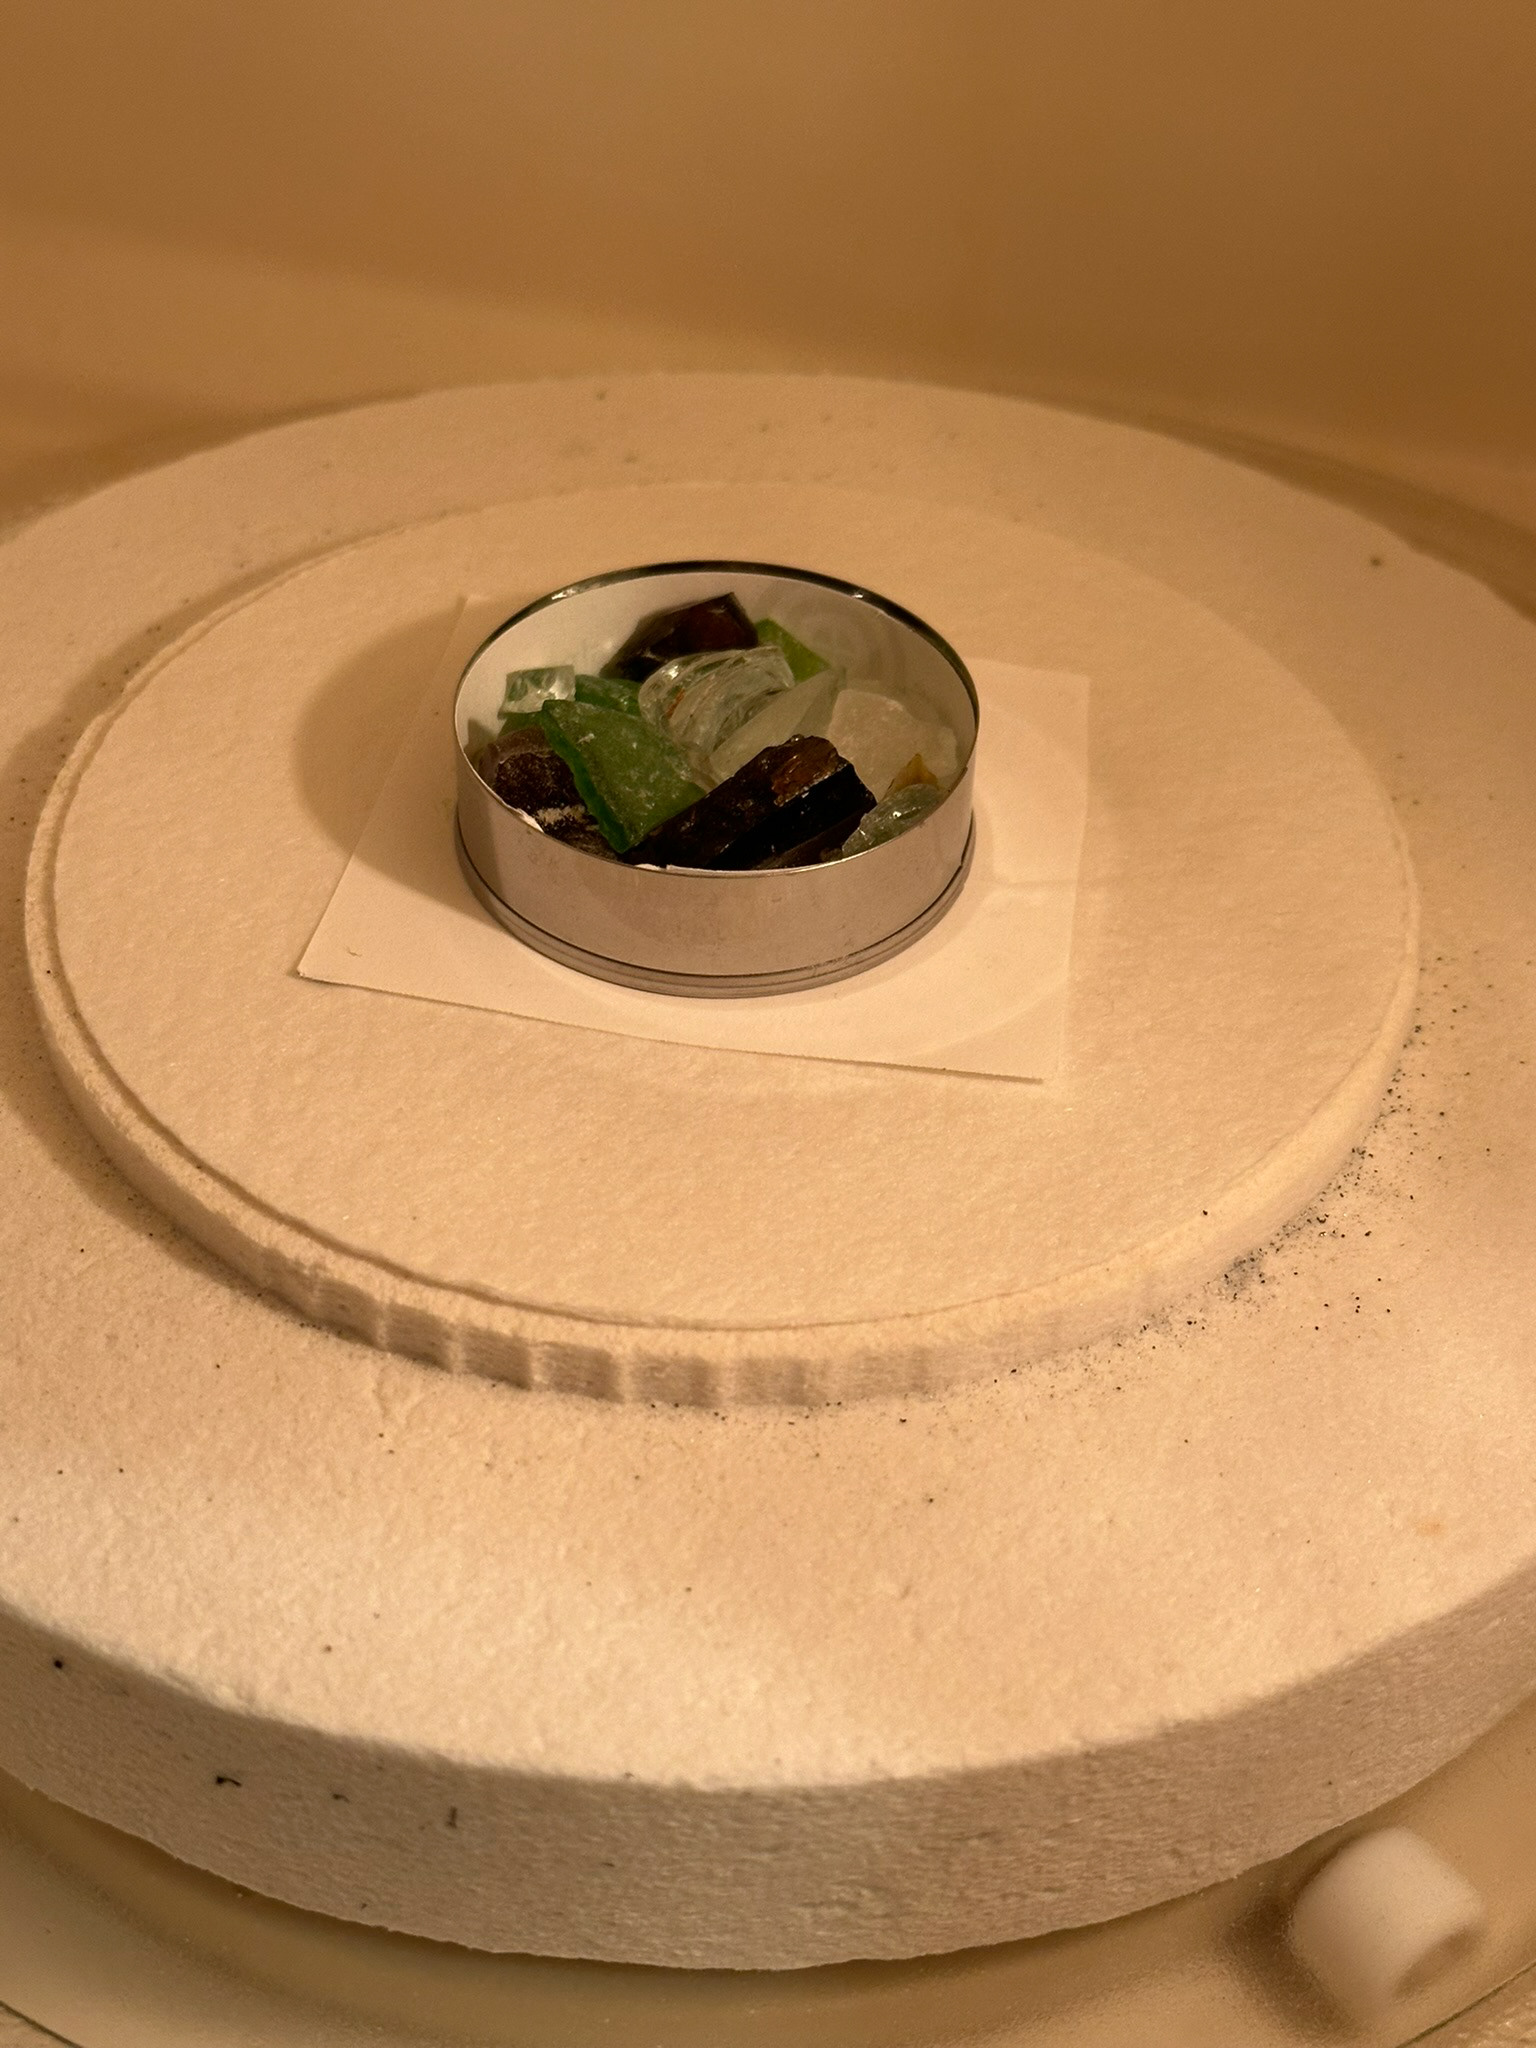
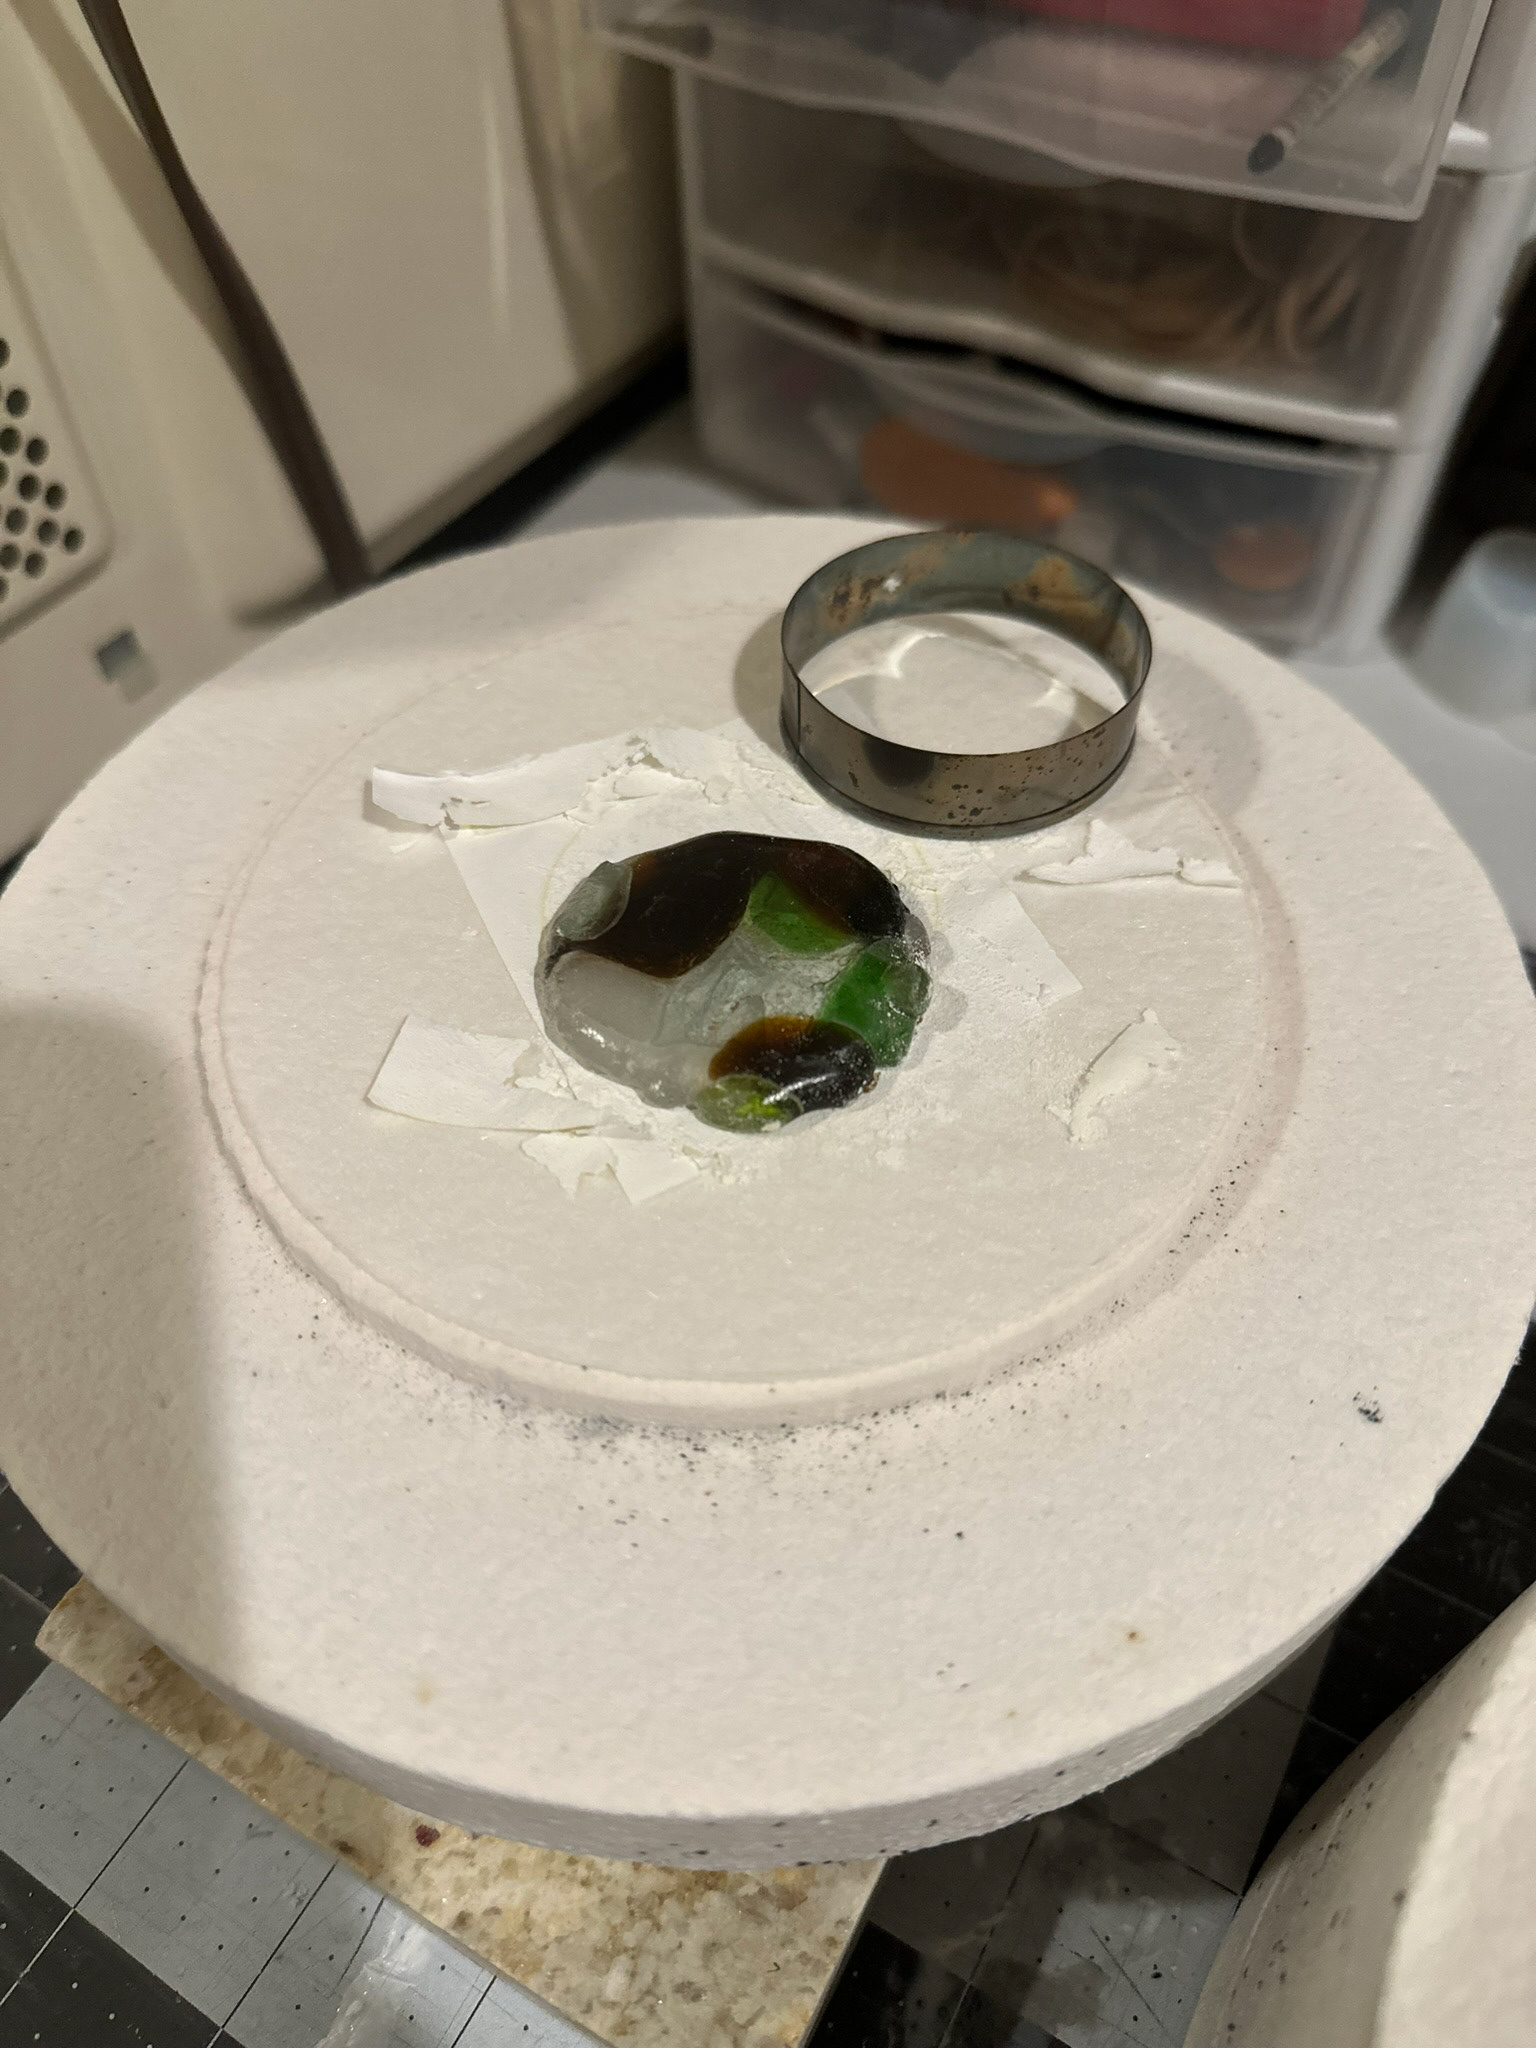
After doing some experimentation tests I learned that stainless steel cookie cutters can be used to form molds inside the kiln itself. Due to the black compound inside the lid of the kiln protecting the metal inside. This allows the stainless-steel cookie cutters to be cooked but not explode.
Lining the Cookie Cutters
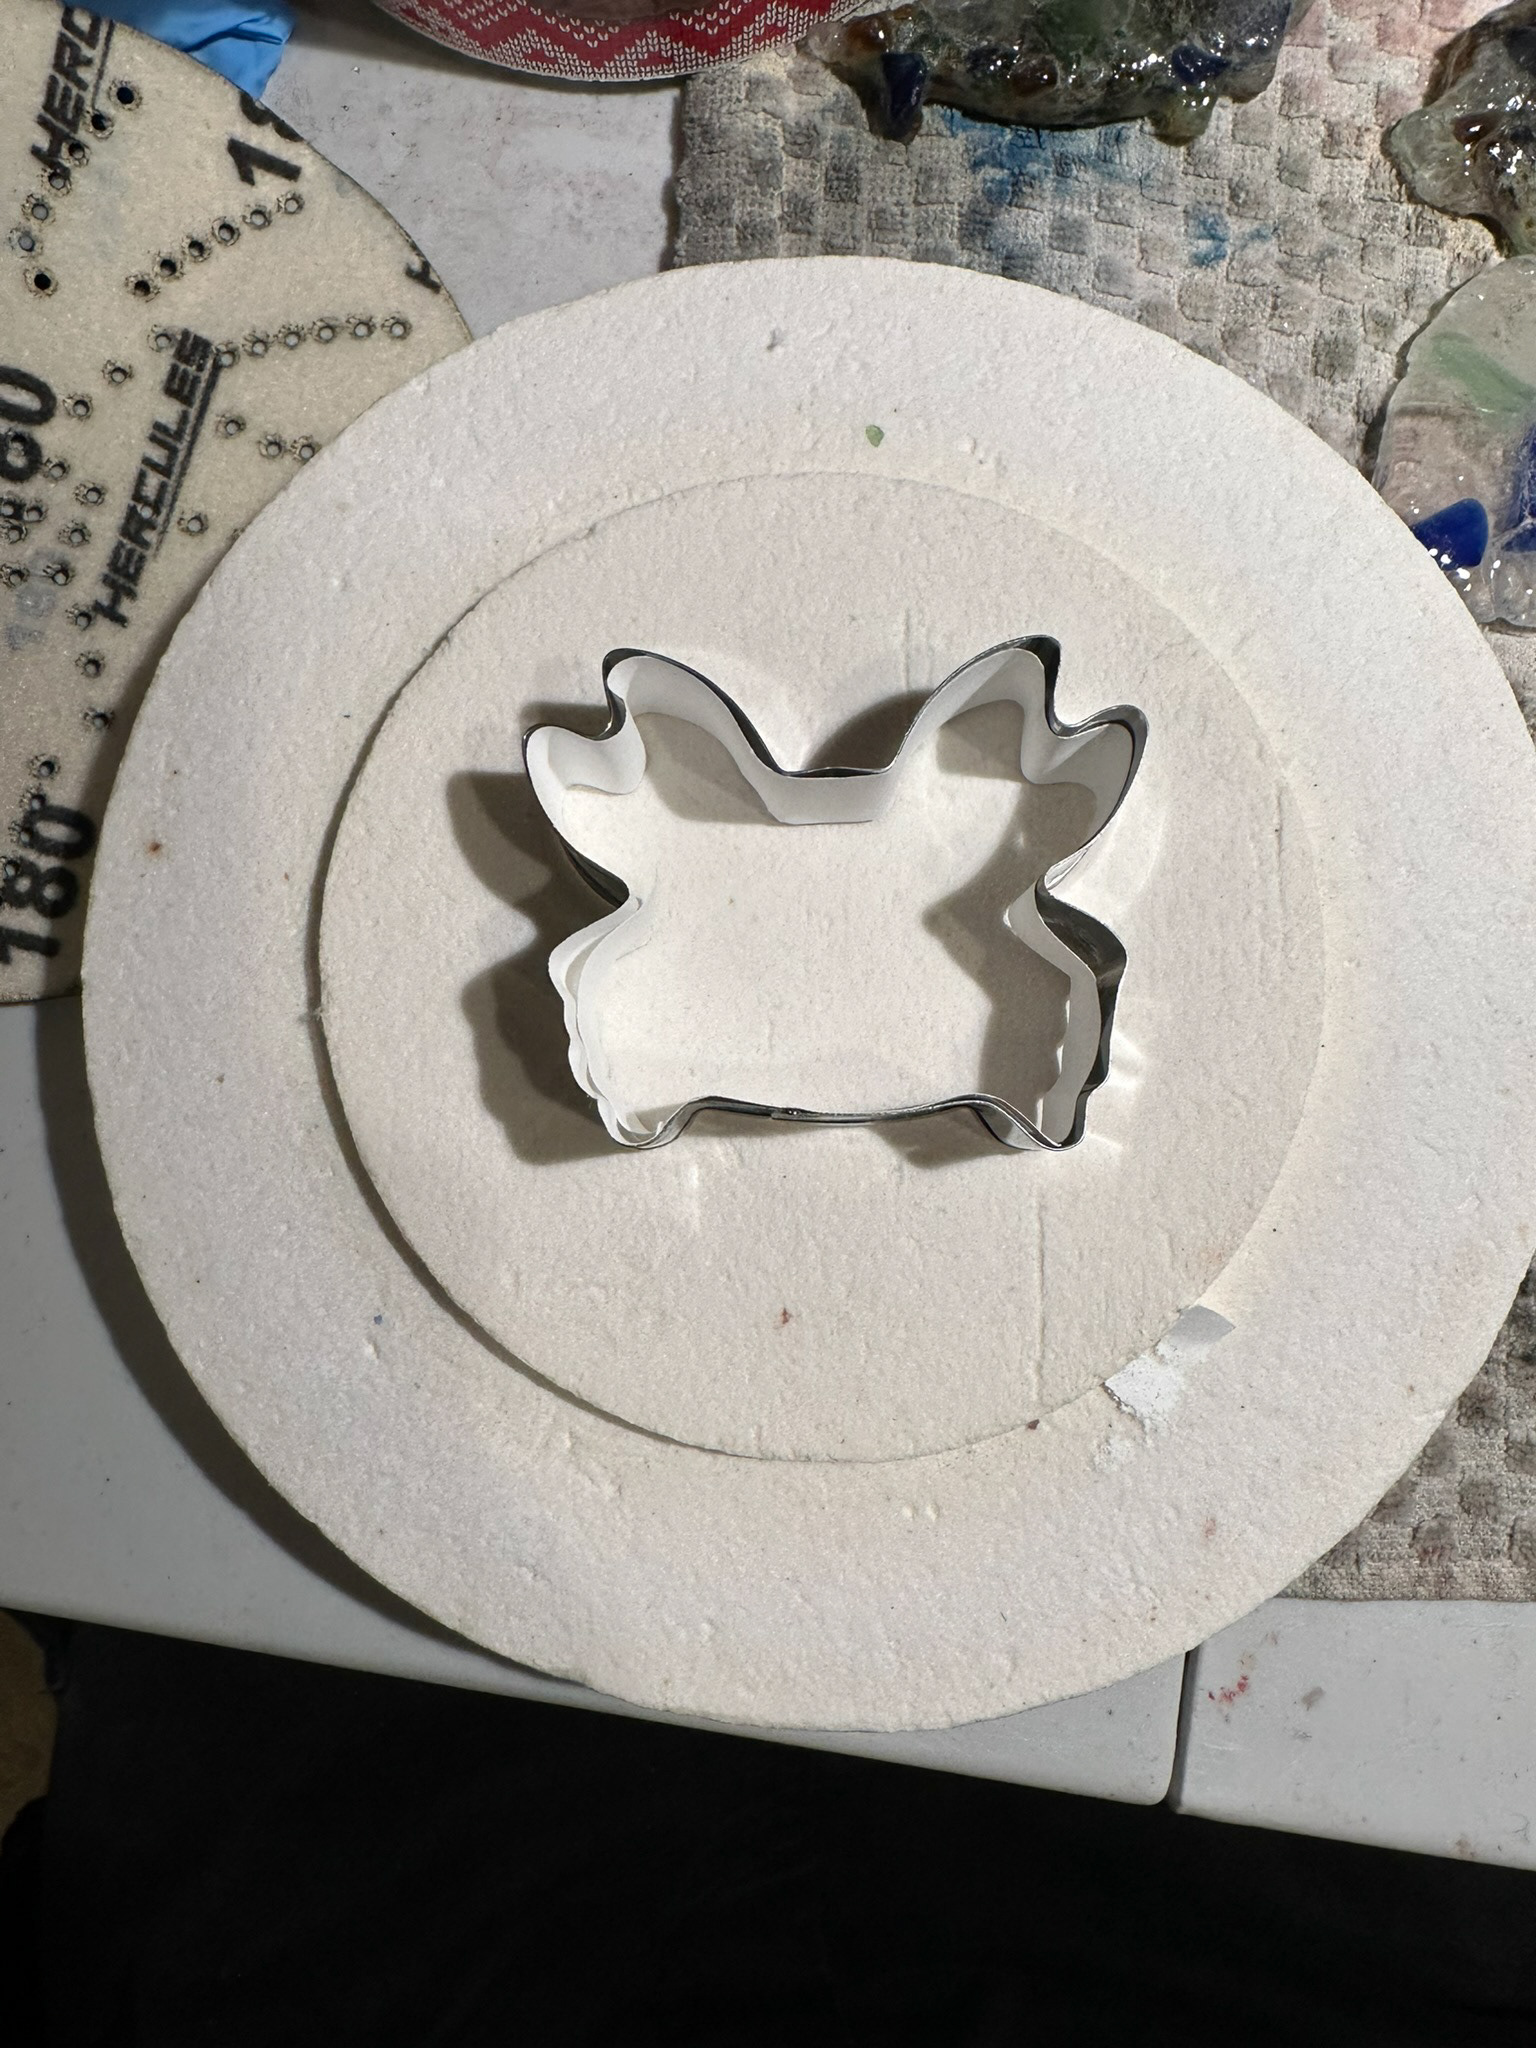
In order for the glass to not stick and mend to the metal of the cookie cutters a step has to be taken. Before adding the glass to the mold itself it needs to be lined with kiln fire paper which will burn off after the process has completed. This allows the glass piece to smoothly be taken out of the mold once fired.
Lining the Mold with Glue and Kiln Fire Paper
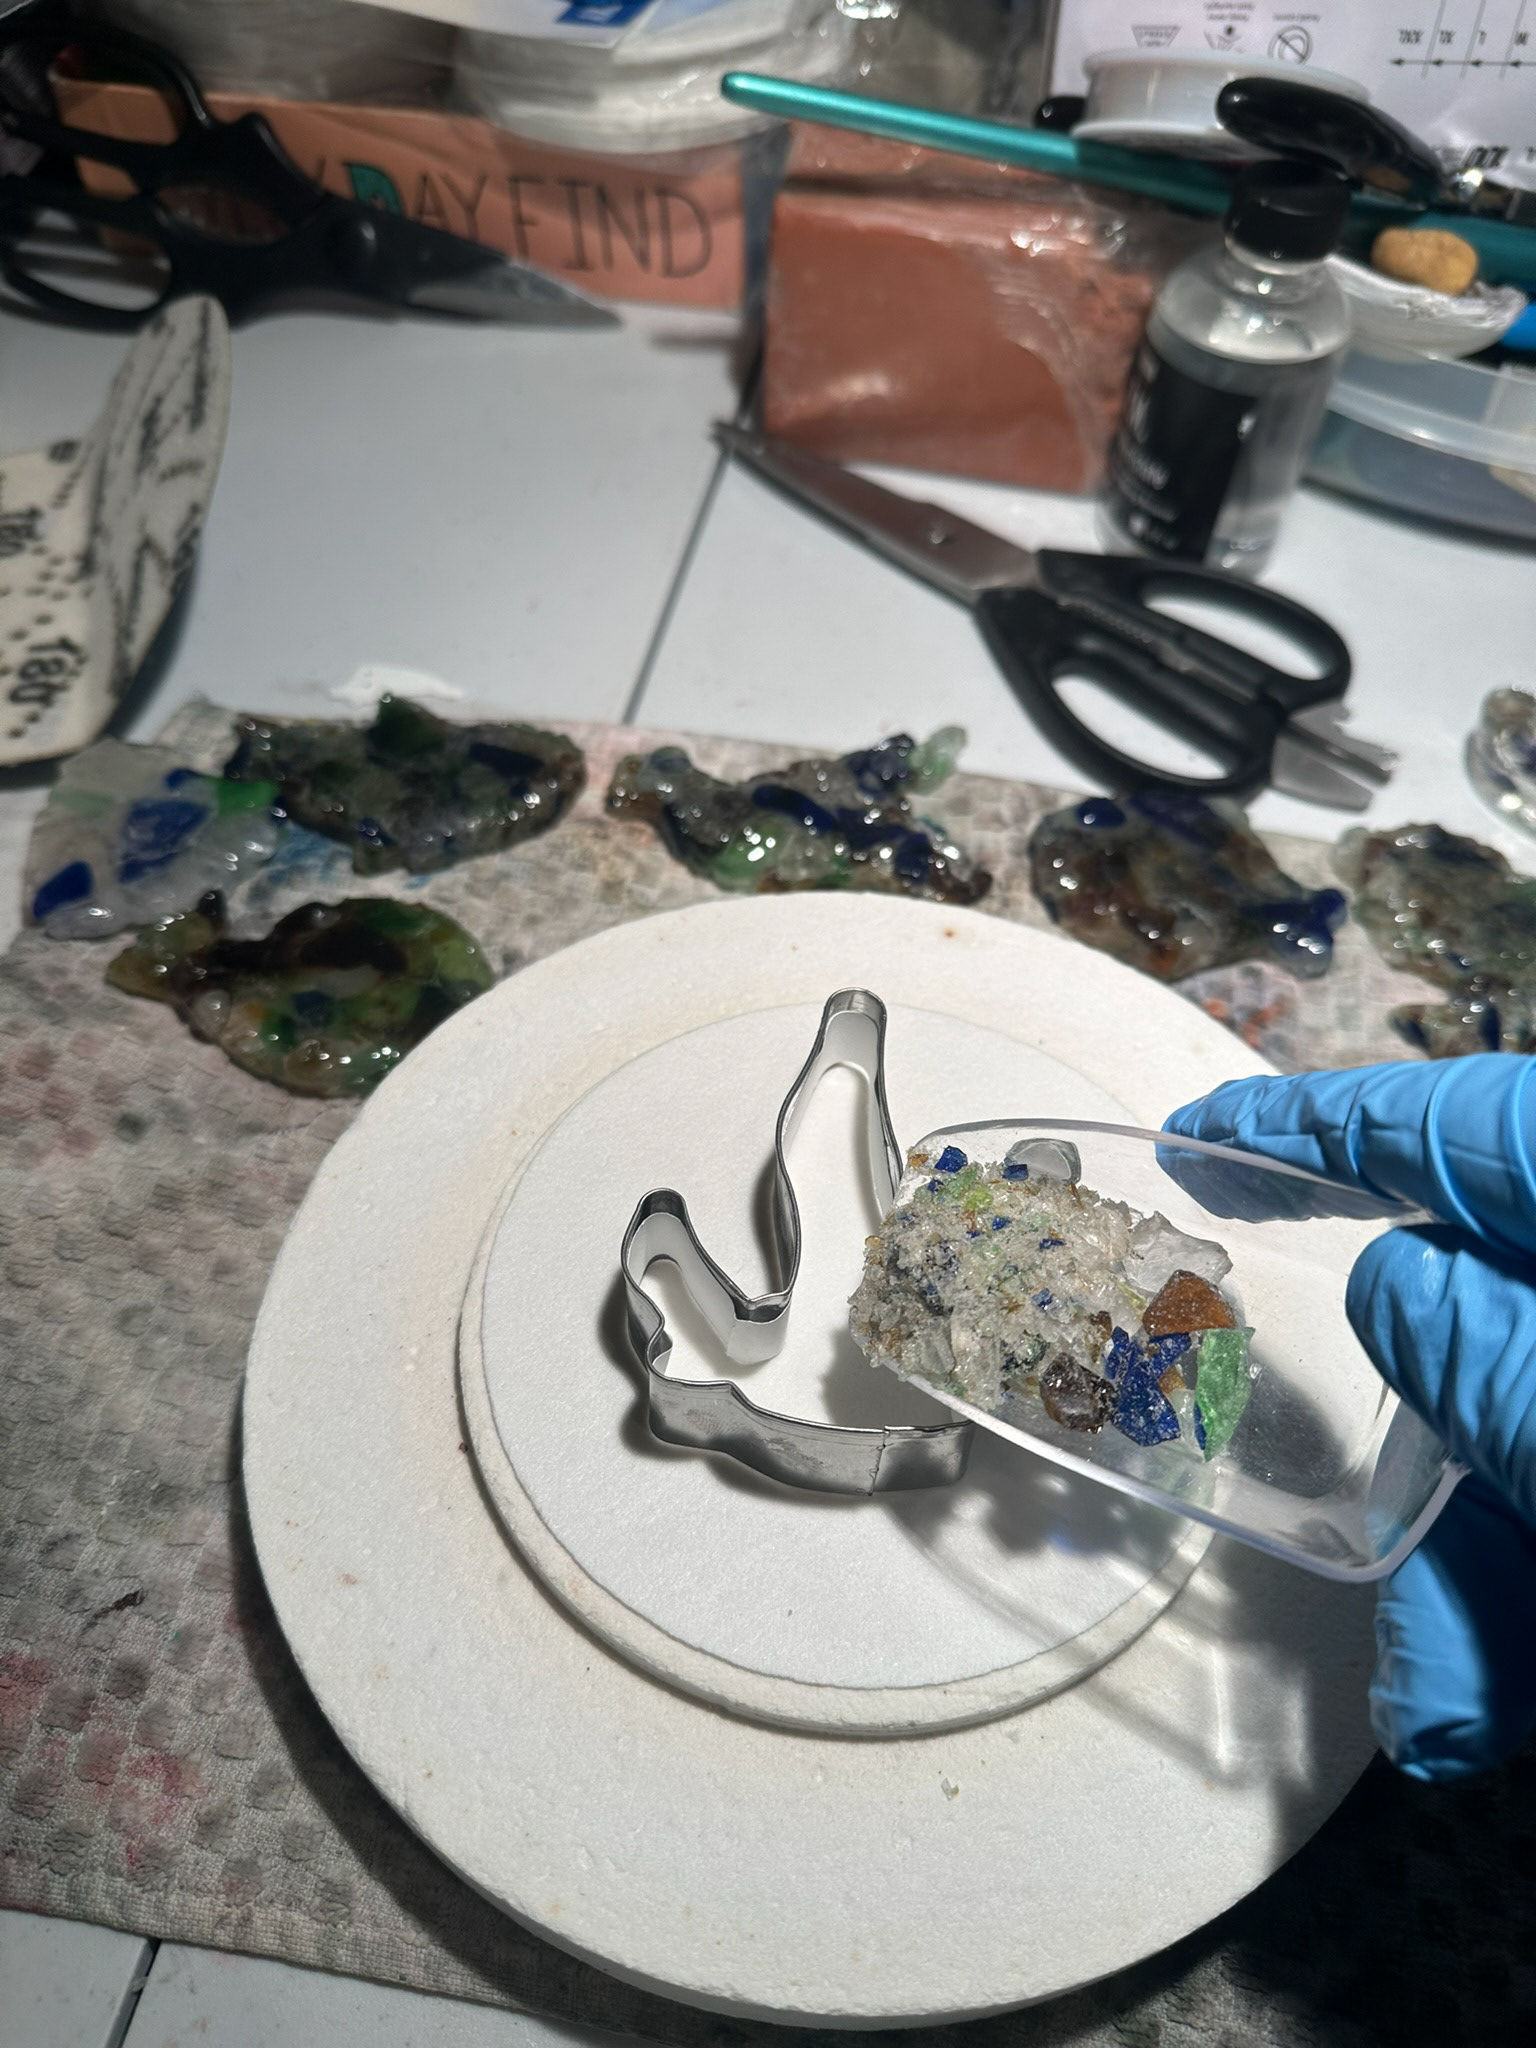
Adding the Magic
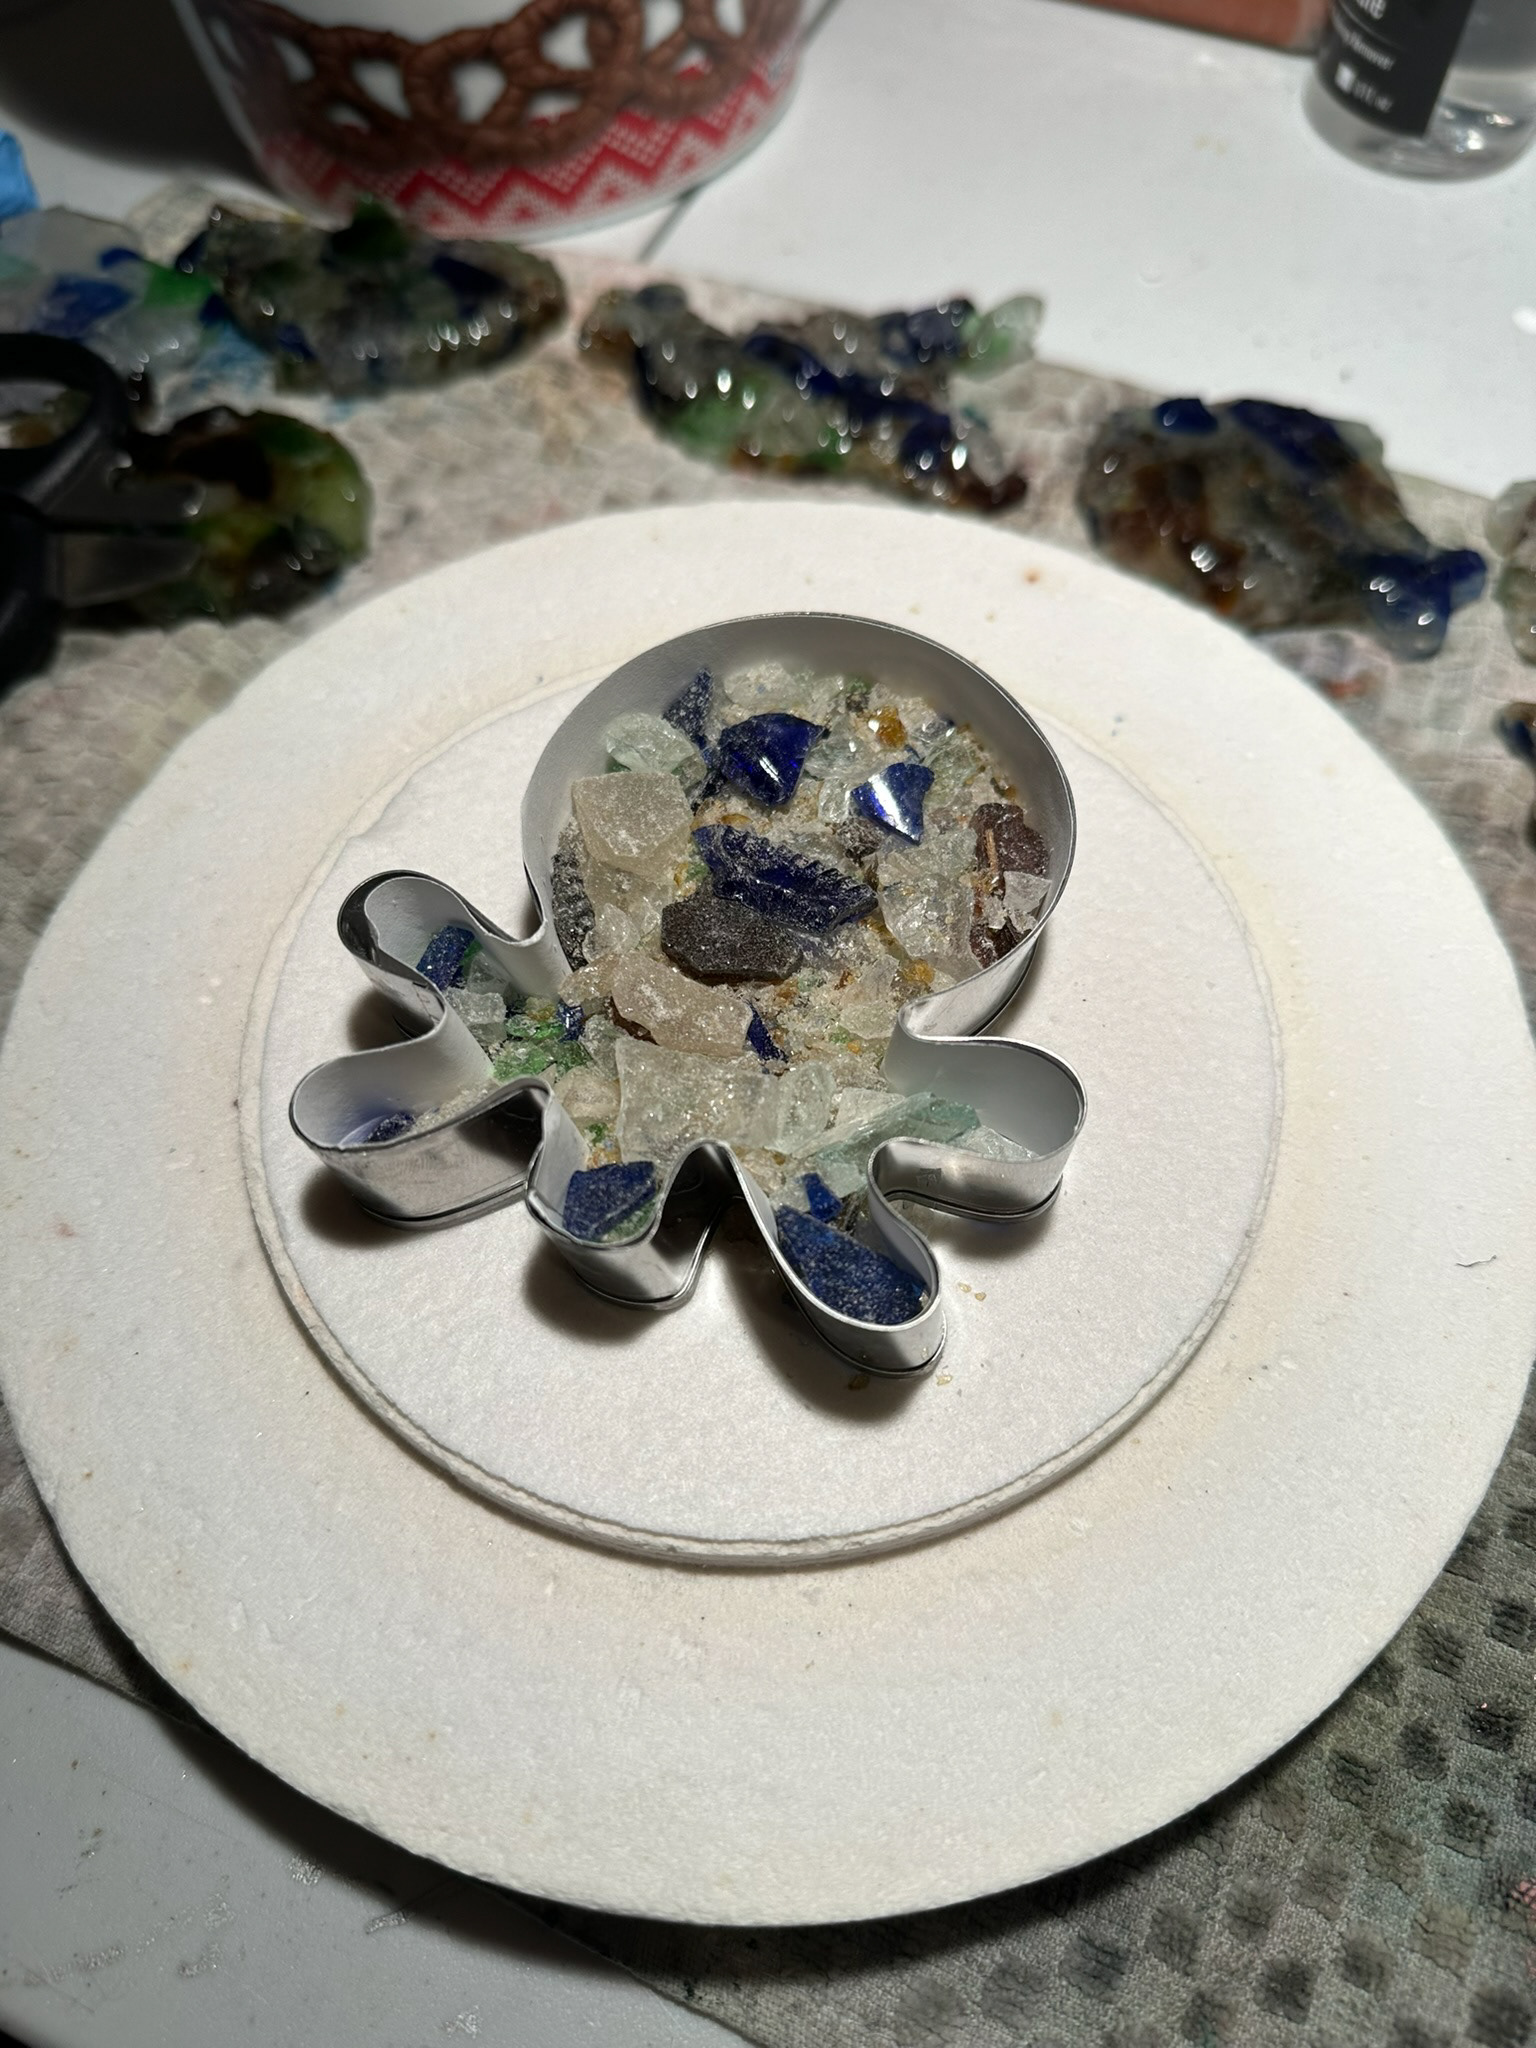
Making sure it's completely filled in
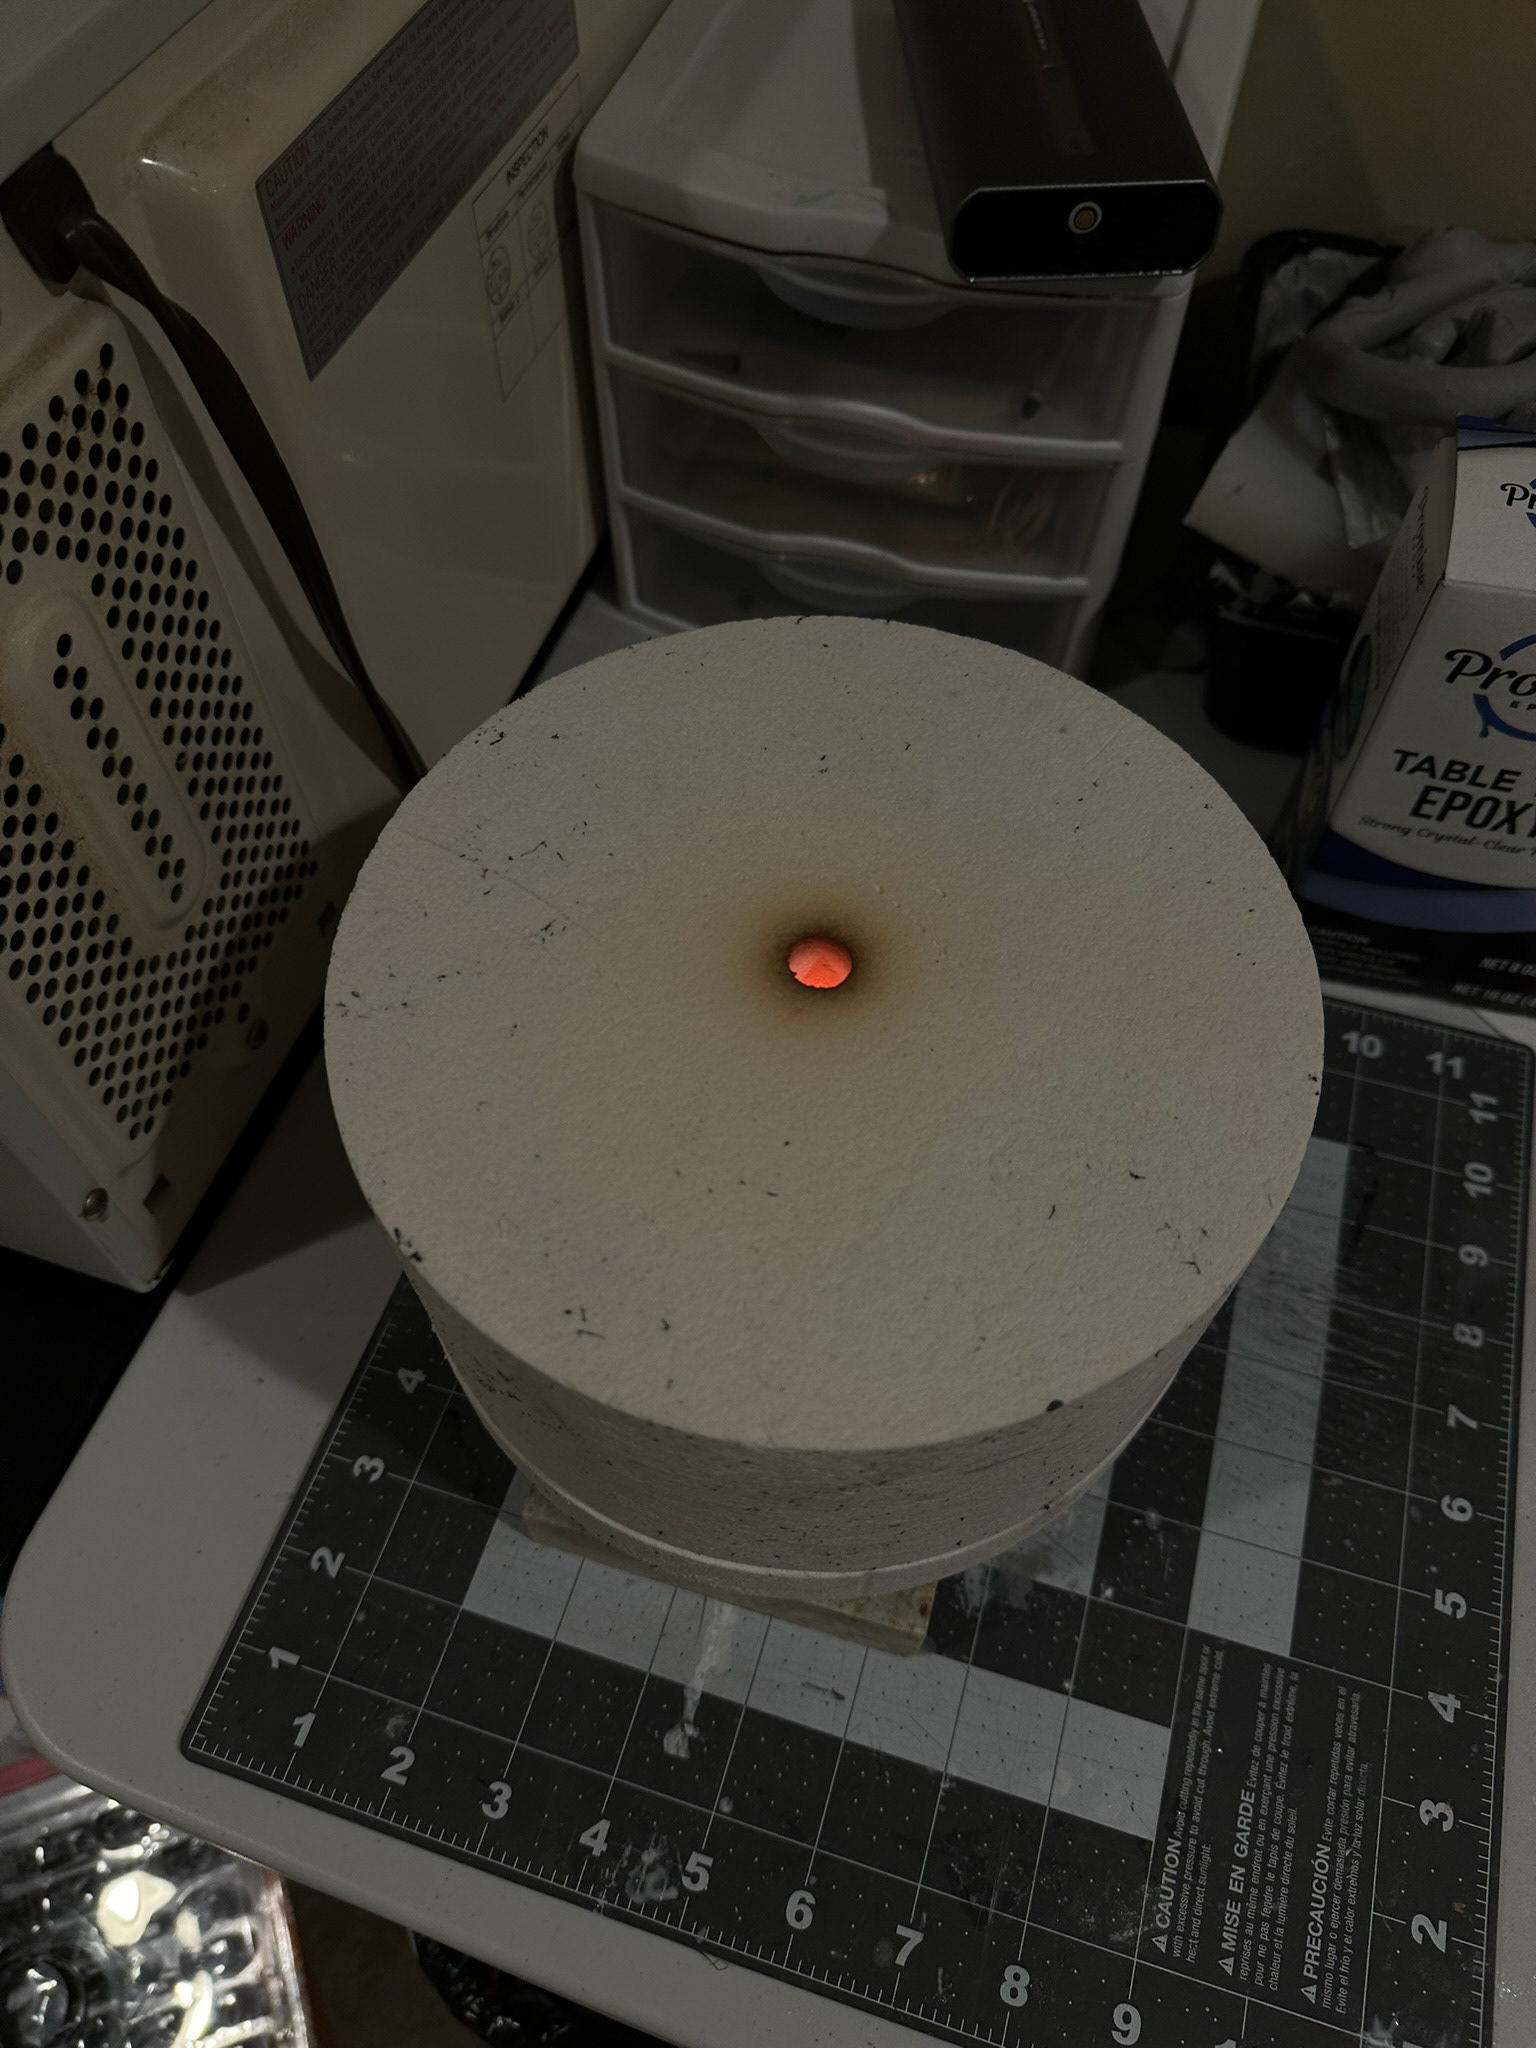
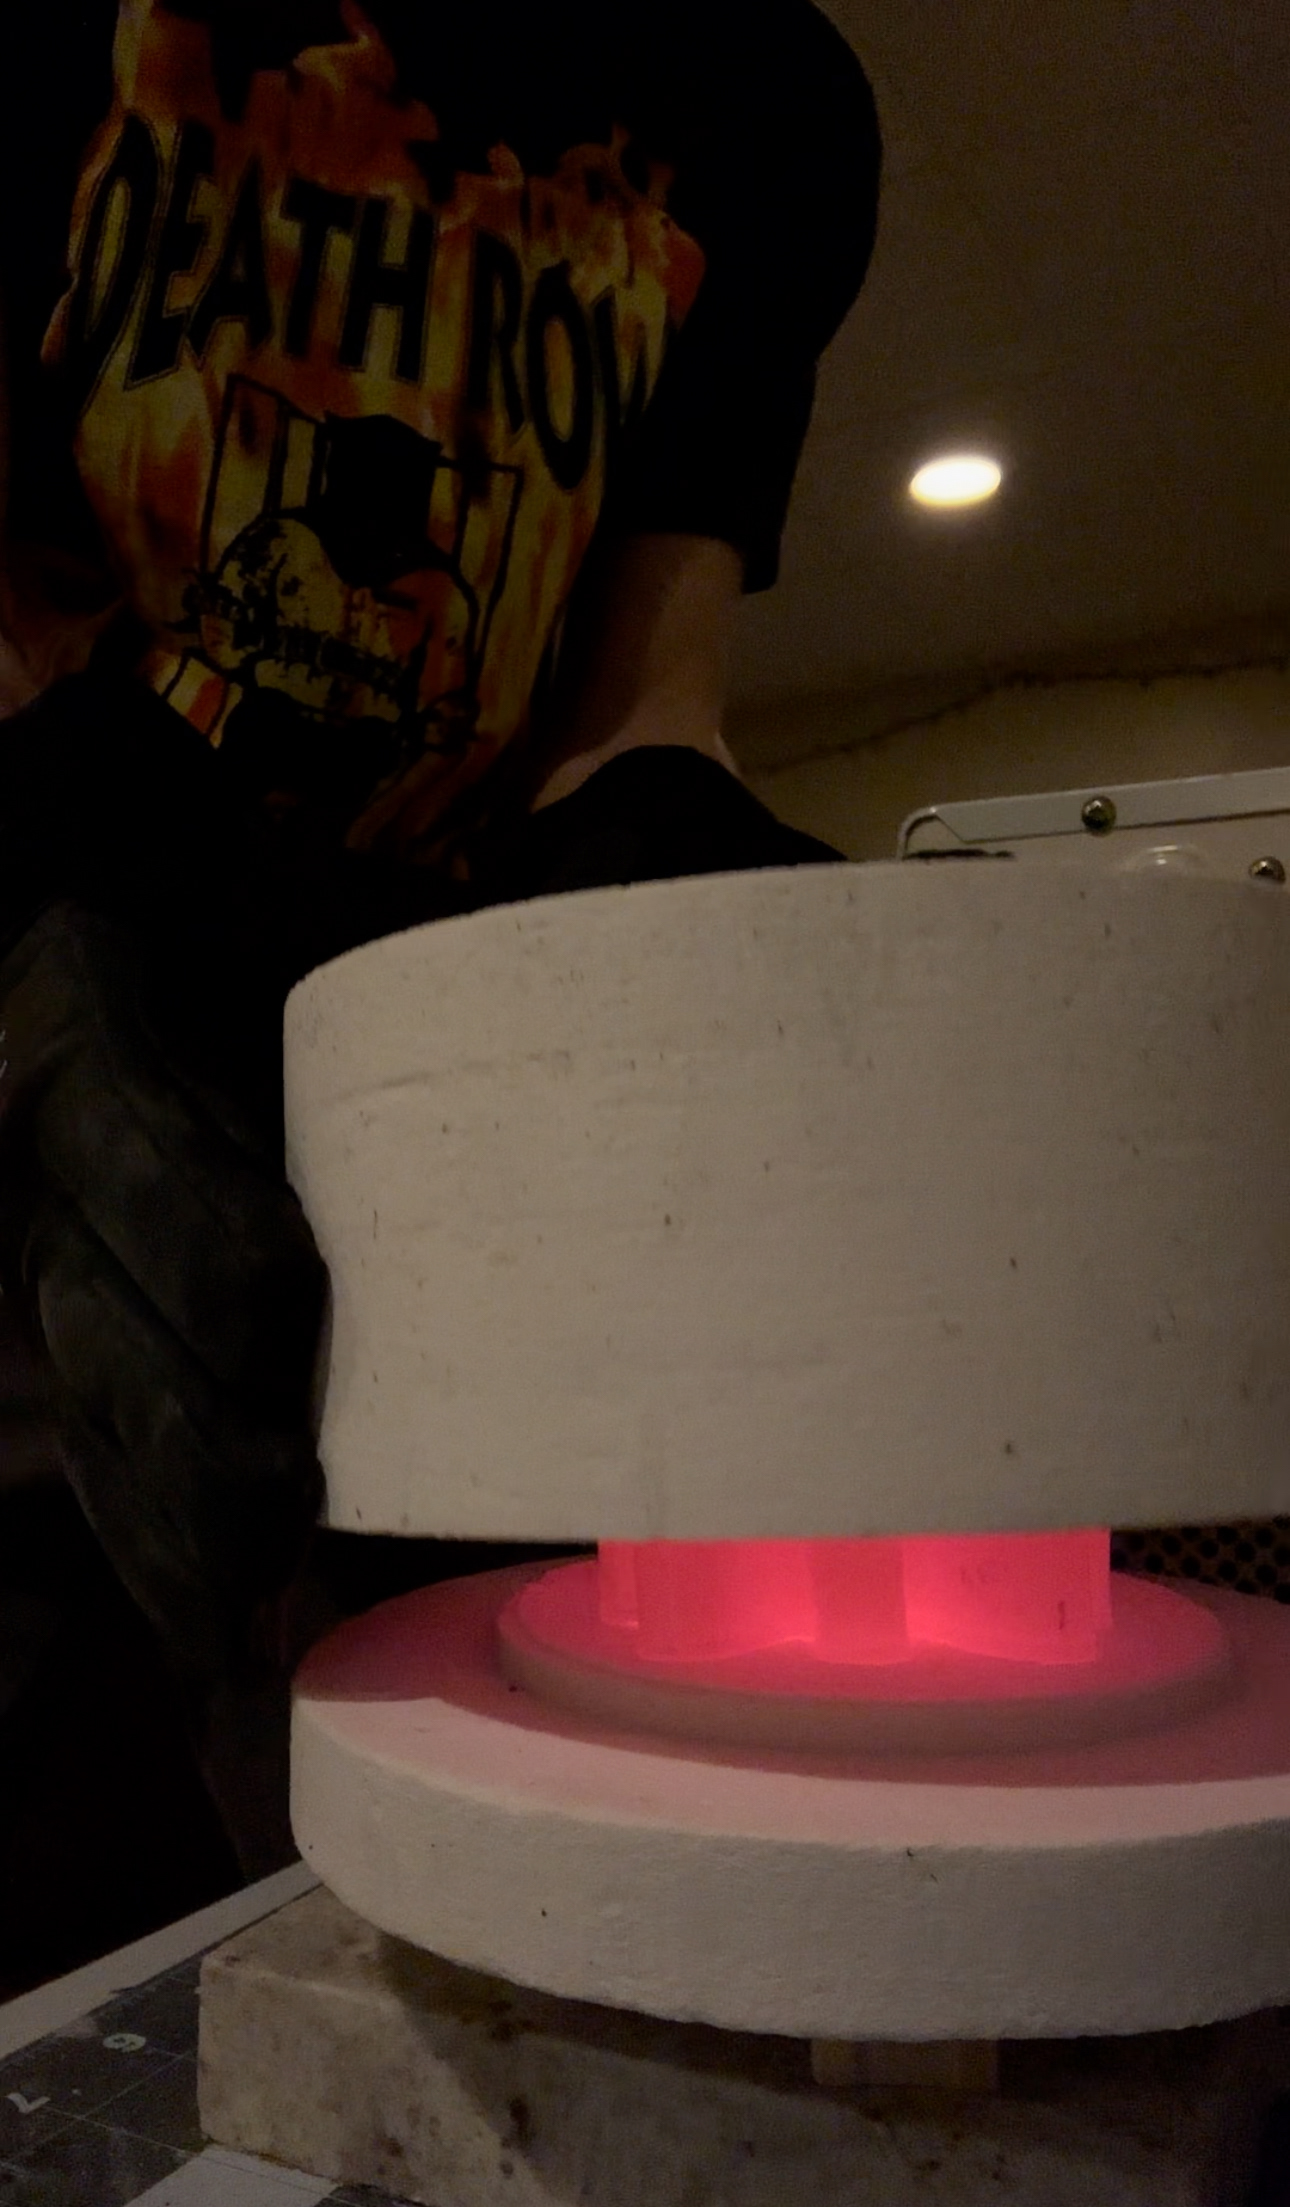
Firing
"Timing is Crucial"
- Each Piece needed to be fired for 20 minutes
- Once it was fired, I took out of the microwave with heat protectant gloves
- I Let the piece sit for about 45 minutes before taking the kiln lid off
Sanding
Once the piece was done setting for 45 minutes, I carefully removed the mold and dusted off the remaining kiln fire paper. Then I would take the piece and sand down the edges to remove any excess sharp tiny fragments left cured on the sides.
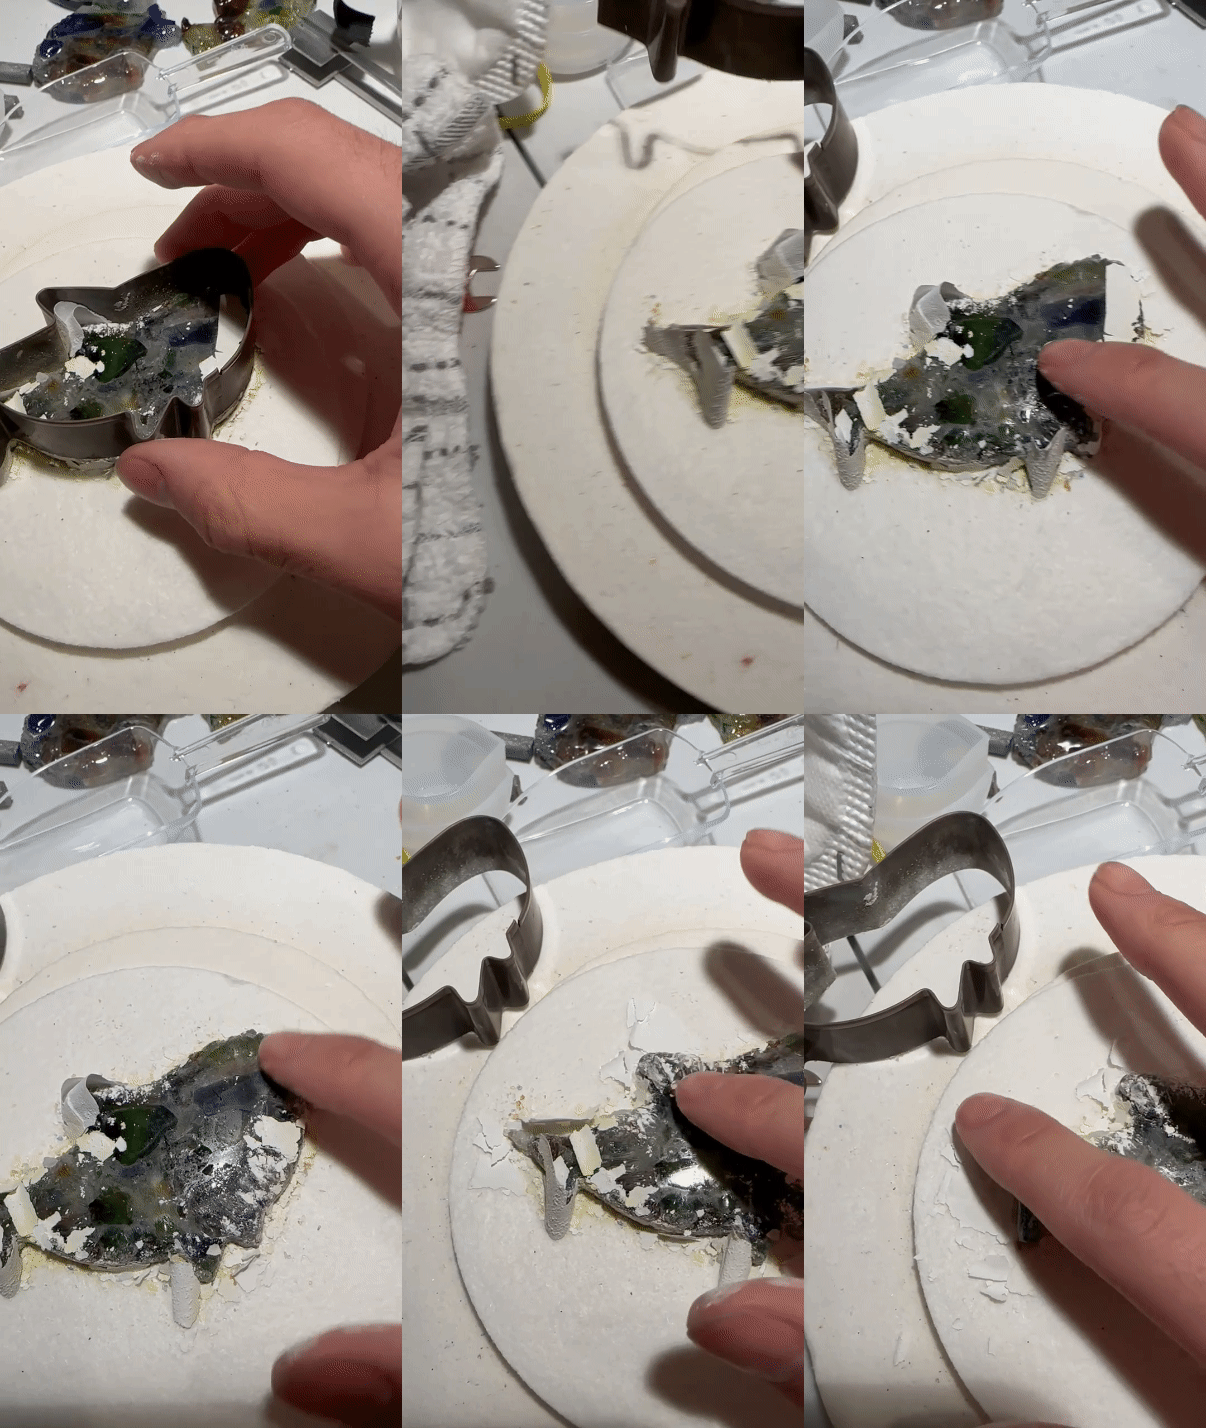
Dusting off the Fired Kiln Paper
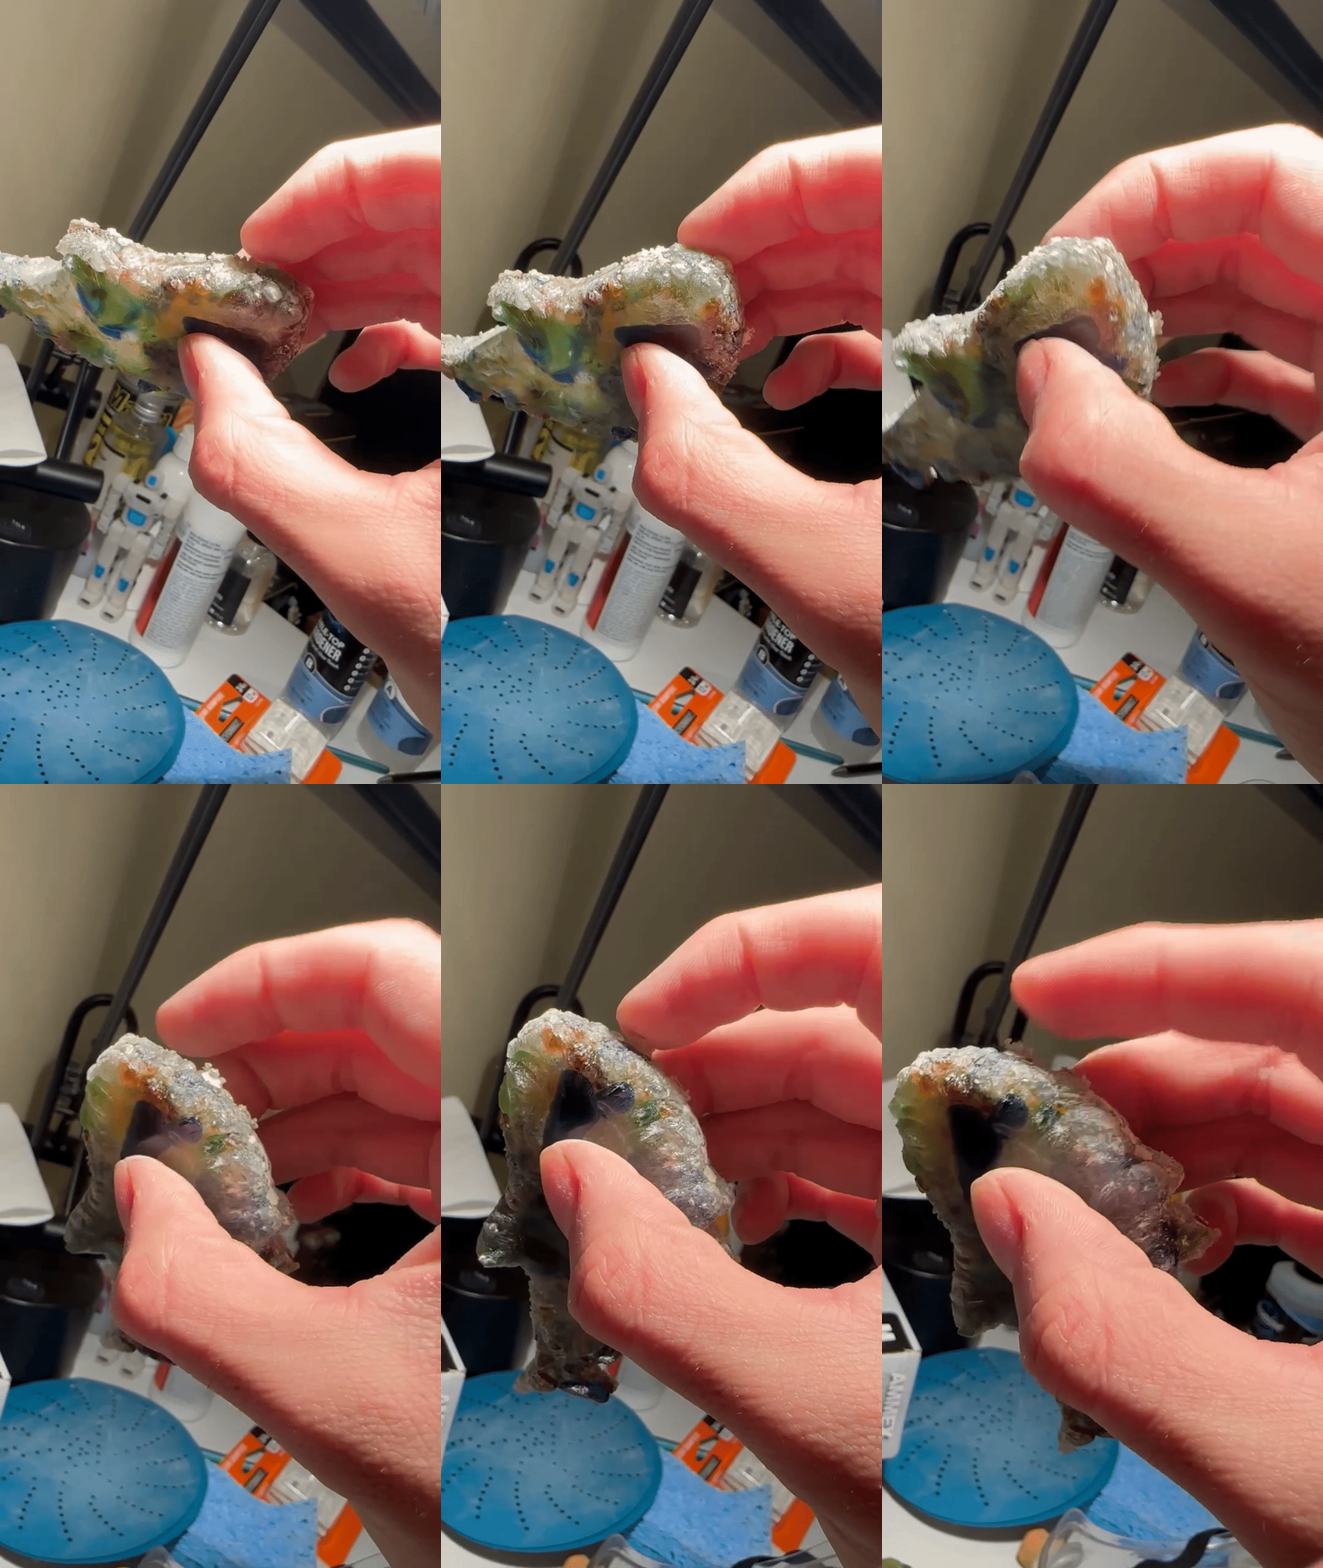
Examining the Edges
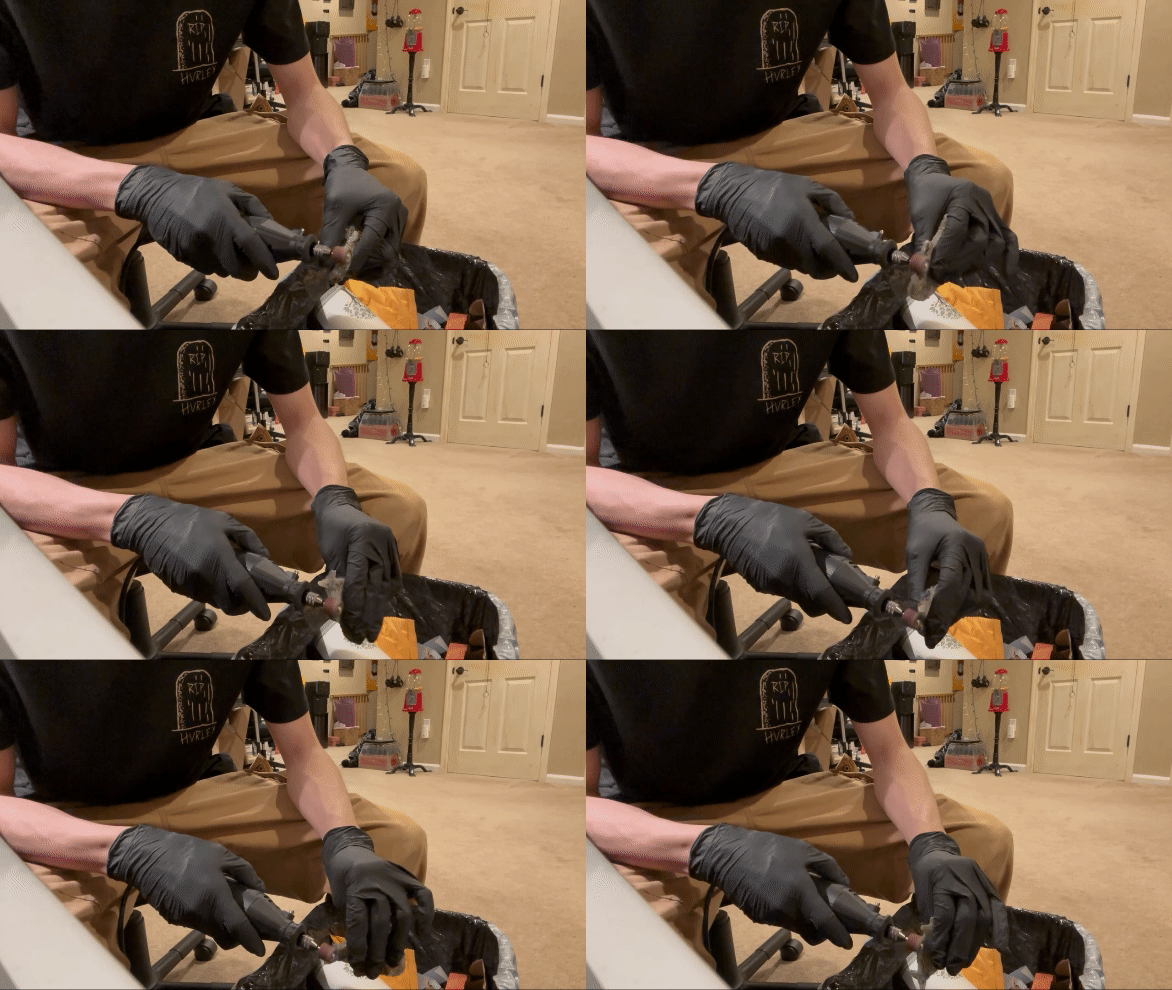
Sanding Down the Edges
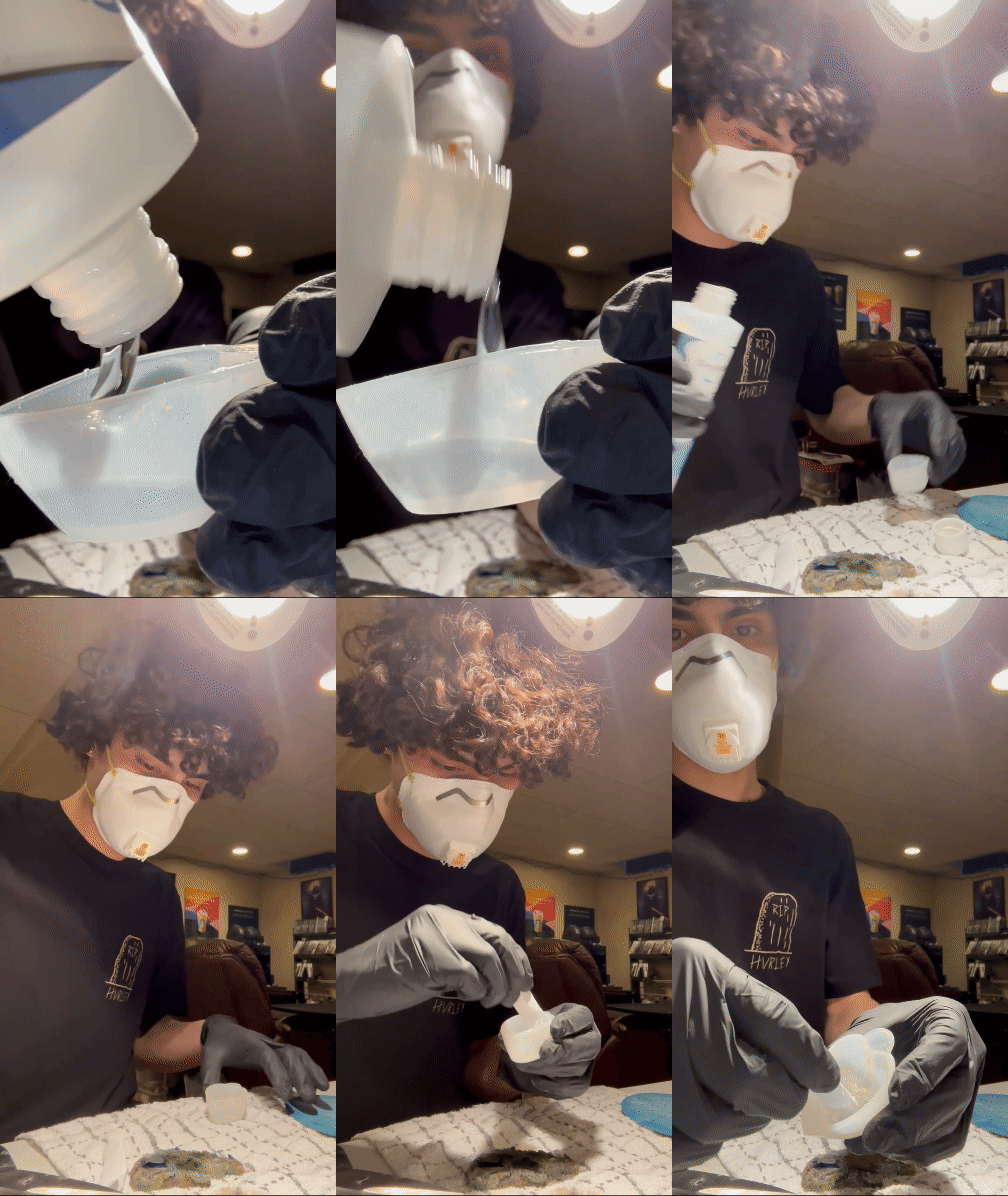
Mixing together Part B & A
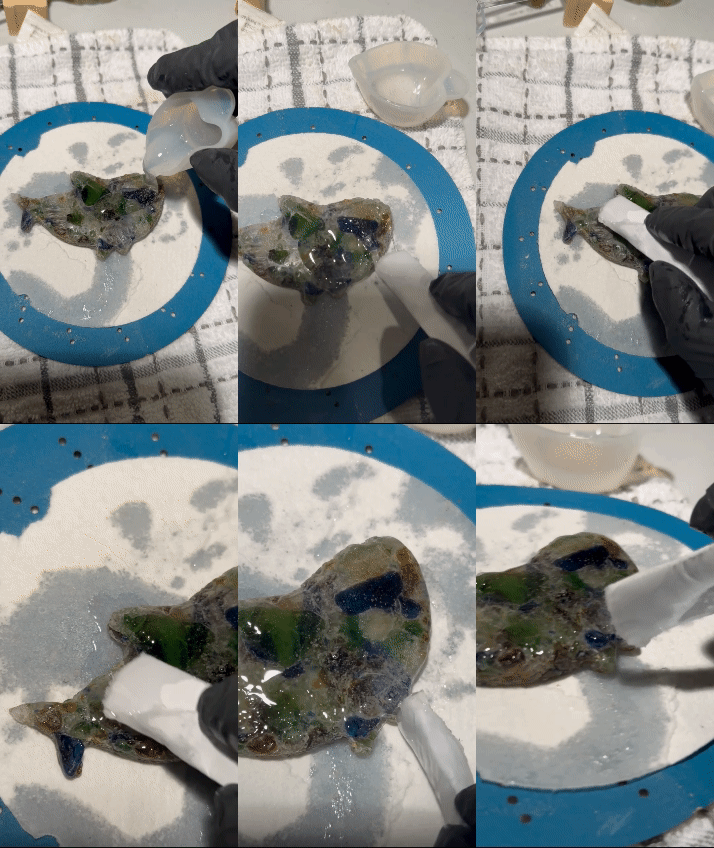
Applying a Light Coat
Coating
Each Piece was then coated with a two-part epoxy resin solution on both sides to help reduce the fog created from firing. Alongside just an aesthetic standpoint it also added extra protection and durability to each piece.
Hooks & Suctions
The final part of the process was to turn these paperweights into a function piece of design. I noticed that I loved how they shined and glowed in the light. So, with this in mind the idea of Suncatchers came forth. Now each piece can shine bright and glow right before your eyes, casting magnificent colored shadows of the sea.
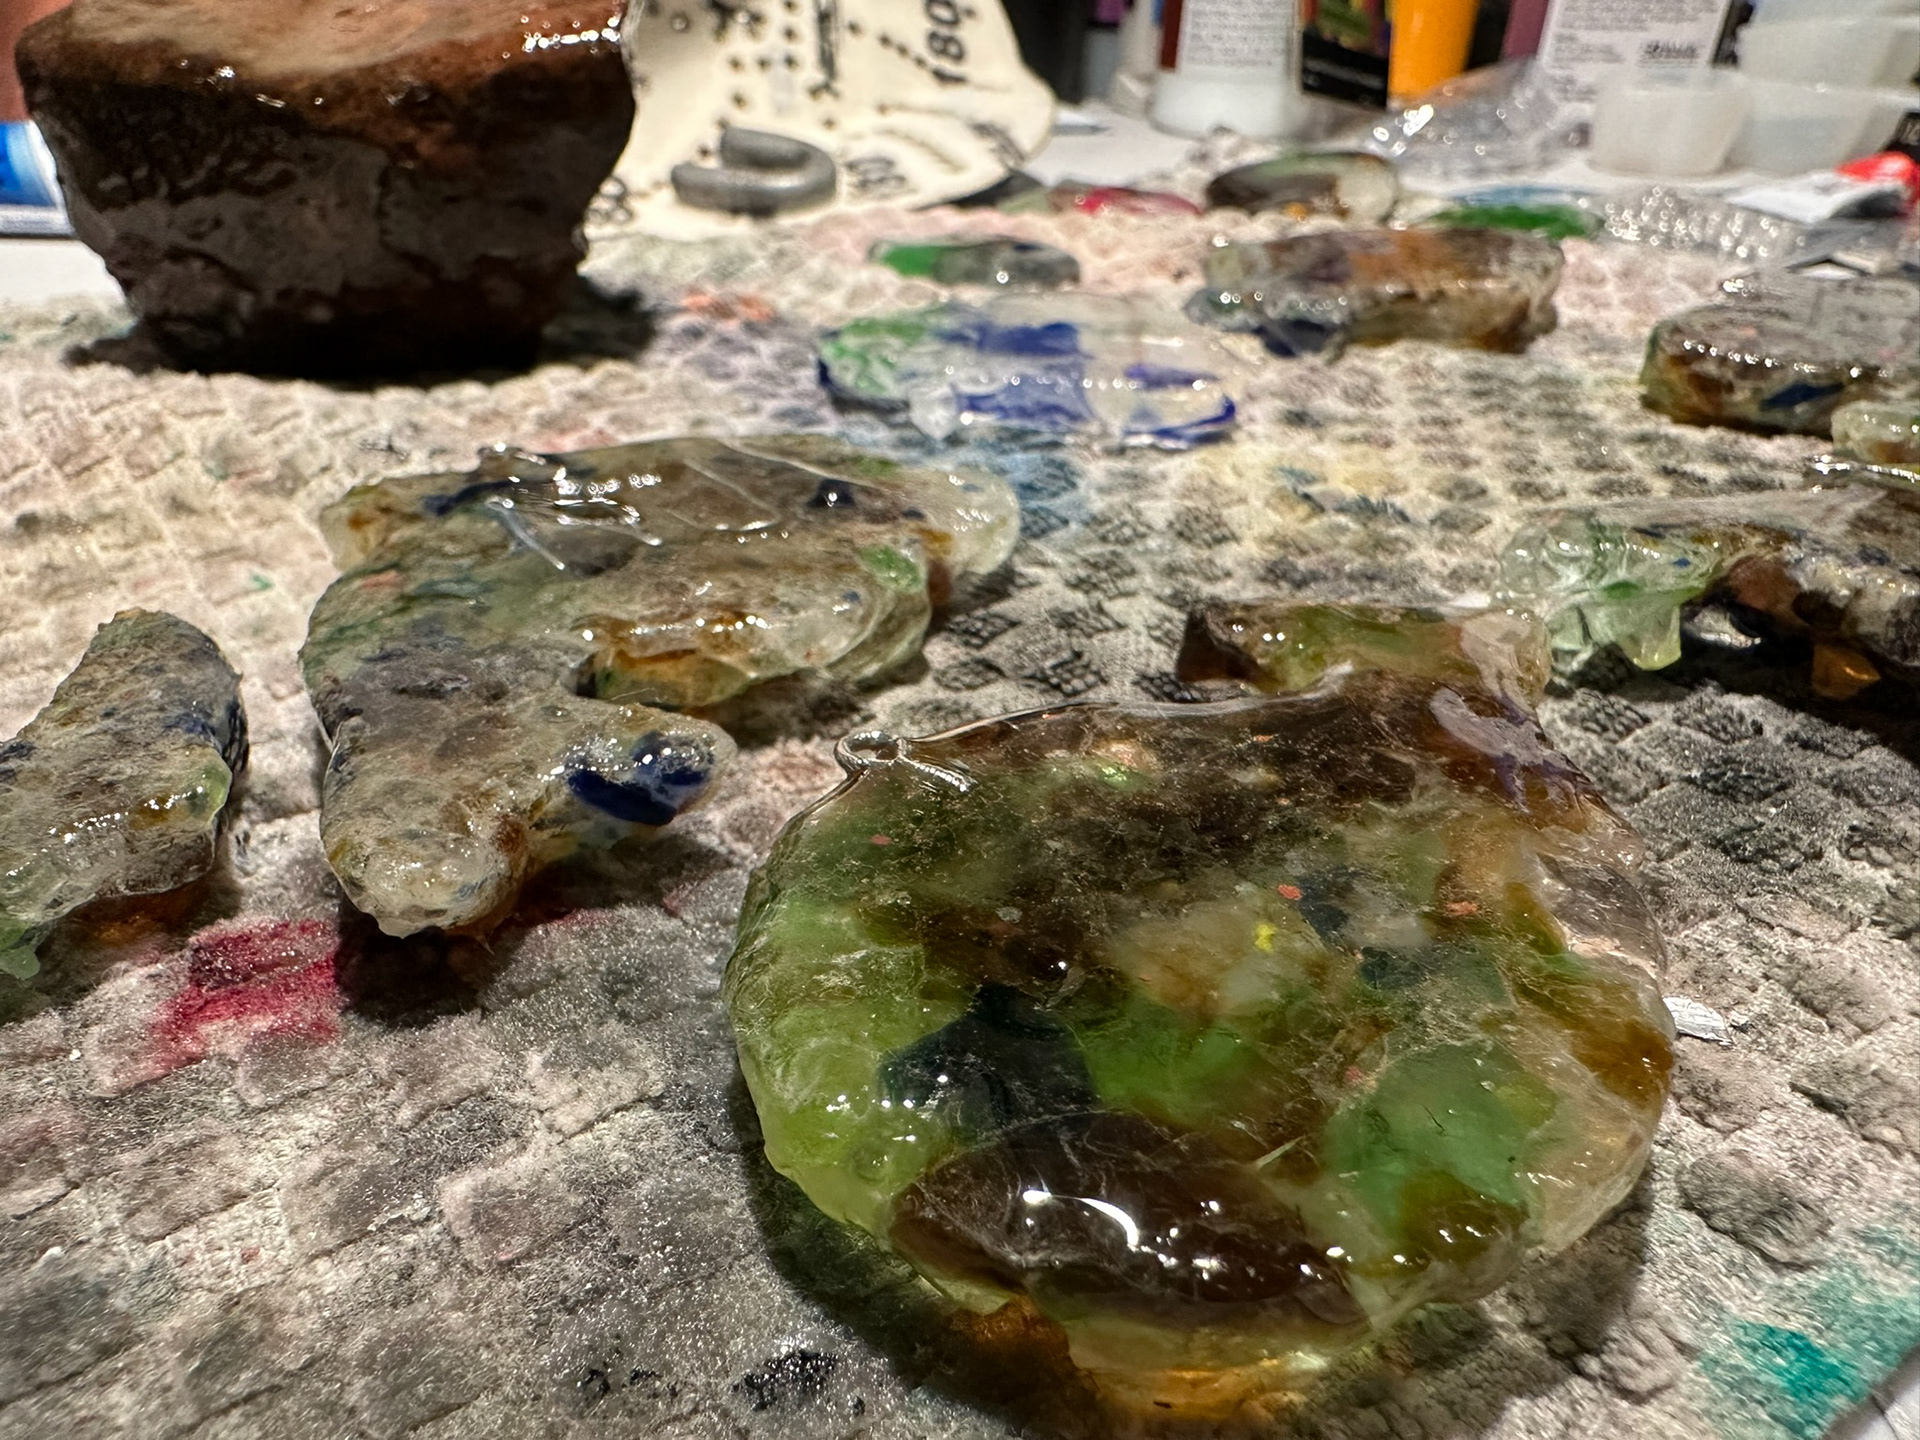
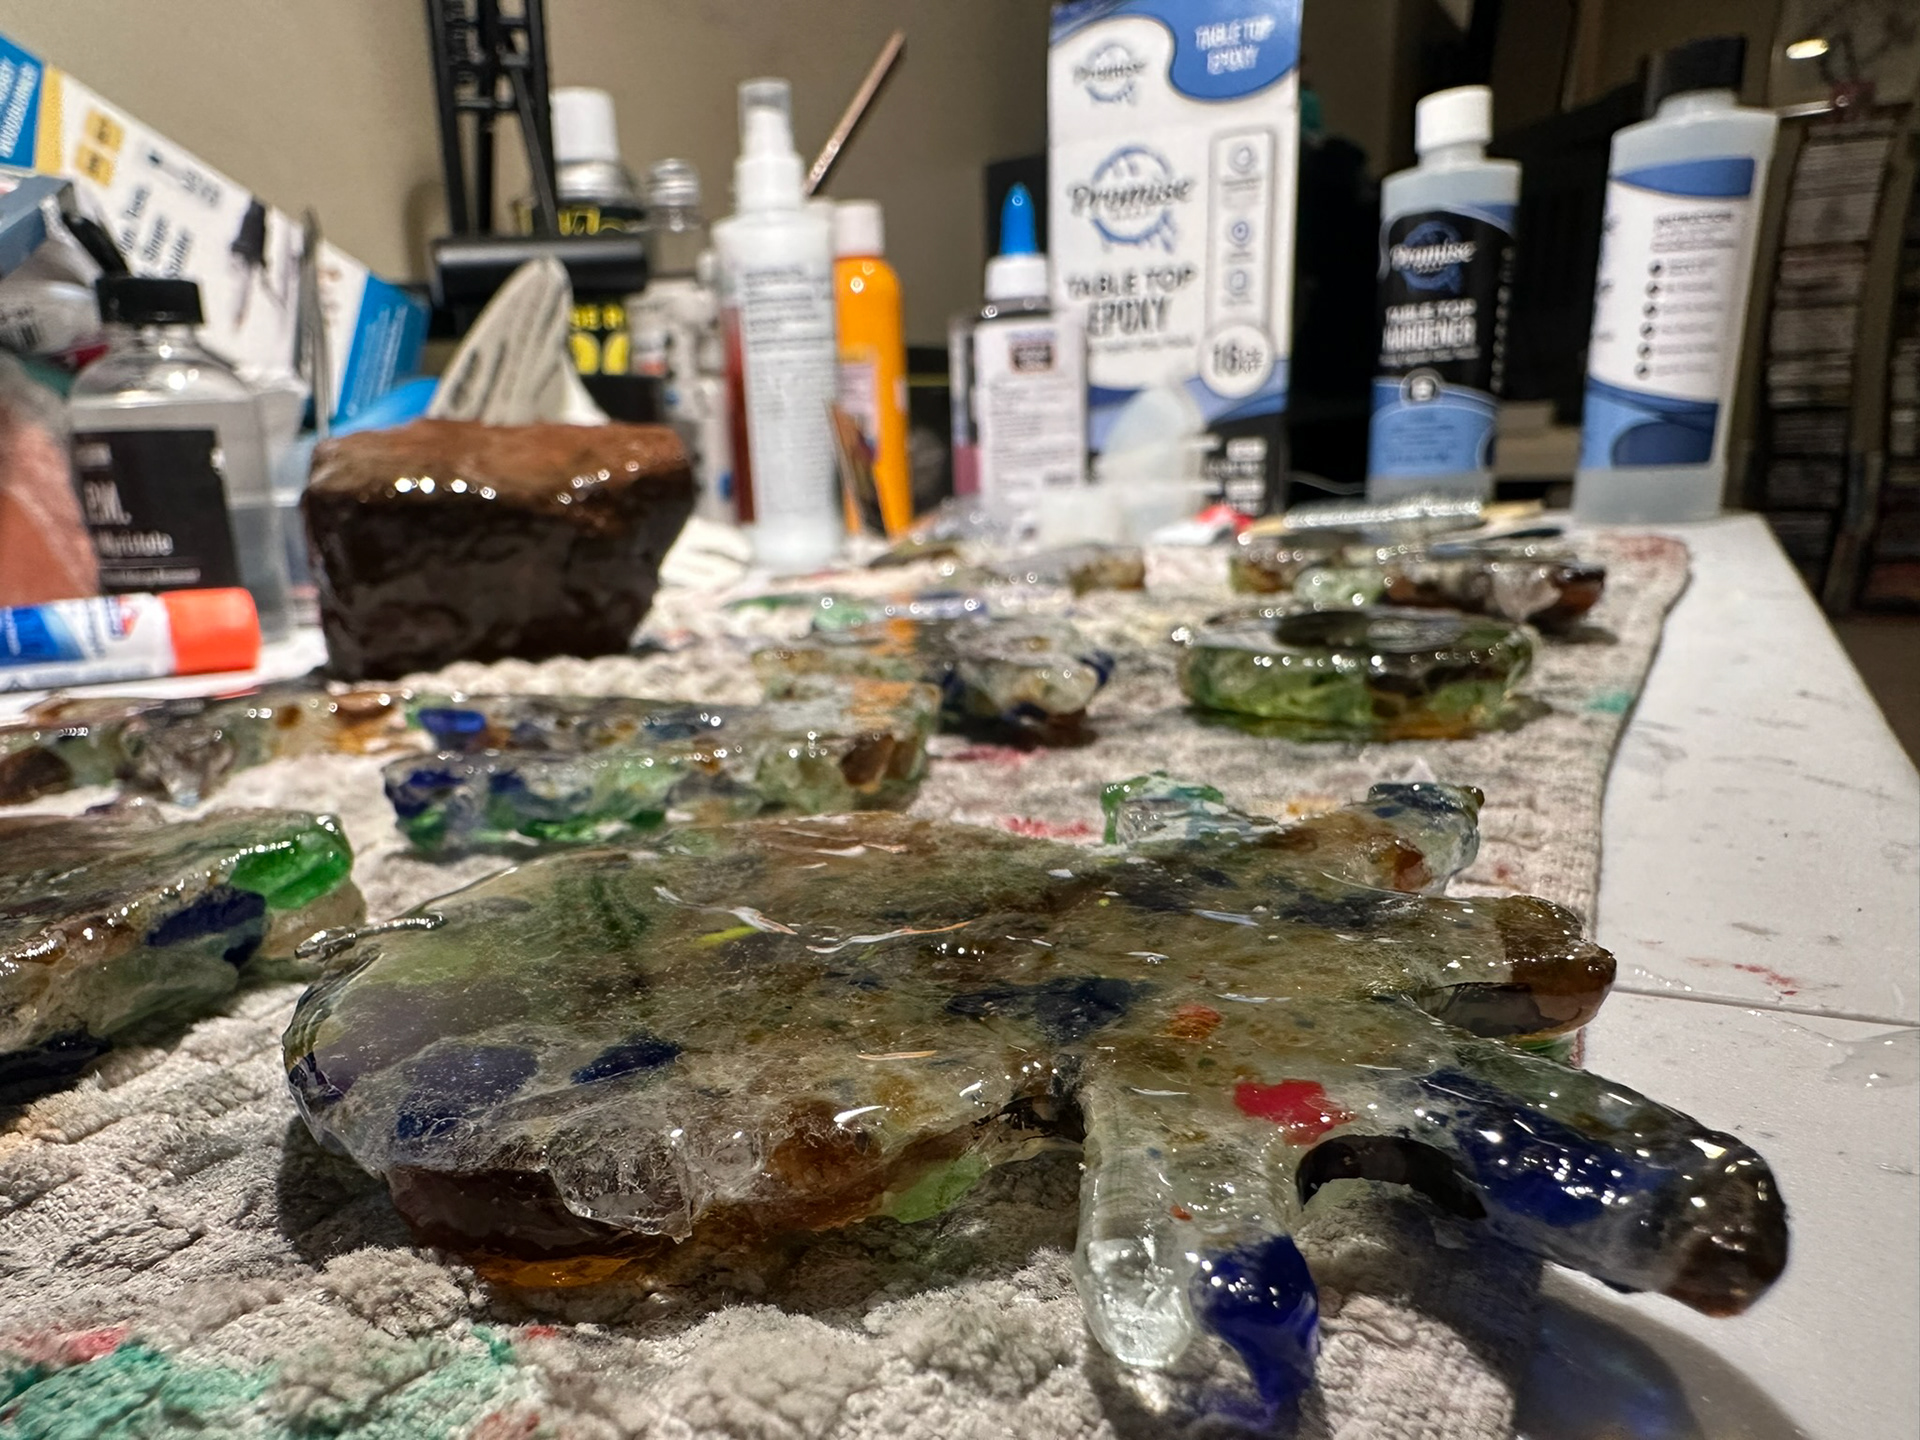
Sea Glass Suncatchers
"Reduce, Recycle, Repeat"
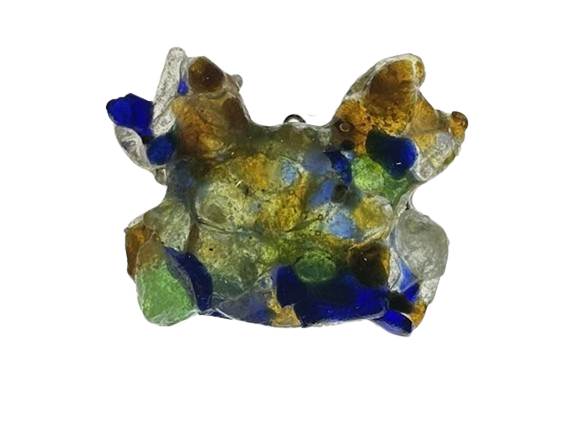
Crab
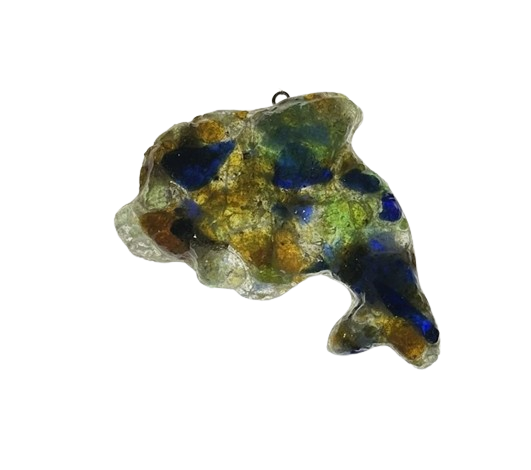
Dolphin
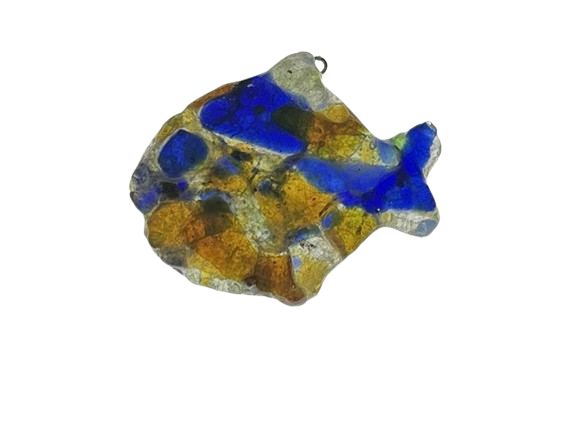
Fish
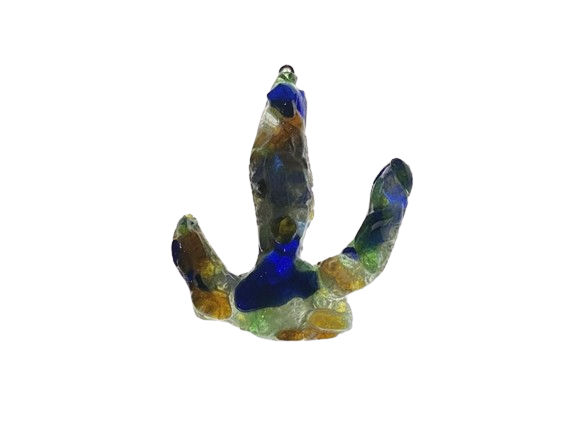
Kelp
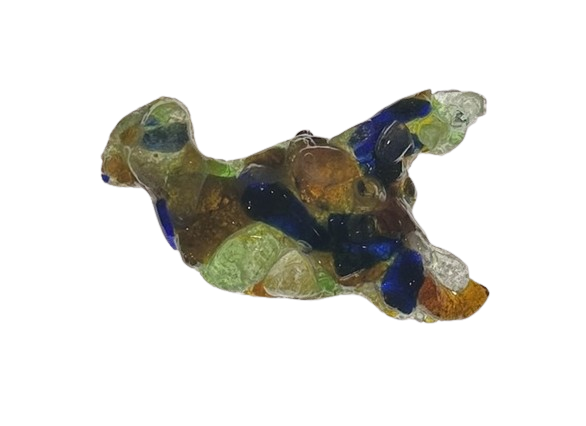
Lobster
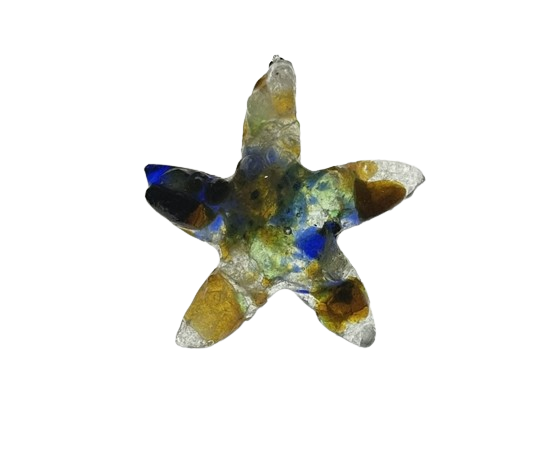
Starfish
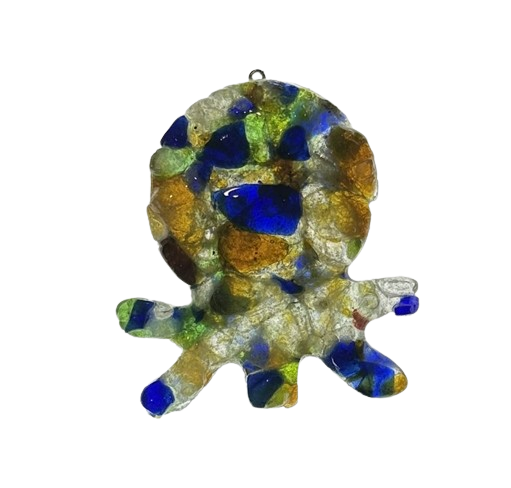
Octopus
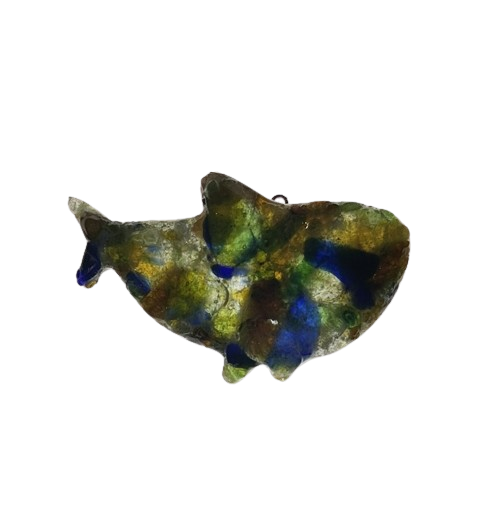
Shark
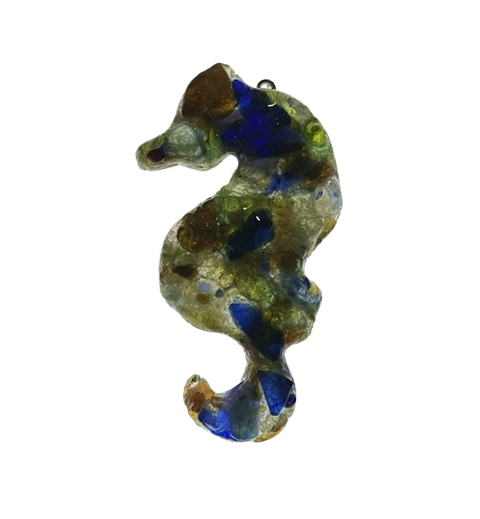
Seahorse
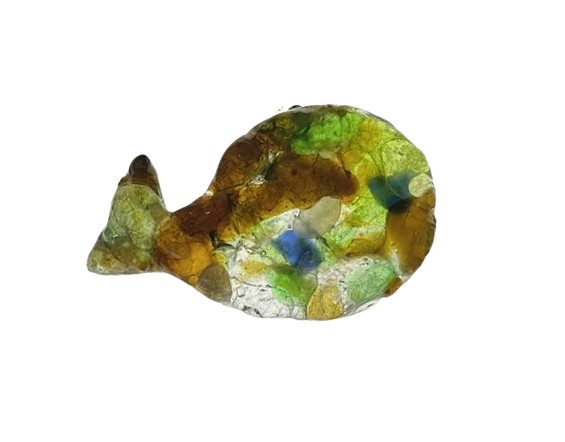
Whale
