This Old Shelf has been sitting in my attic for over a decade. What was once used as a D&D character display case during my dad's youth it sat alone collecting dust. He created this piece in woodshop back in Highschool, but it hasn't been used since. This piece has a lot of huge opportunities to create something new and modern. But the main focus would be more along the lines of a shelf that can hold a multitude of mini trinket like objects. There were many issues with this preexisting piece such as not being able to access the shelf space once set on the wall. Many of these issues were later sought out through the design process and put into action.
The Brief
Create a new fresh design out of an old unused piece of furniture.
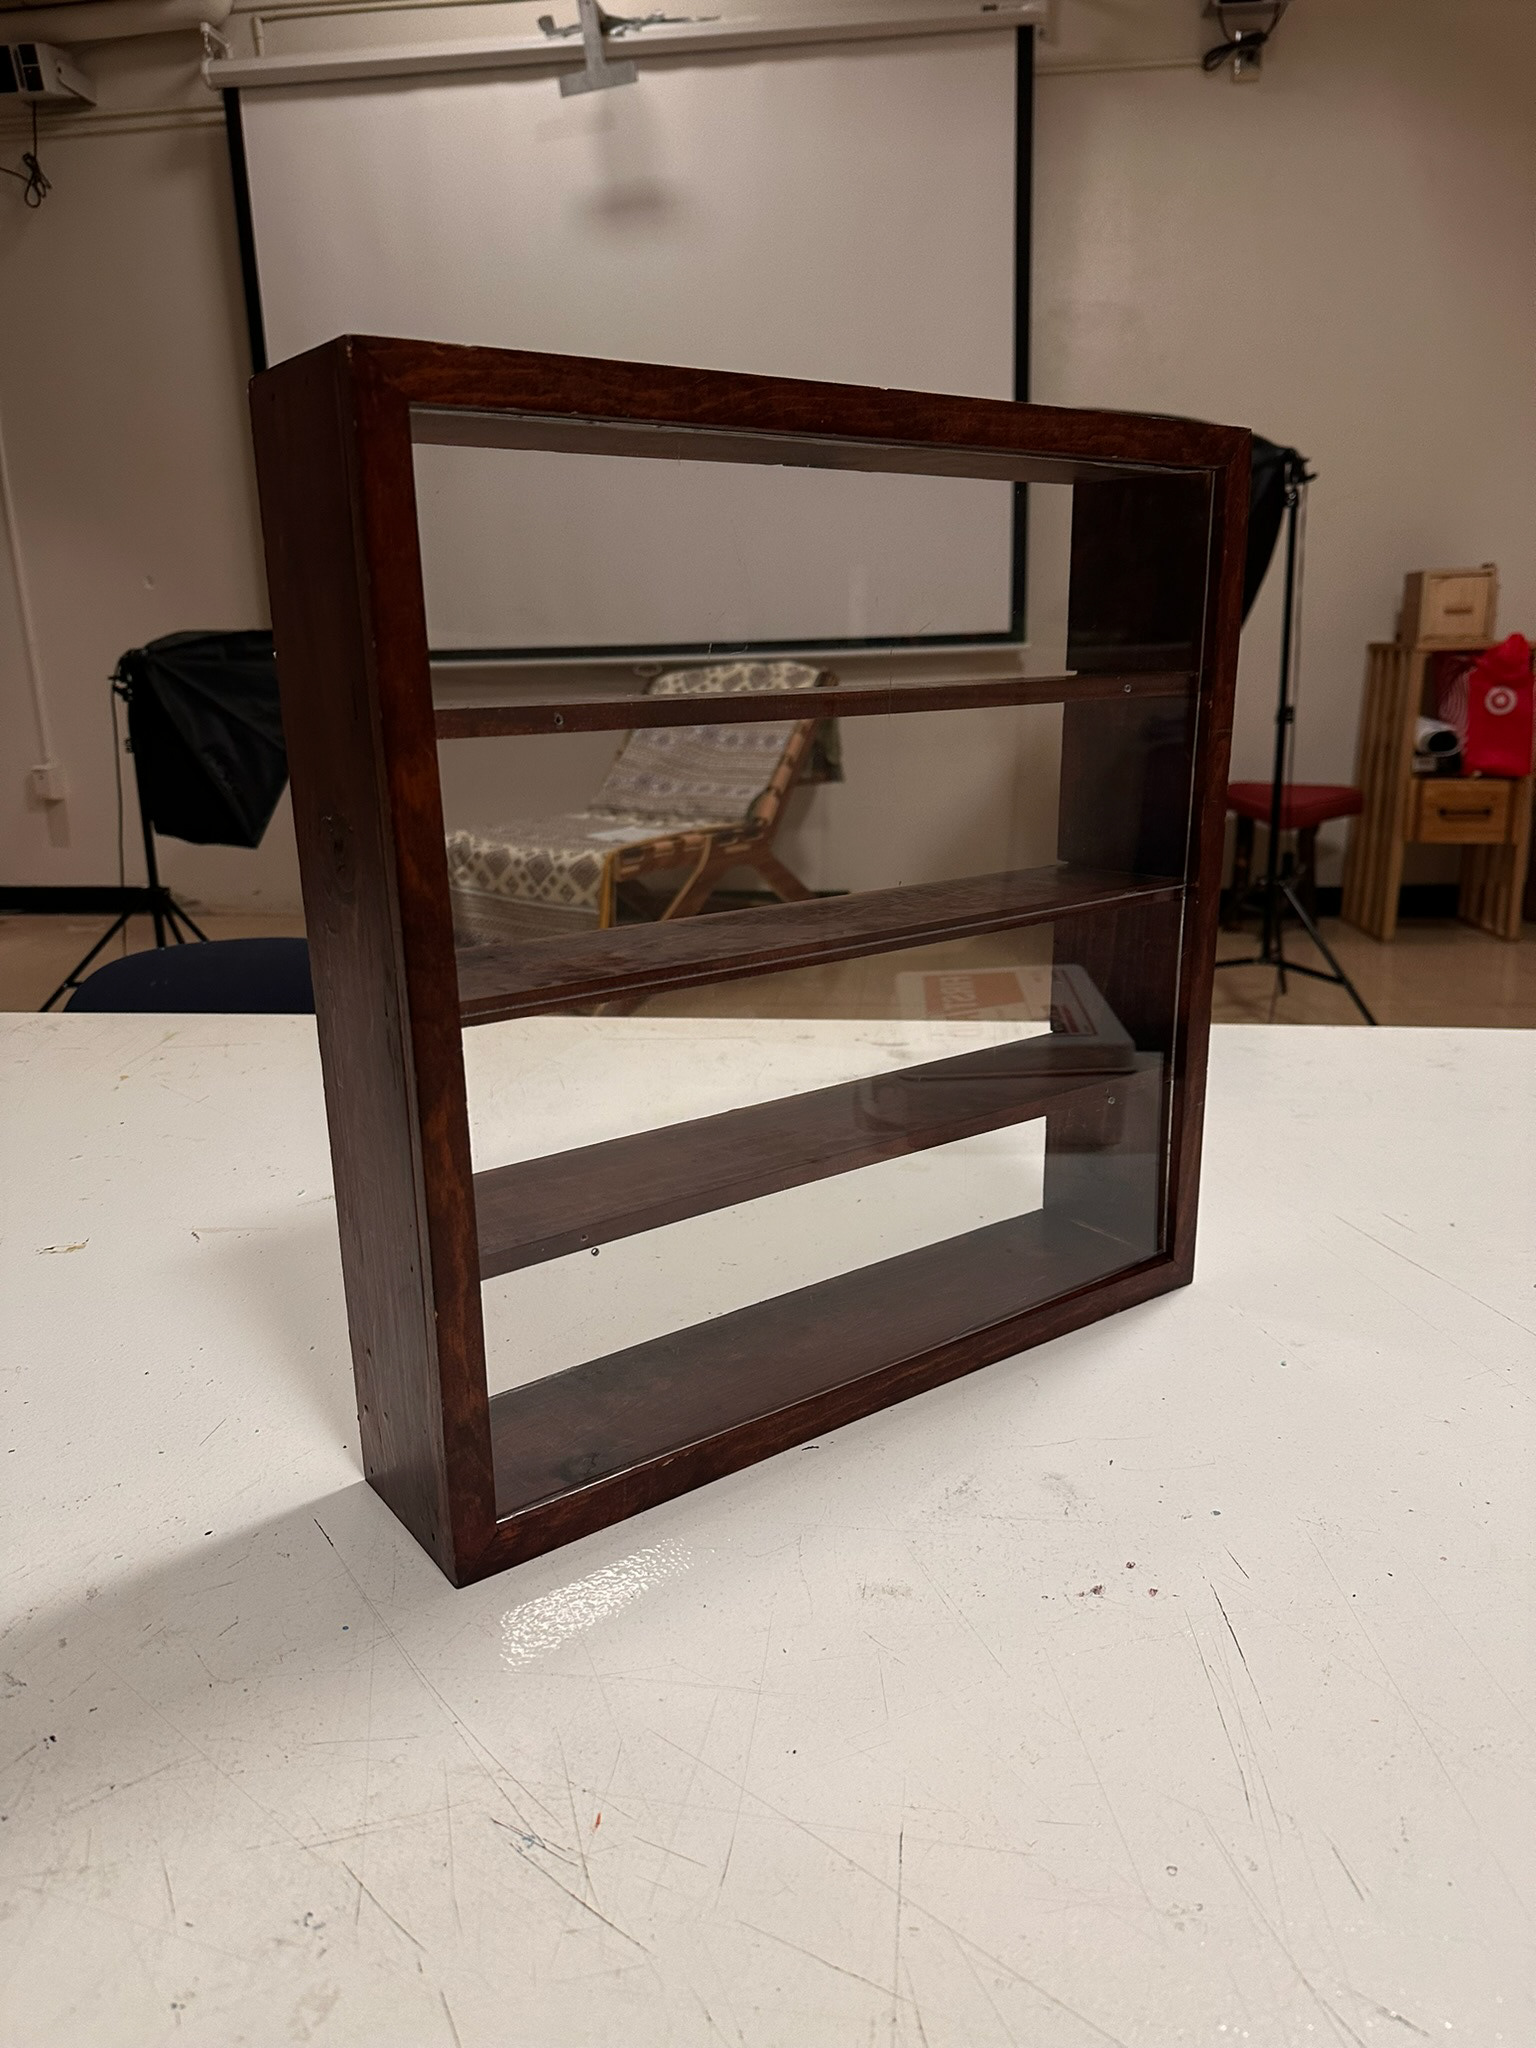
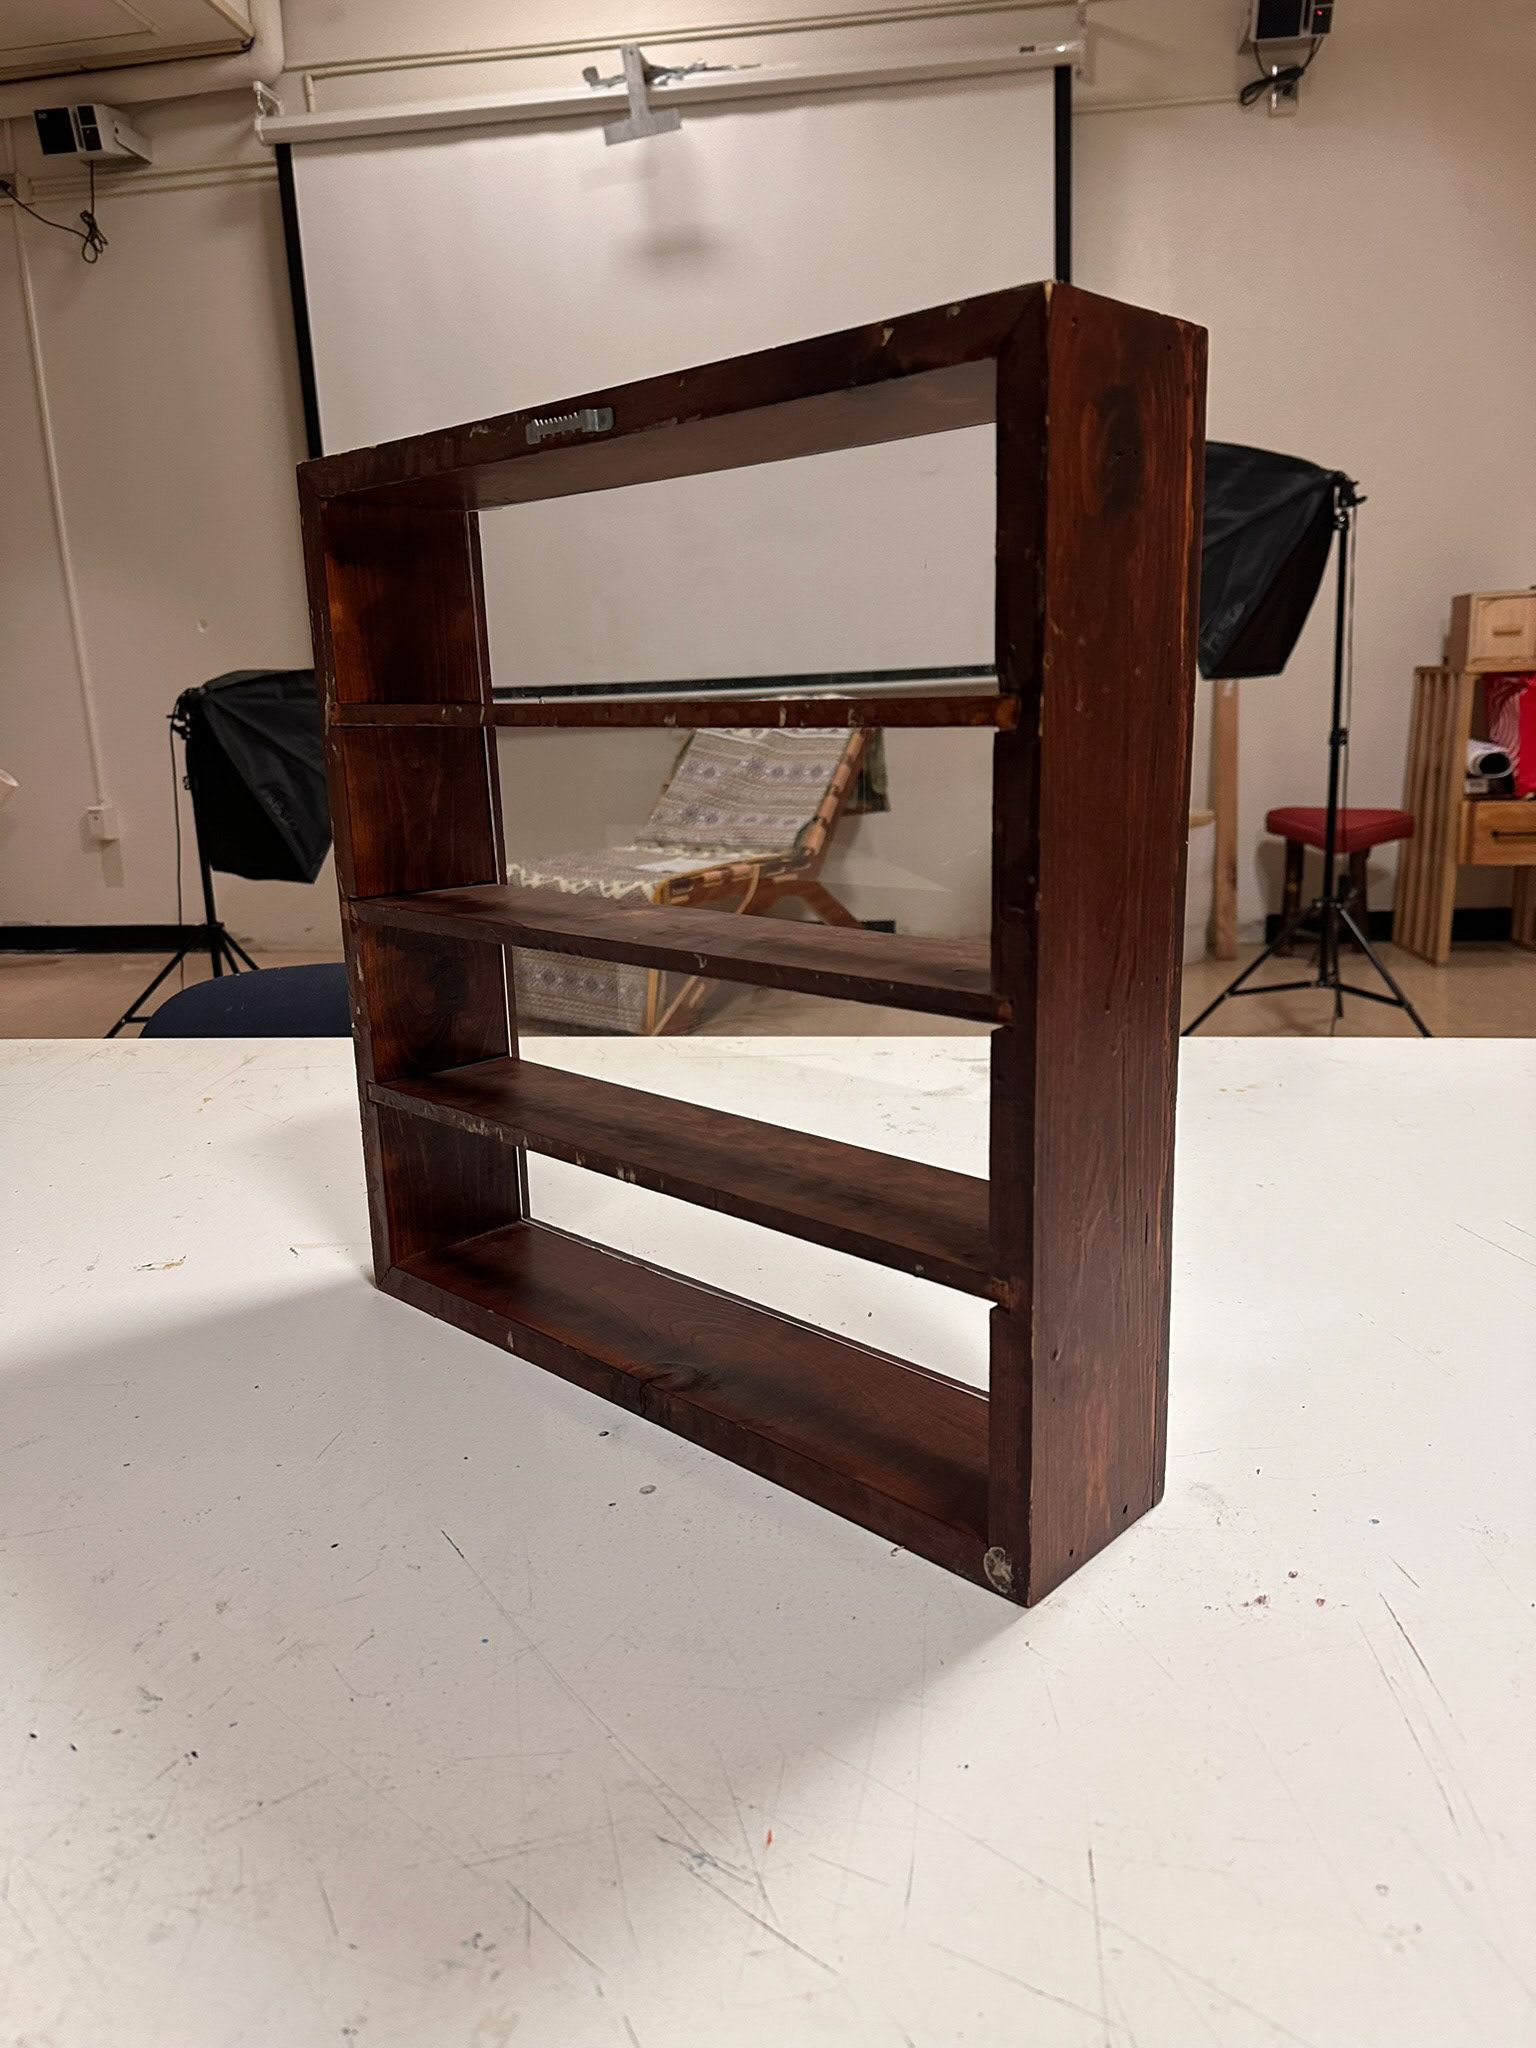
Ideation
Many Ideas came to mind when looking at this shelf and how I could reuse the wood to create a more organic design, since this piece was originally made by my father, I wanted to keep some aspects for nostalgic purposes but also create a piece of our culture and heritage into the design. To accomplish this, I sought out designs that housed balance and tranquility to incapsulate the Feng Shui aspect.
3D Printed Models of Ideation
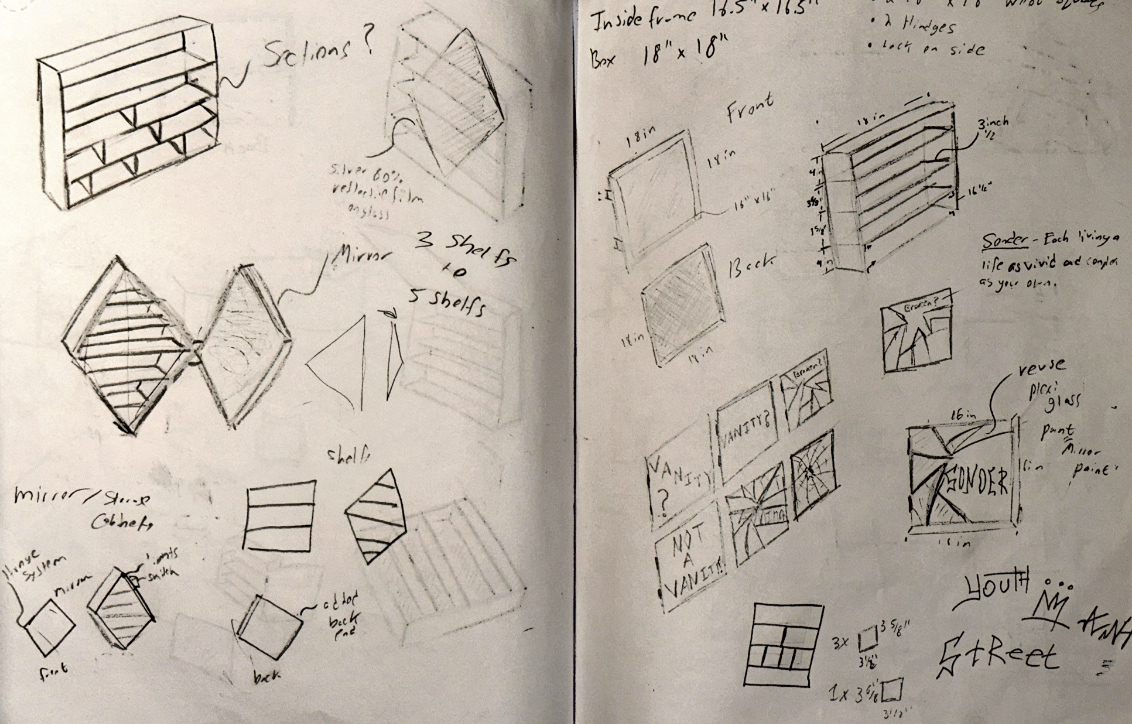
Ideations on Original Drawer
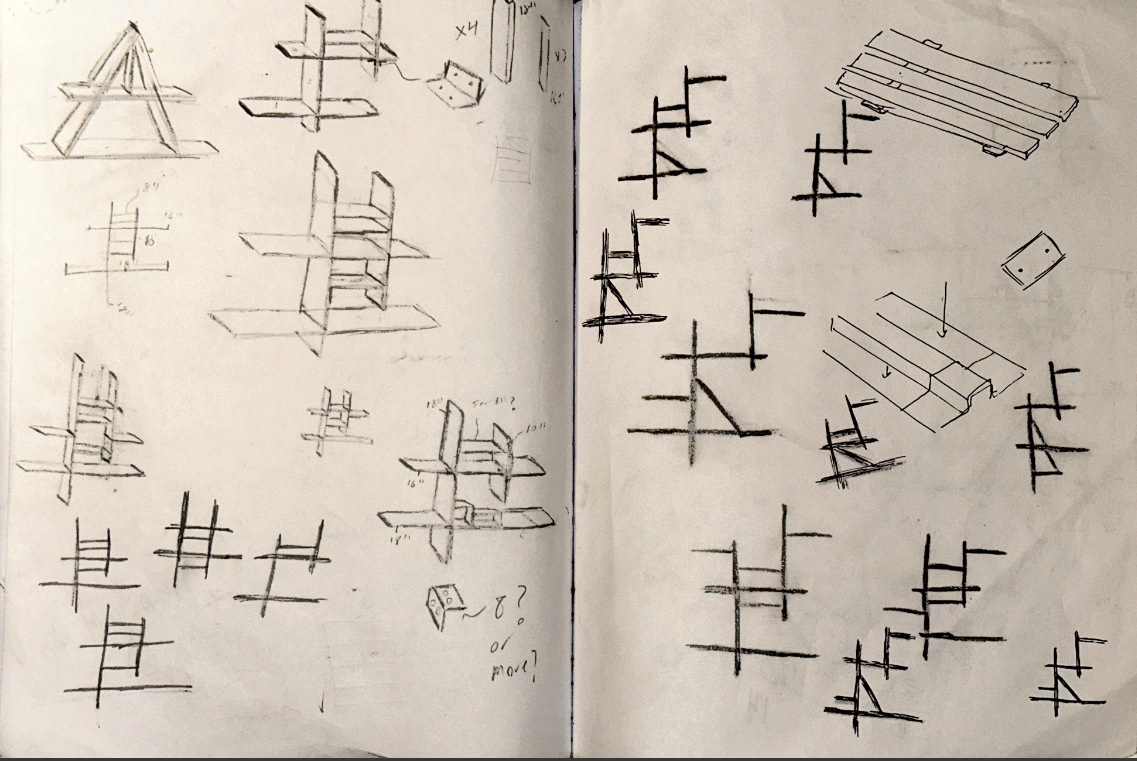
ideations on Feng Shui Design
The Process
To start out, I began to dissemble the original shelf into pieces, prying out all the nails and from there sanding it down the original wood stain to reveal its natural color for a later restrain touch up to match the original stain.
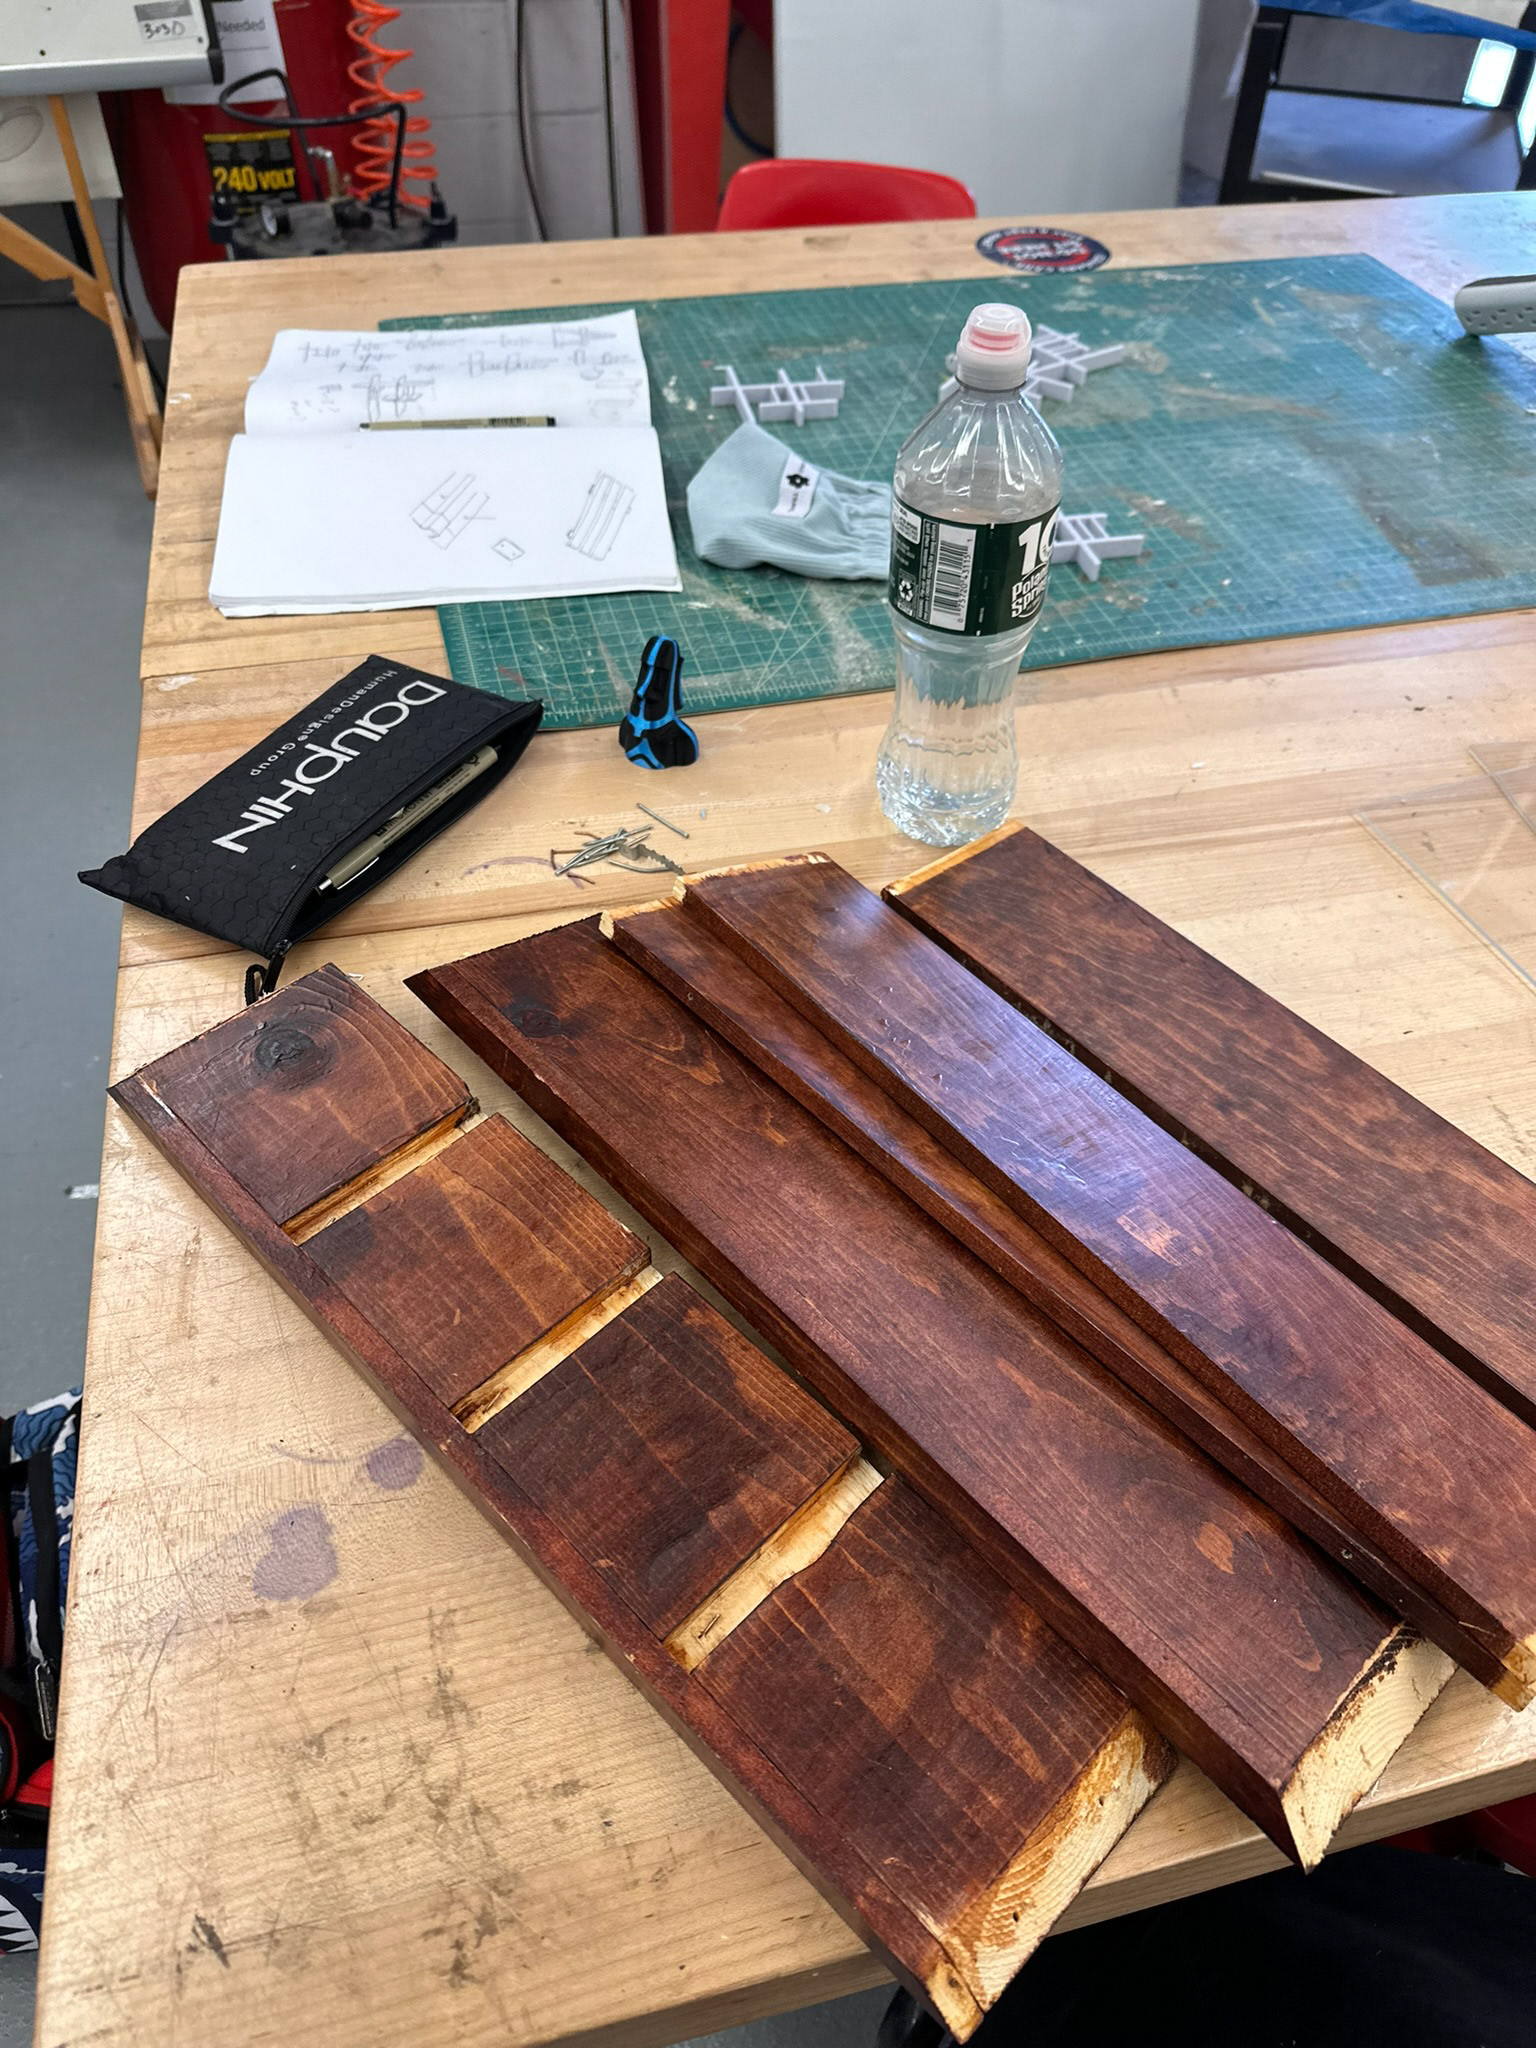
Taking Apart the Shelf
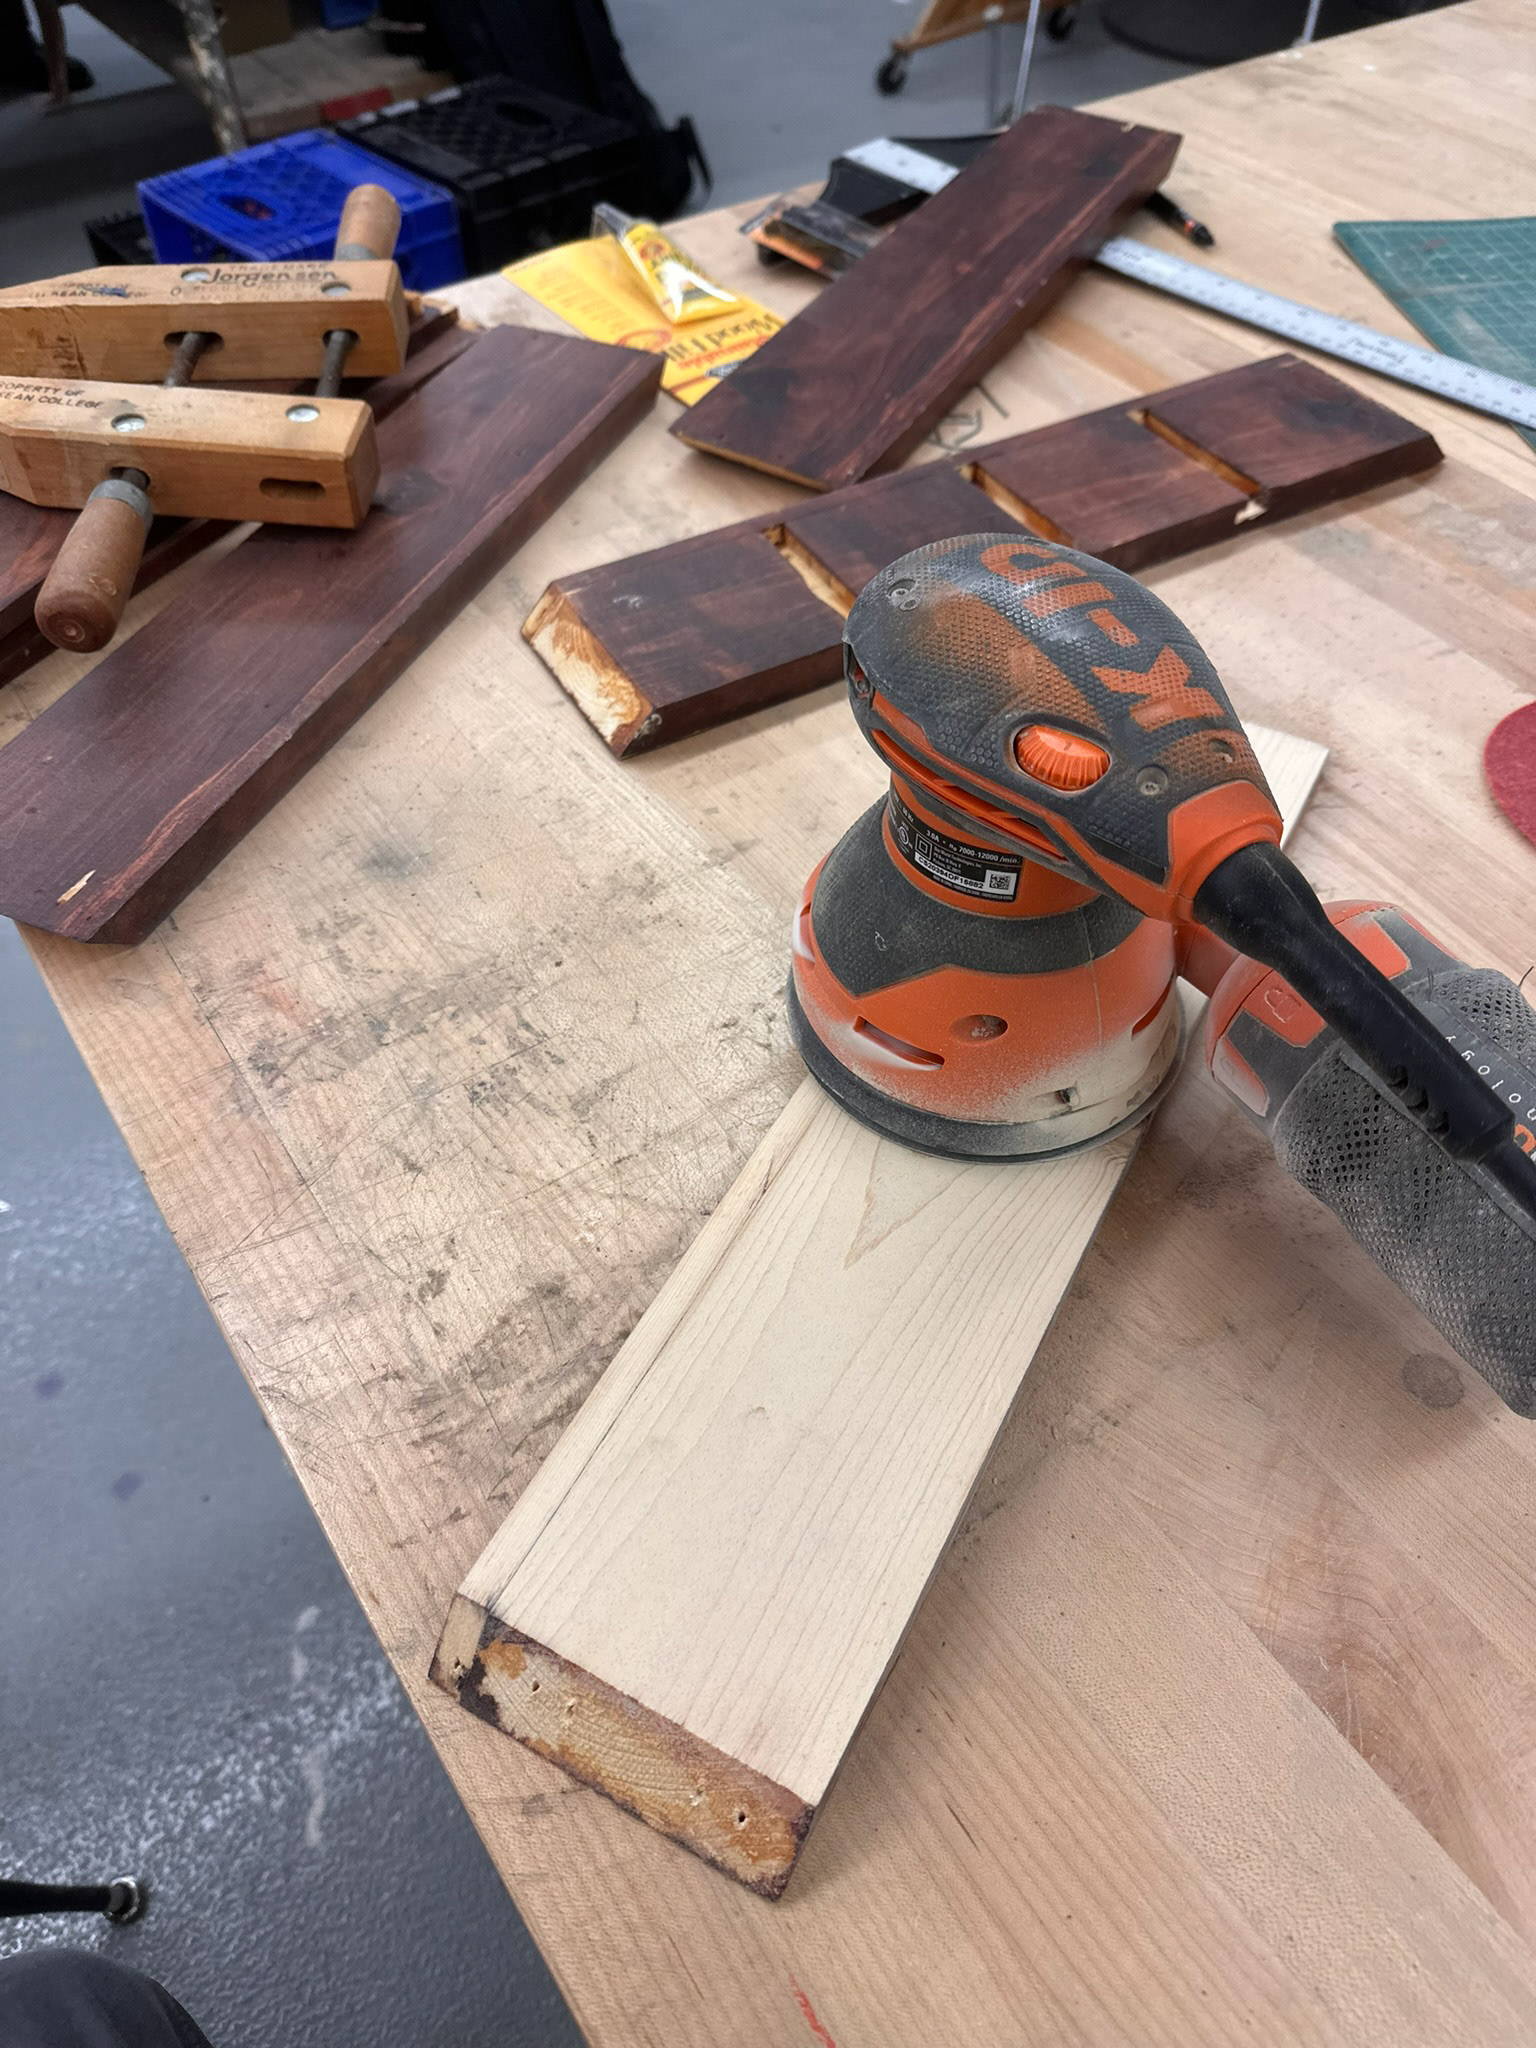
Sanding Down the Old Stain
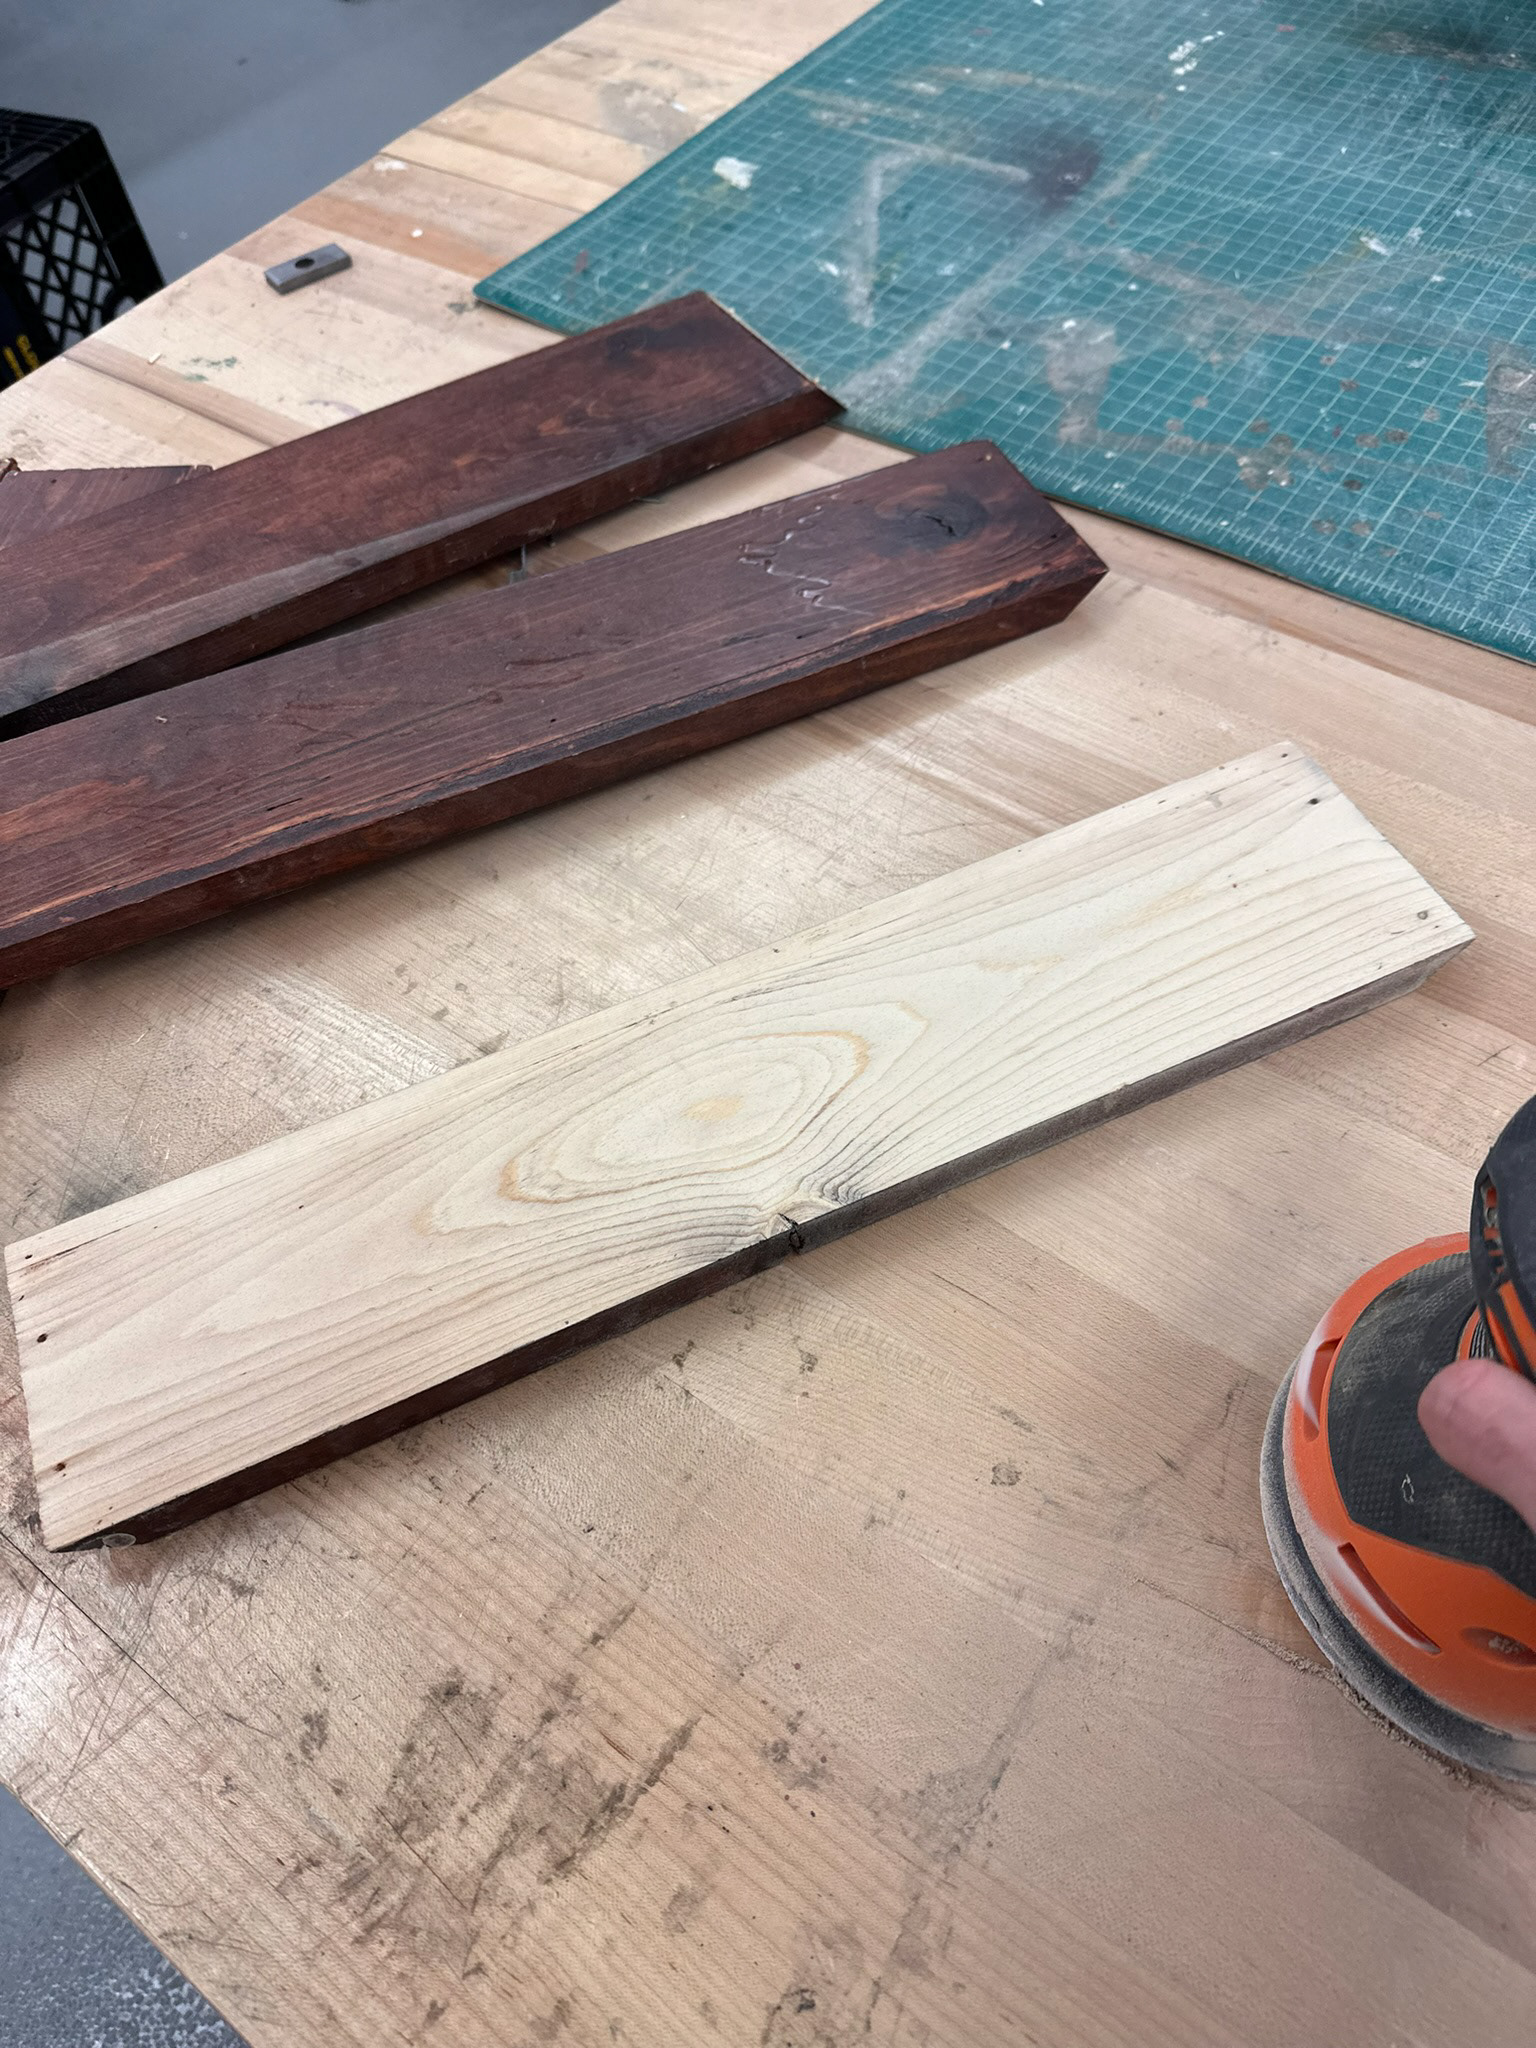
The Natural Wood
Cutting and Sanding
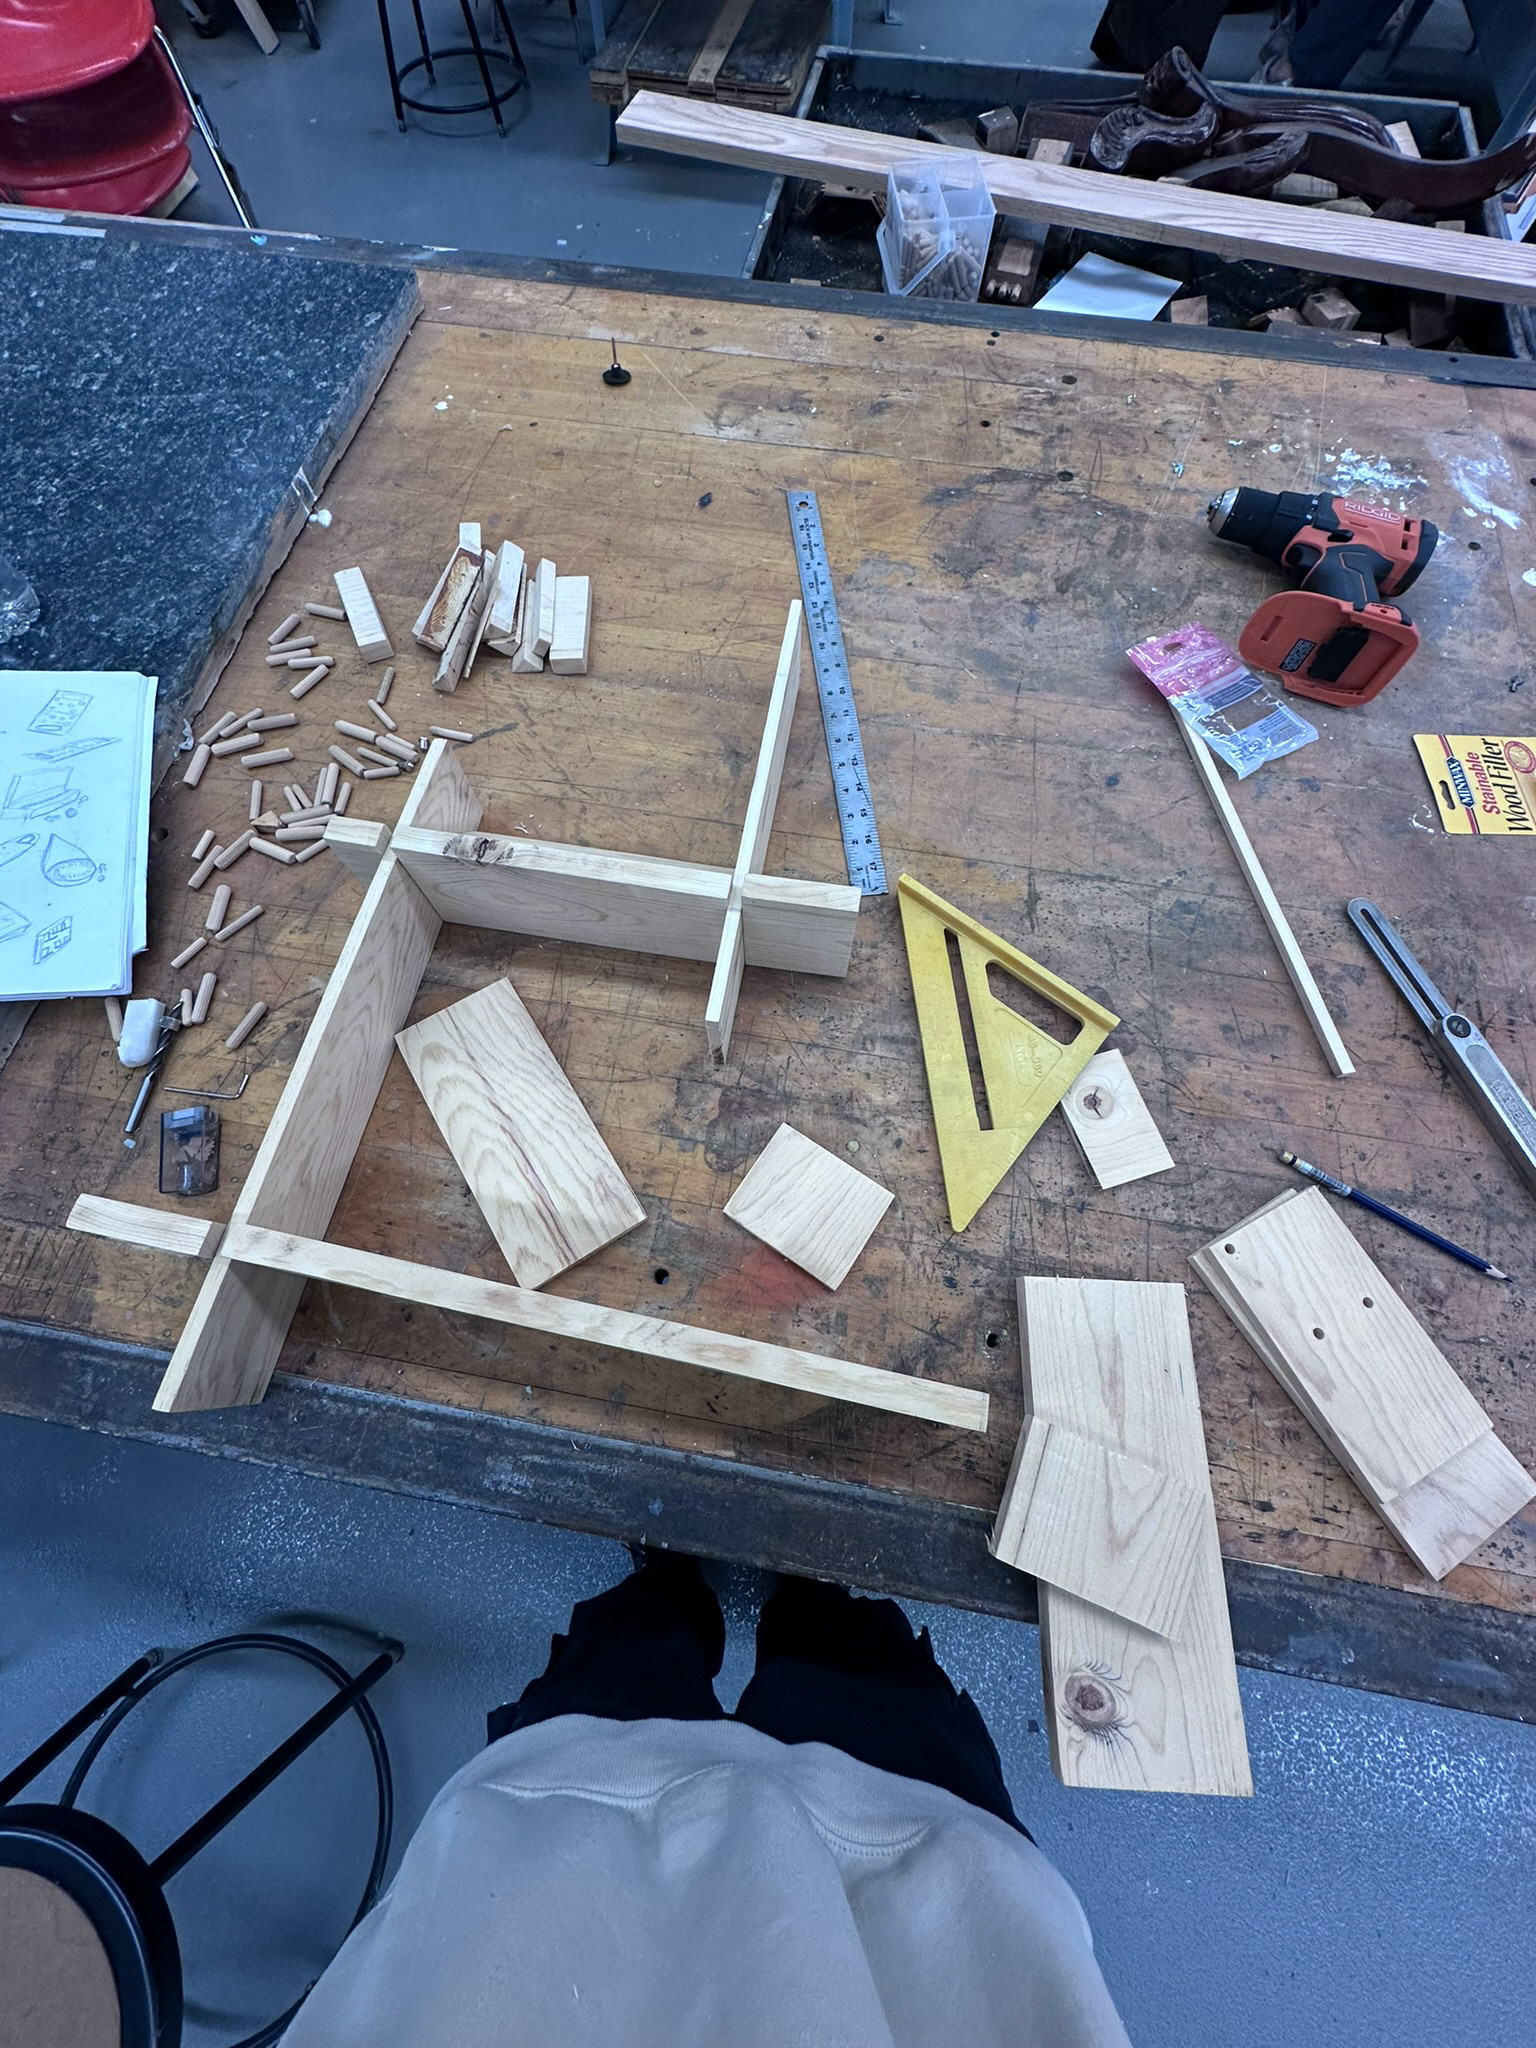
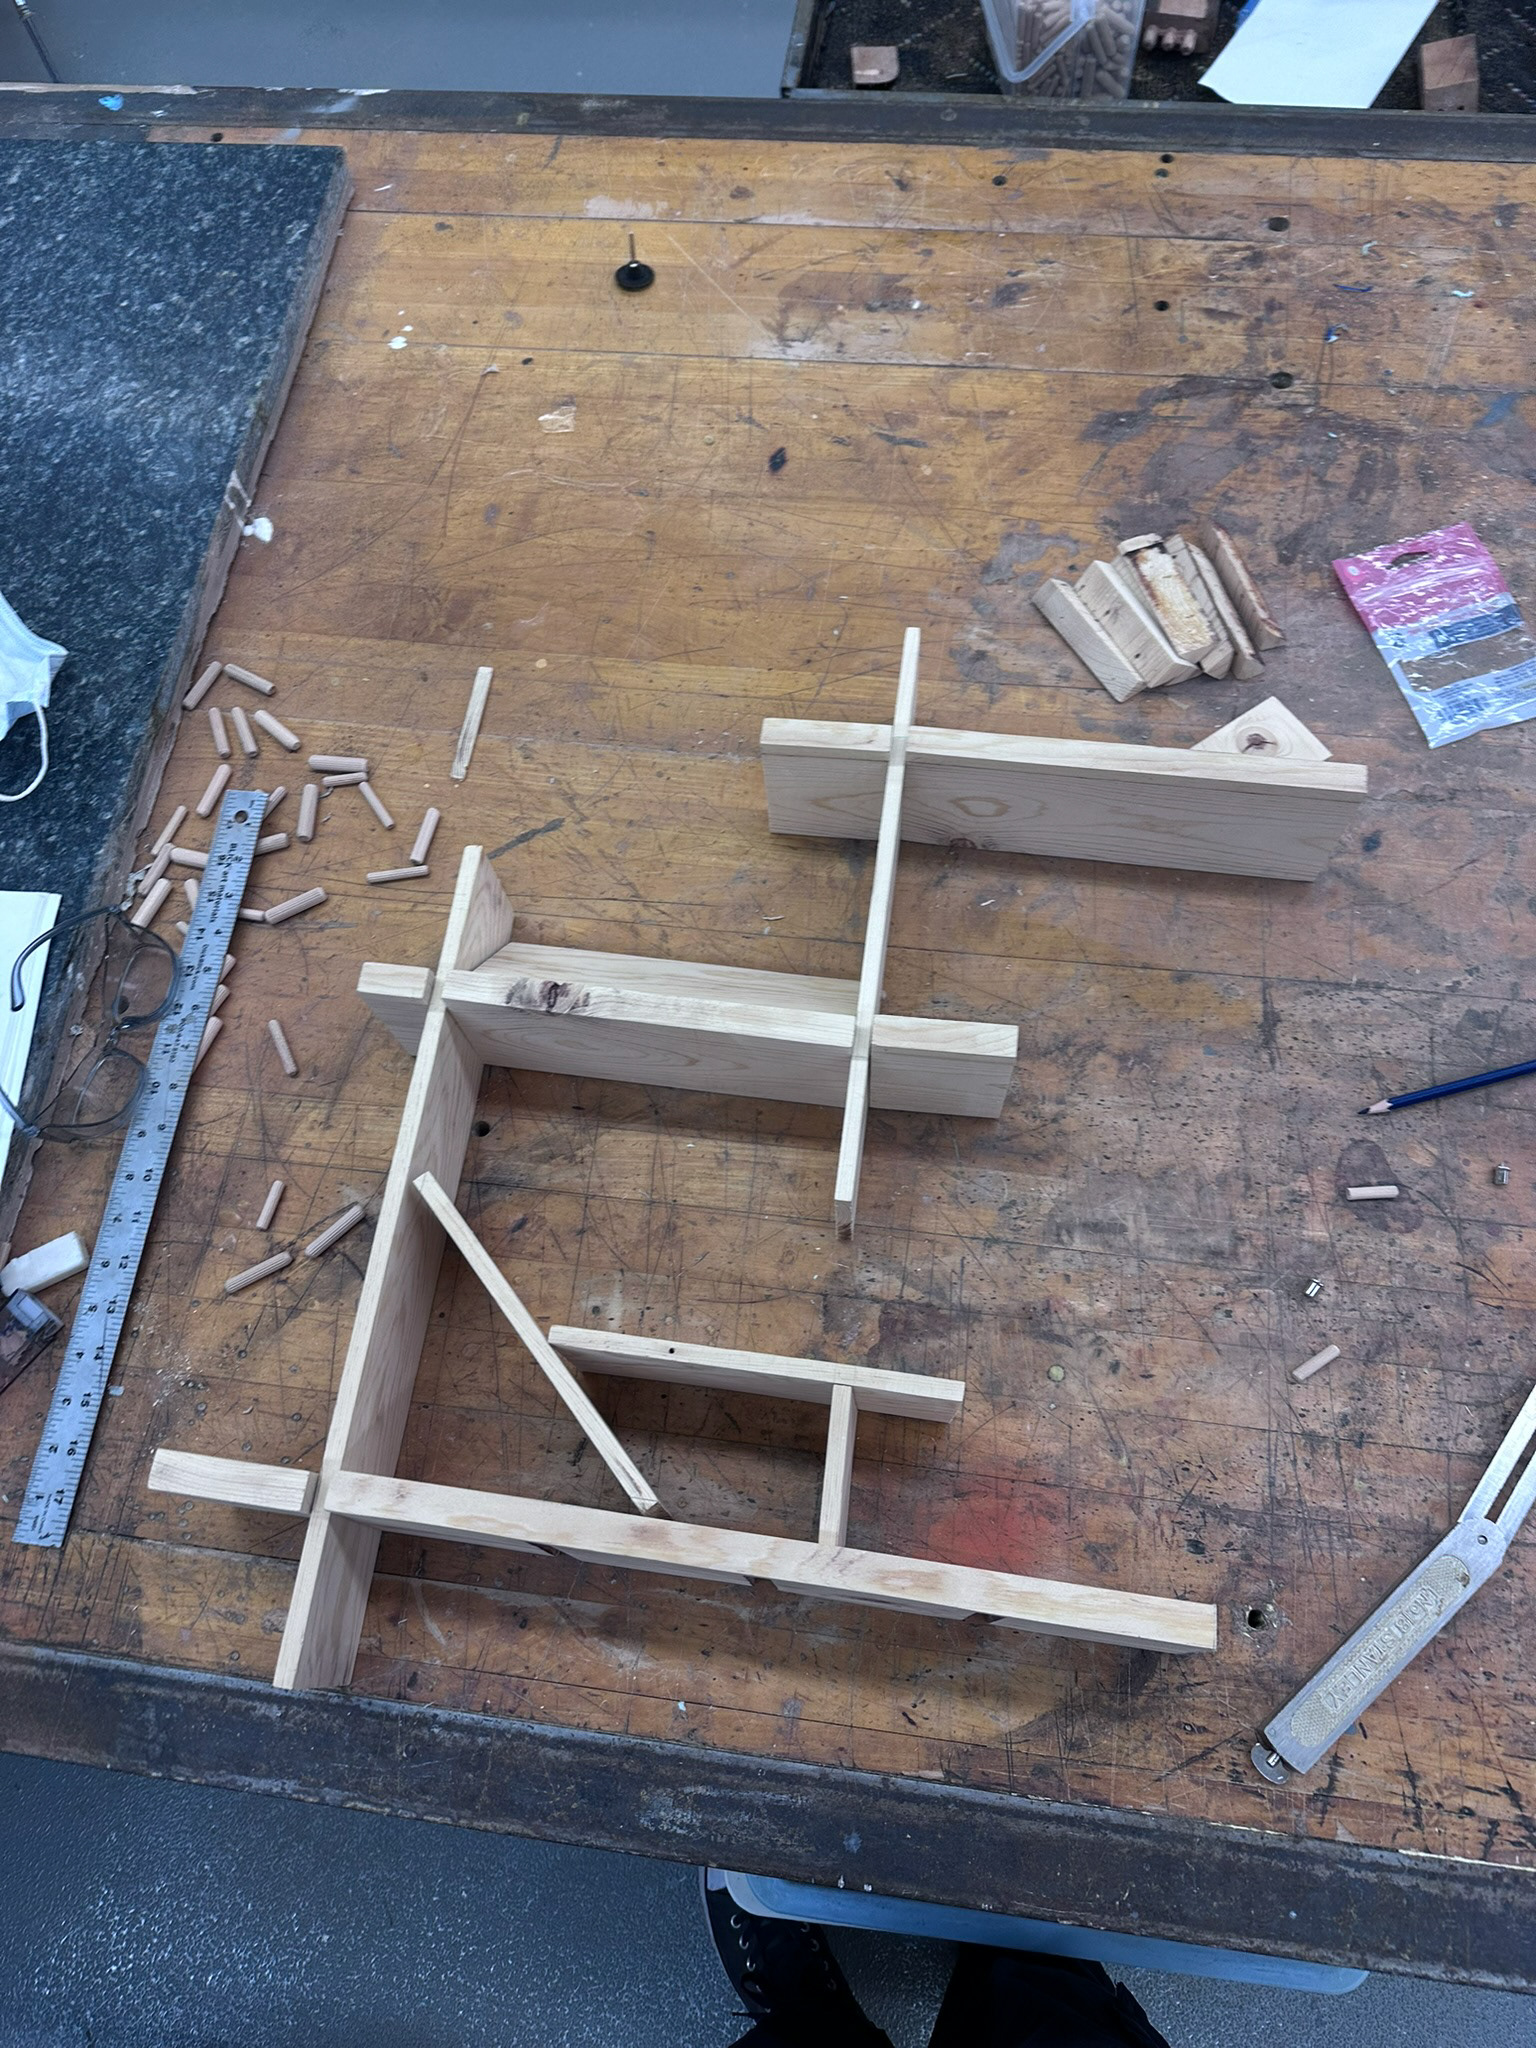
After Sanding down the wood strips, I started cut the sharp edges that formed the corners of the box. Chopping the wood off with the Chop saw was a breeze, and then started to assemble the pieces into the Feng Shui Design from the previous sketch, and pinpointed where I would need to add the dowels in.
Dowel Design
I then started to assemble the pieces into the Feng Shui Design from the previous sketches. Ever so carefully pinpointing where each dowel will need to be set.
The Dowel Blueprint
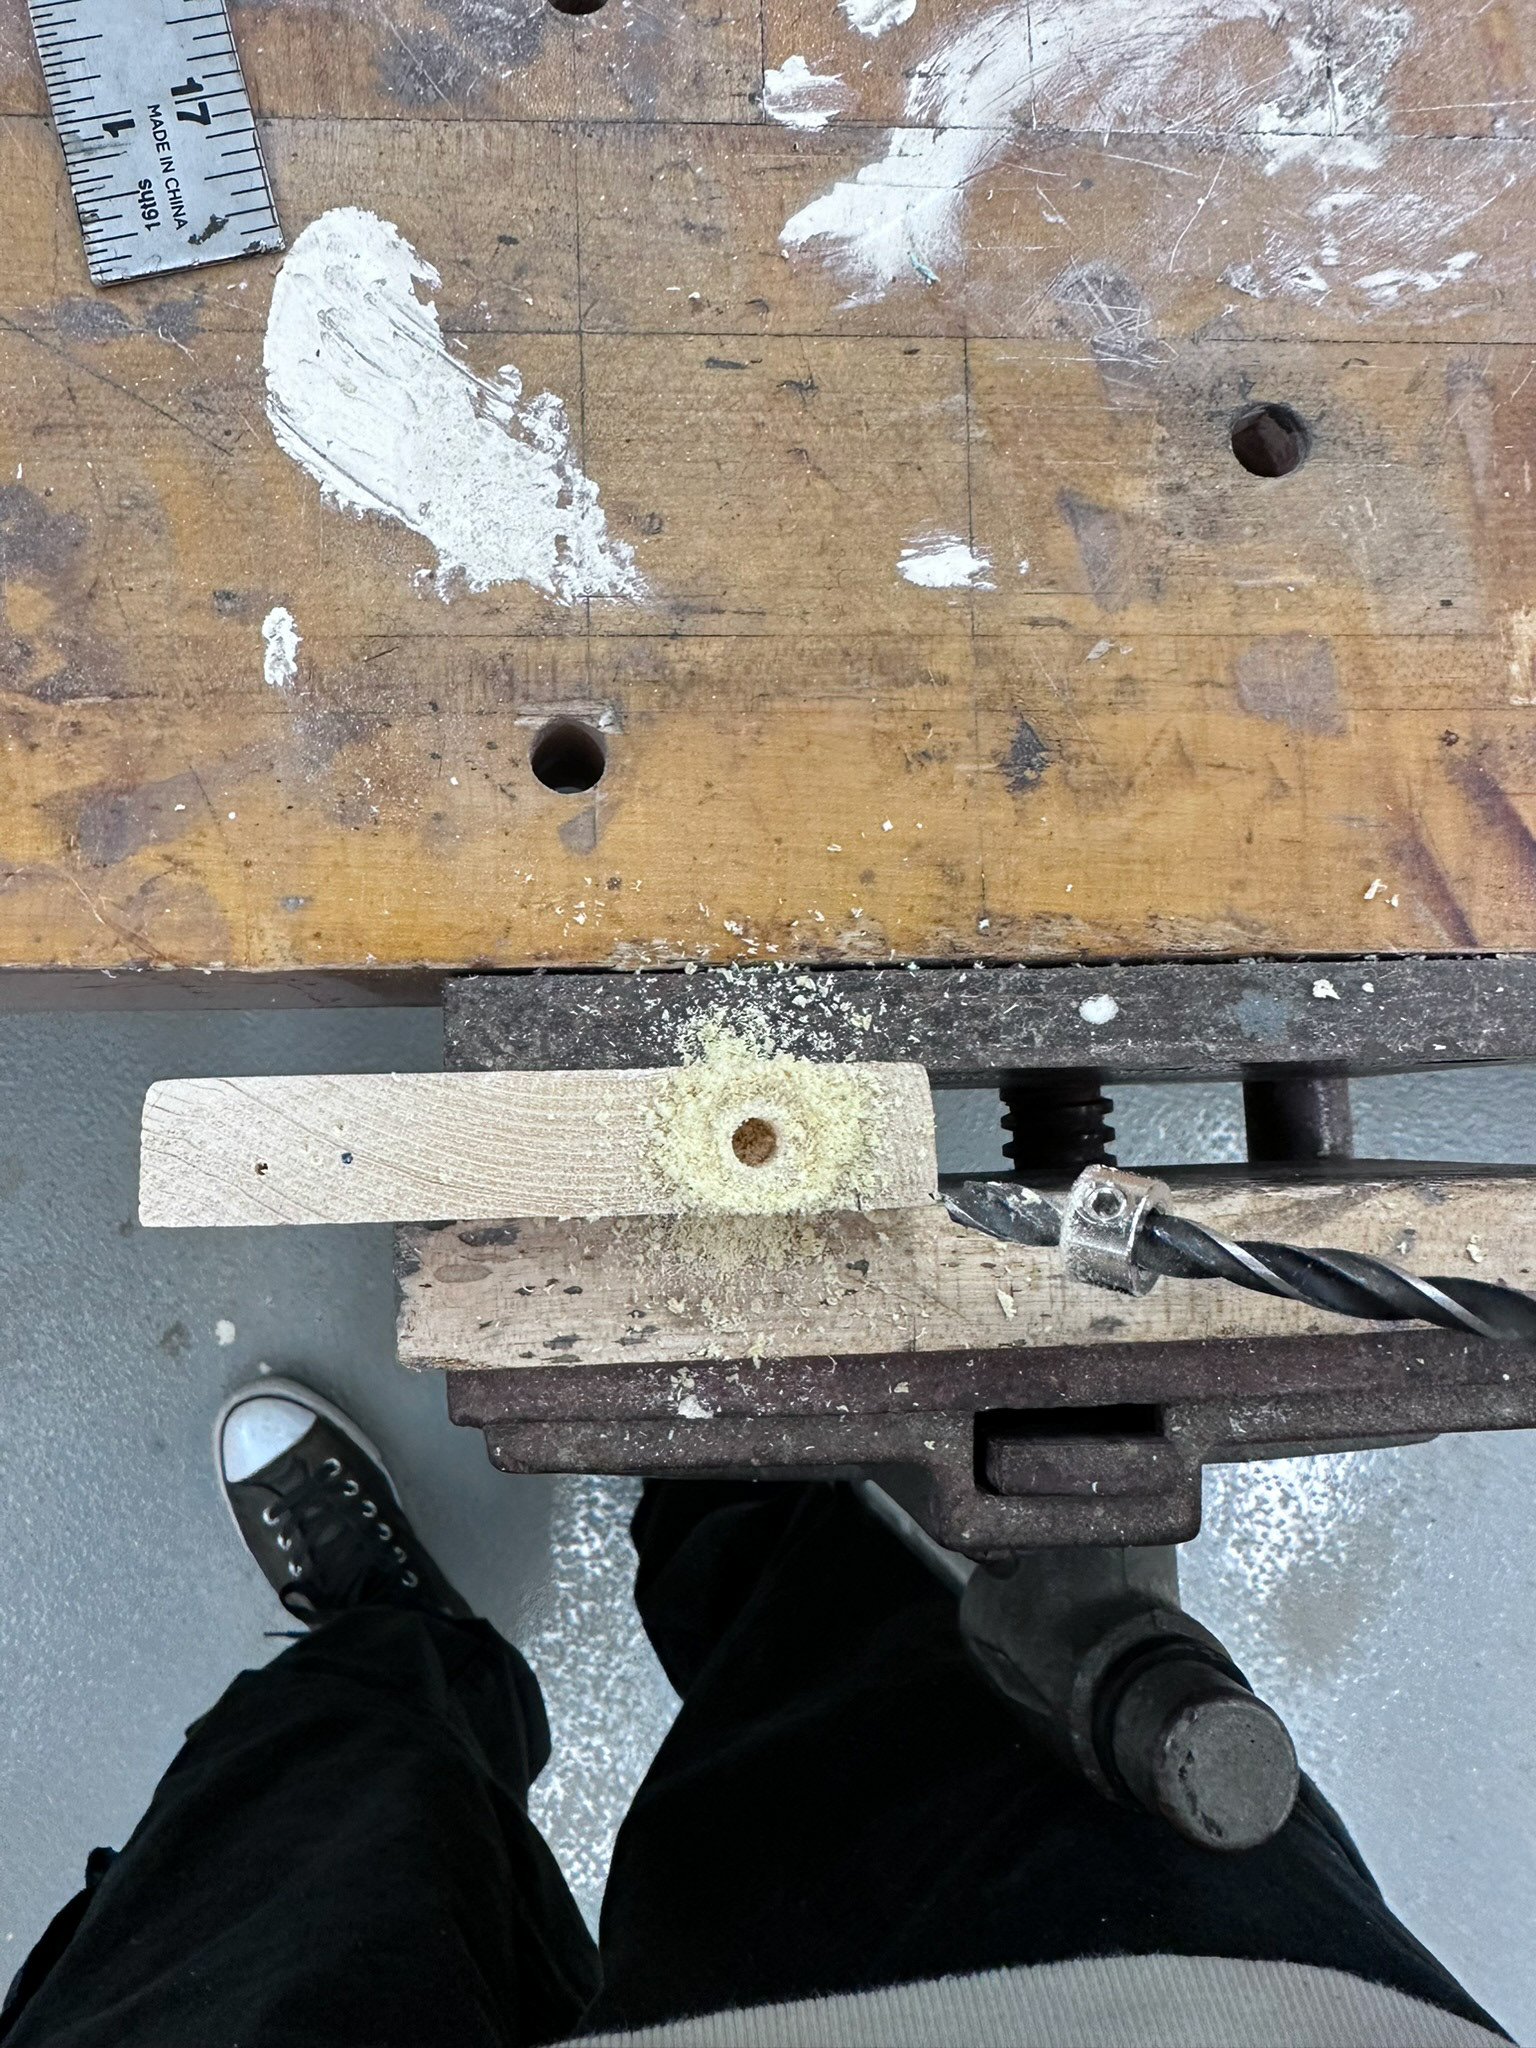
Doweling the Wood
Assembling
Complete Assembly
Staining the Wood
Once the wood was sanded down and dowels were set the next step was to stain. A few layers were added at a time as it dried between coats. This process took time and patience as I was still trying to maintain the original color from my father's design.
Staining the Wood
Clamps & Glue
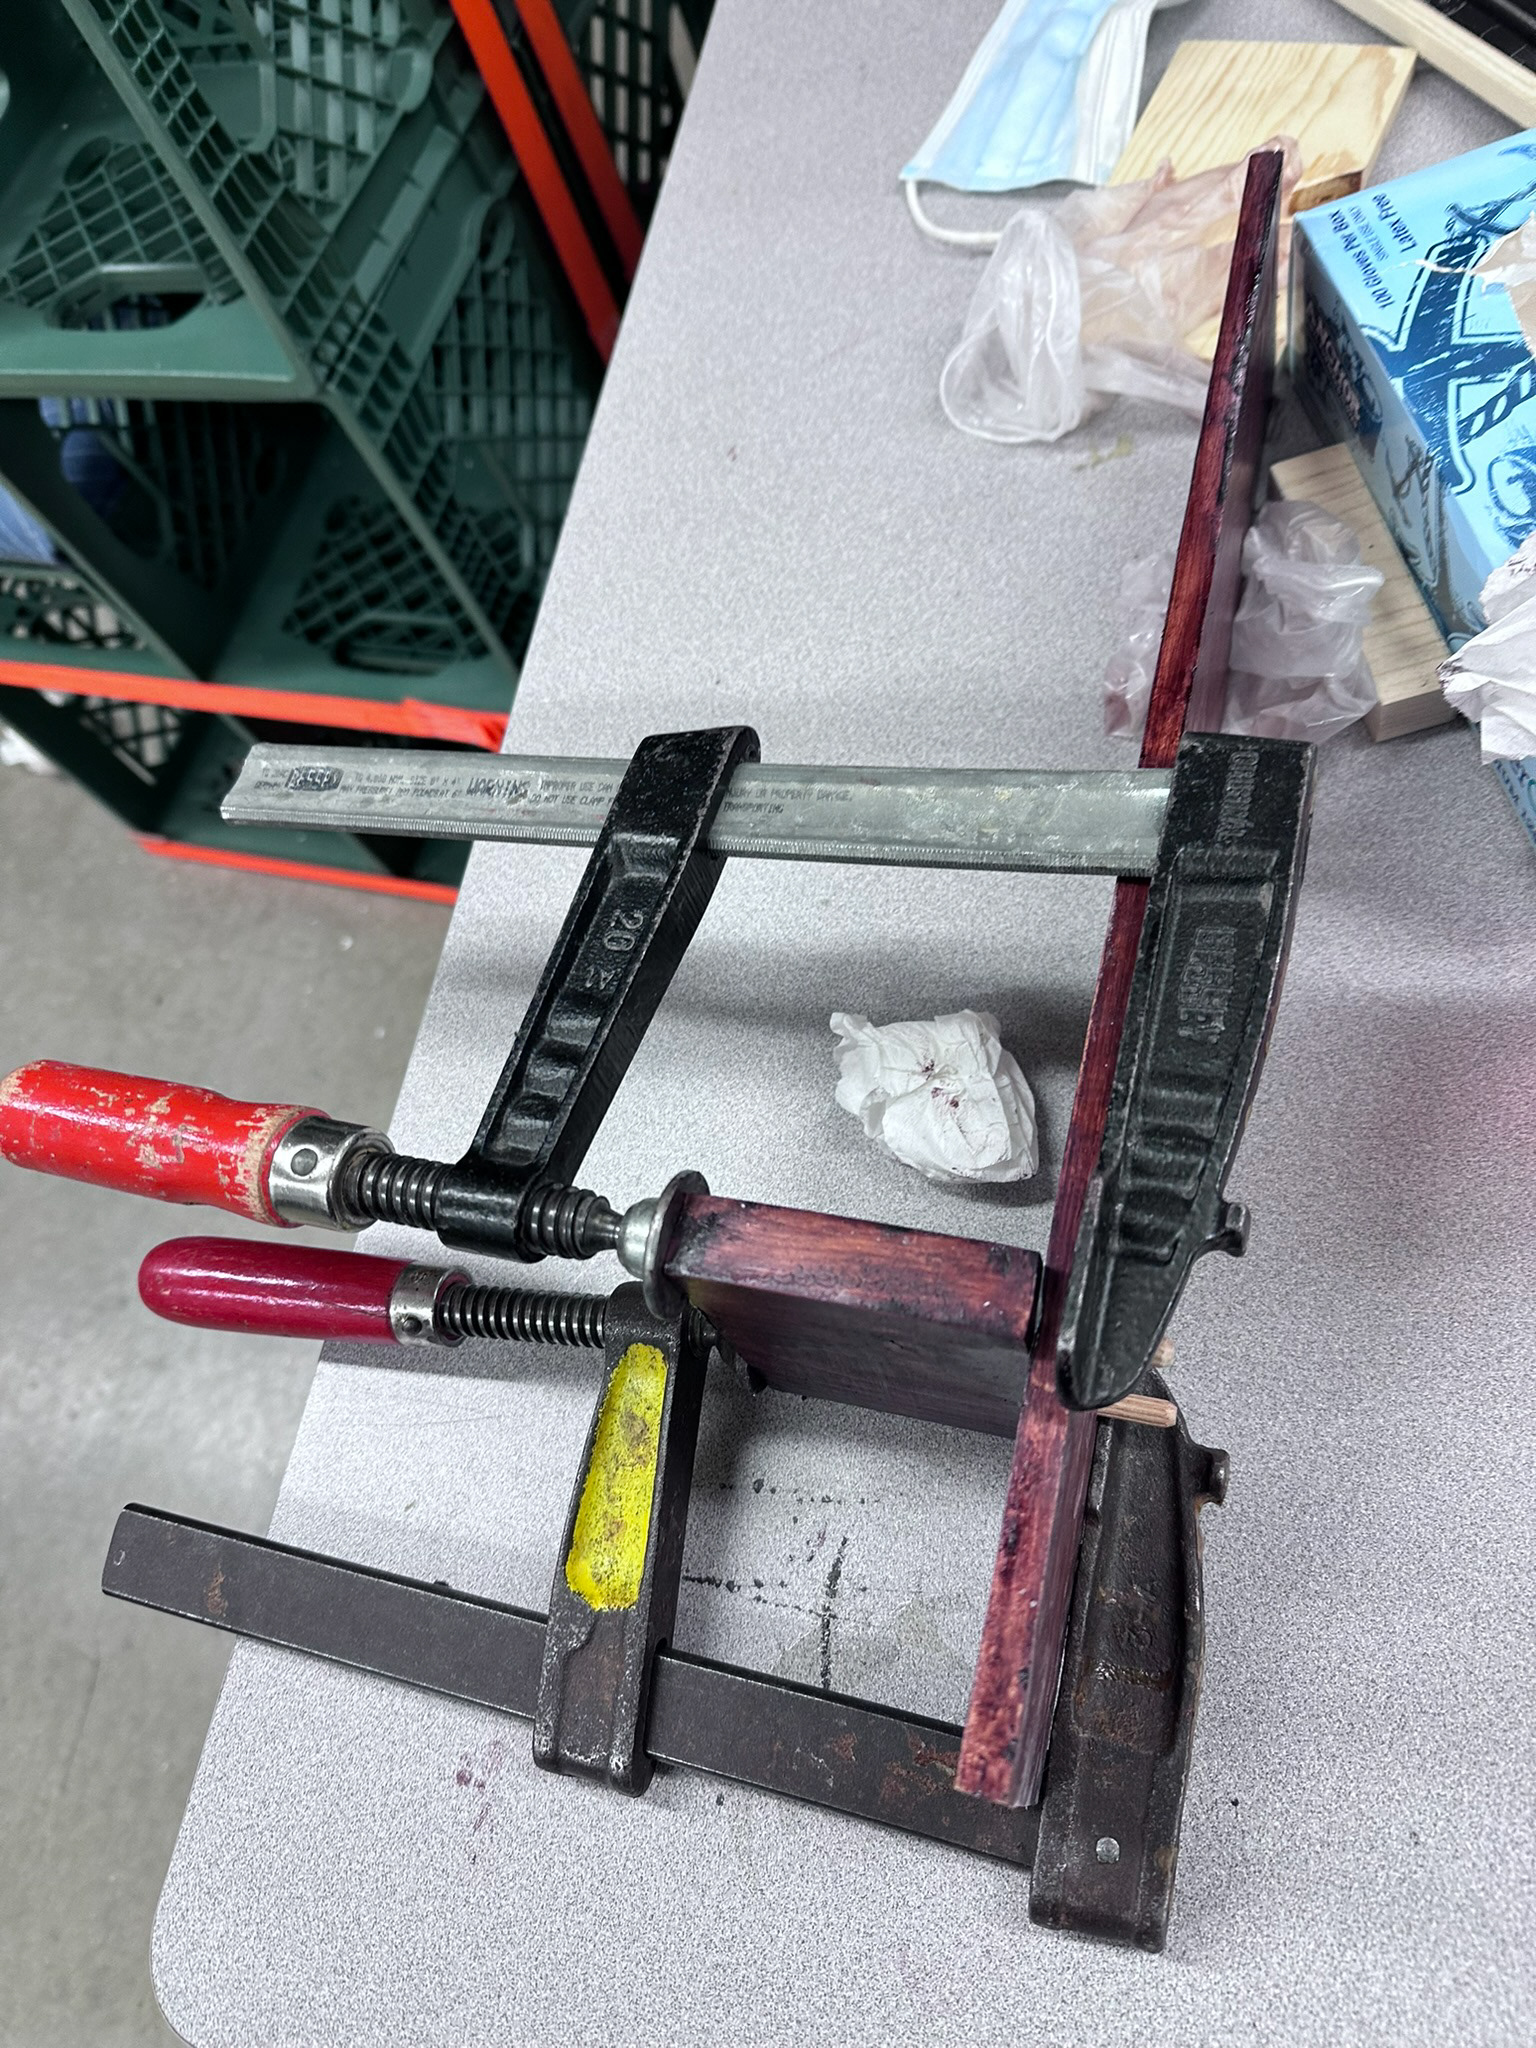
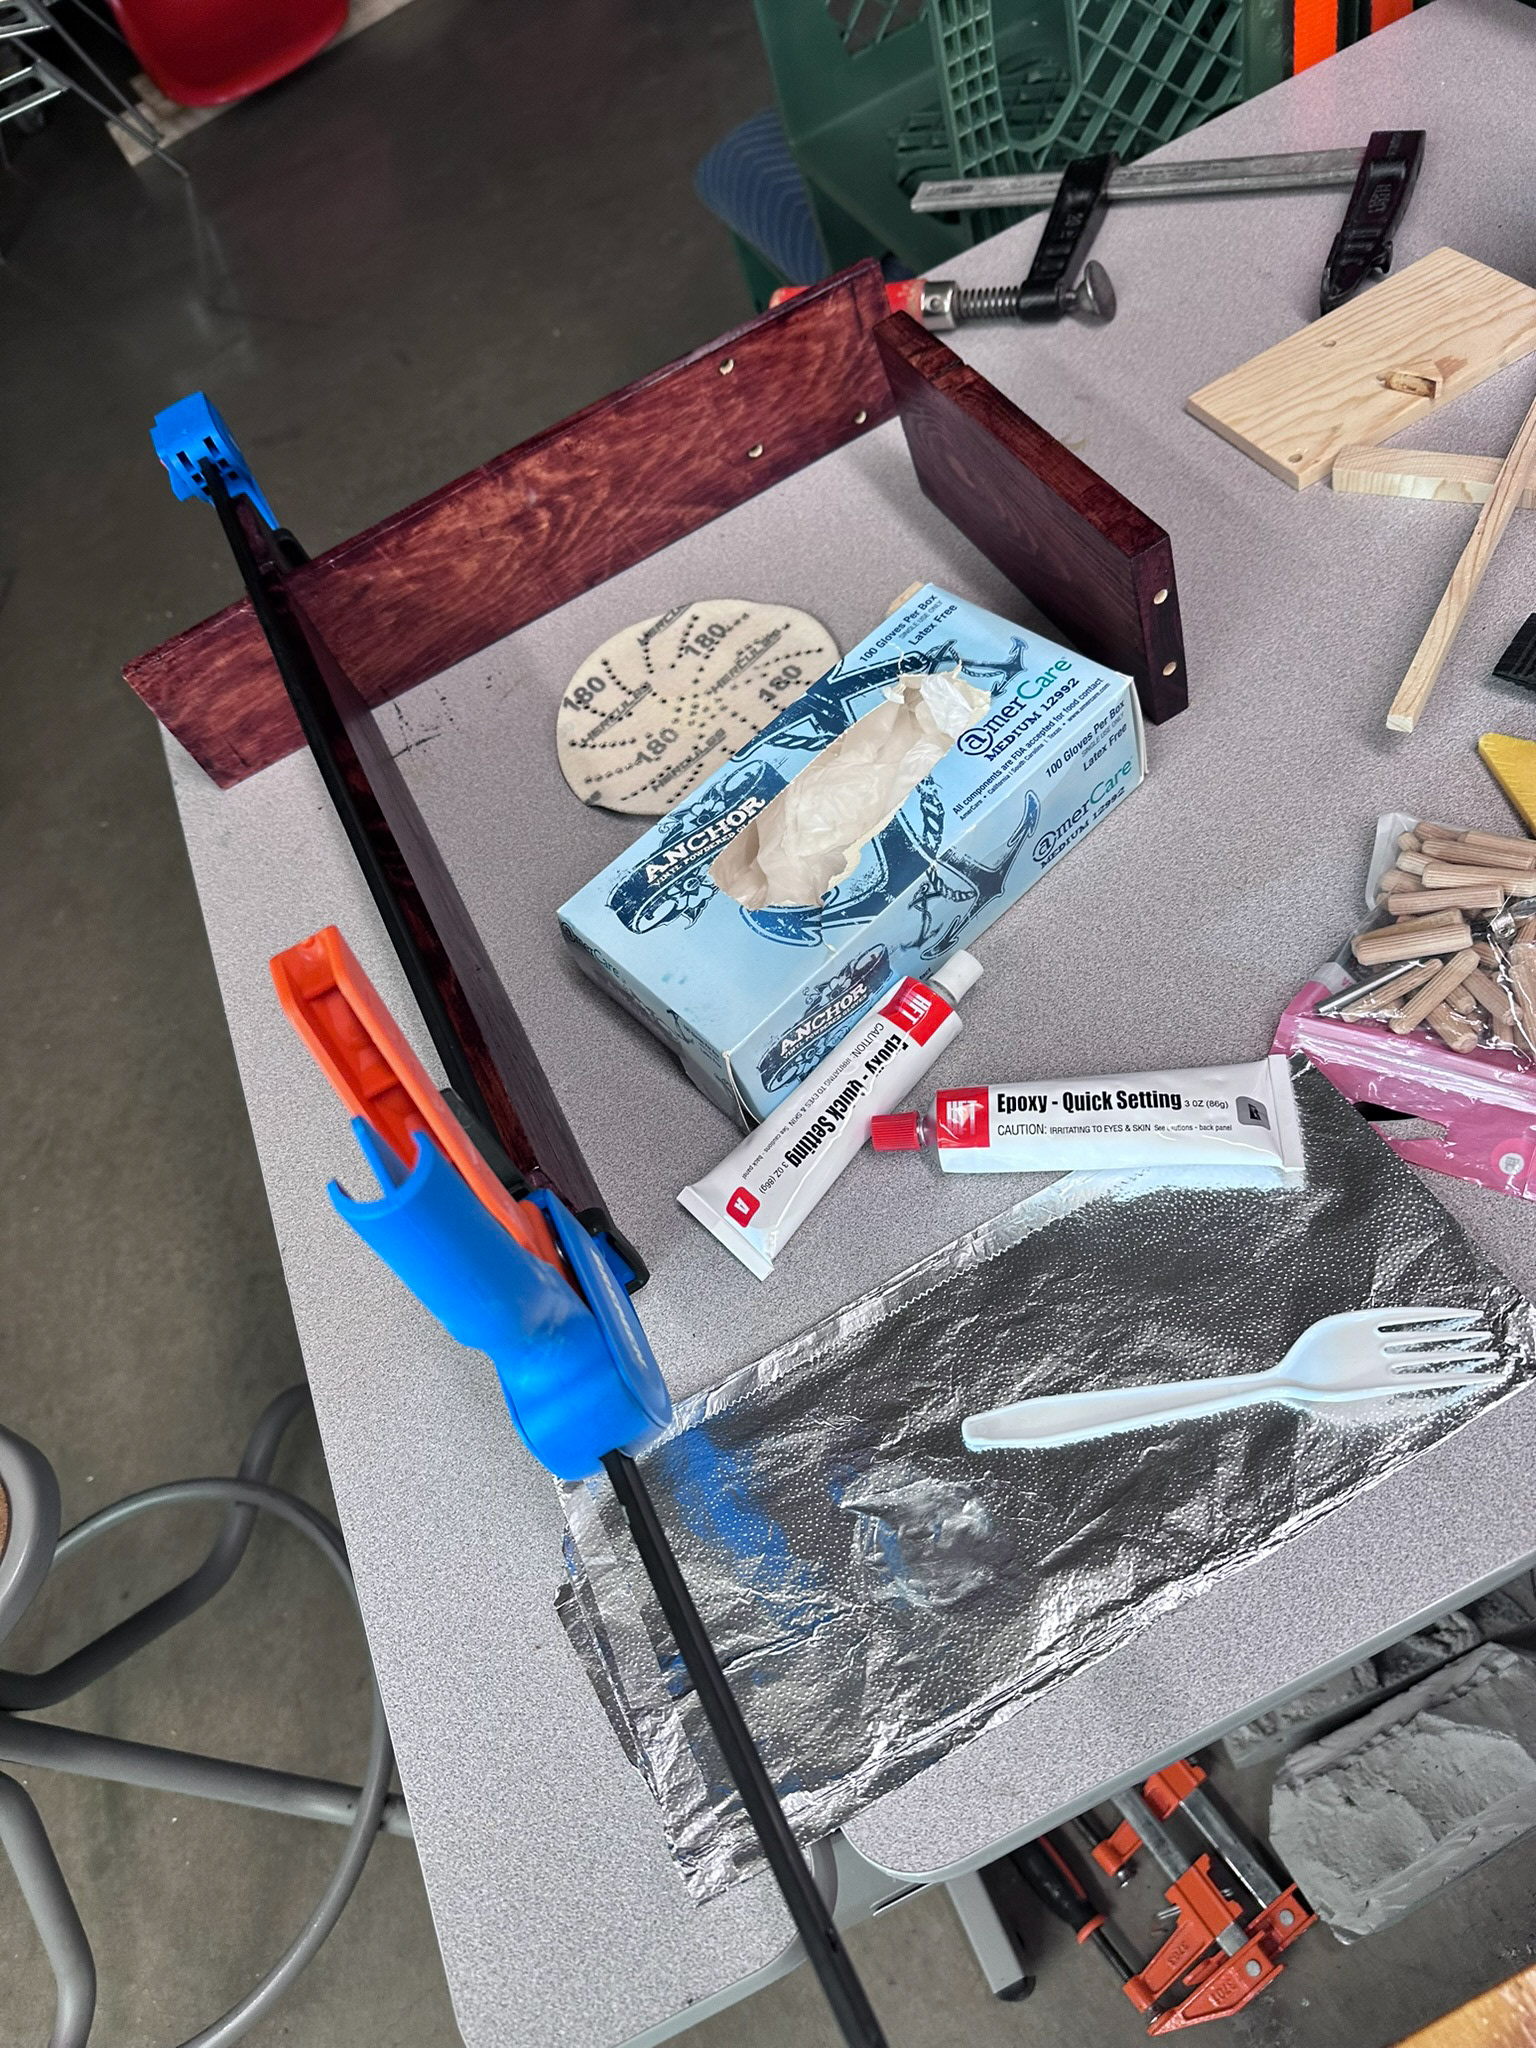
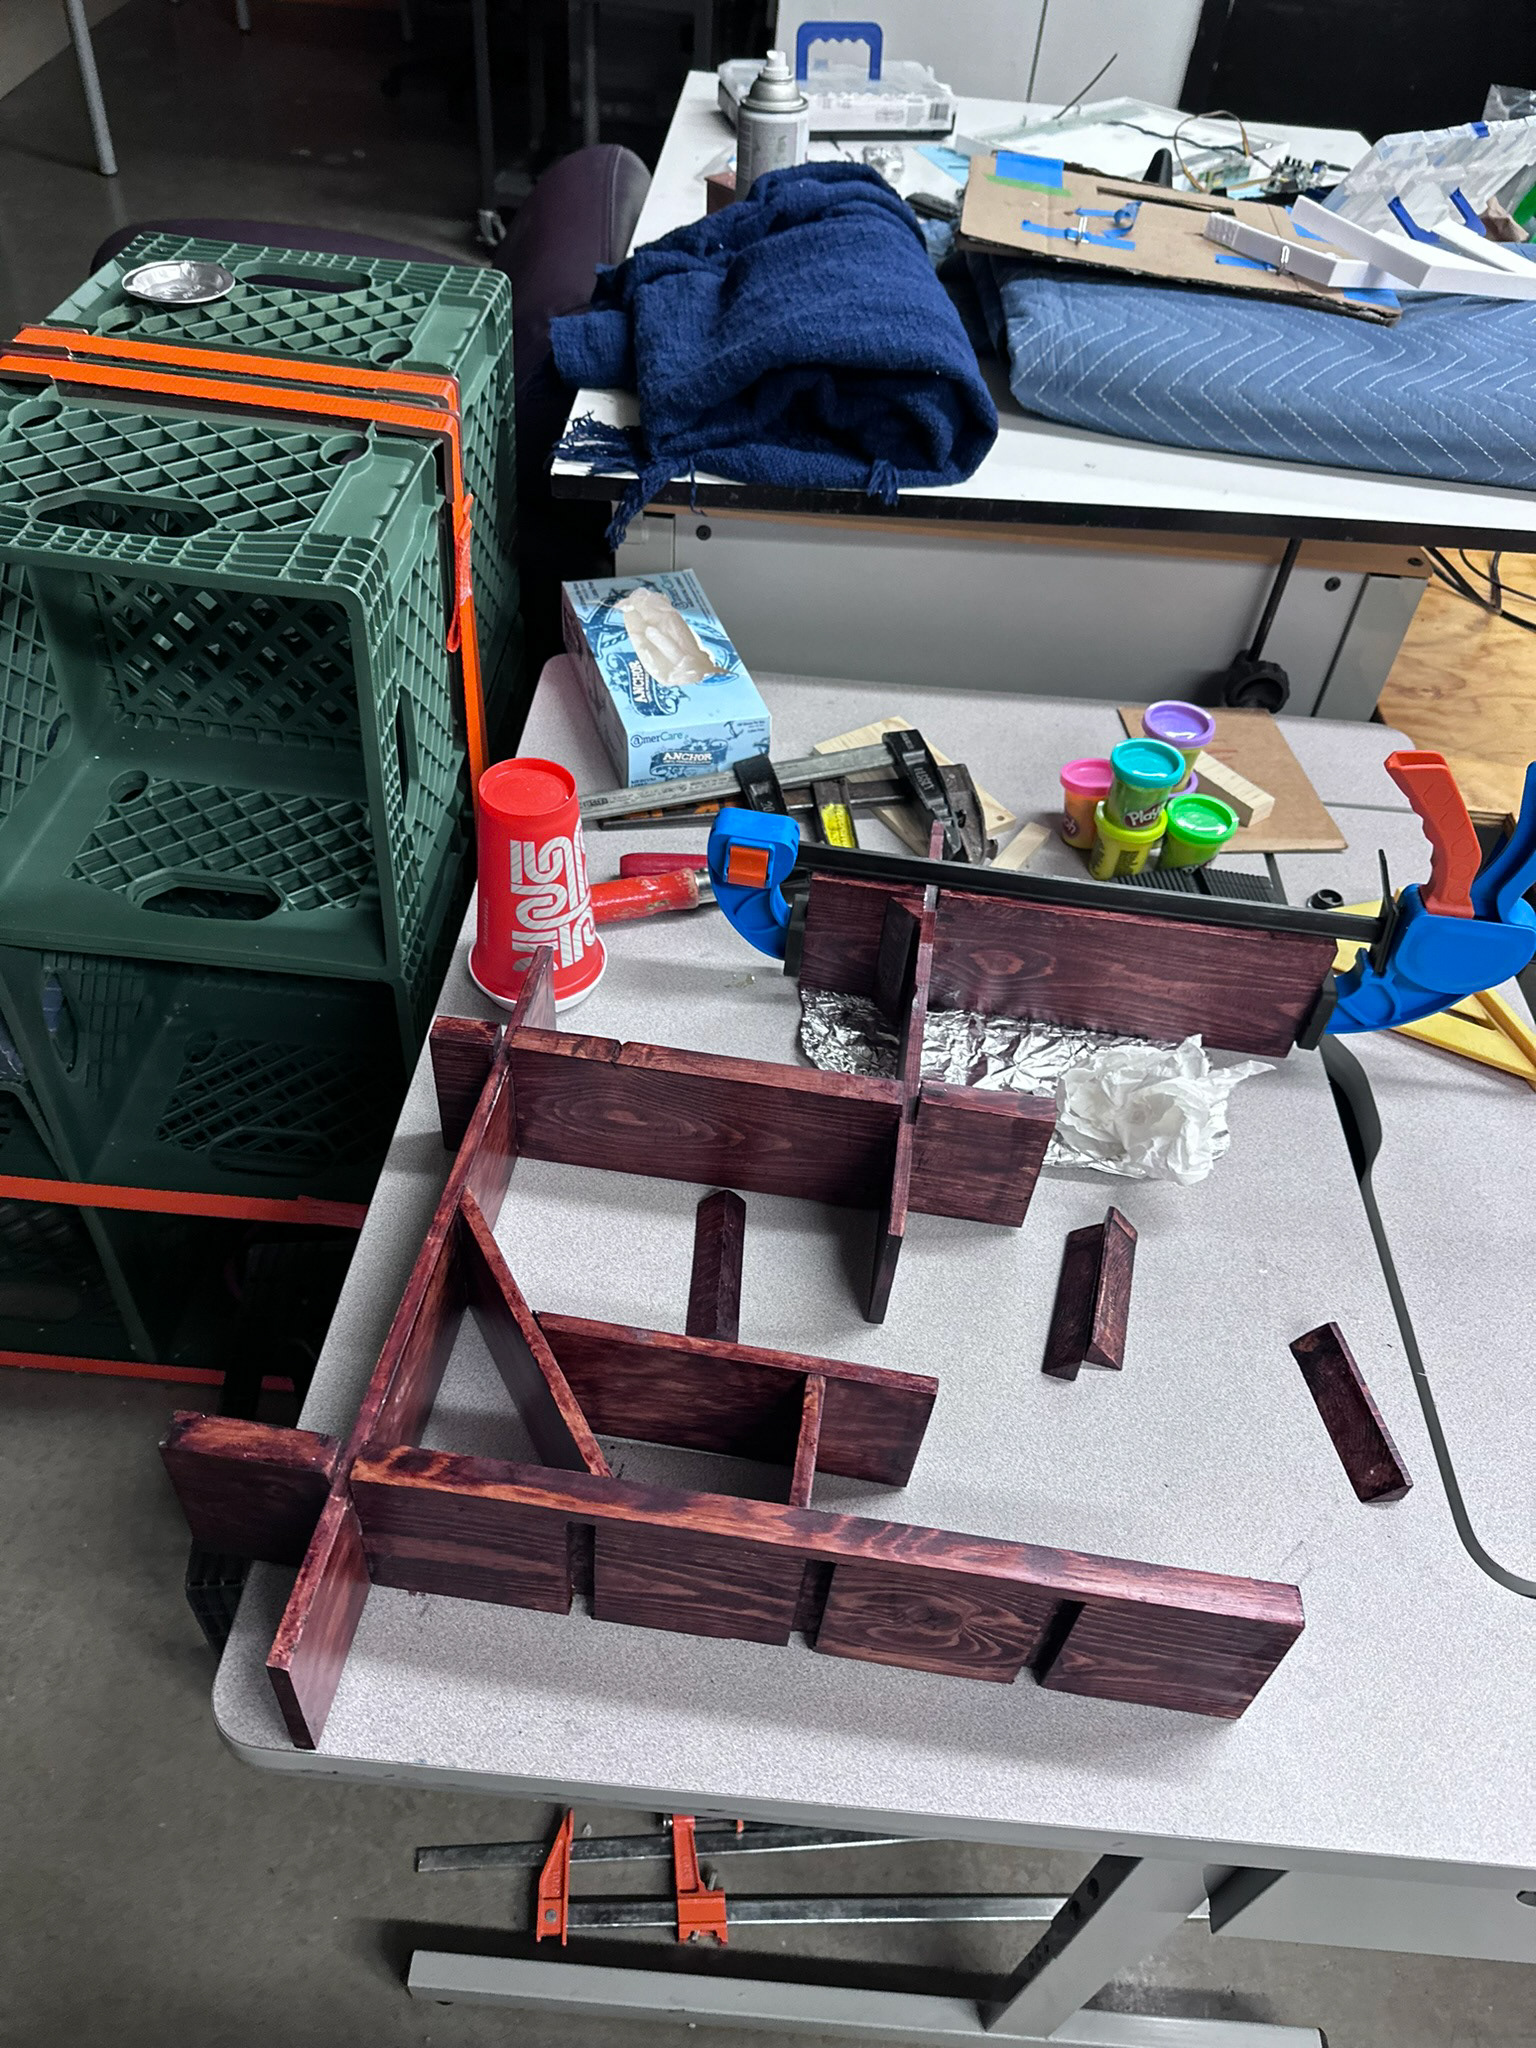
Proceeding to continue as the stain finally set in and dried, a two-part epoxy resin glue was used to hold a strong and permanent bond to the pieces. Clamping each piece to each other one at a time and letting each shelf get the proper setting time.
The First Clamp
Adding more Clamps
Finished Design
Drilling in the Hooks
The last part of the process was to drill three hooks onto the back of the shelf to allow it to be hung up.
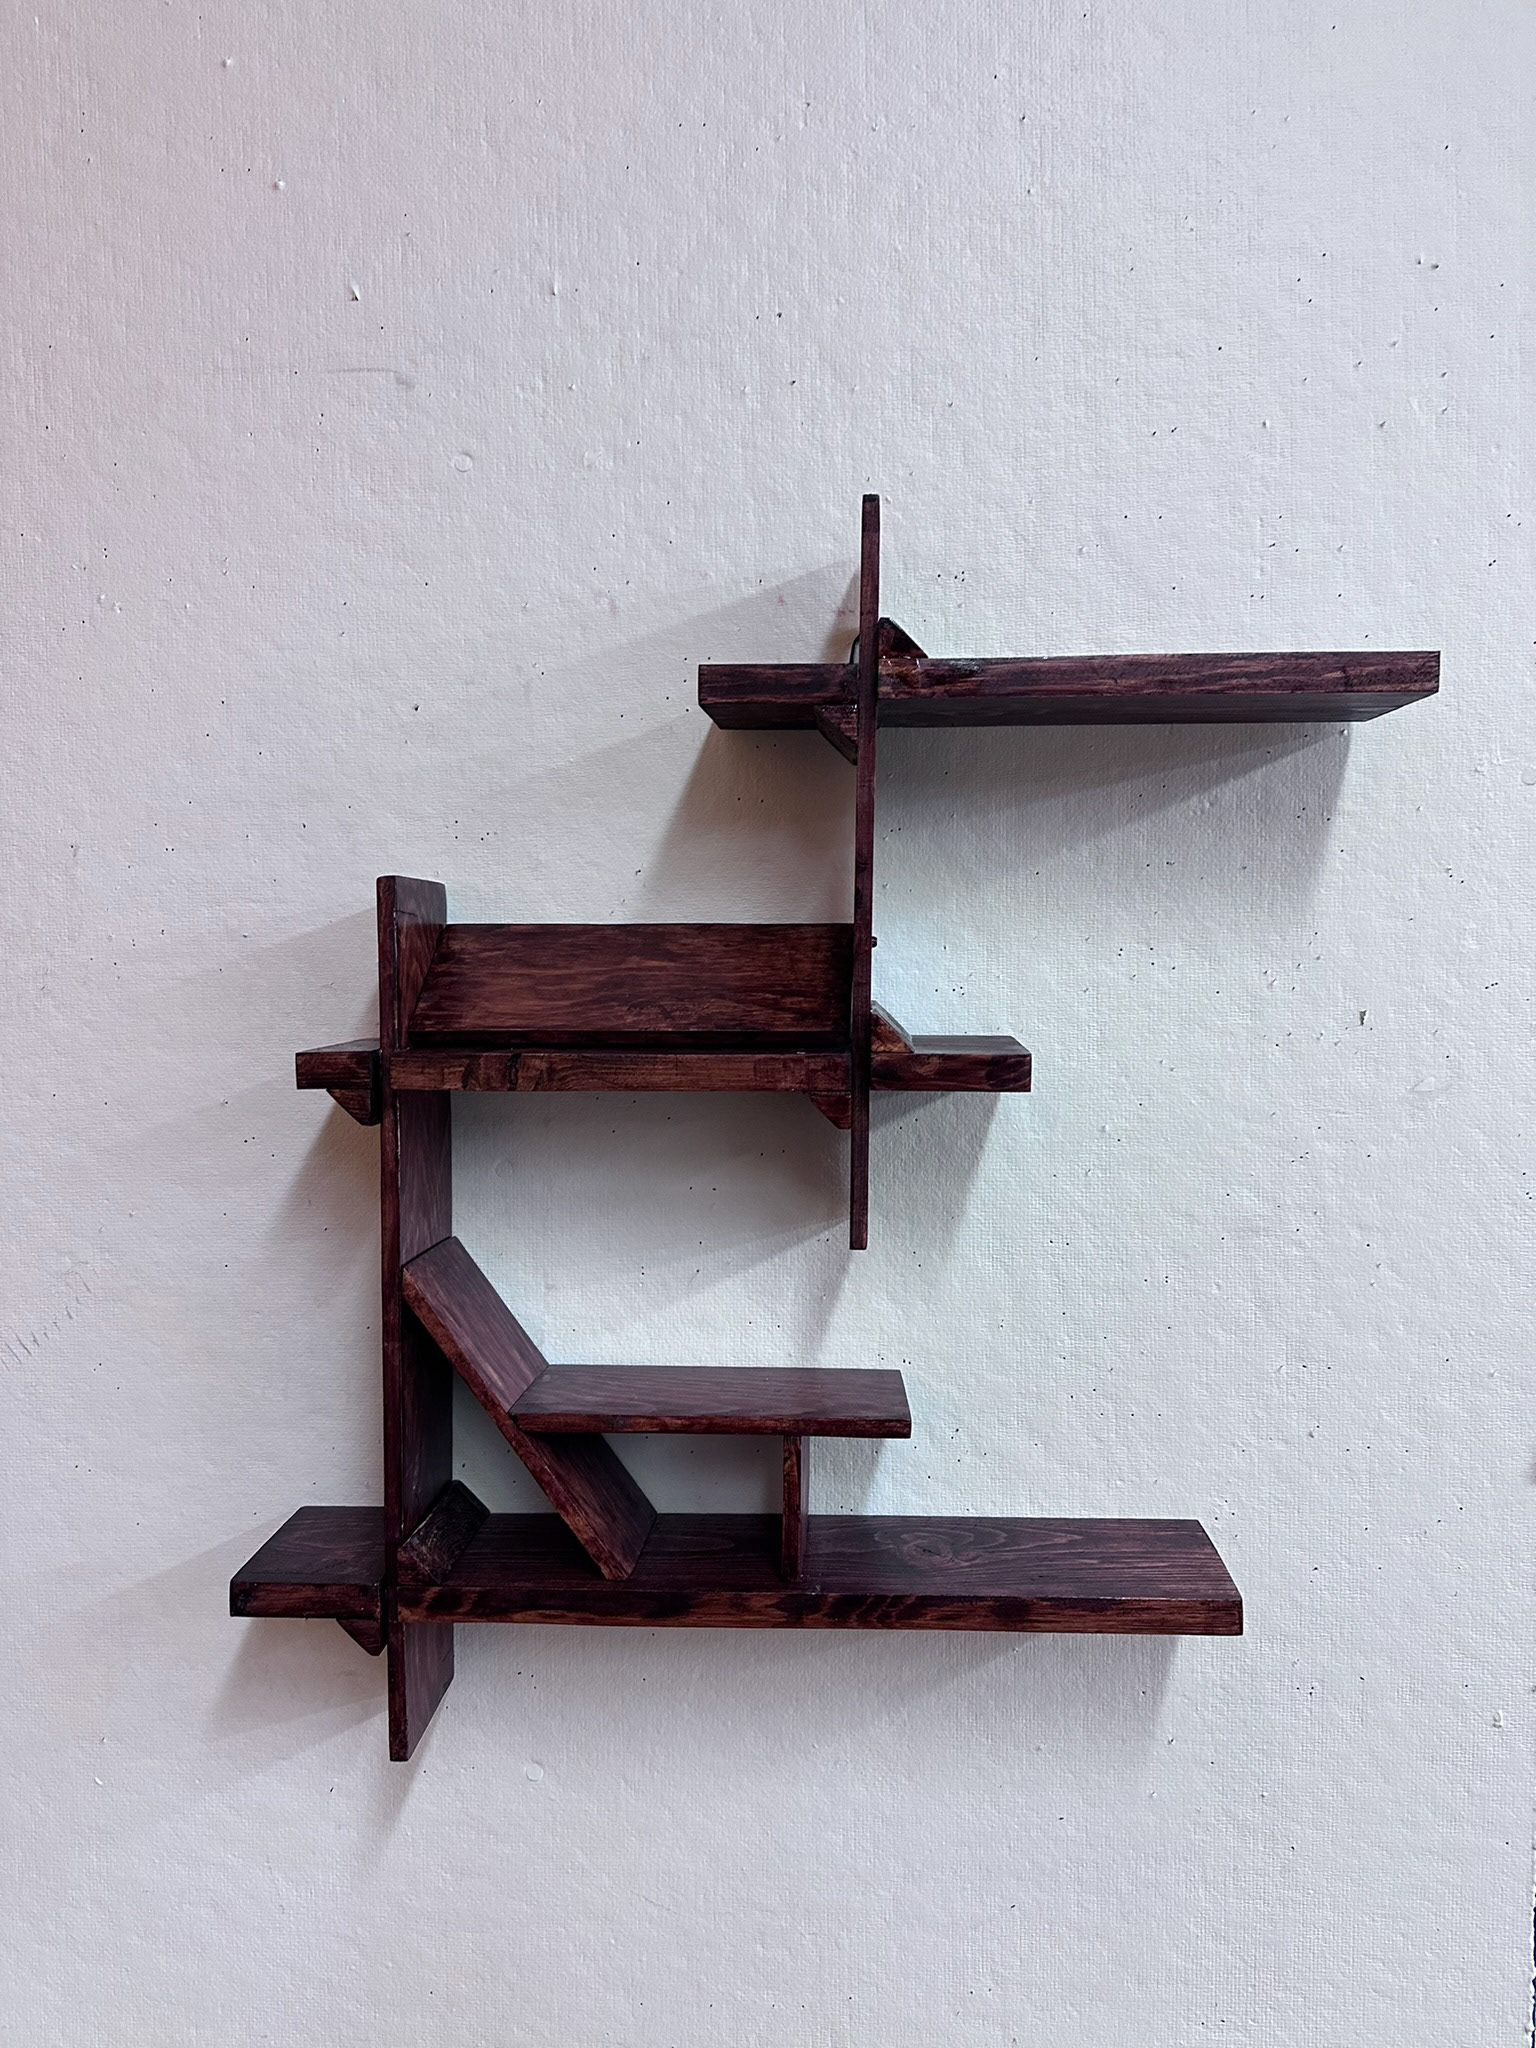
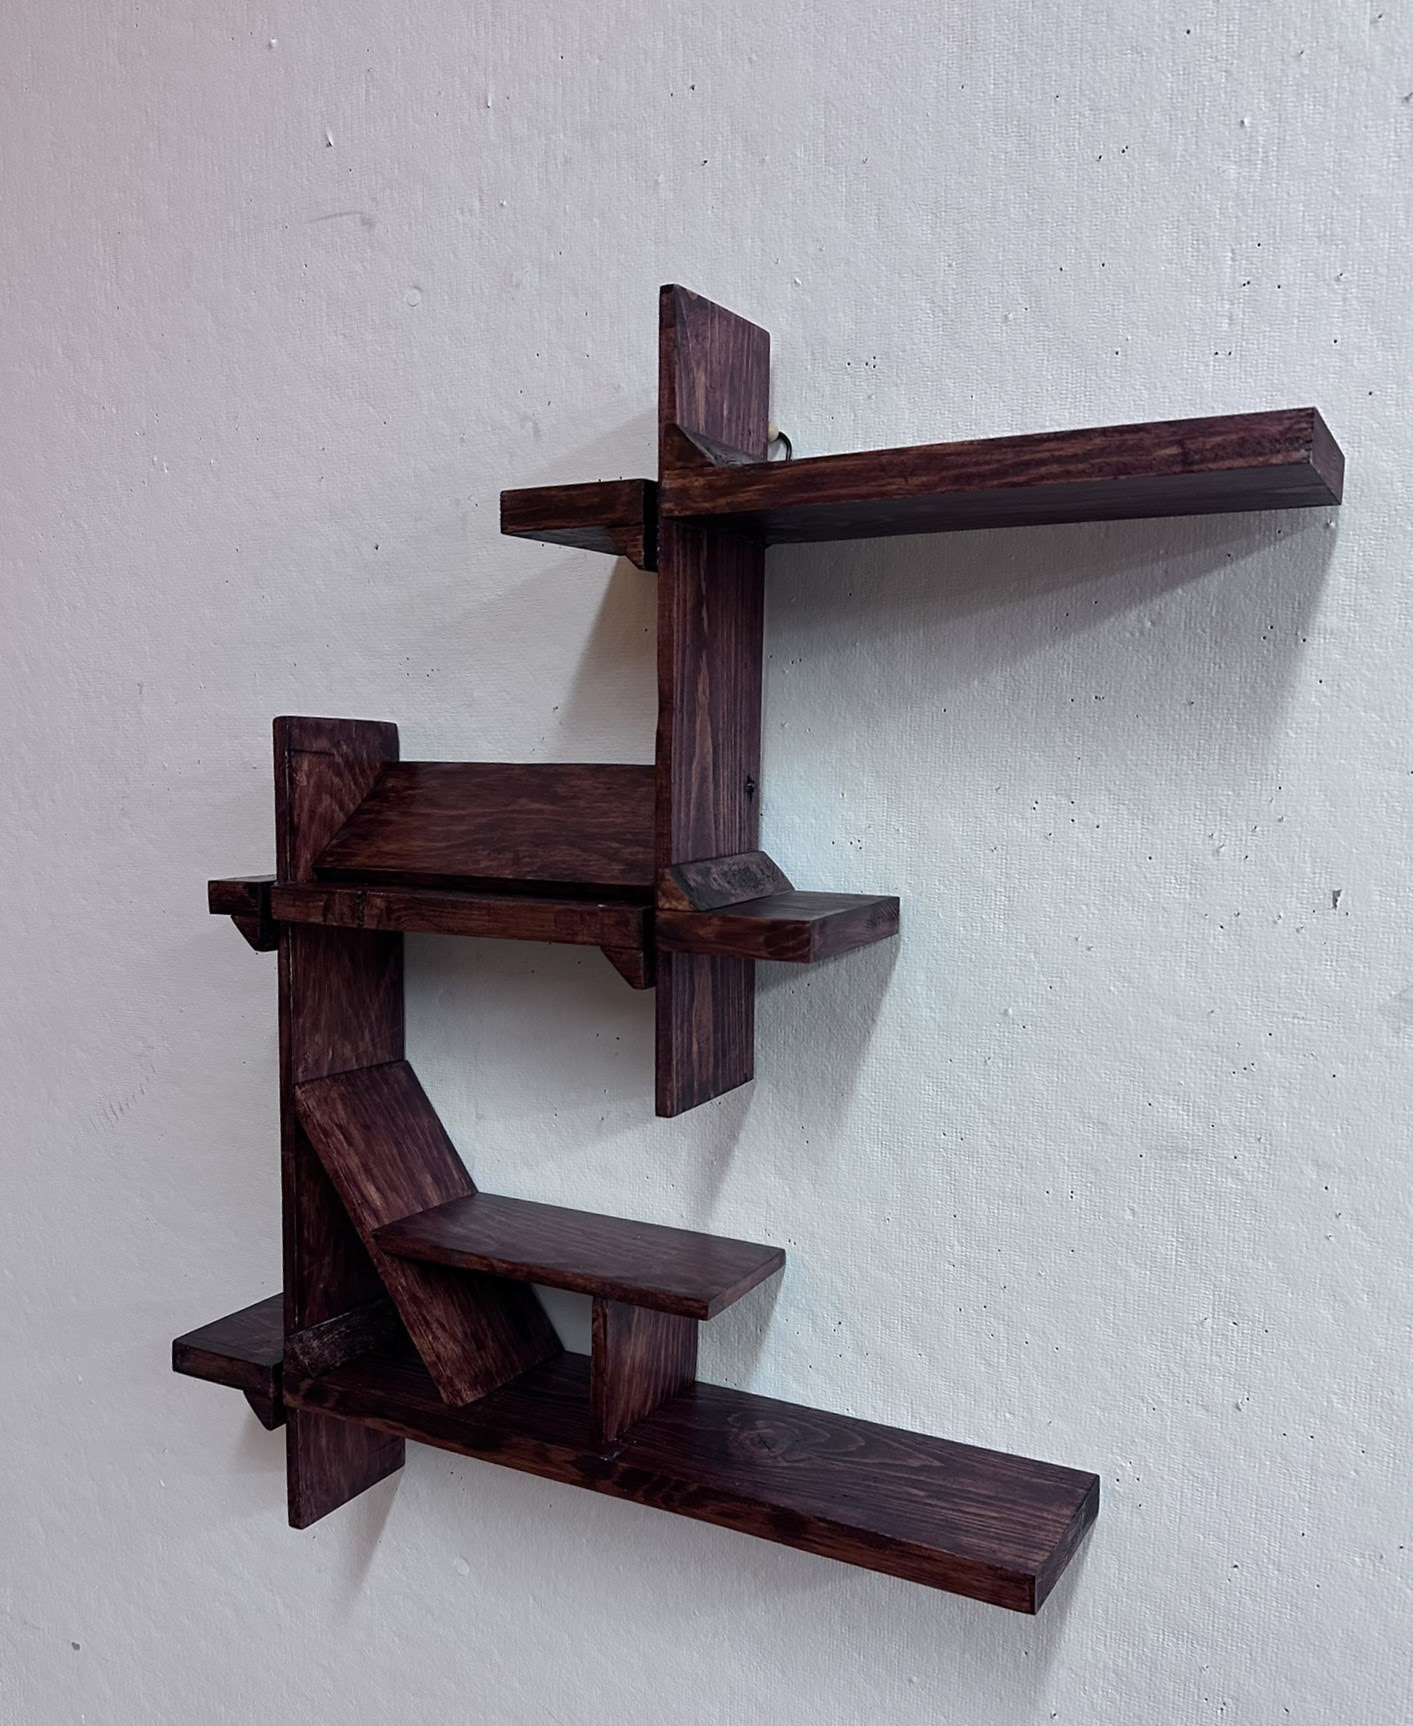
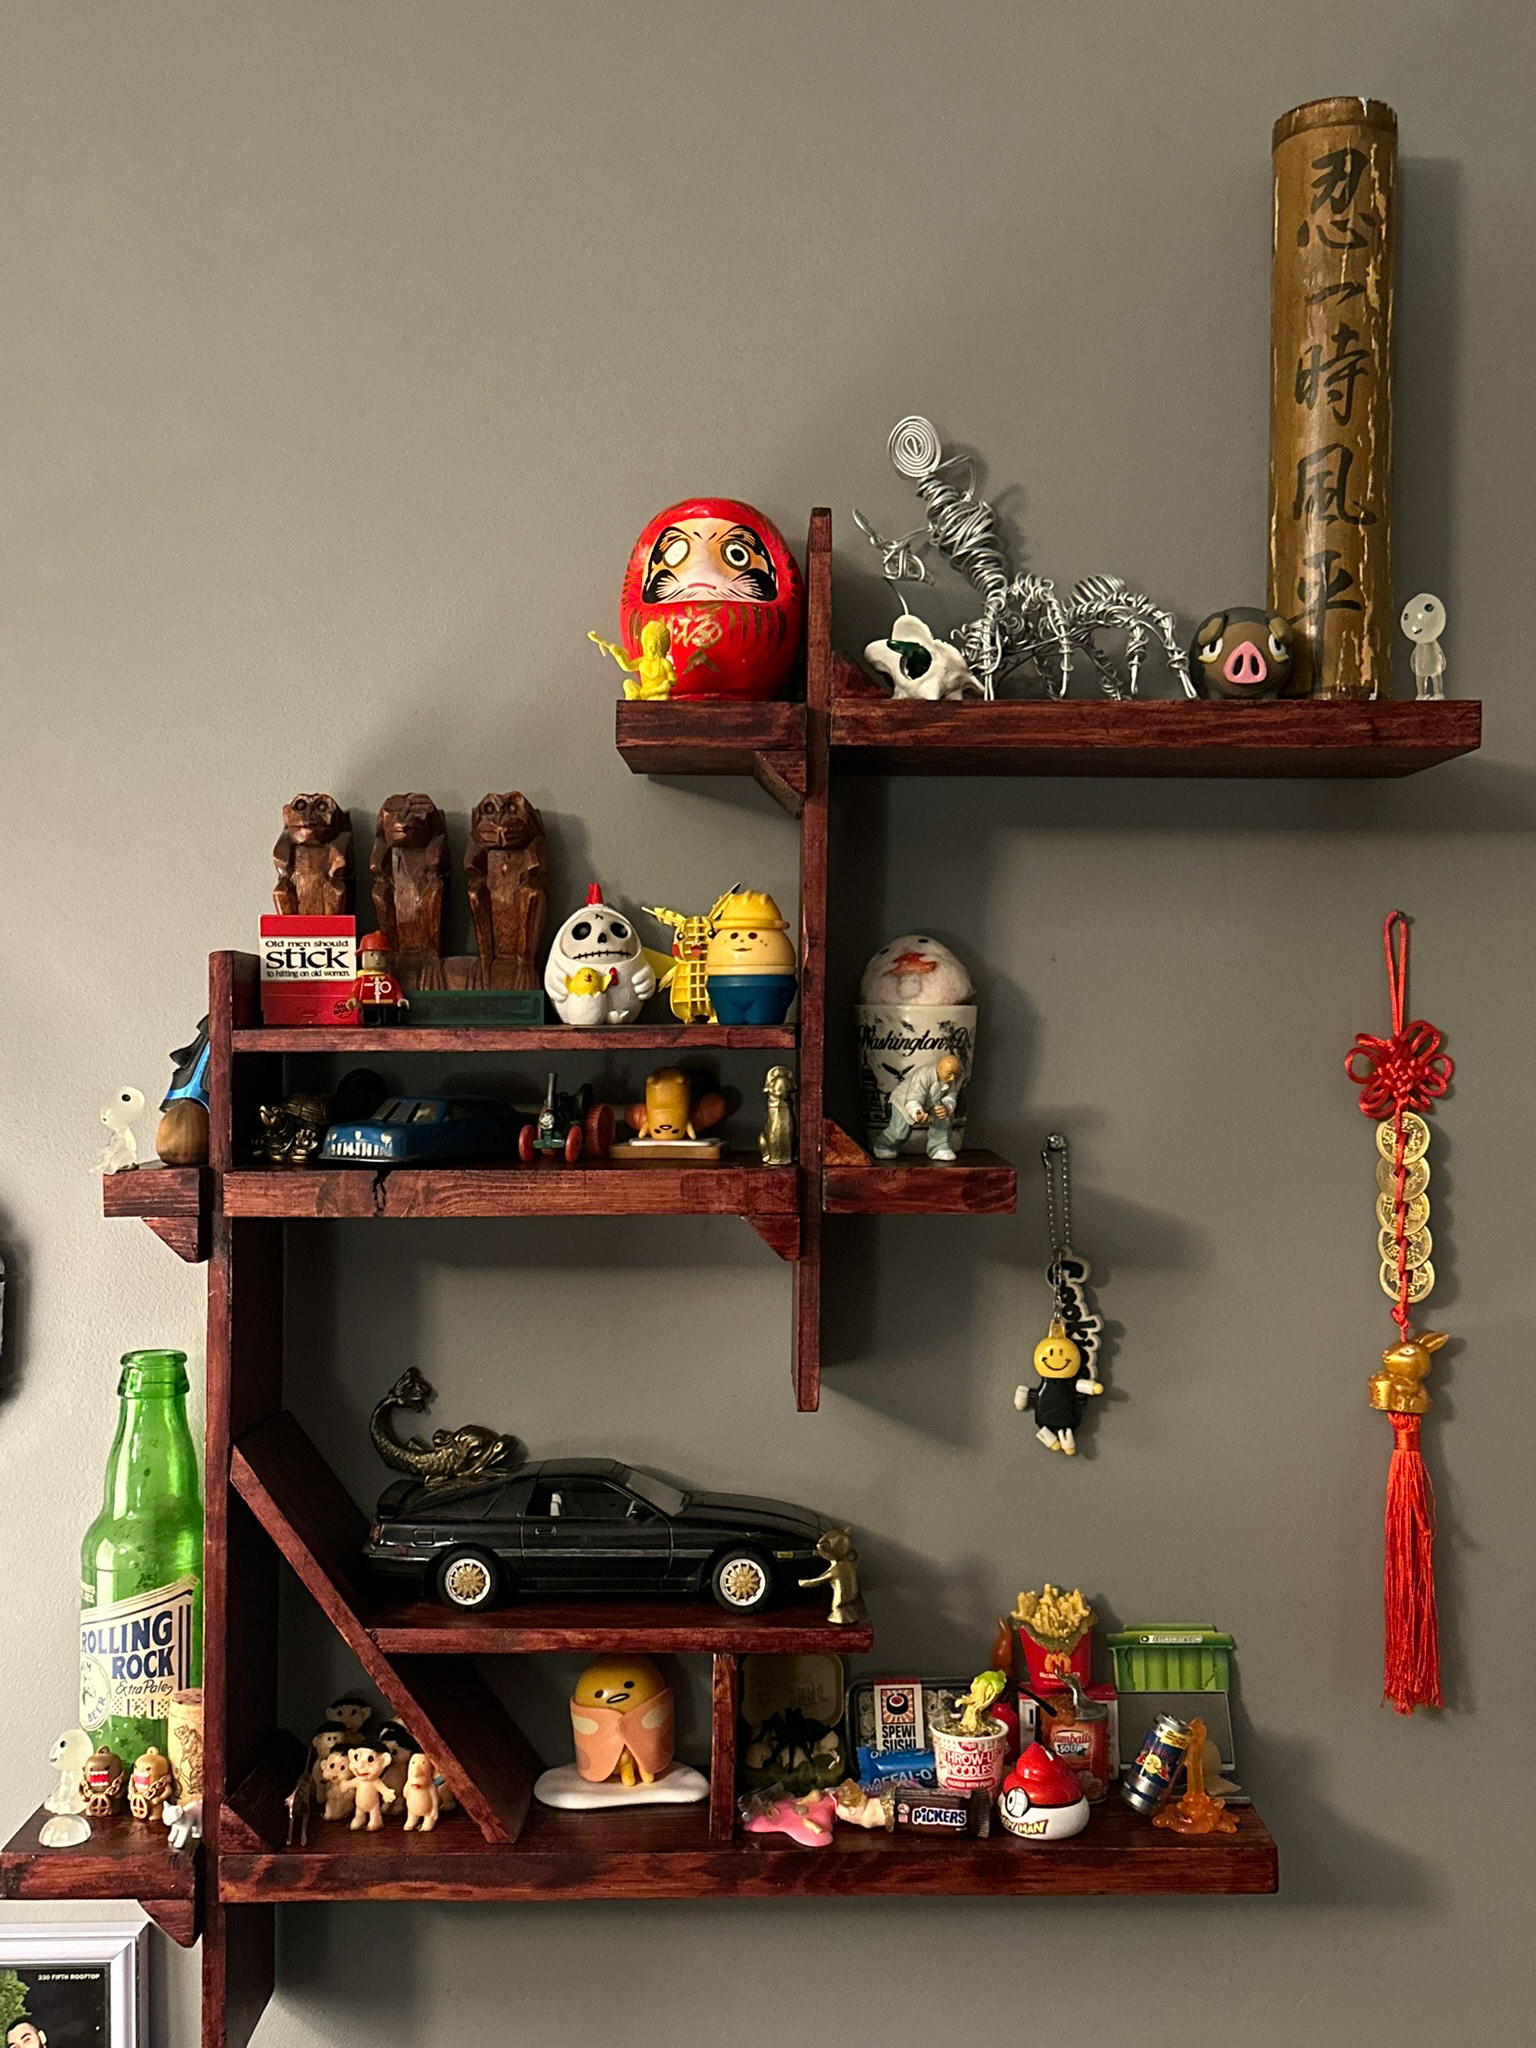
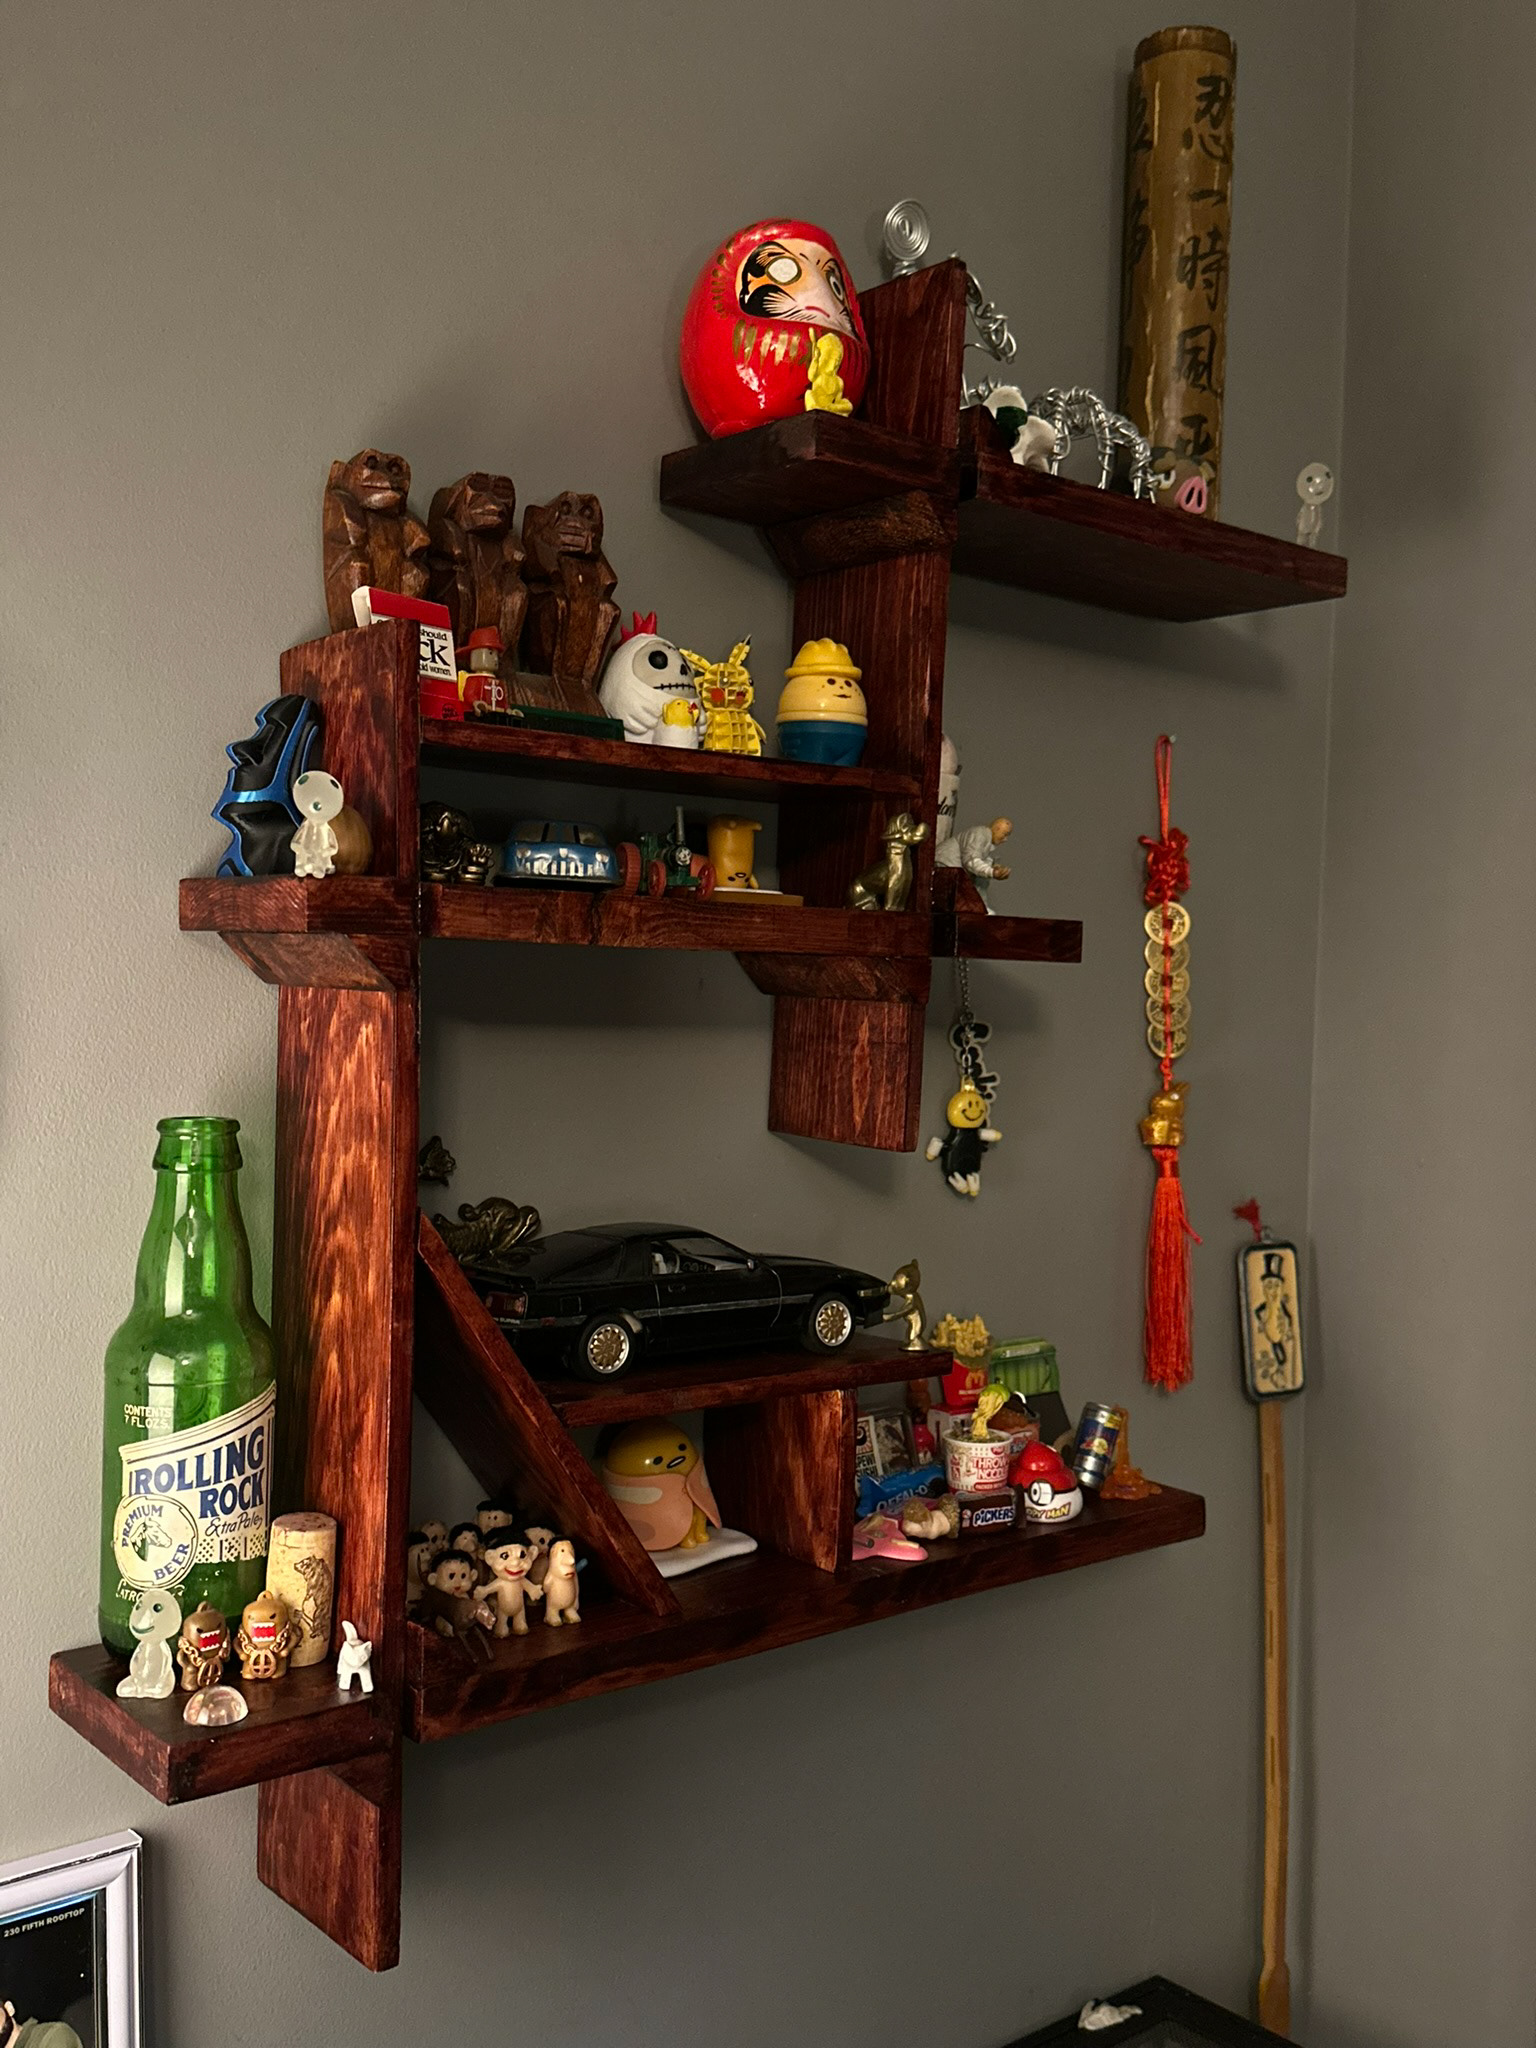
The Fung Shui Shelf
"With Balance and Harmony Design"
