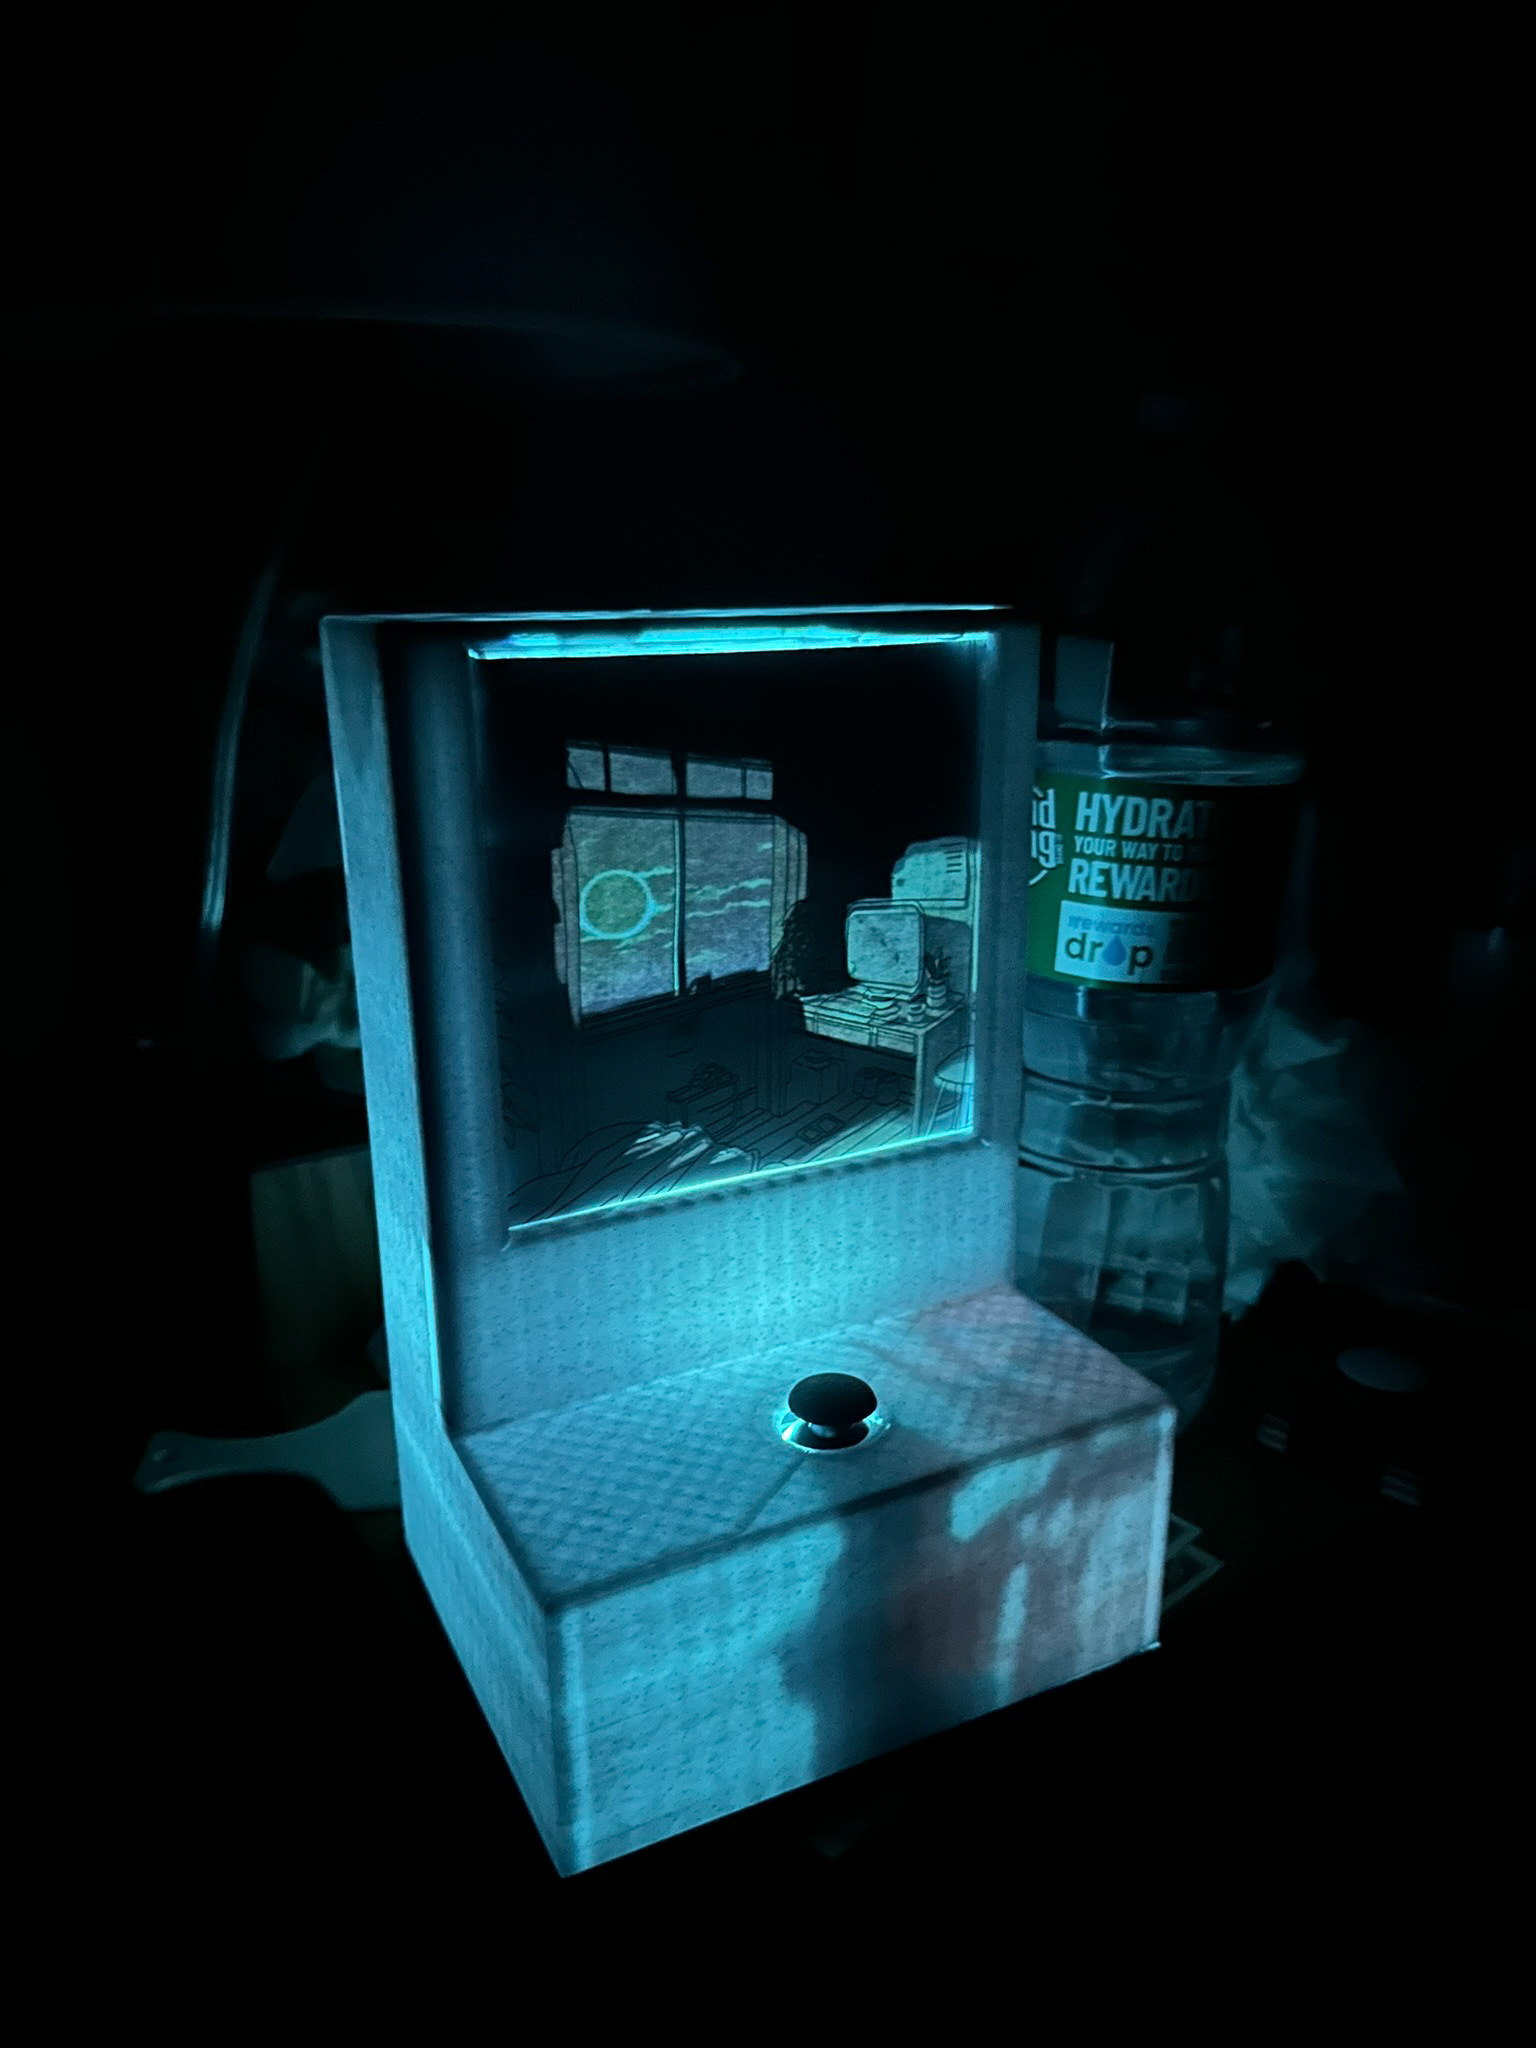
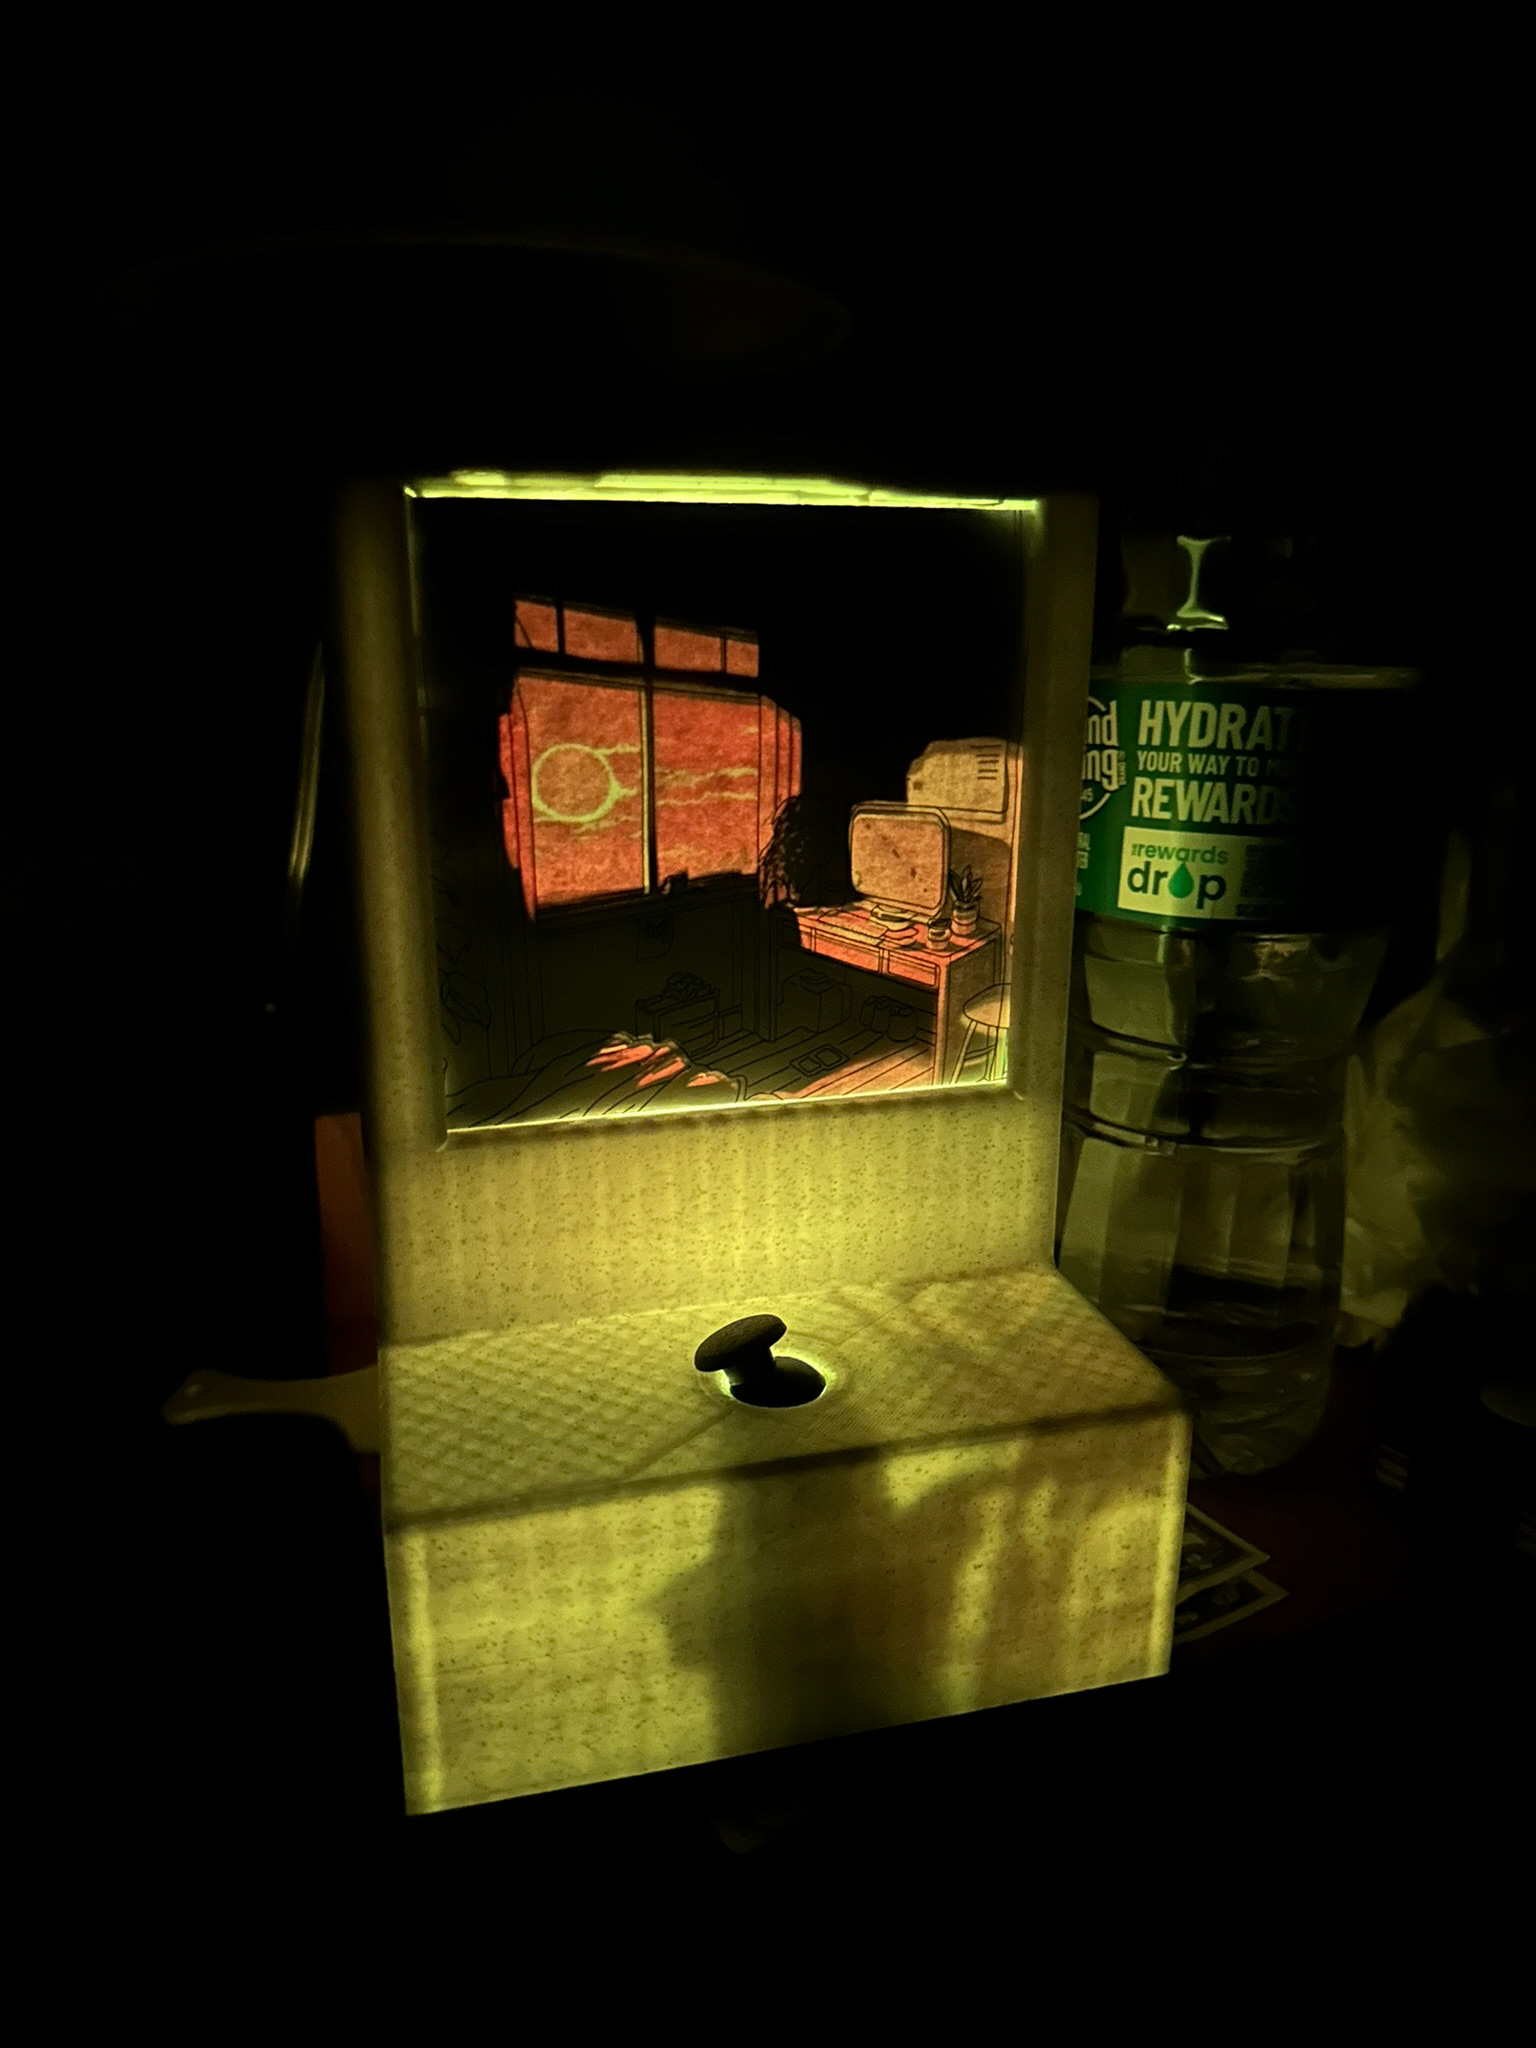
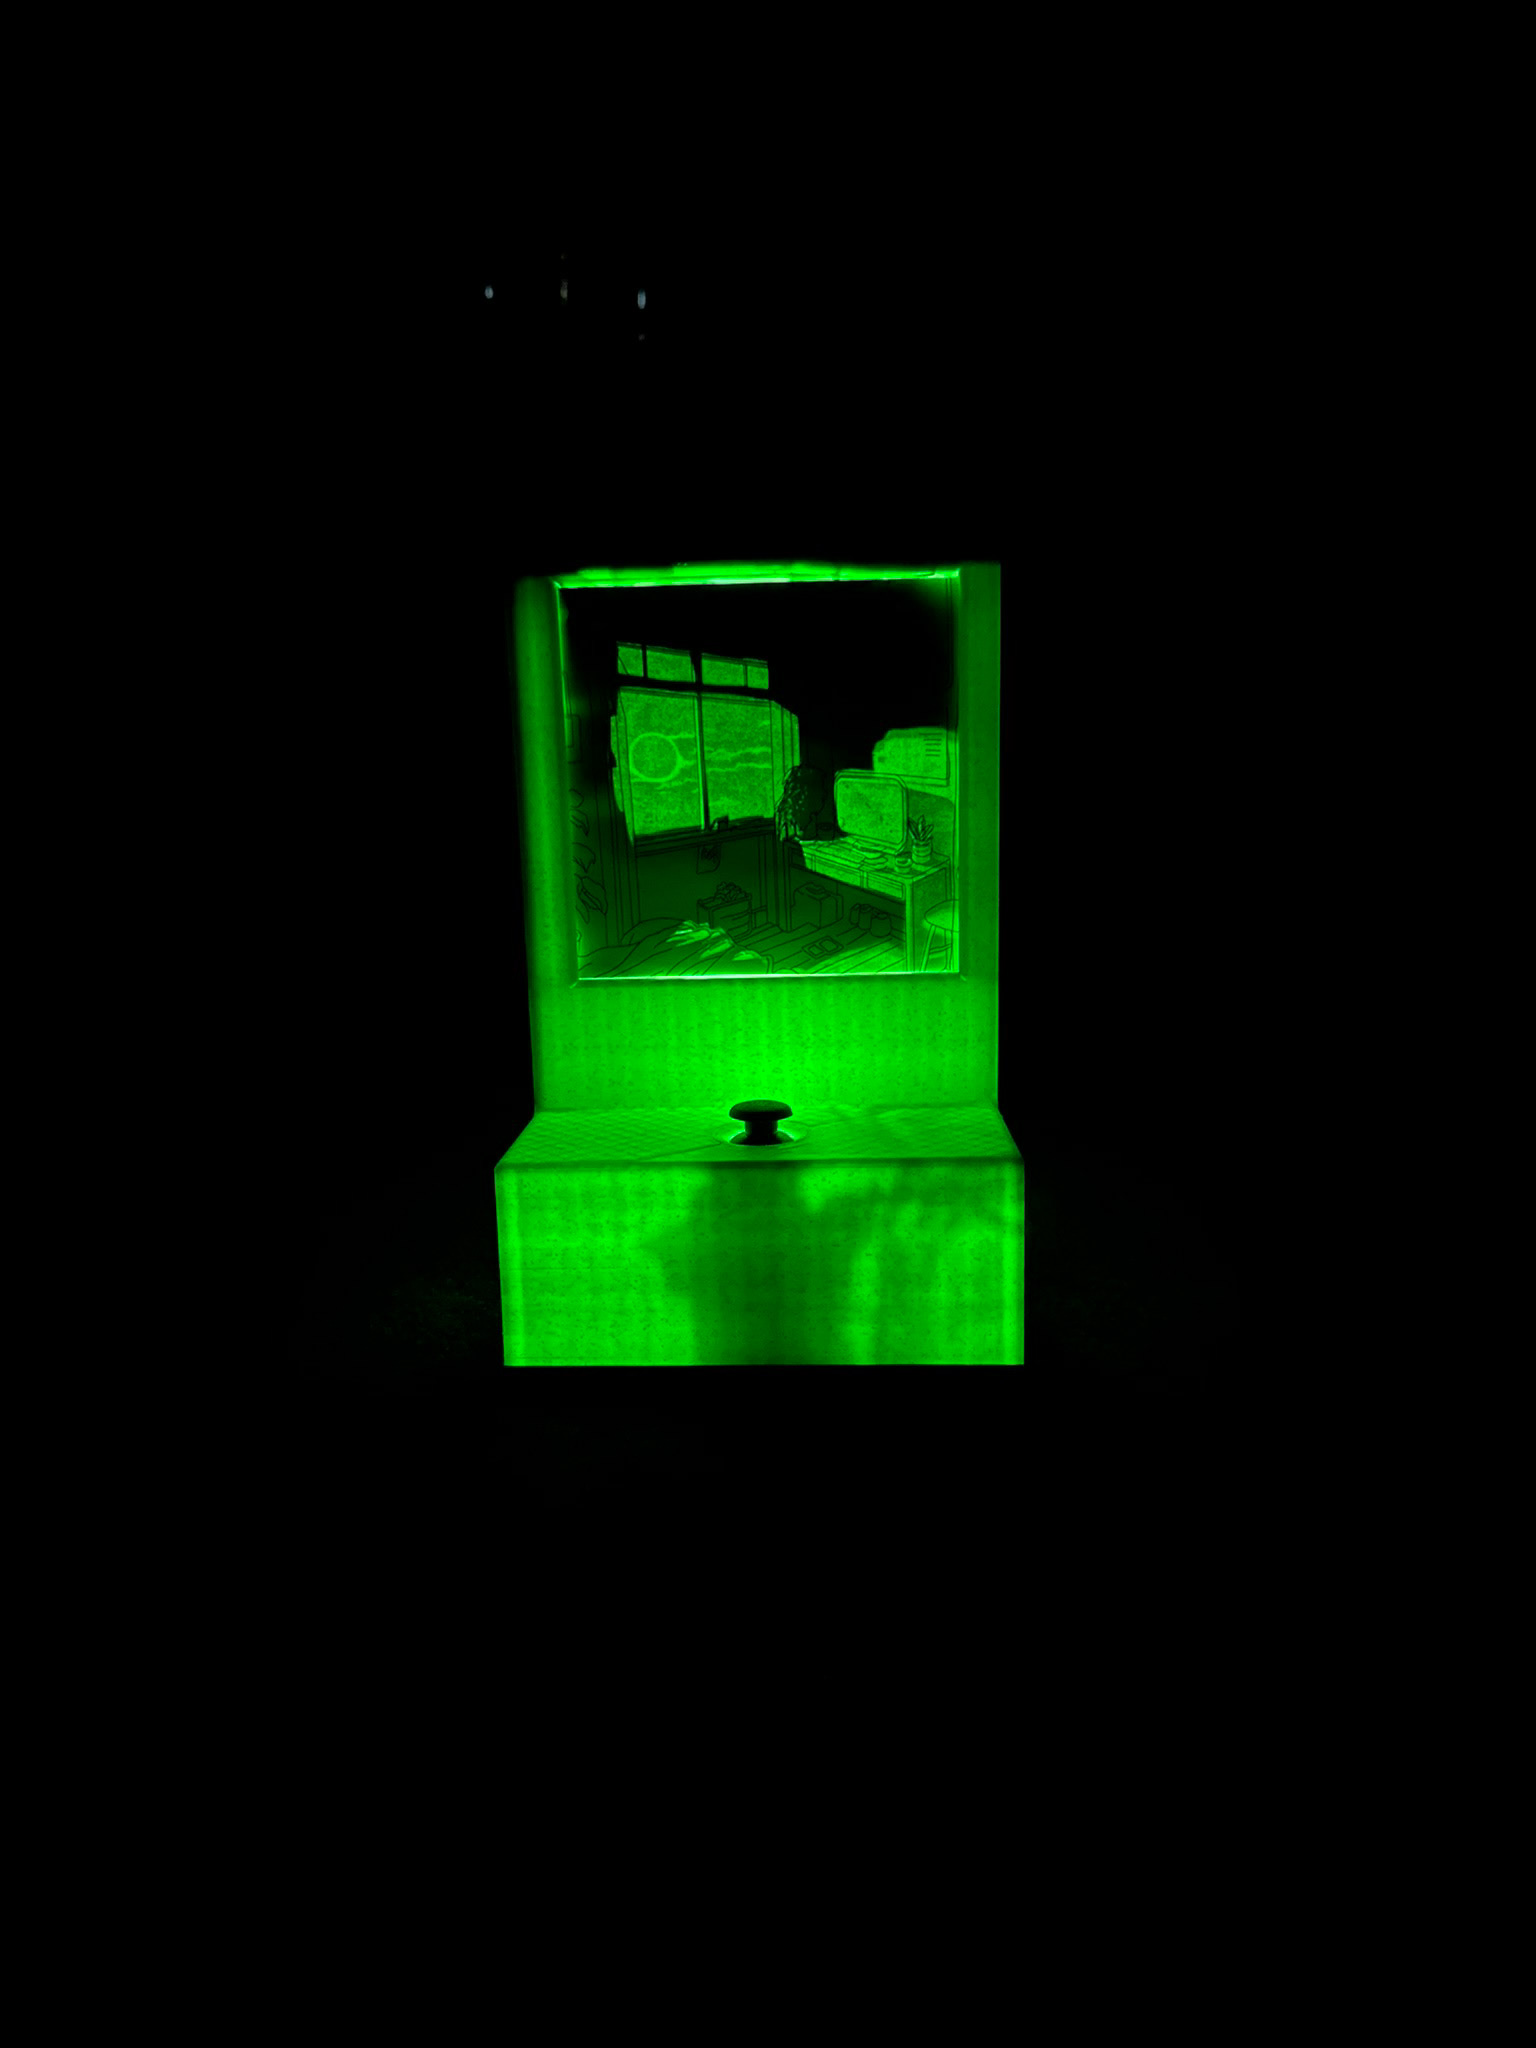
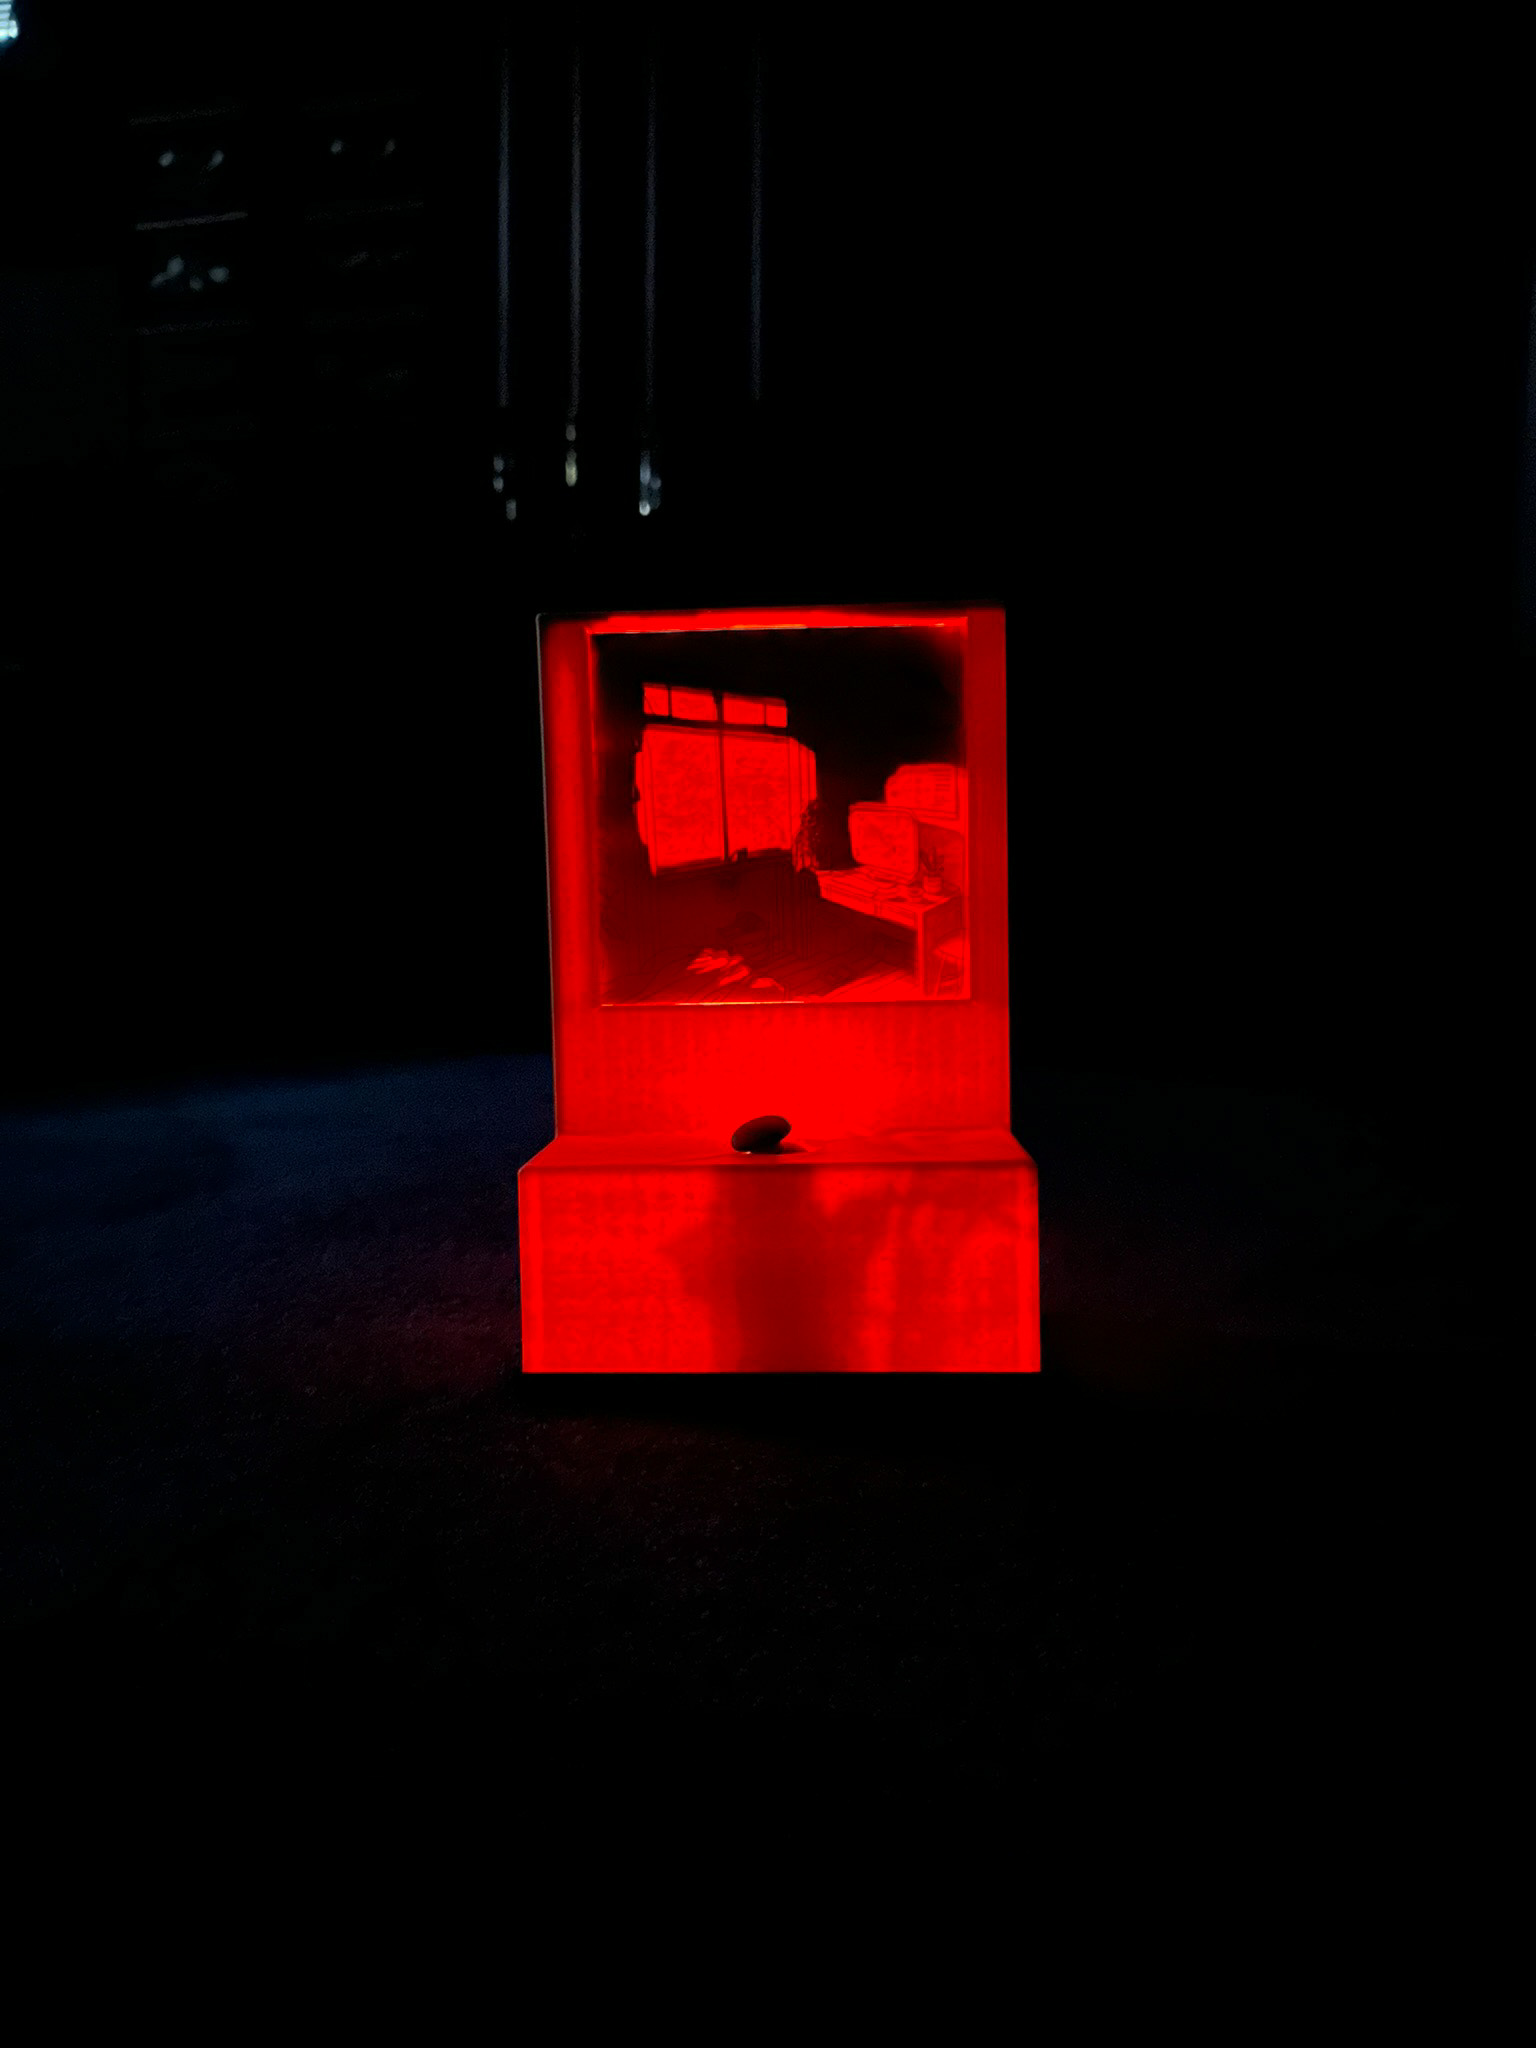
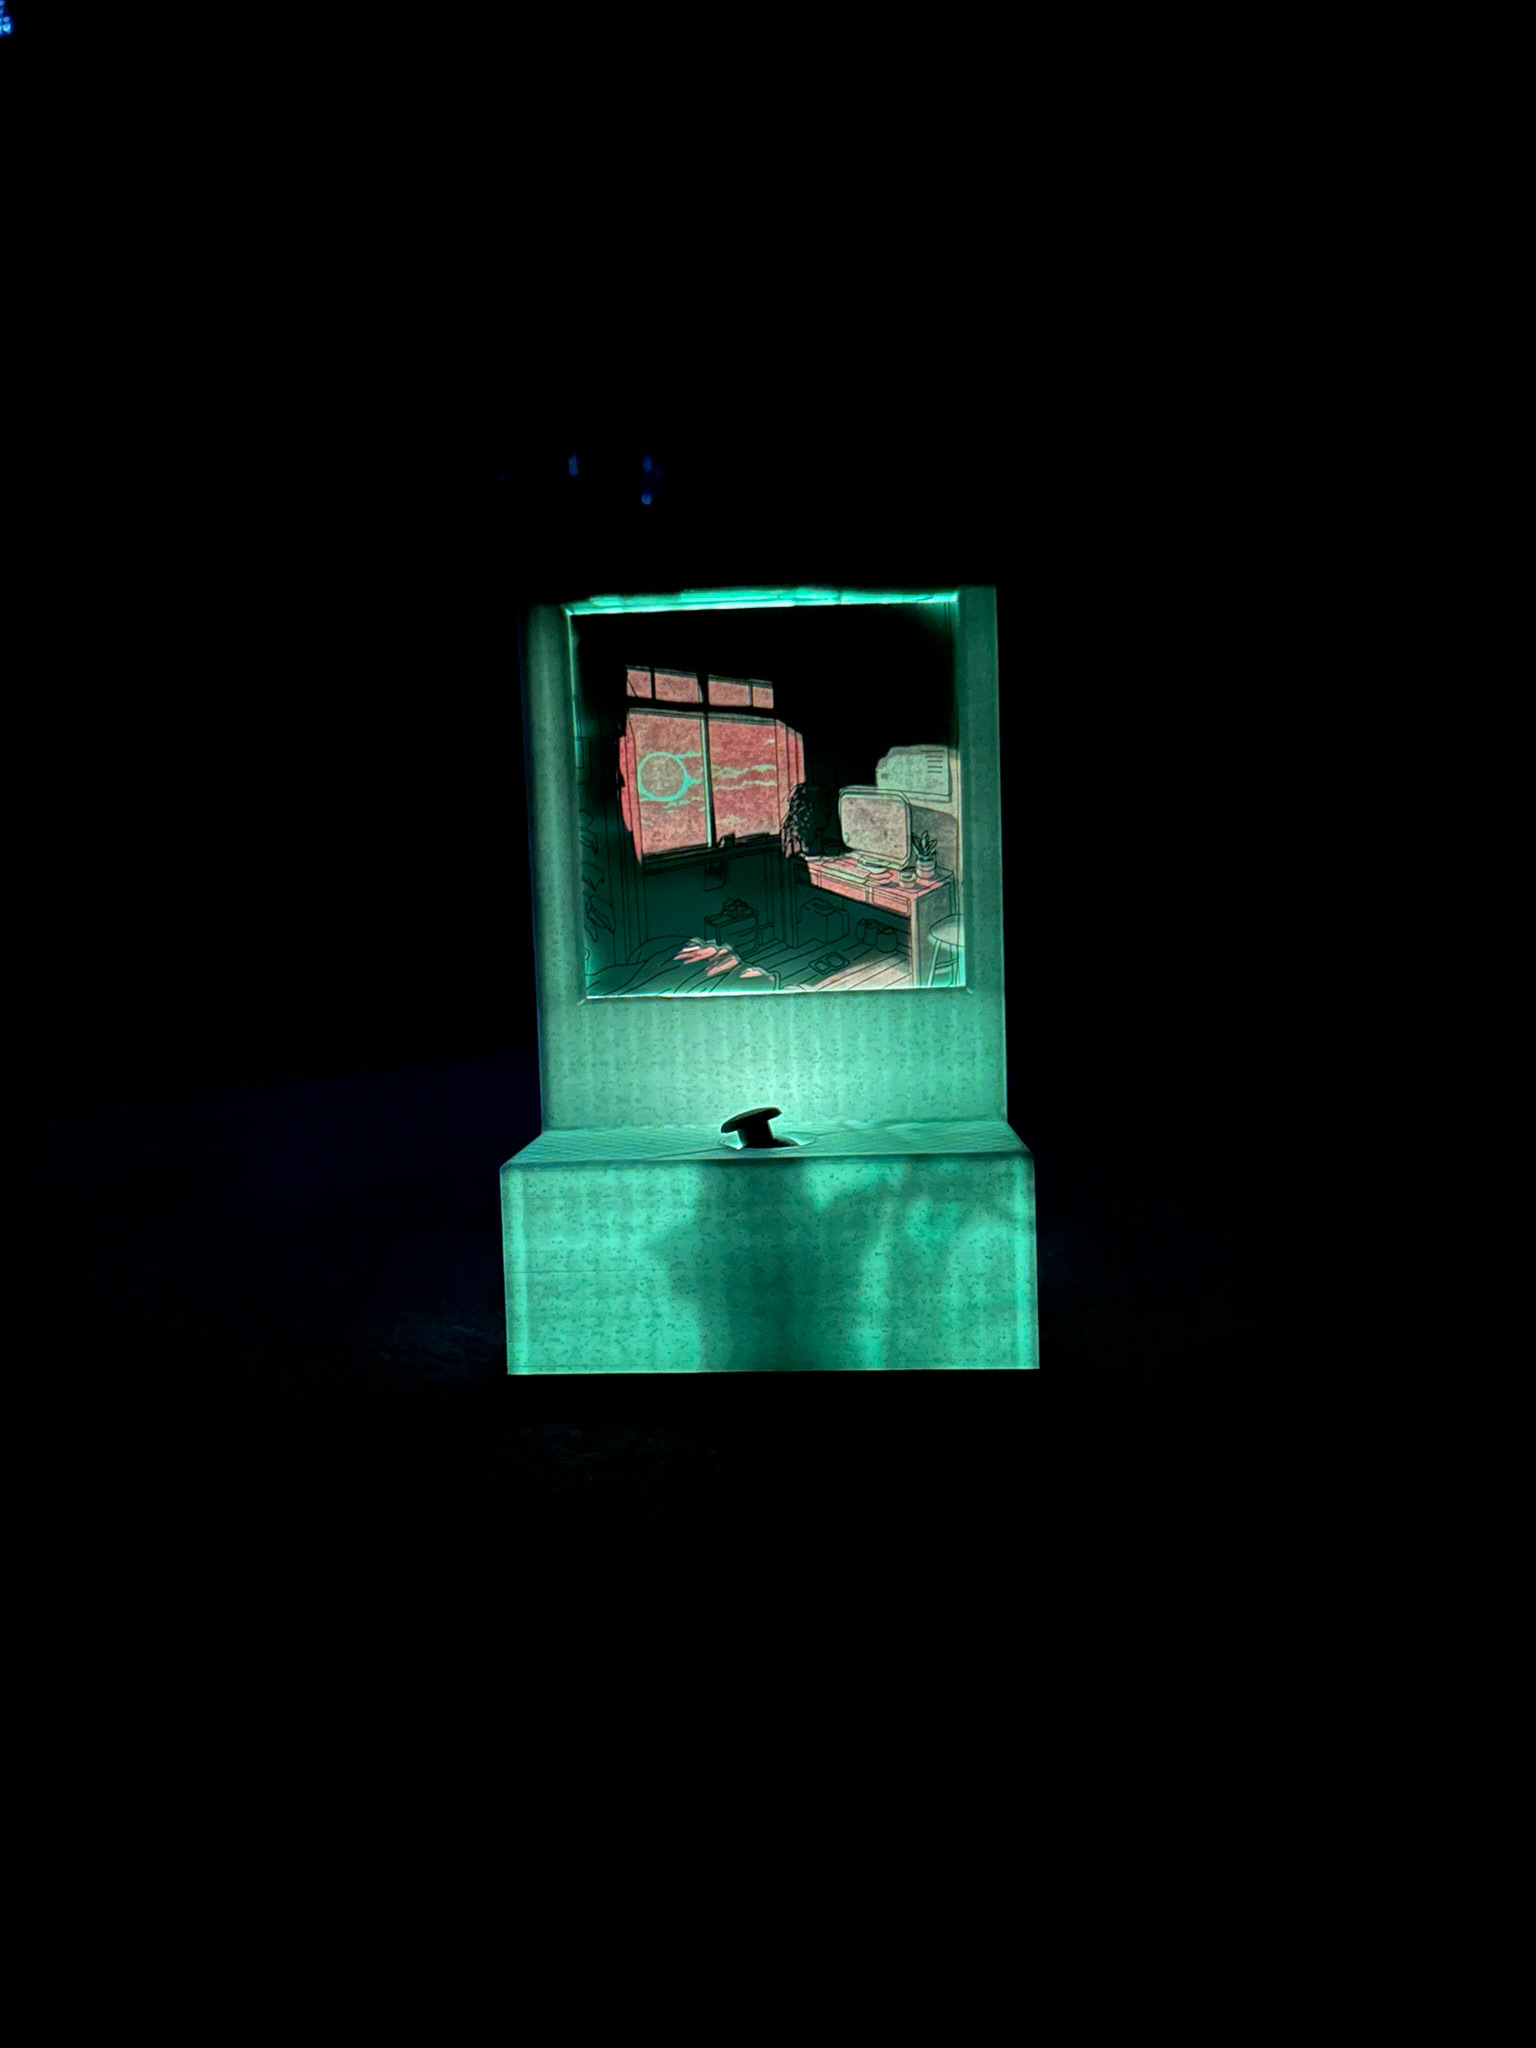
Harmony is an arcade cabinet inspired shadow box with the purpose of change. What looks like an ordinary photo is transformed into a truly unique lighting experience. With the press of a button color and shadows are casted instantly onto a basic line art drawing to immerse the user in a tranquil and unexpected interaction.
The Brief
To create an object that has an unexpected outcome, something that will surprise the end user when interacting with the object.
Brainstorming
The idea came to mind to create a shadow box where the image isn't reveled until the user interacts with the frame itself. The light would be controlled by a joystick as the design itself would resemble and old-school arcade machine.
Coding
Learning how to use an Arduino board was part of the journey to creating a design with technology inside. The code itself need to have variables for the RGB light being used as well as the joystick. With this in mind I began creating the code needed to help run this design.
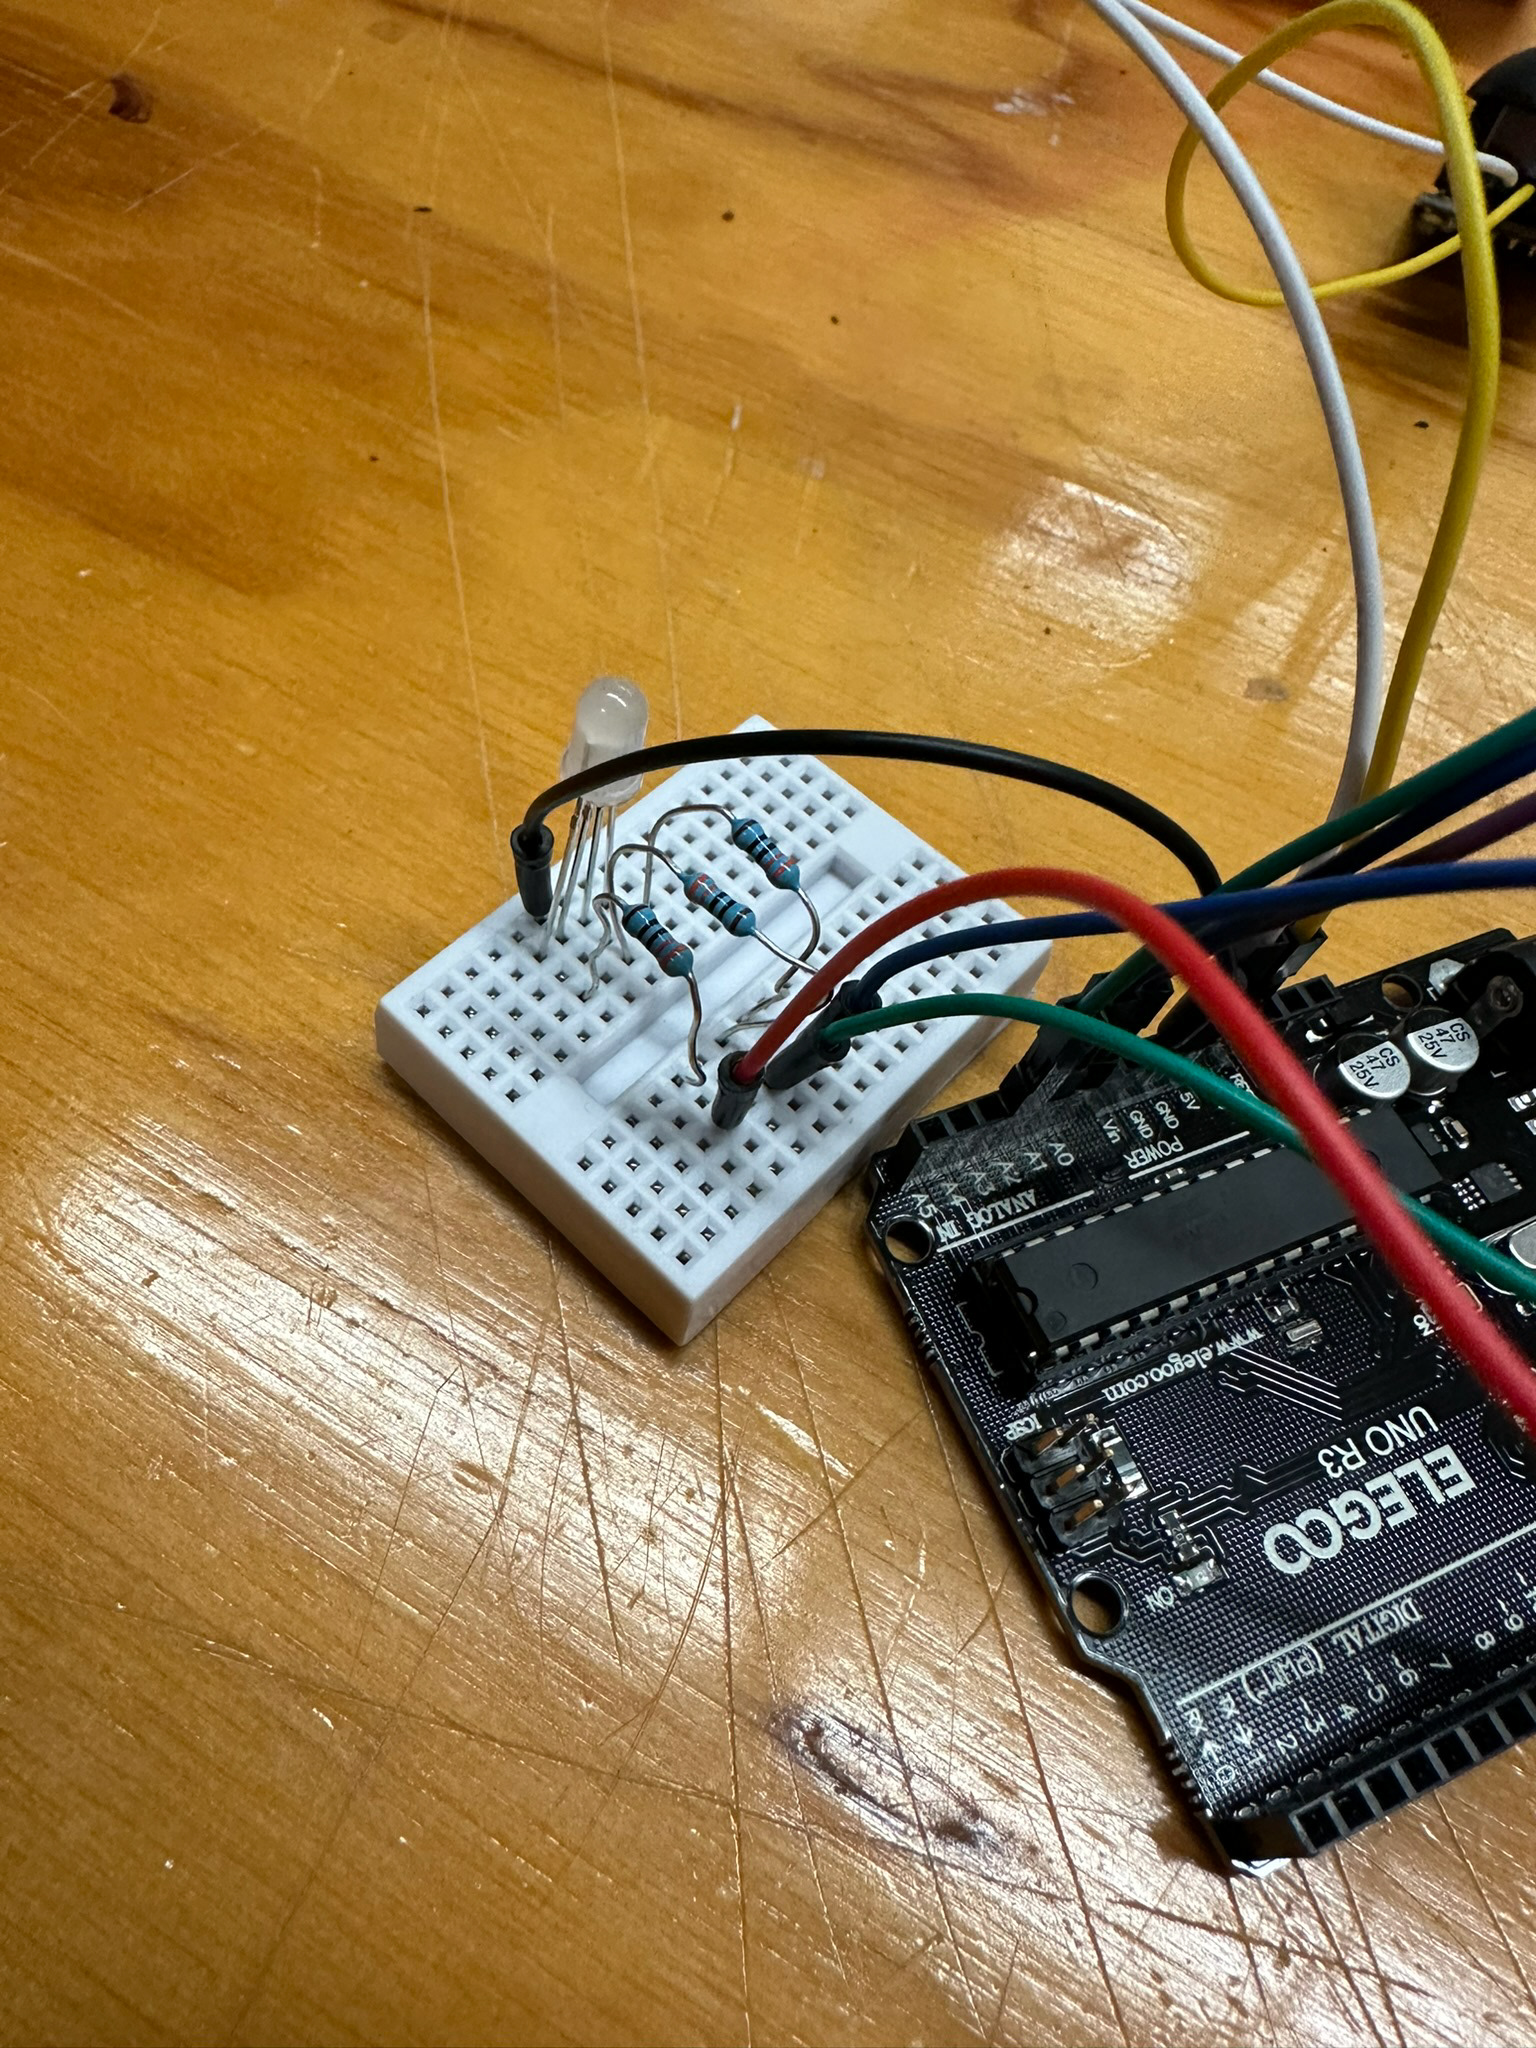
Hardwiring Resistors to RGB
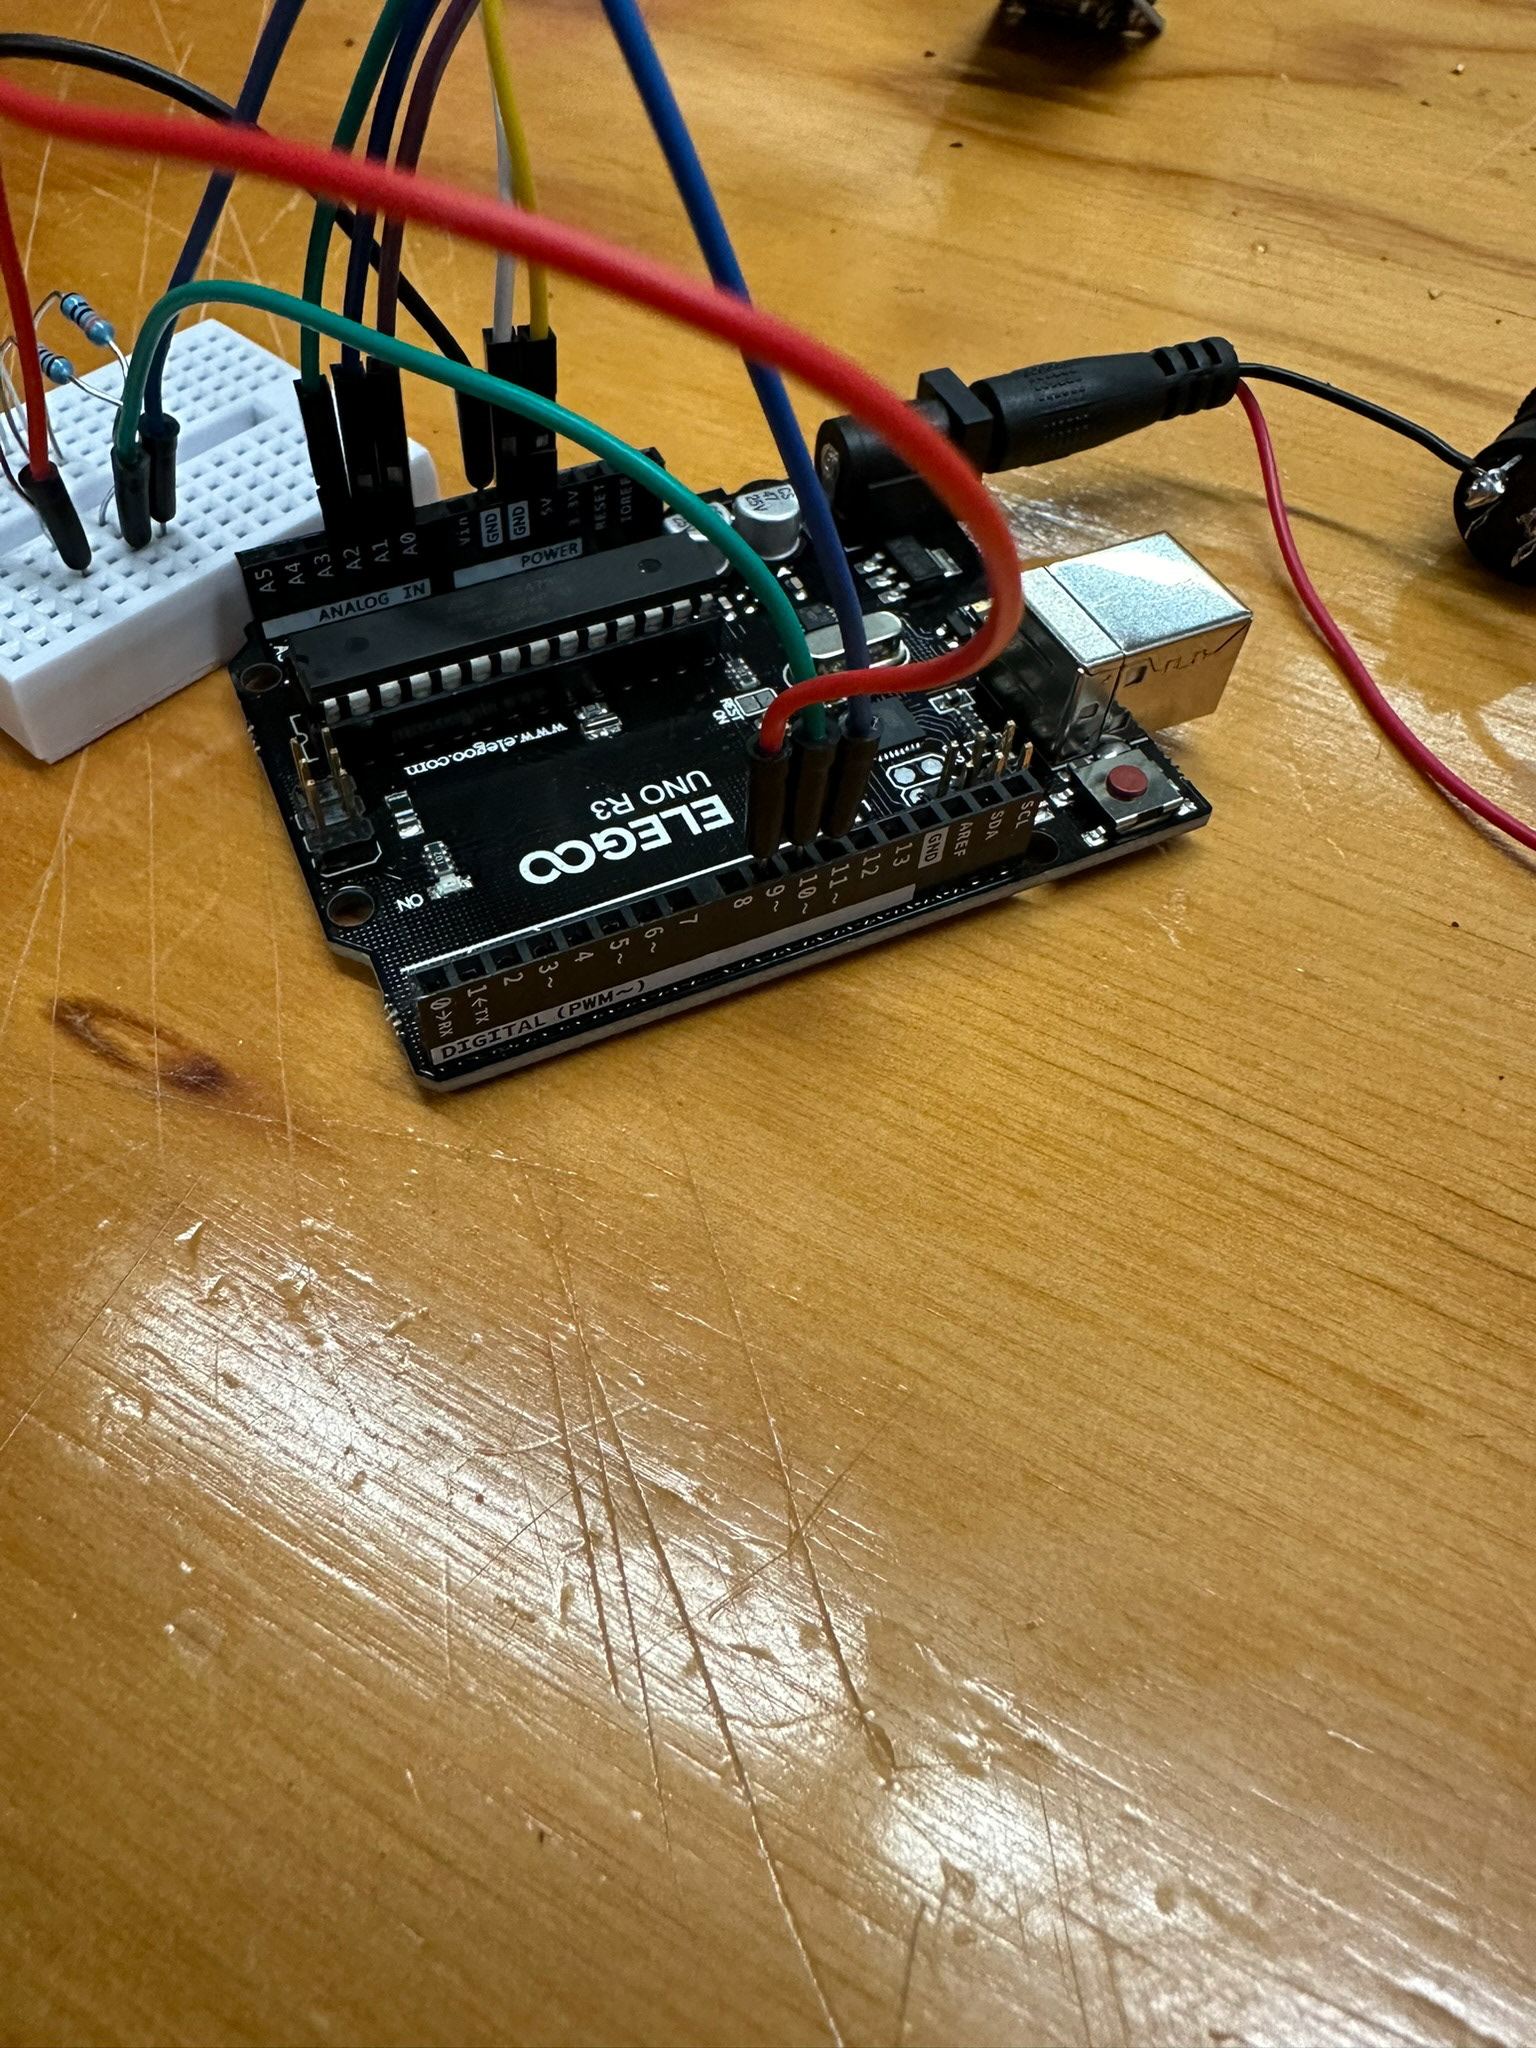
Connecting RGB cables to pins
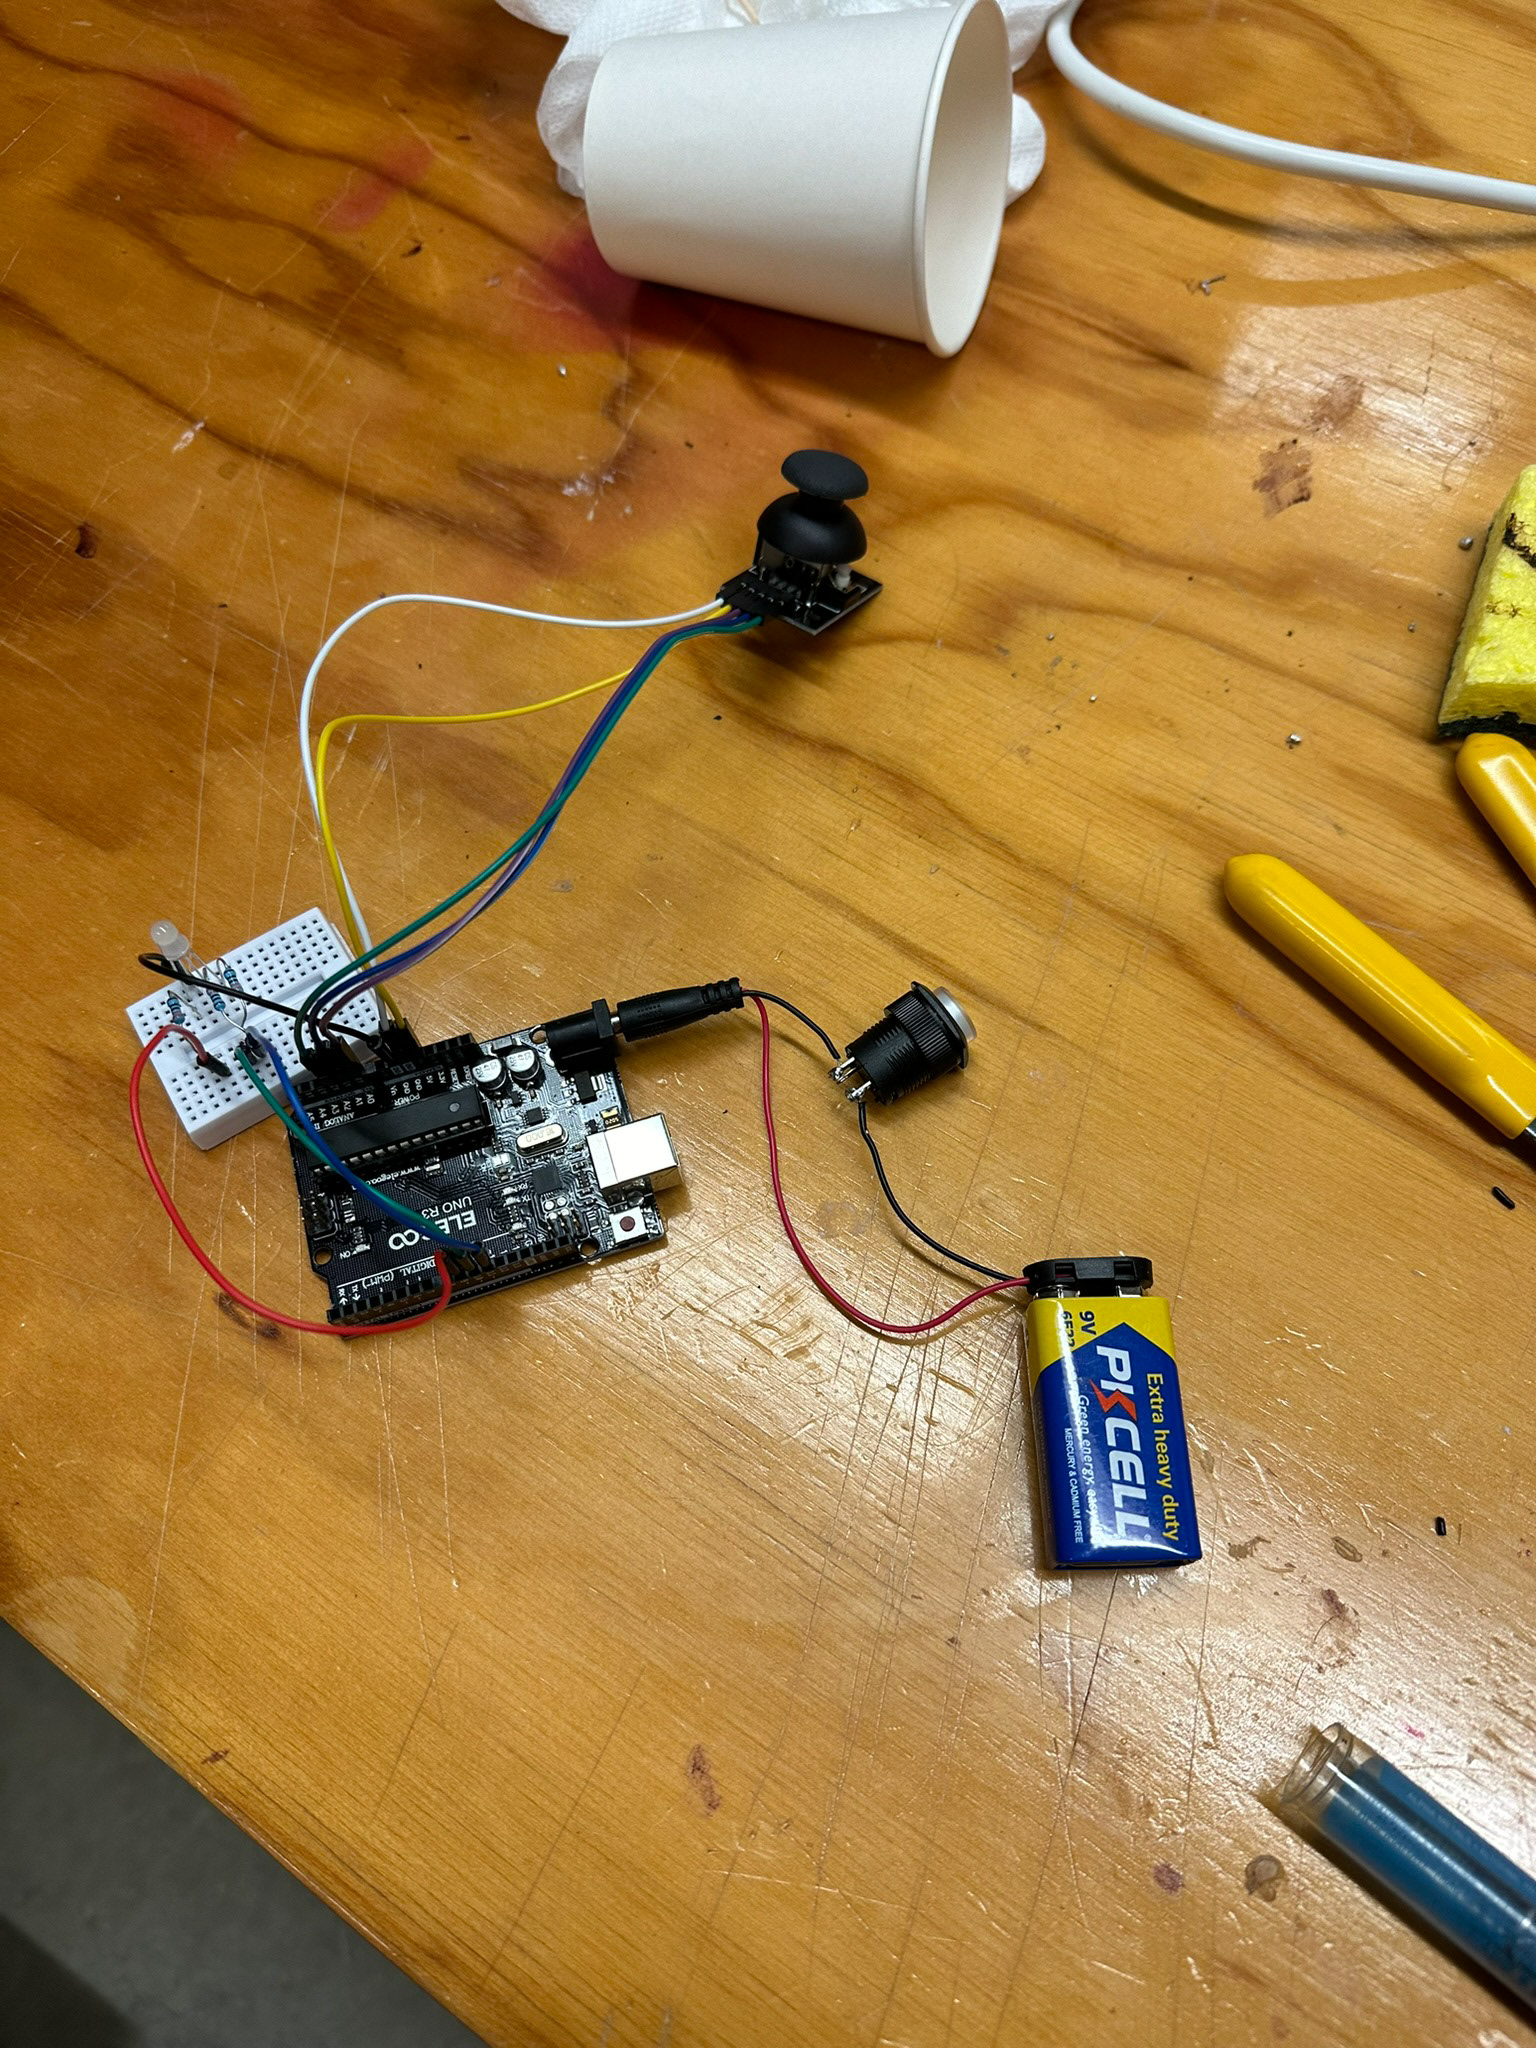
Finished Test Wiring
Soldering
Learning the process of soldering was a huge part of the final project as everything needed to be secure and mounted. The Arduino would be incased, but the wires need to be soldered down so there isn't any movement or disconnection. A on/off button was also added to allow the functionality of being able to control the power.
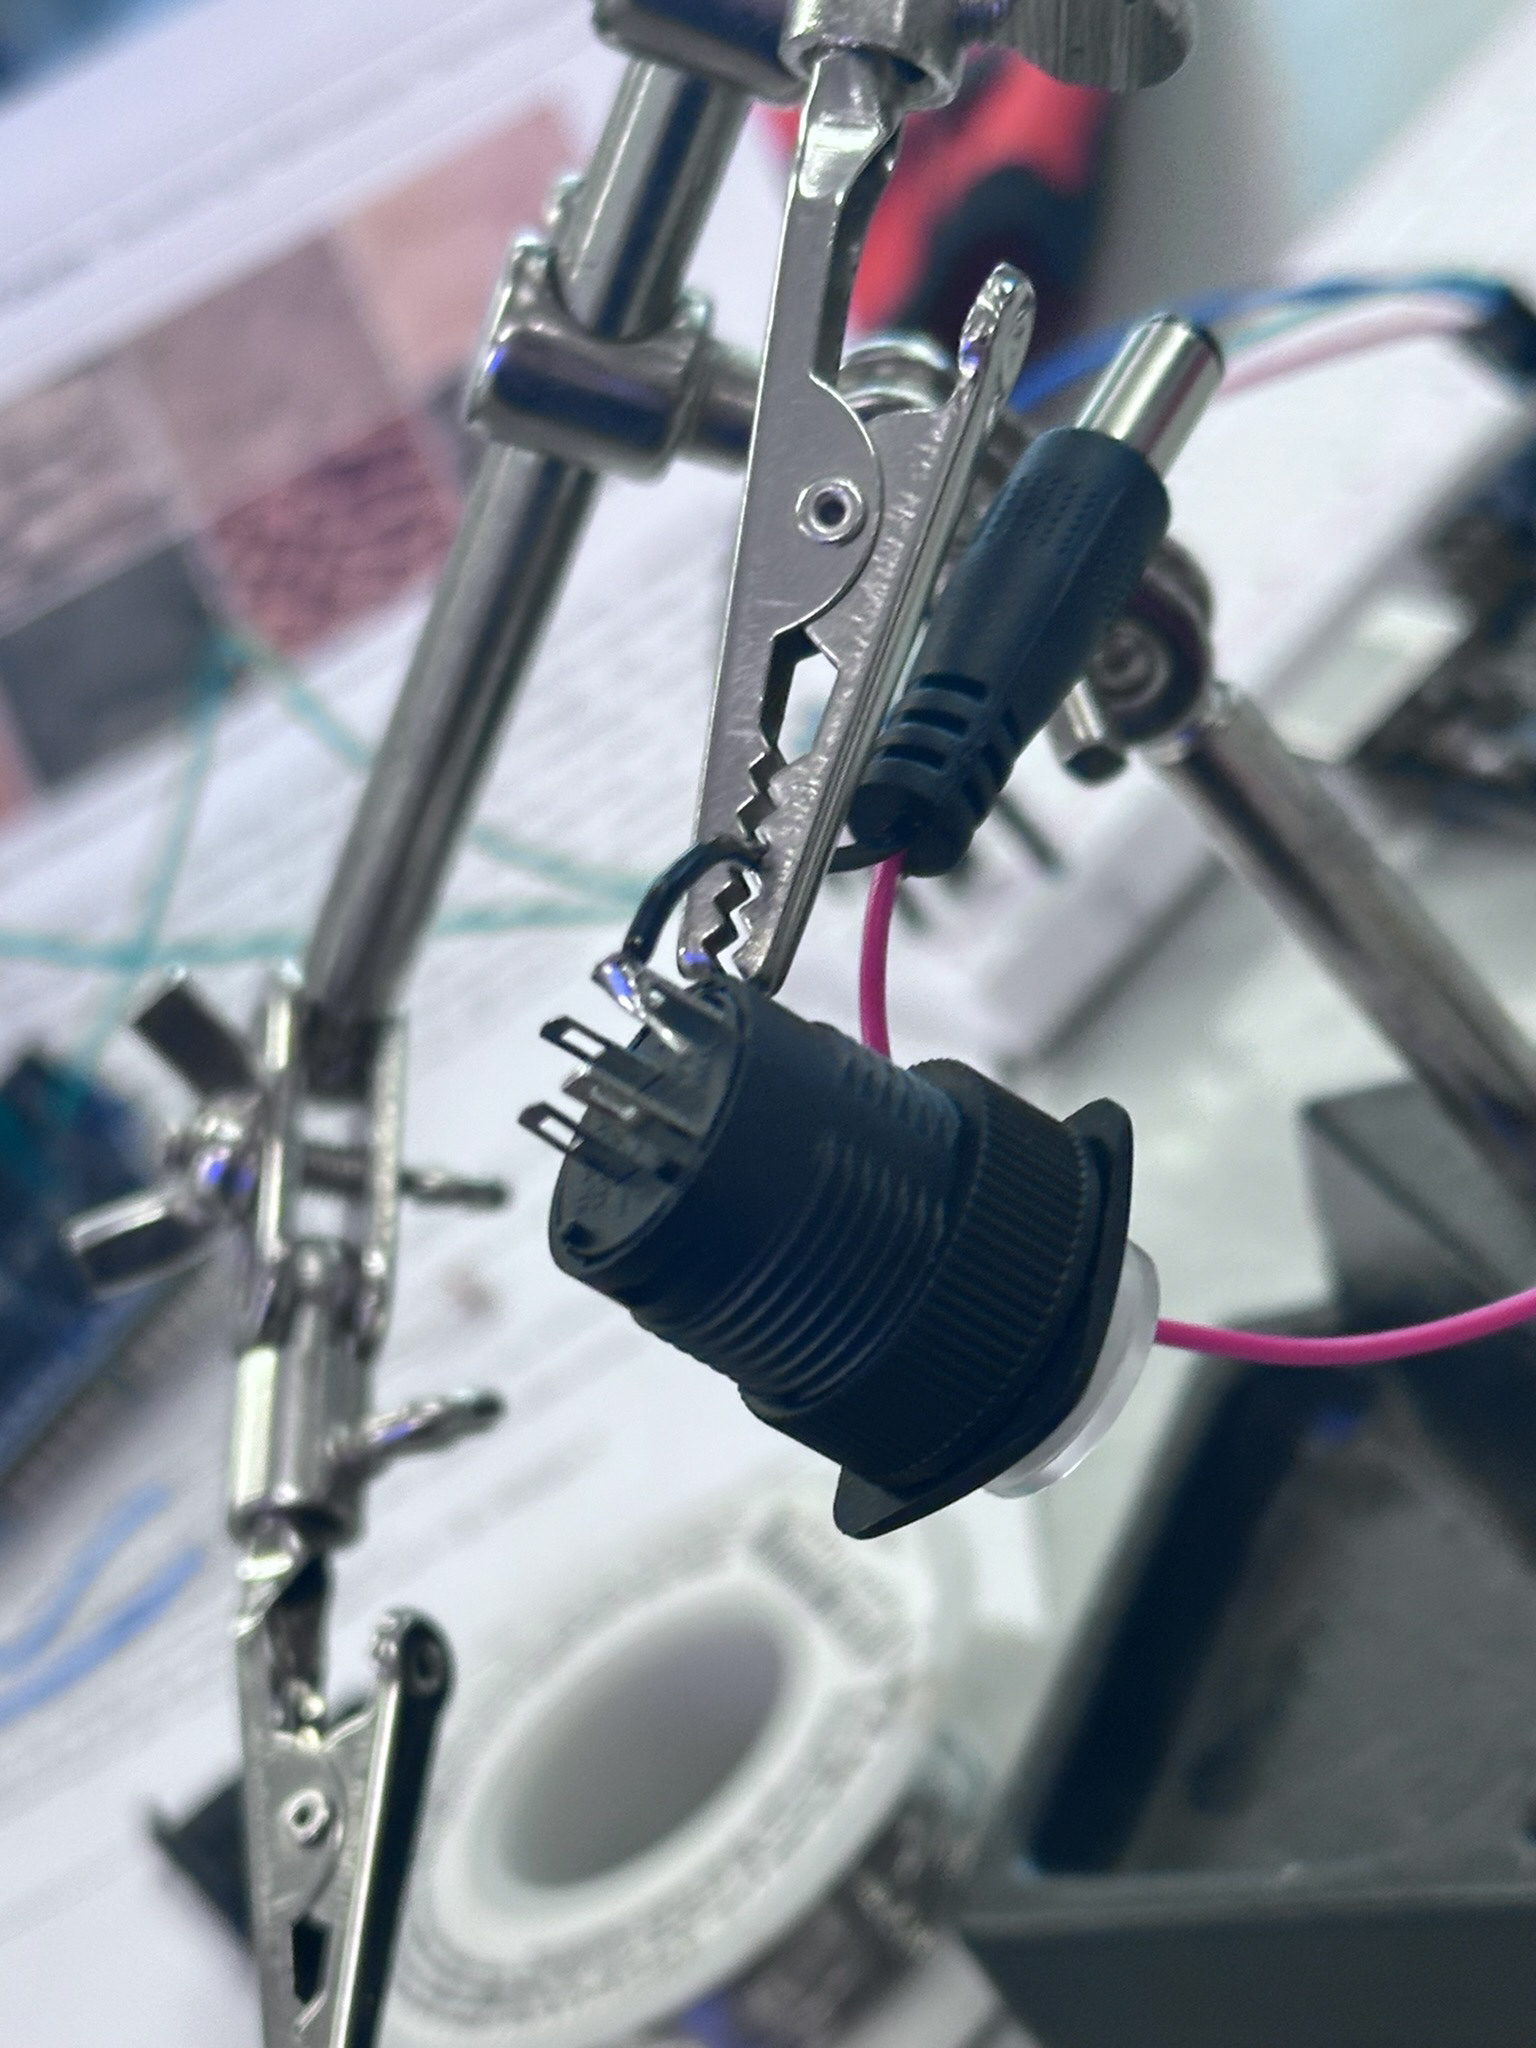
Soldering On/Off Switch to Battery
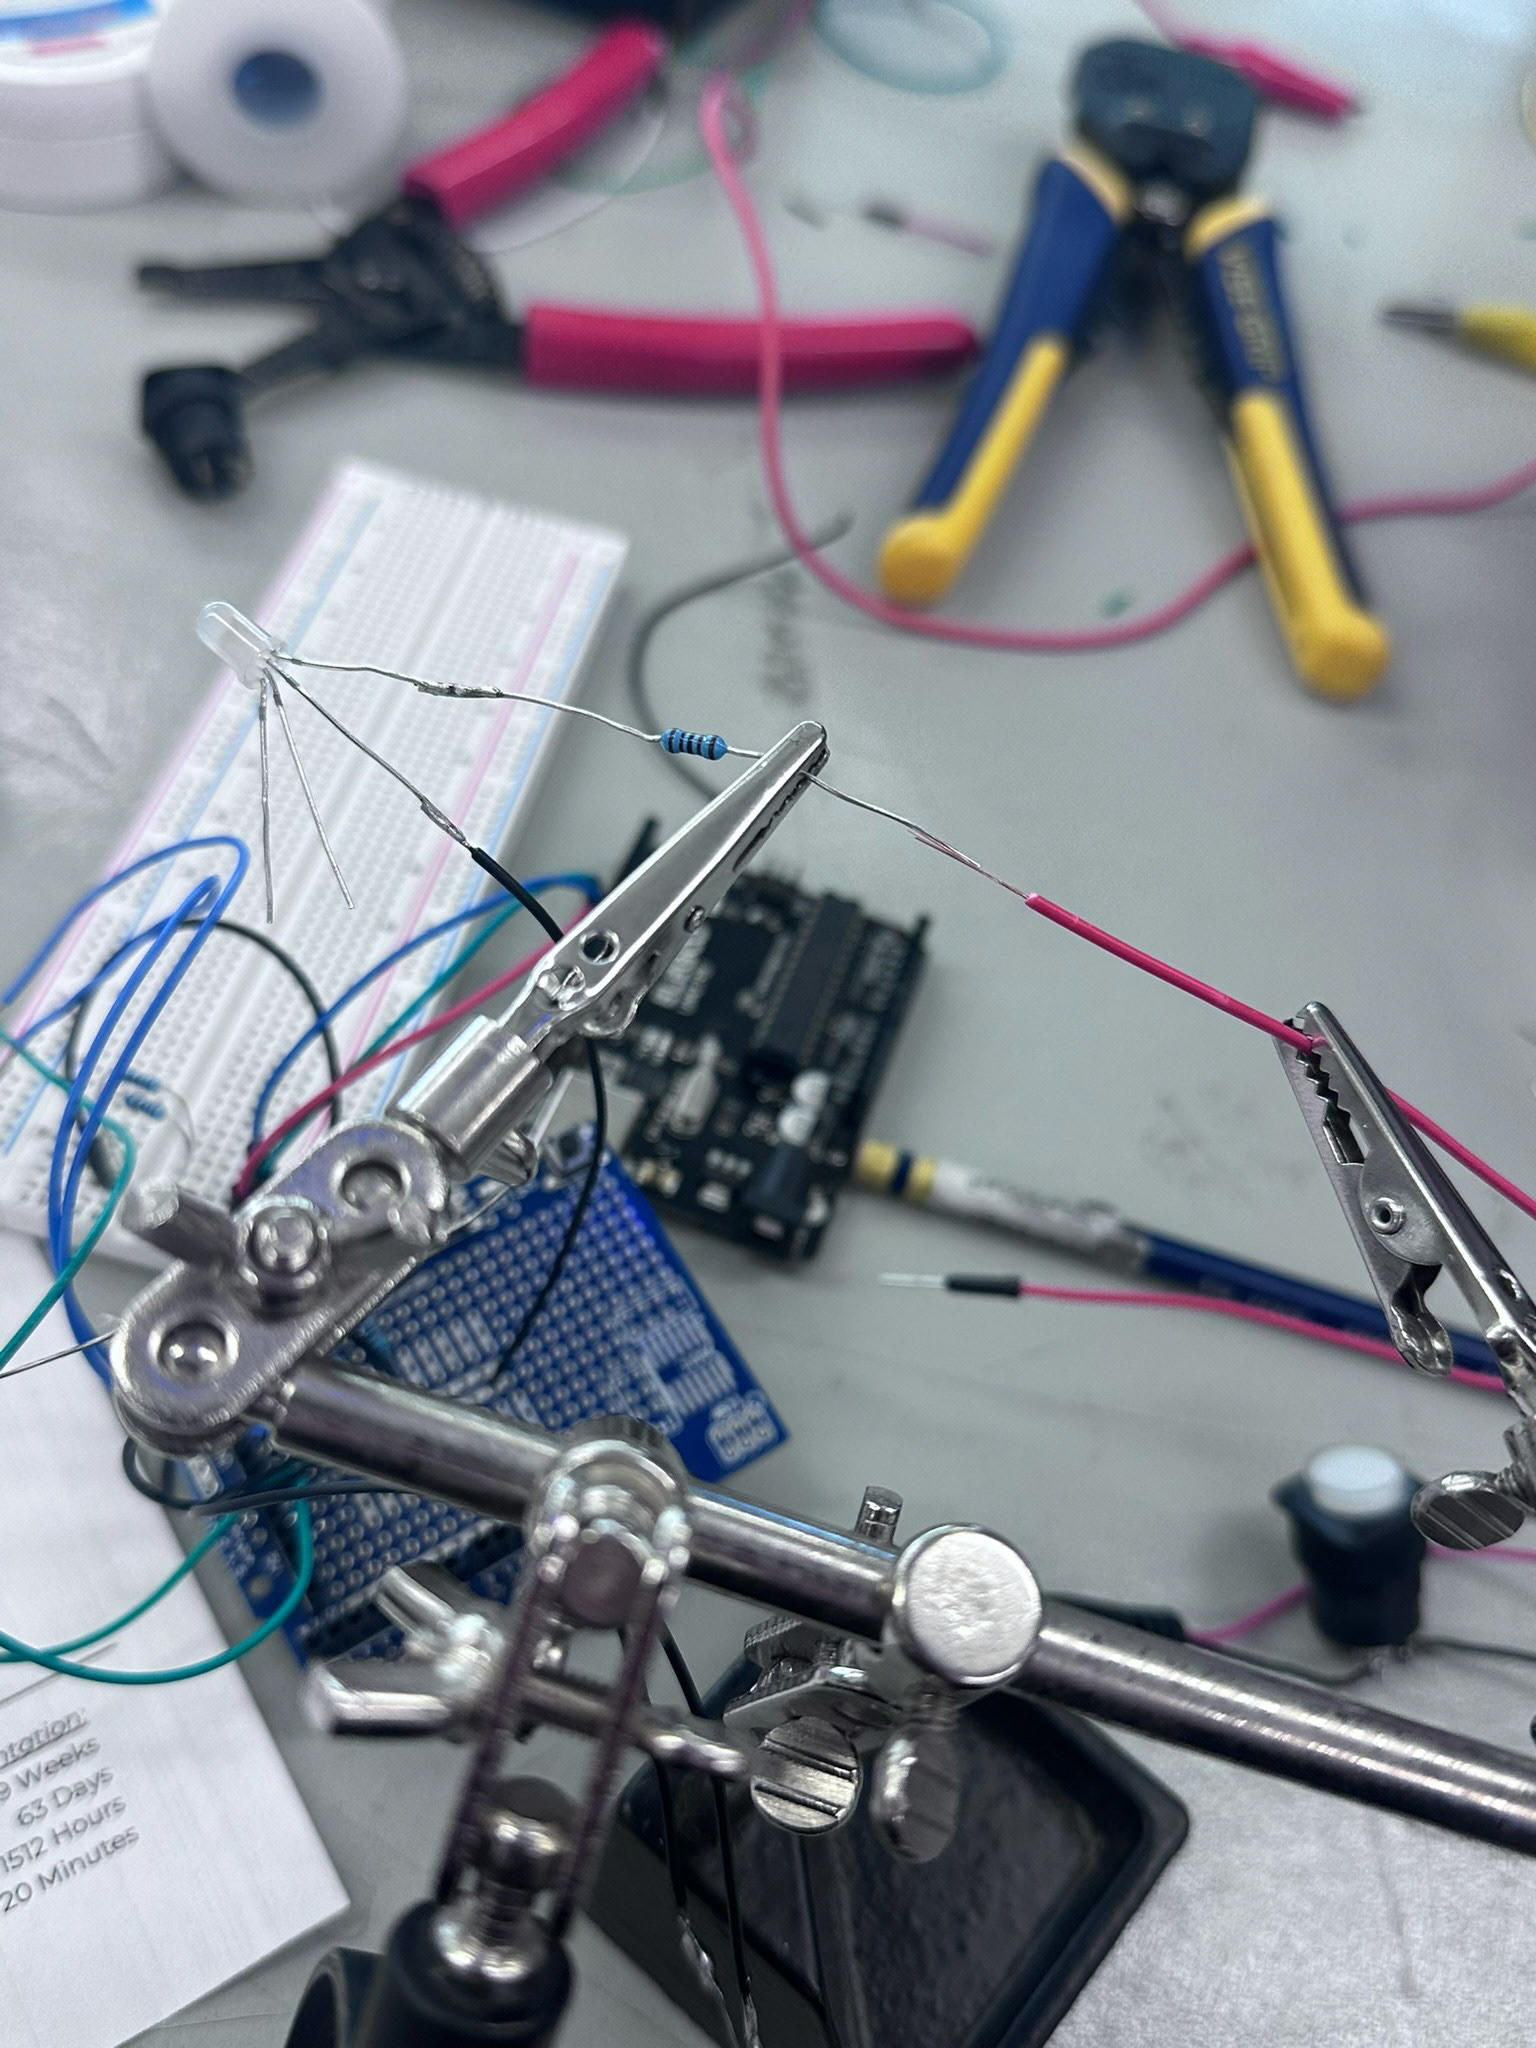
Soldering Resistors to RGB
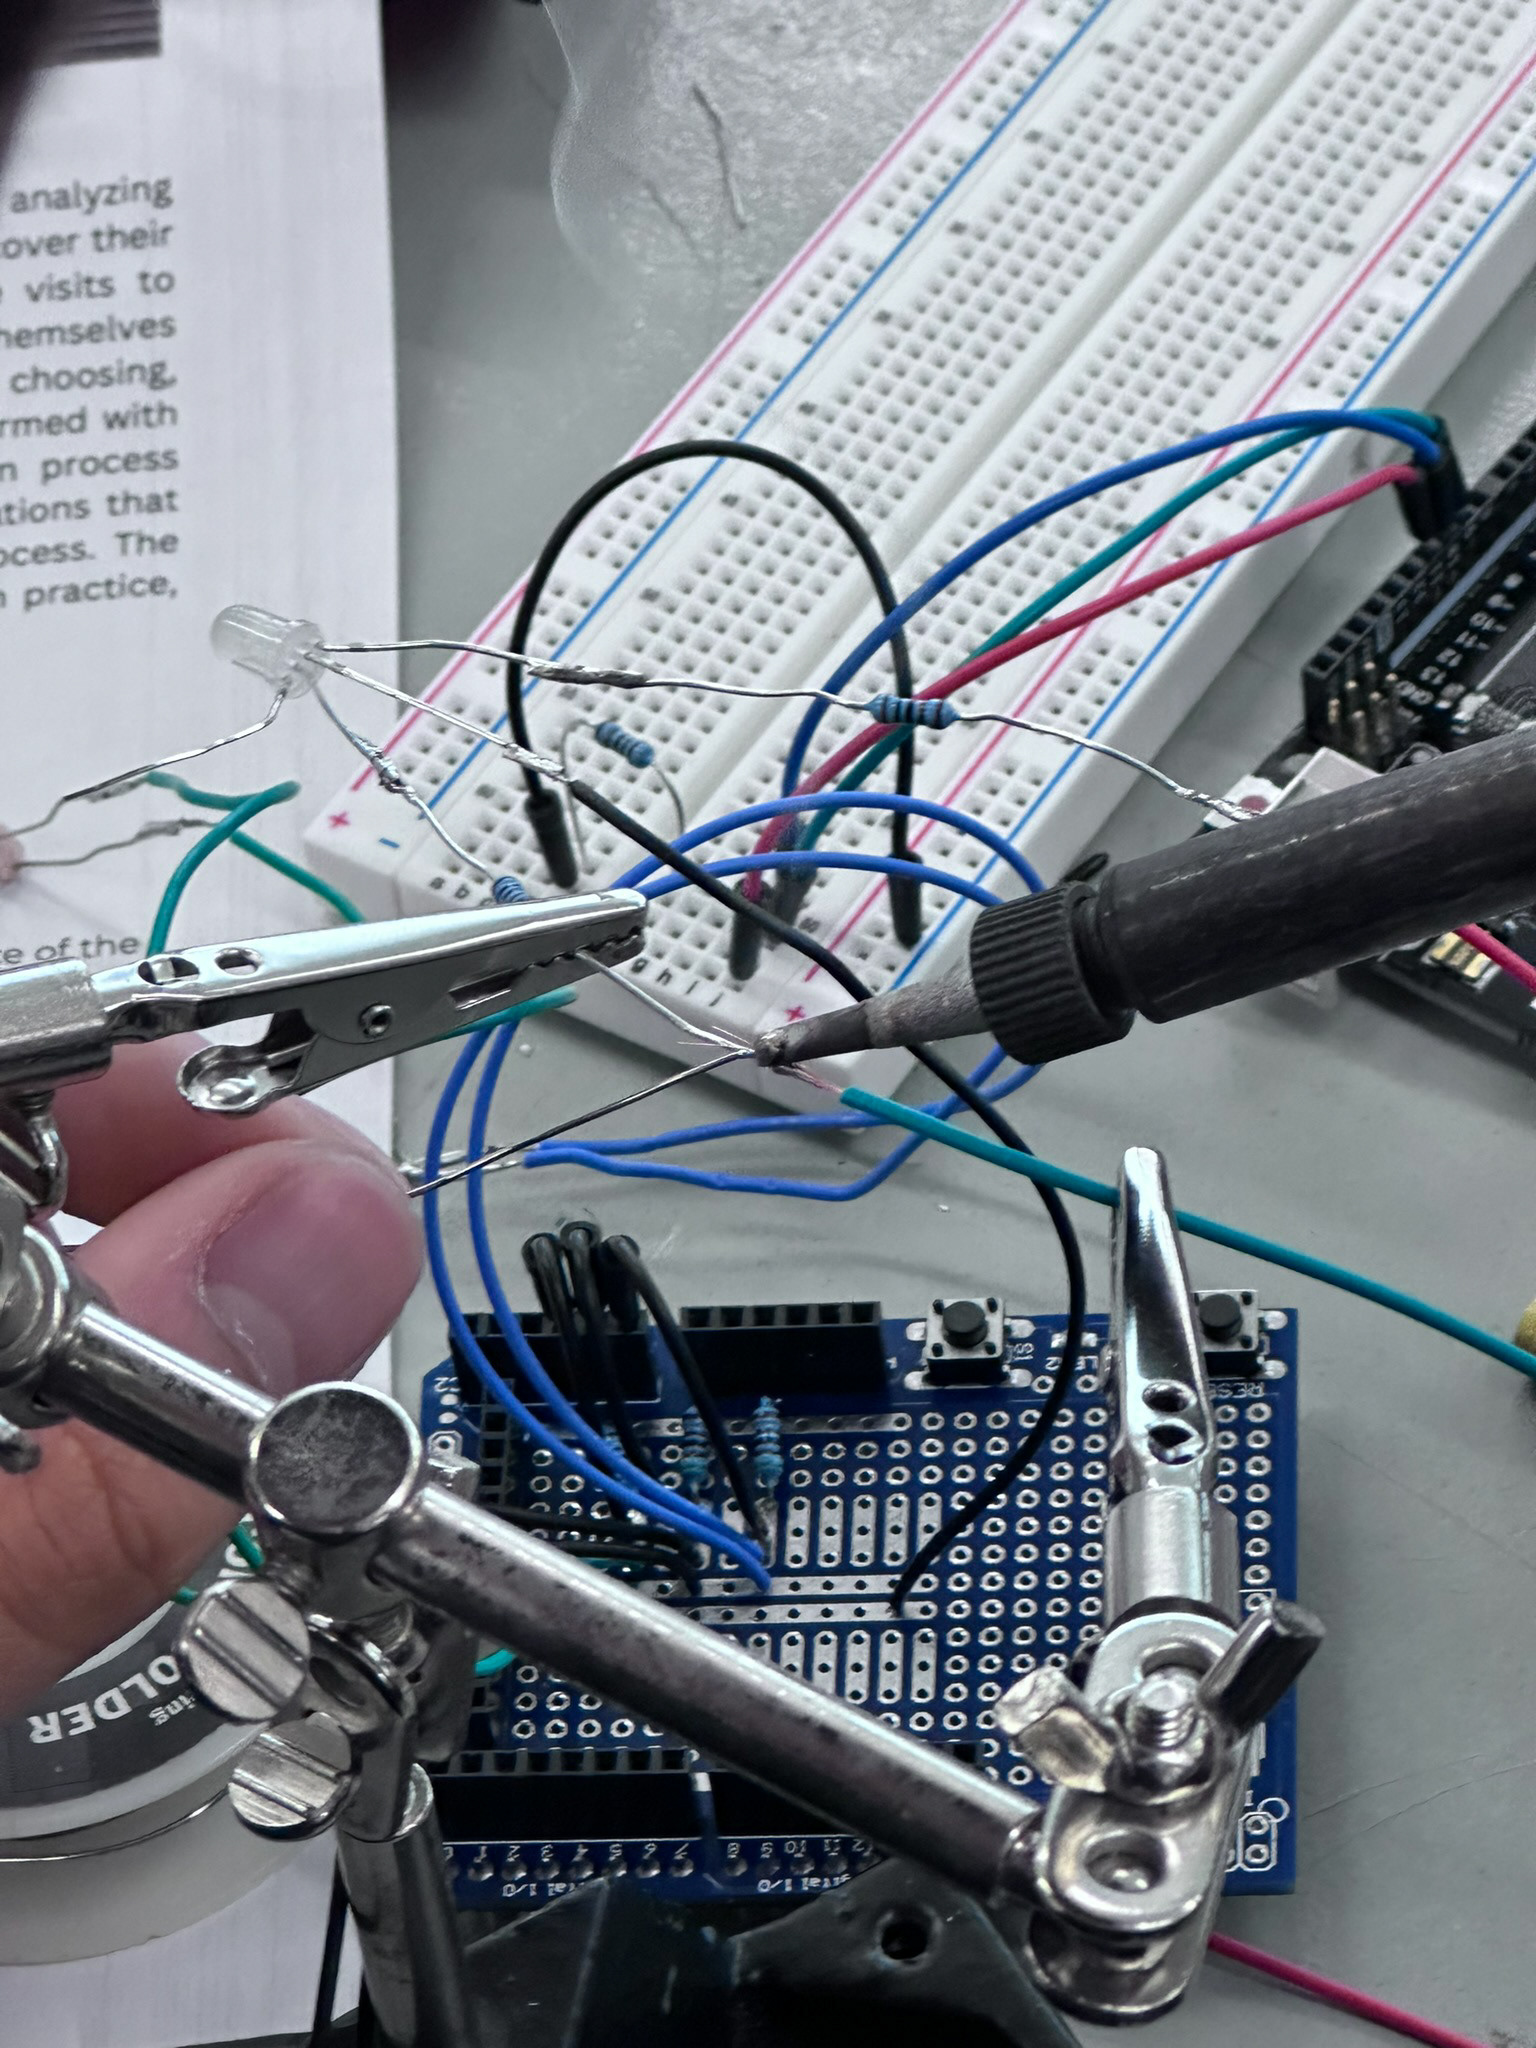
Soldering RGB to Corresponding Wires
SolidWorks
Next step was to create the actual model that would house the Arduino and create the unexpected interaction. I created a top and bottom to this mini arcade cabinet design, lots of accurate measurements so the end result fit the Arduino perfectly.
The Screen
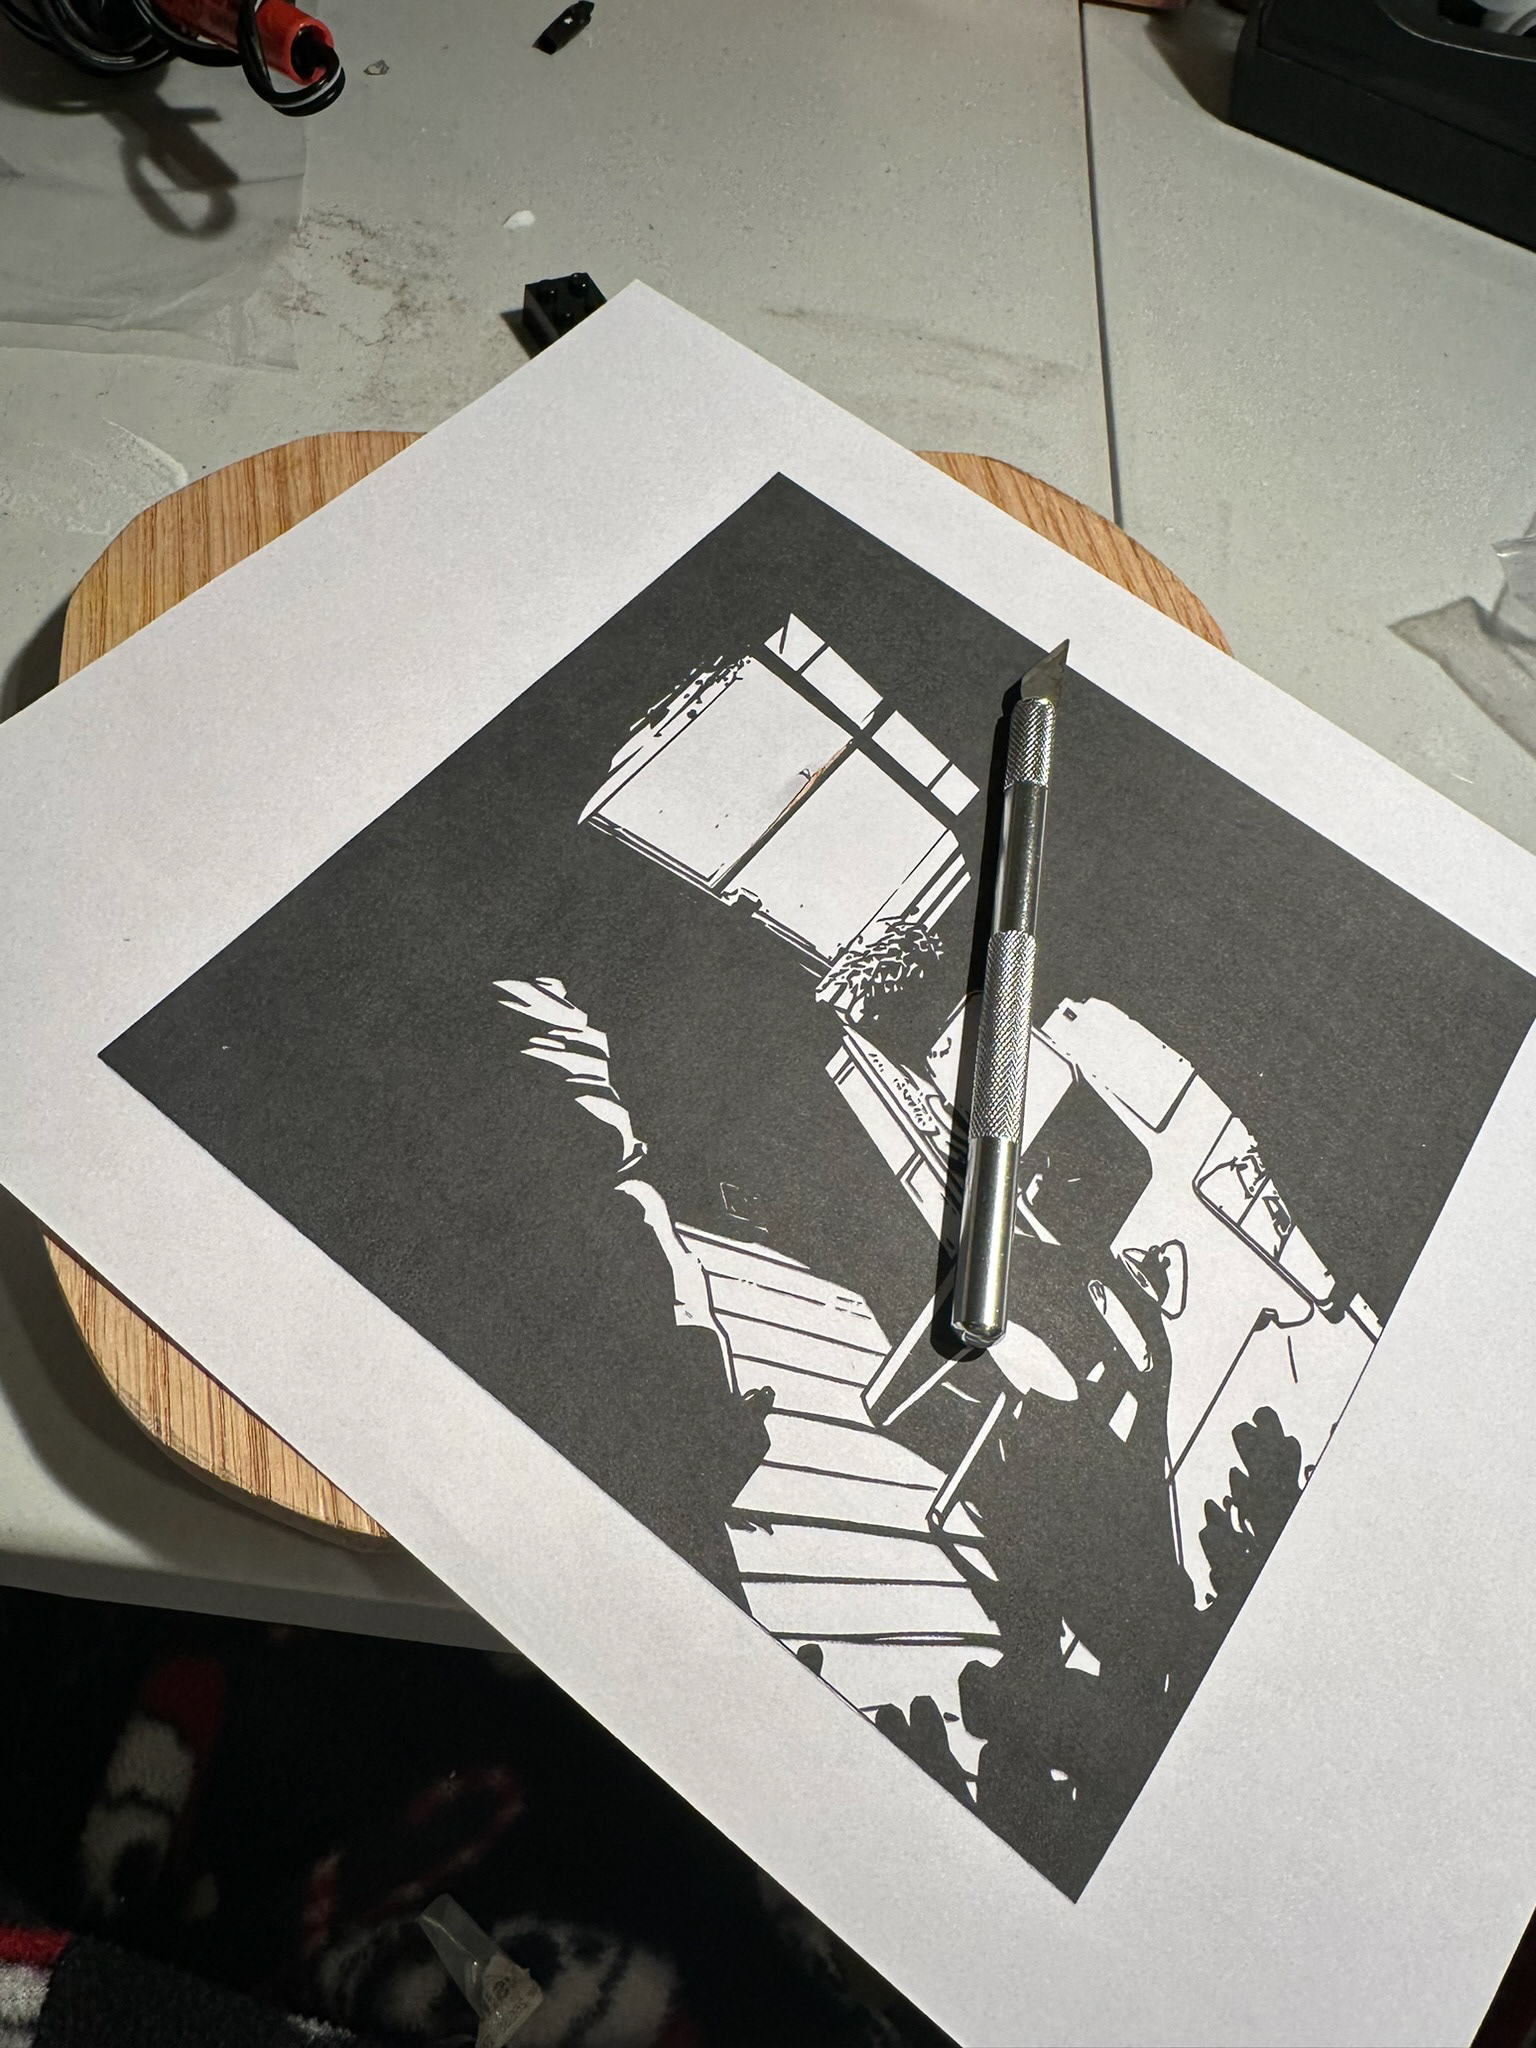
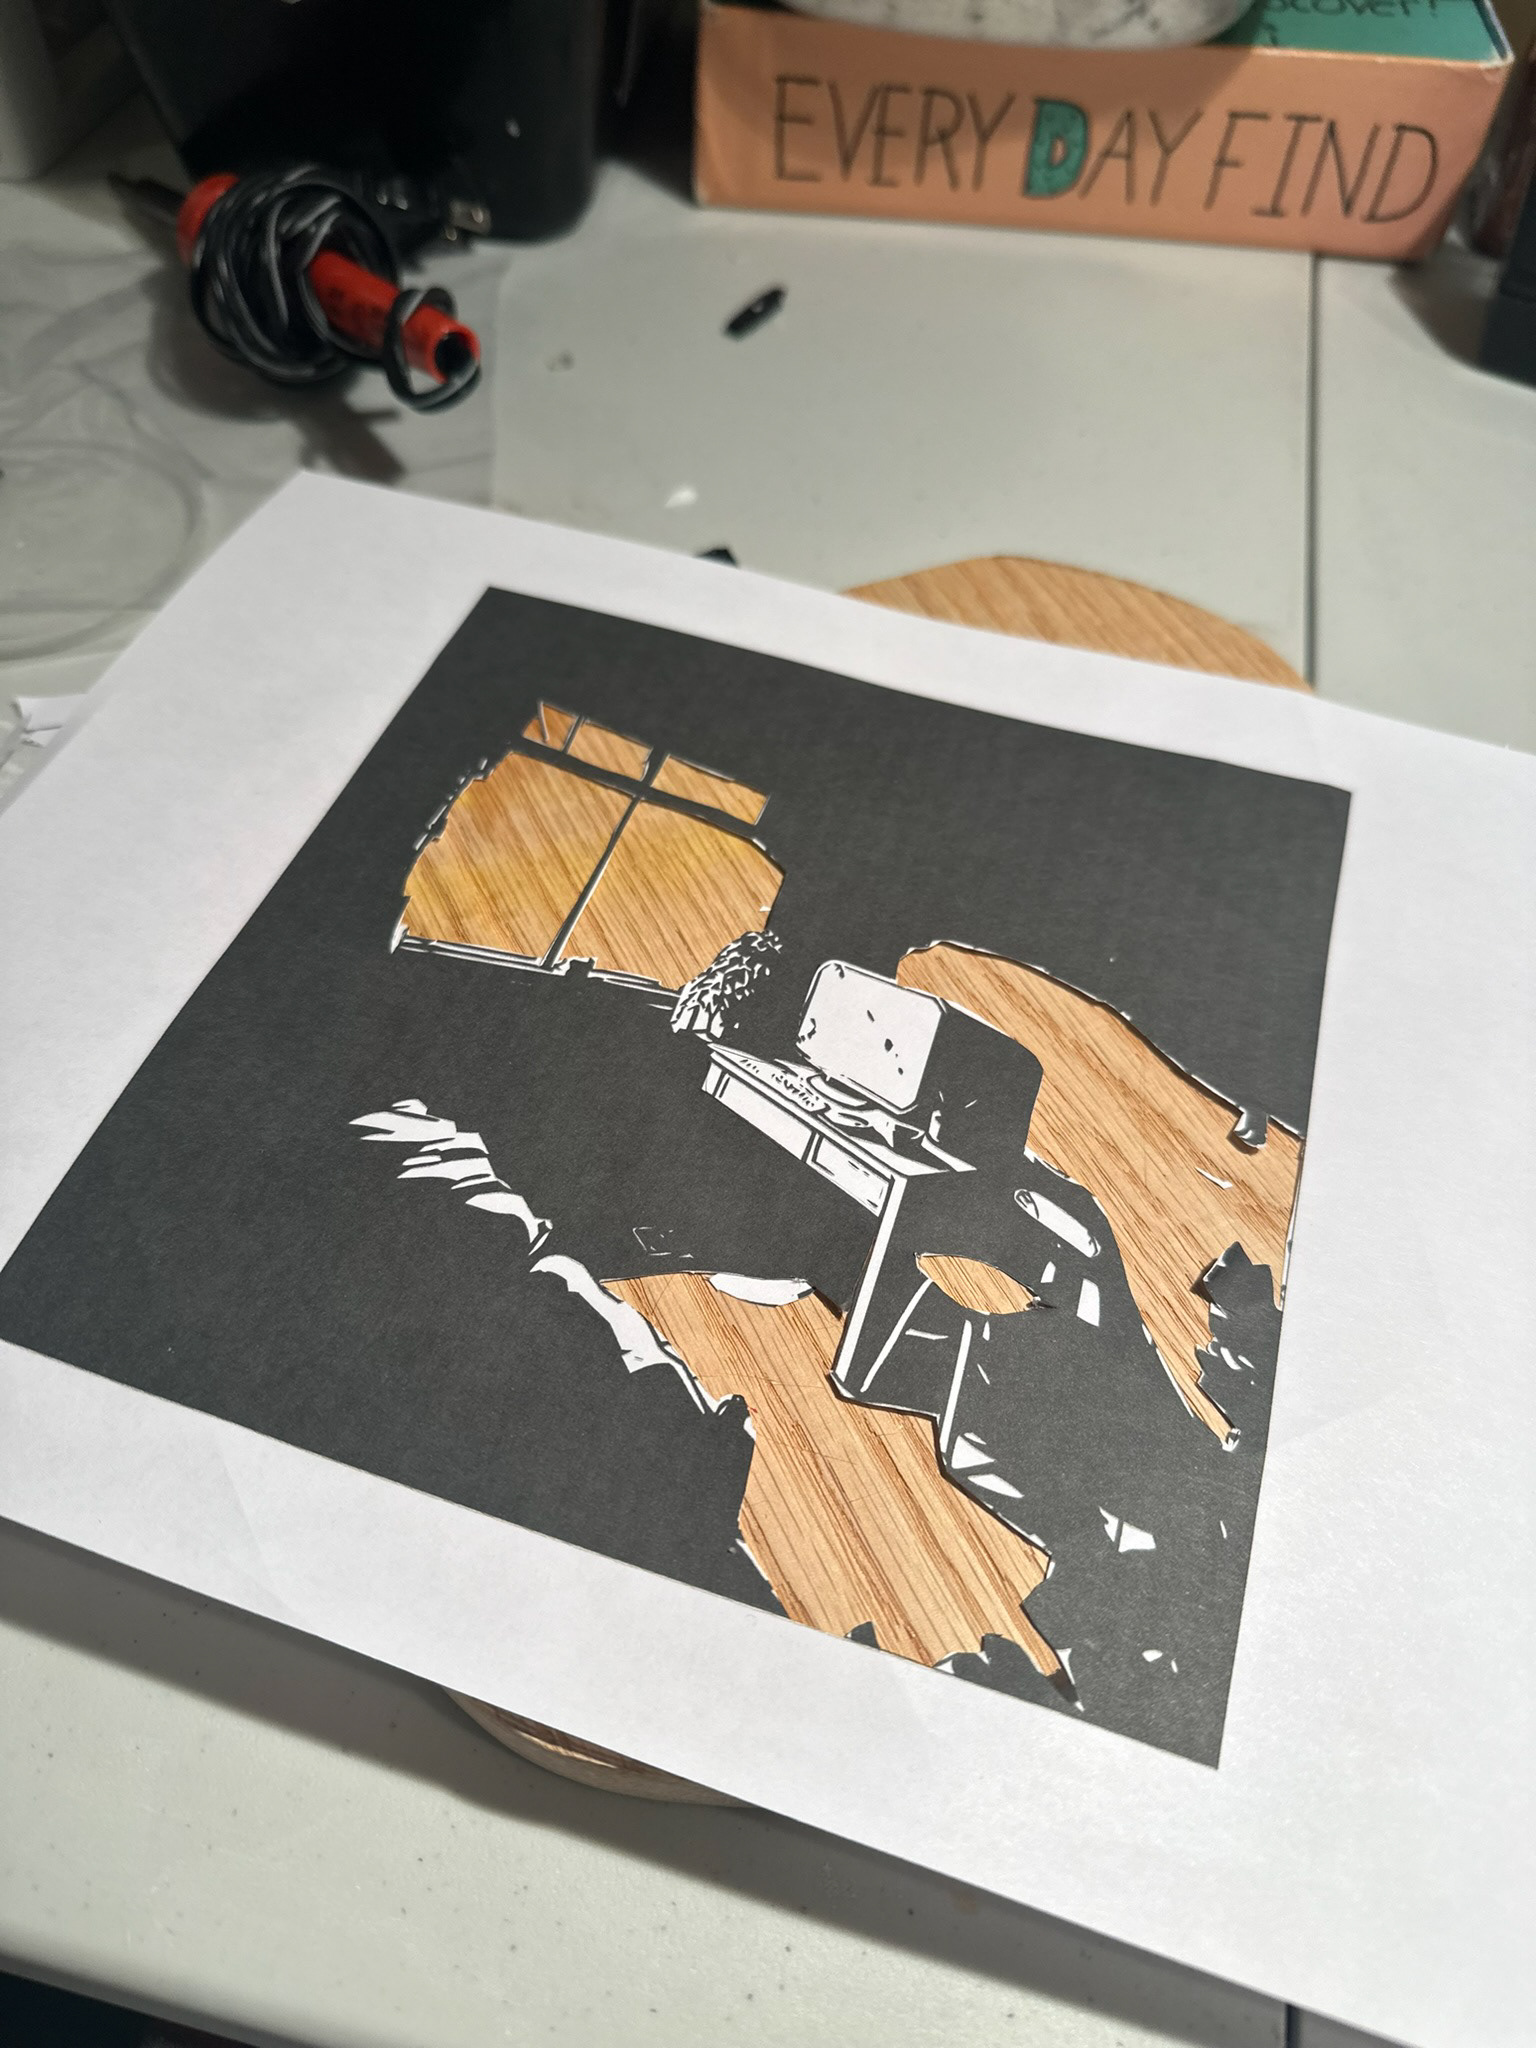
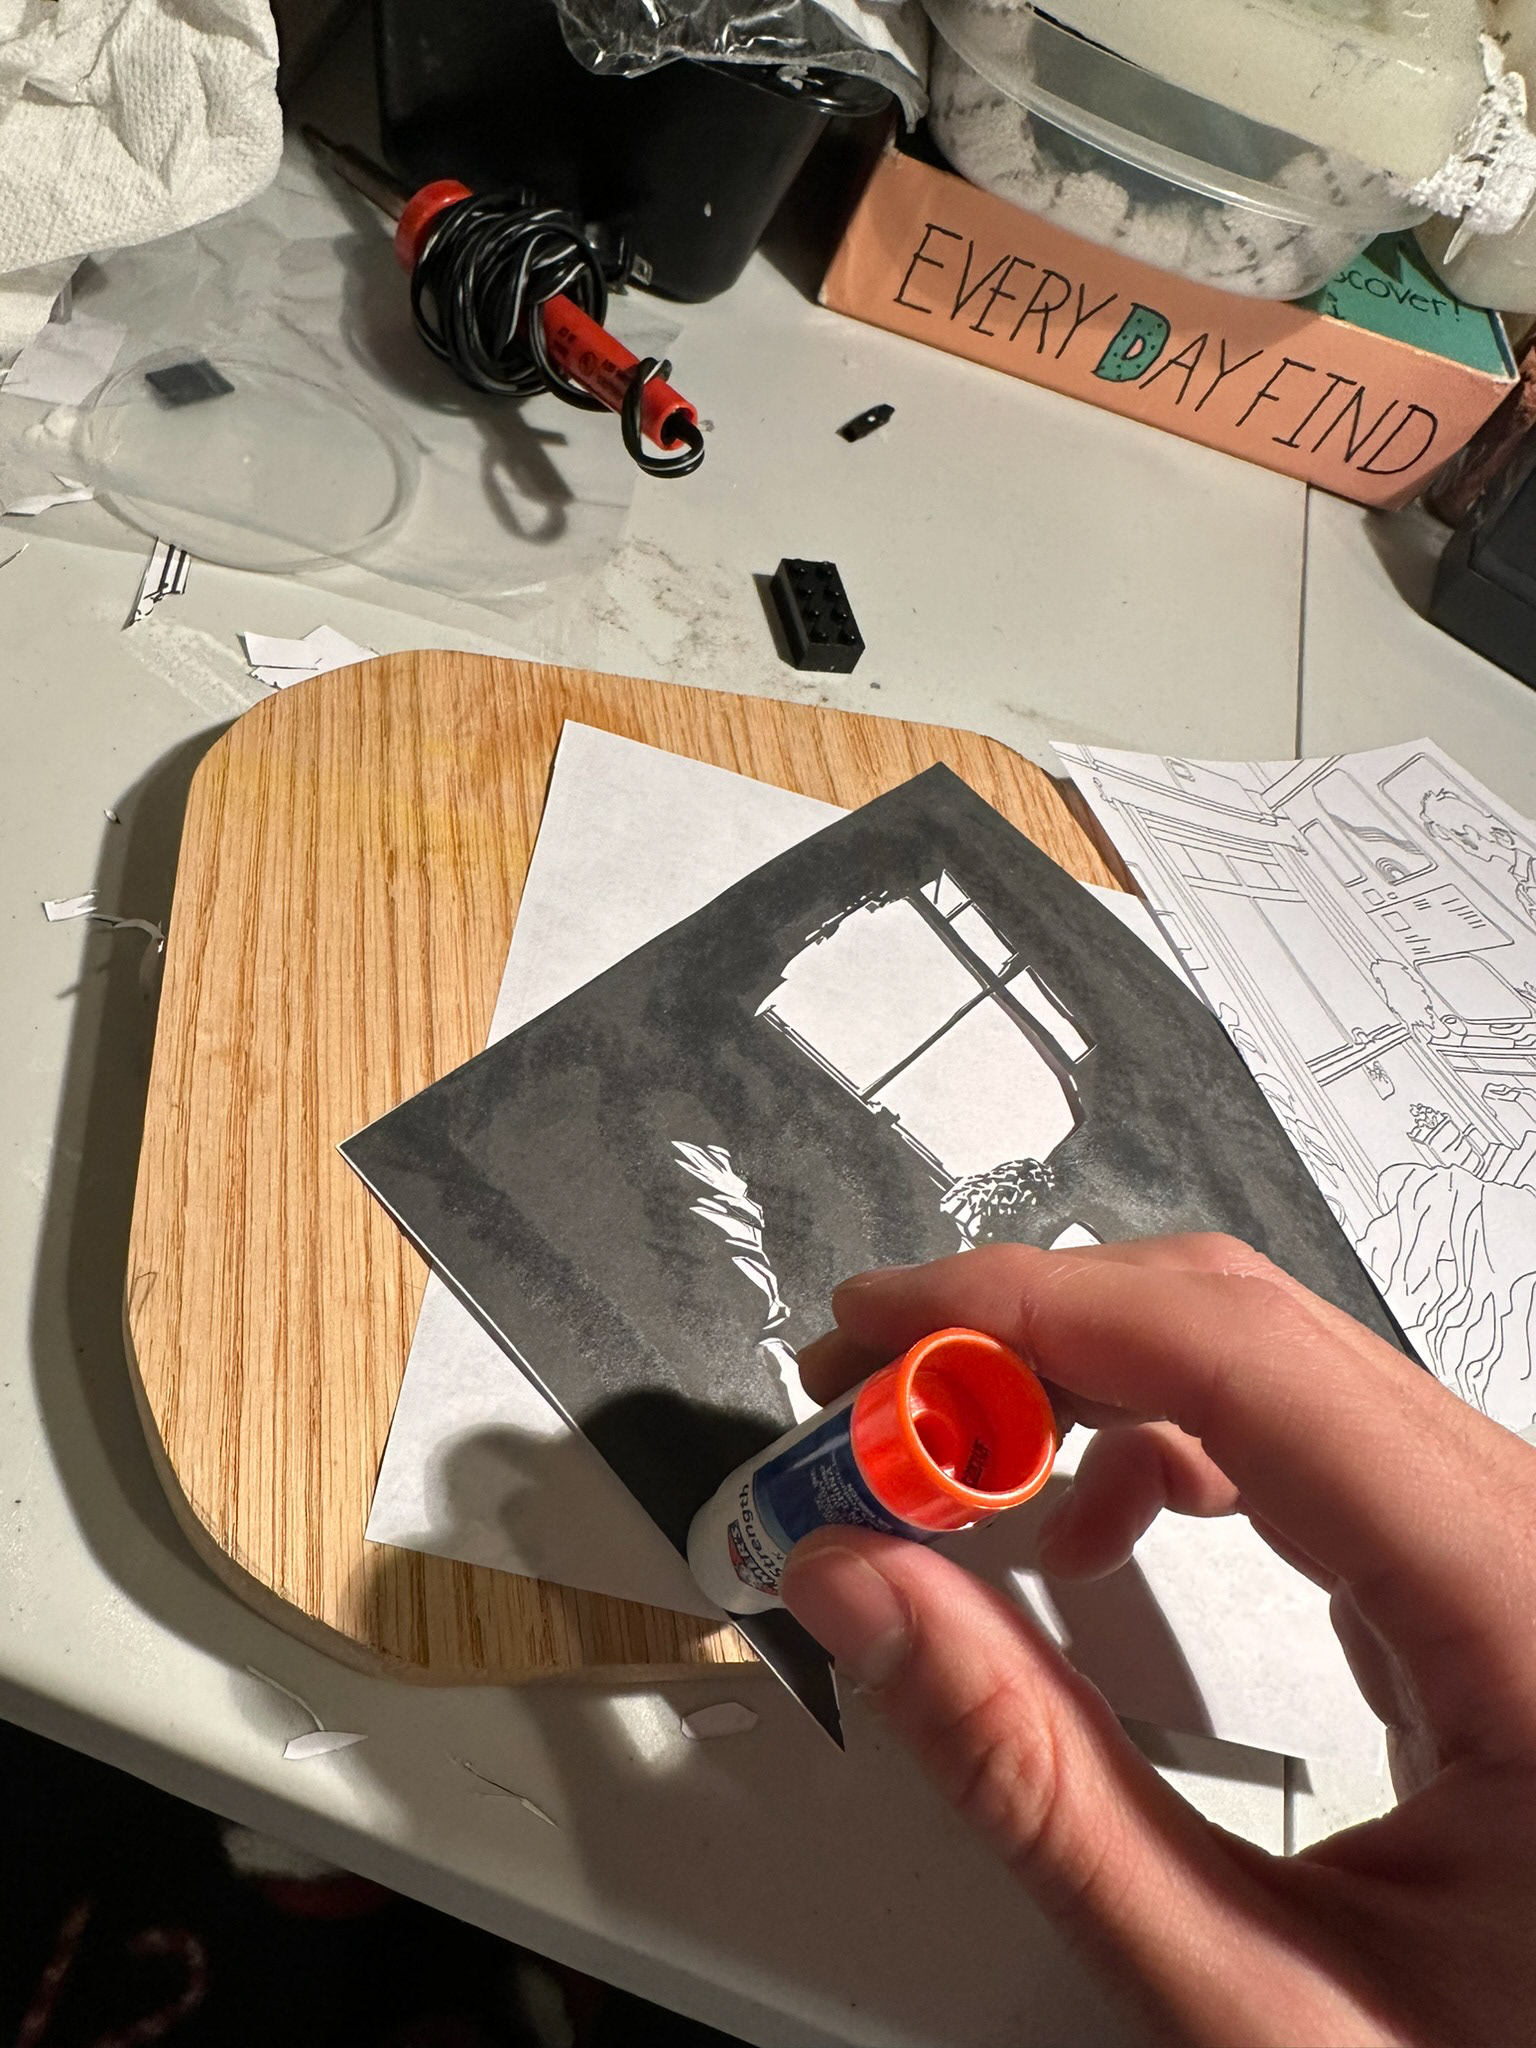
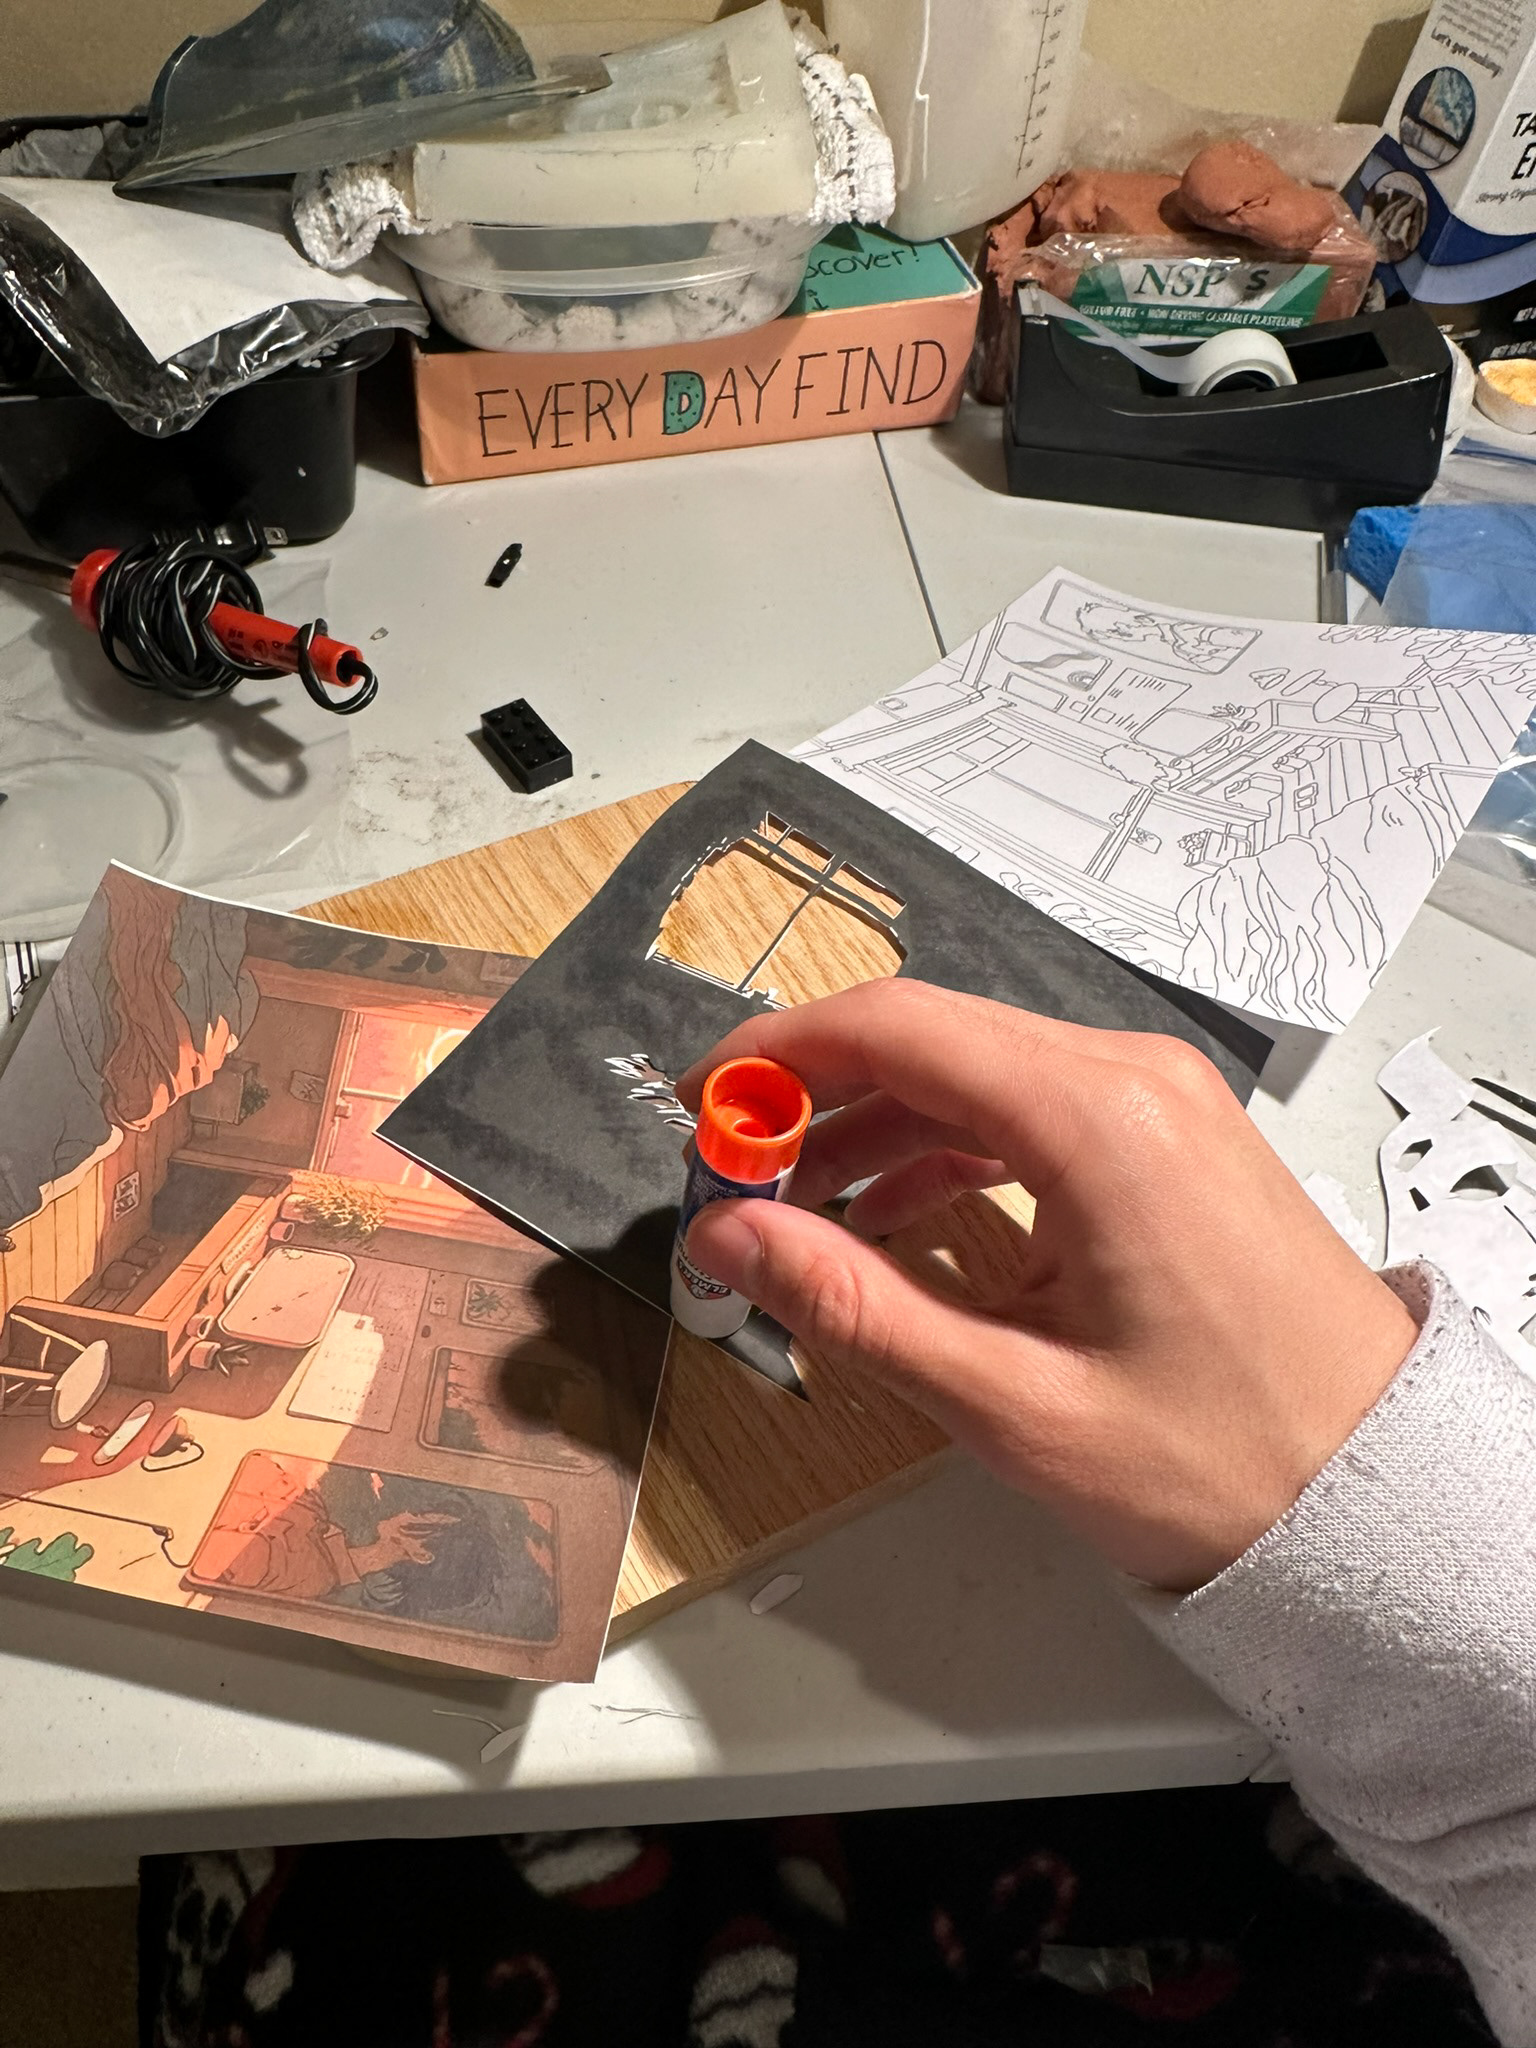
The display was created using adobe Illustrator taking a photo off the internet and creating a line art drawing of it using the pen tool. Then the shadow layer was created using the trace bitmap option and each piece was printed out.
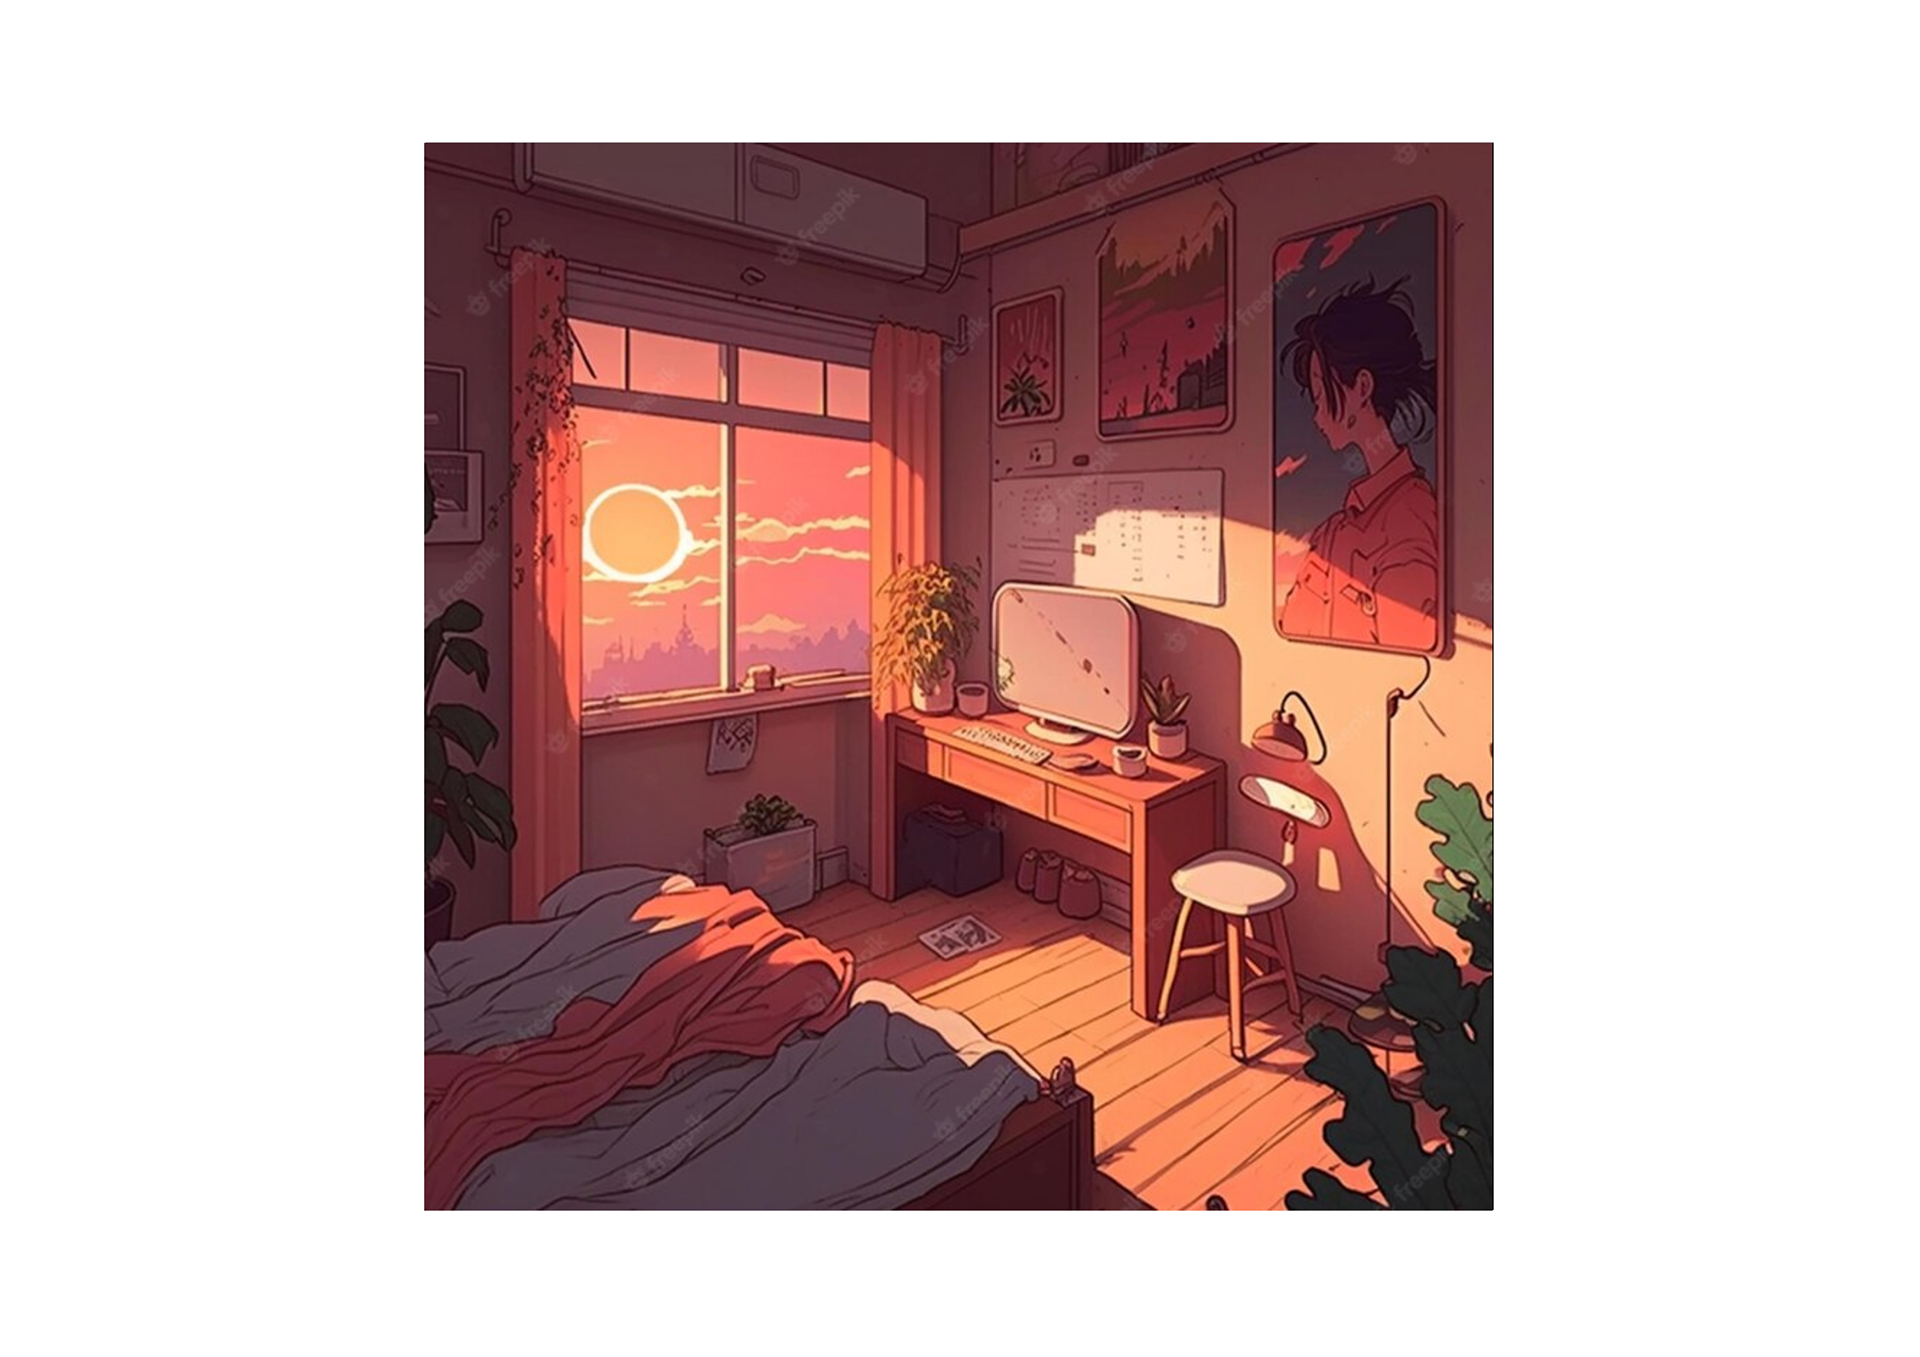
Colored Image

Shadow Image

Line Drawing Image
Assembly
This part of the process was crucial to make sure the final design was functional and working correctly. All pieces were held down via wiring tape to secure the Arduino in place. The Joystick was raised to the perfect height using Lego bricks to allow for adjustability in height.
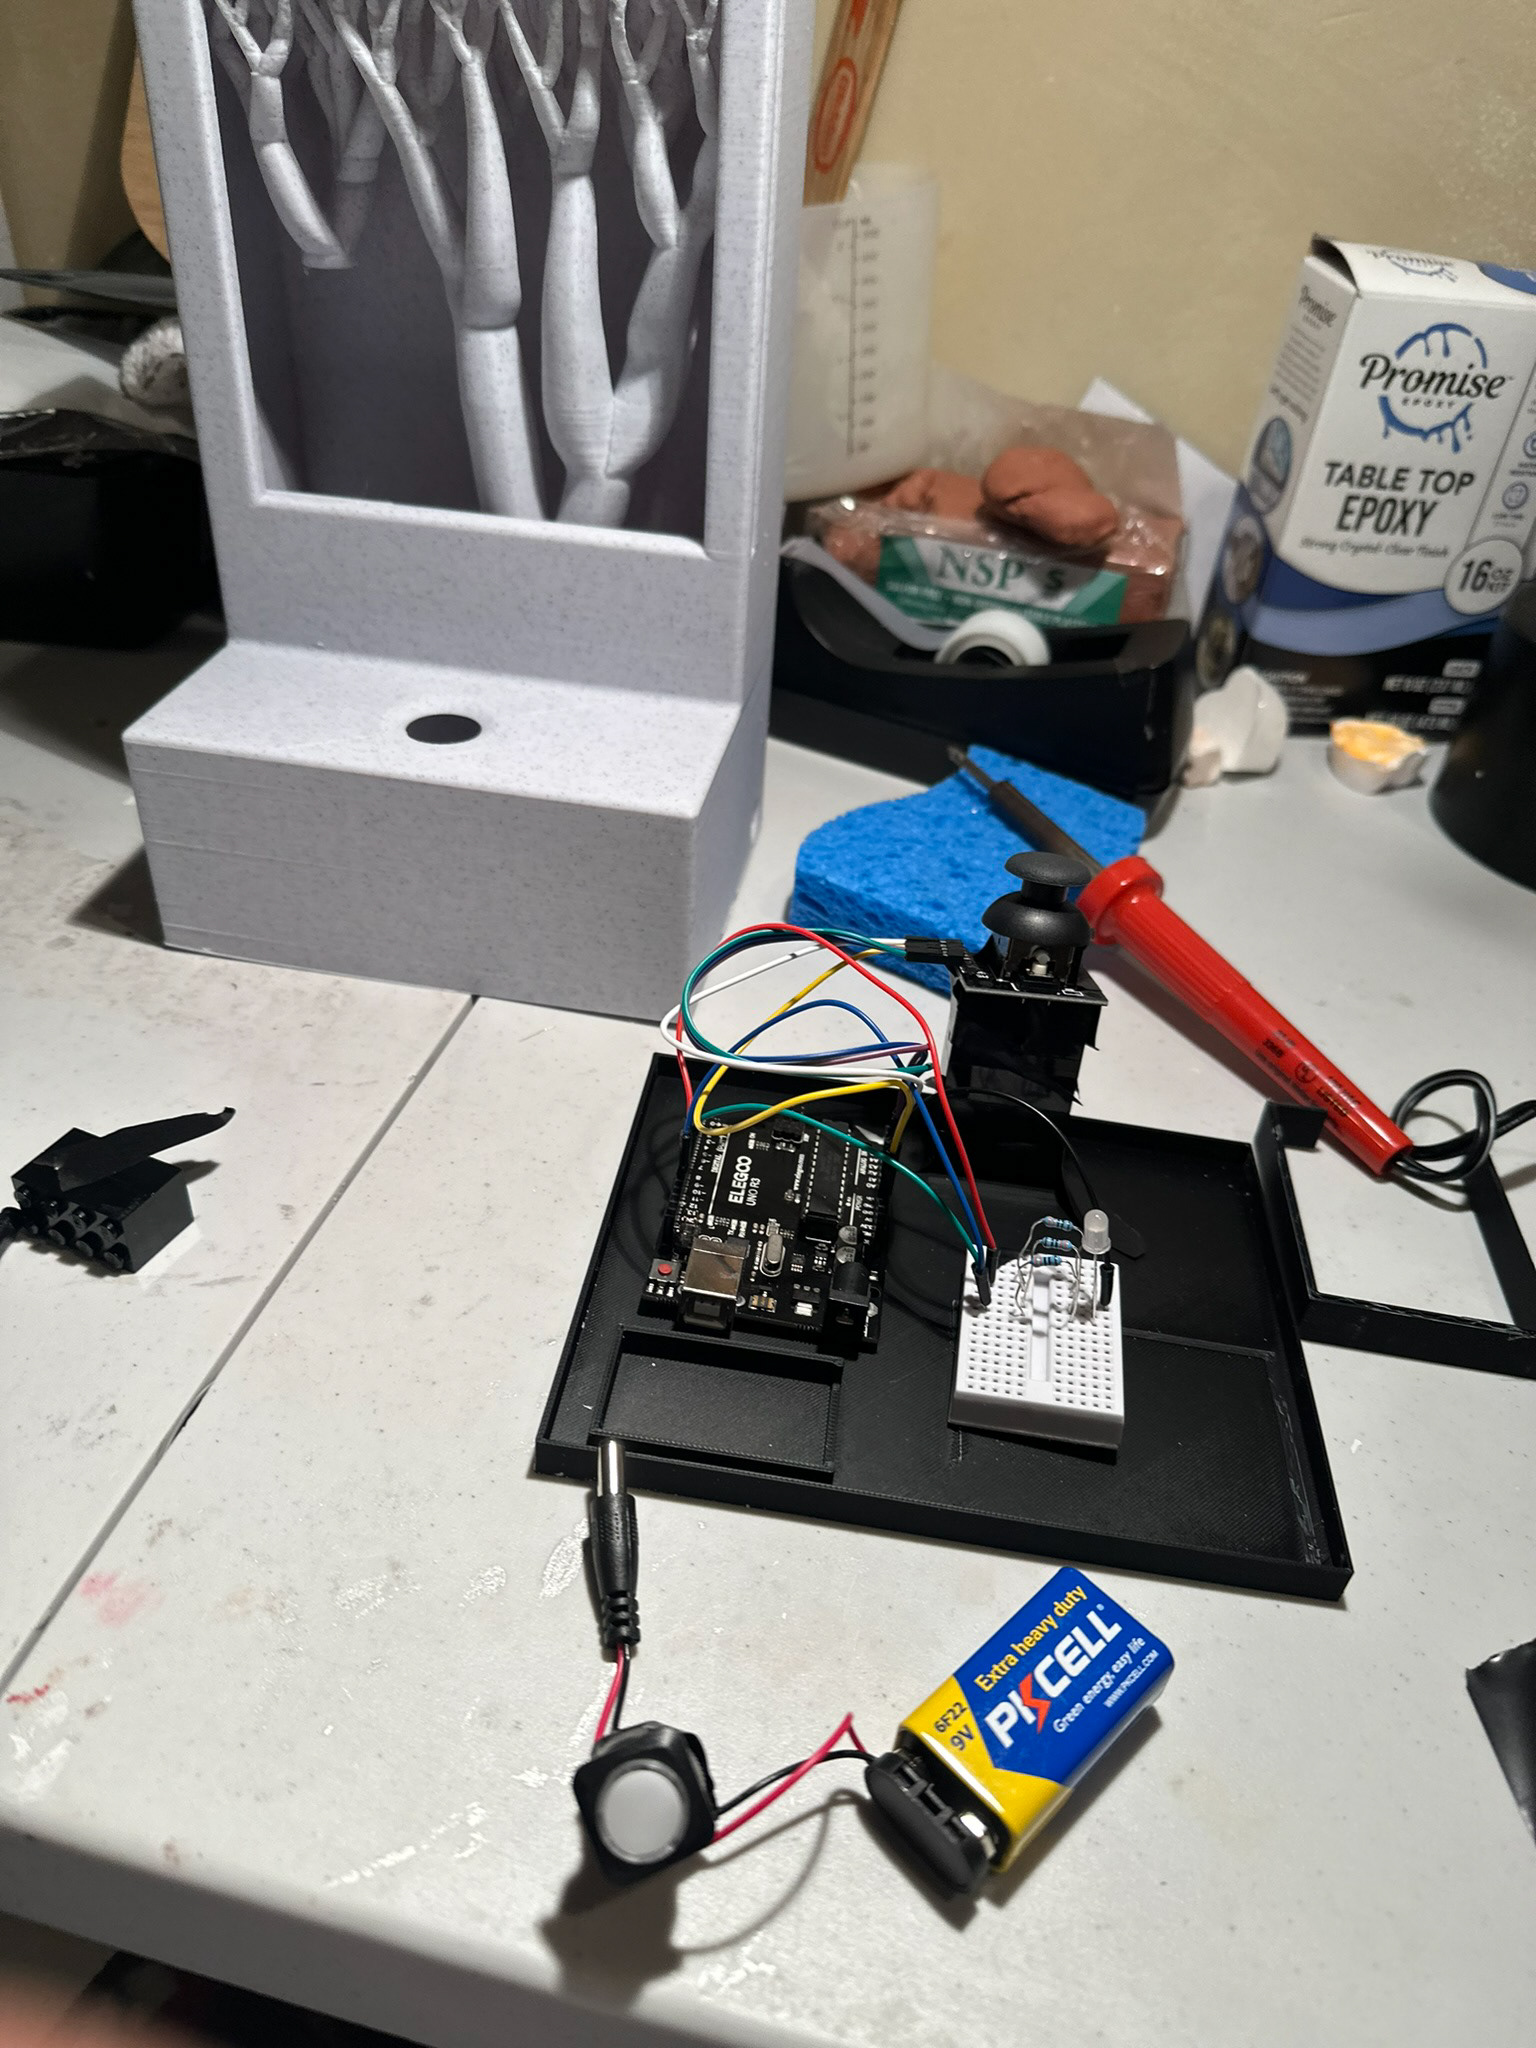
Wiring up the Arduino
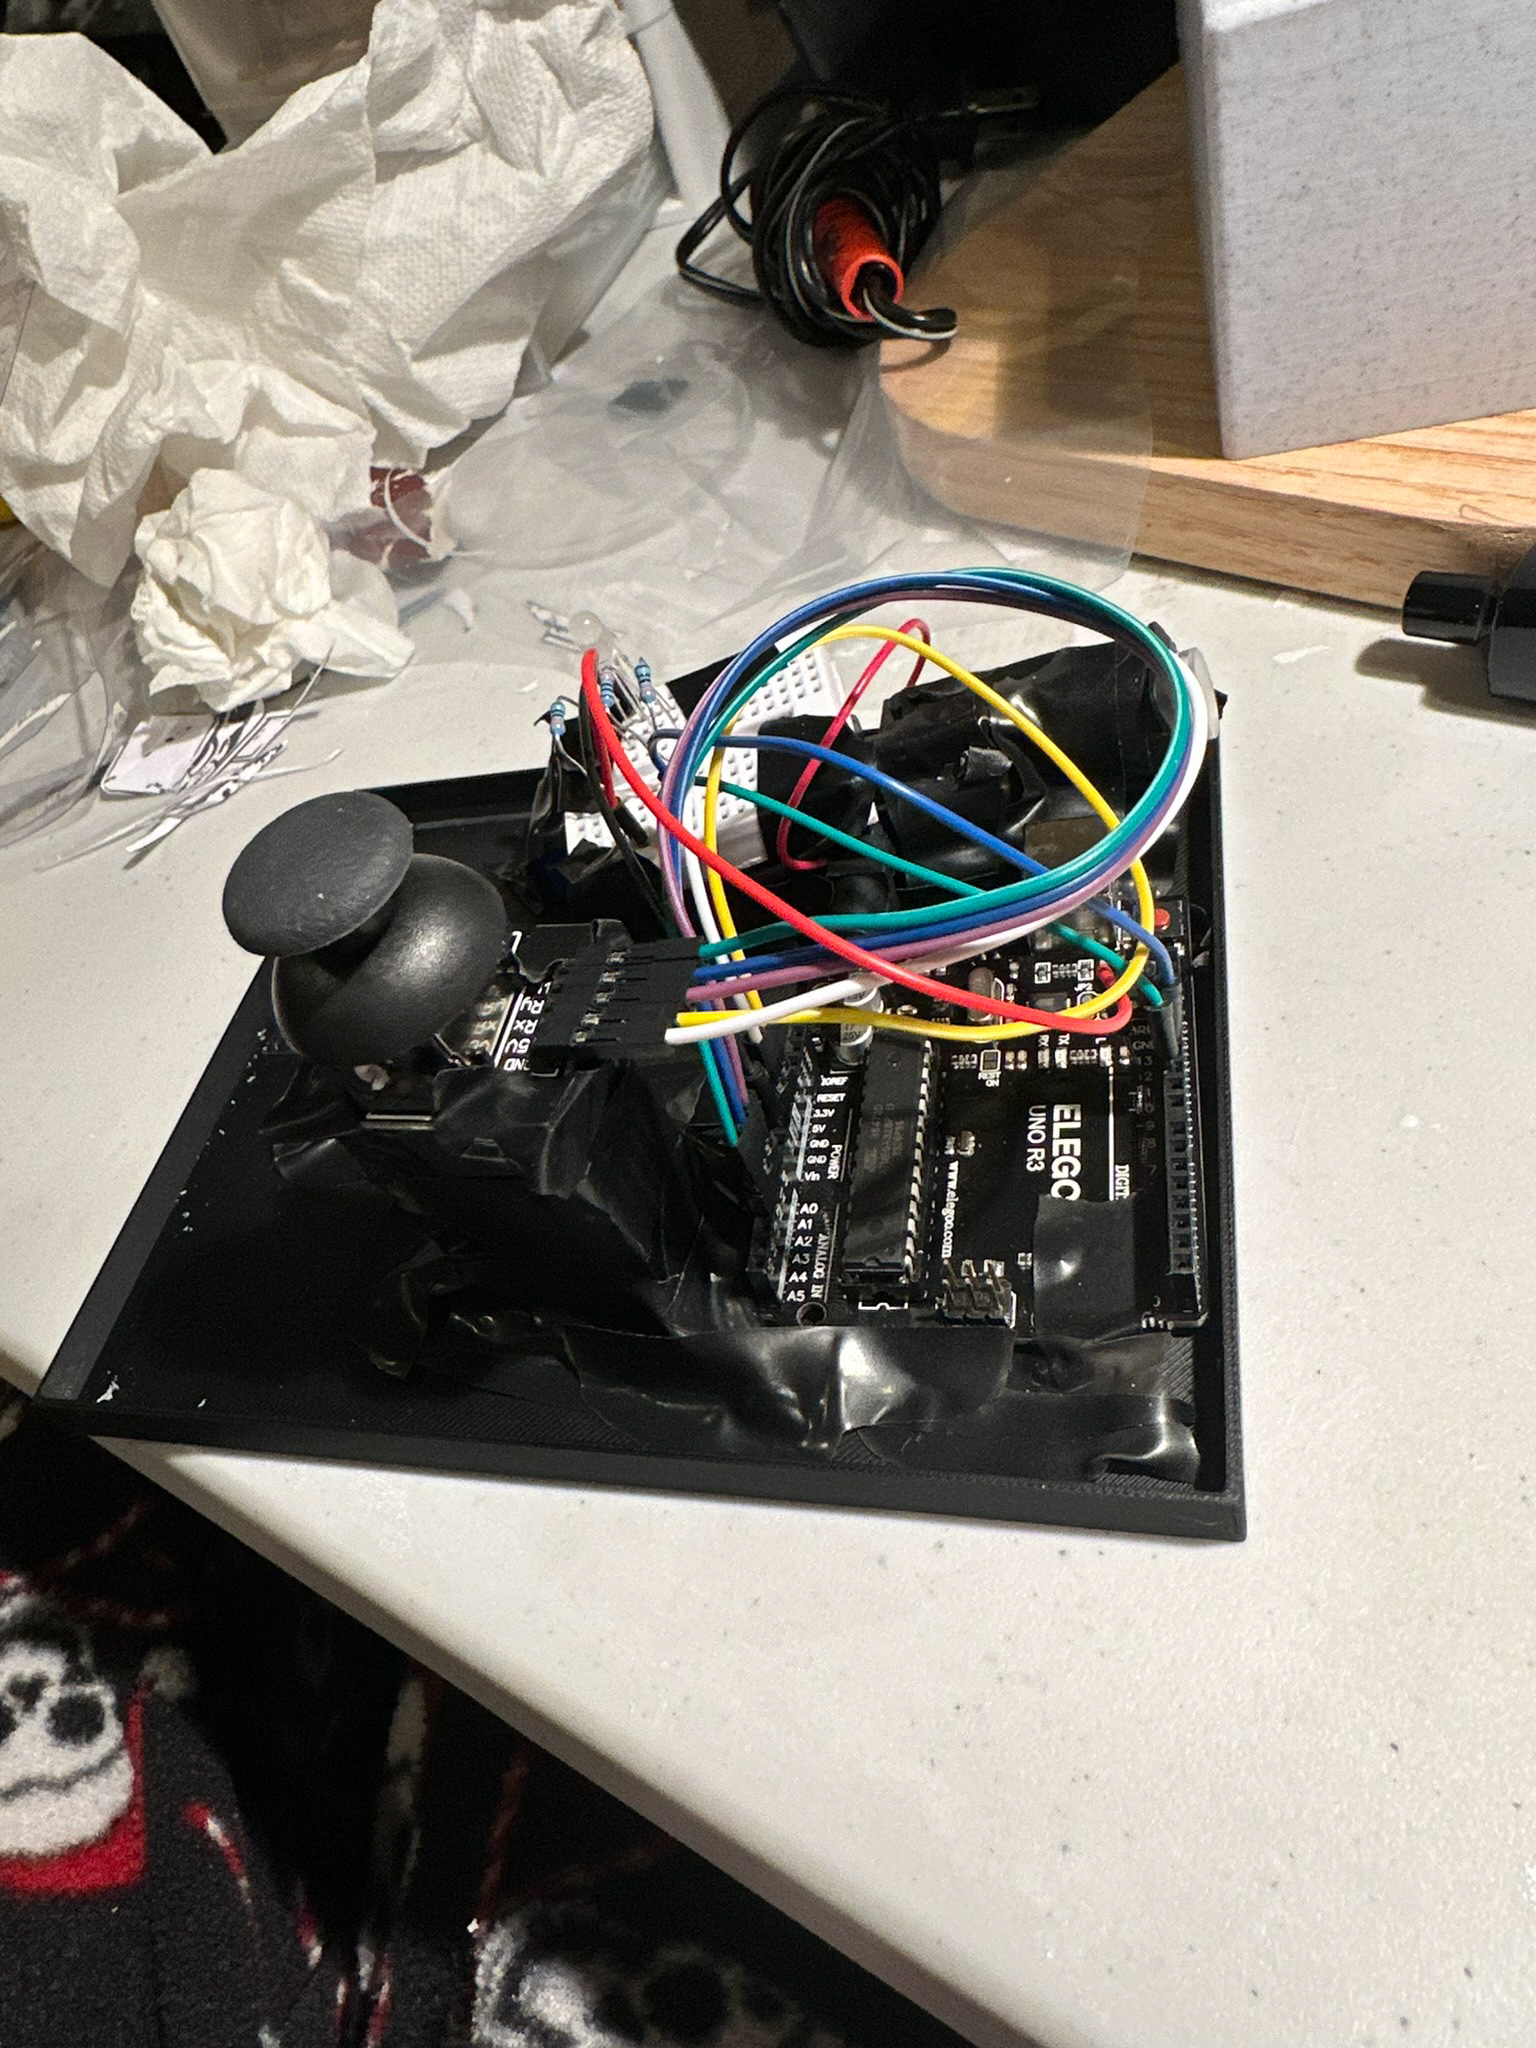
Securing the Electronics
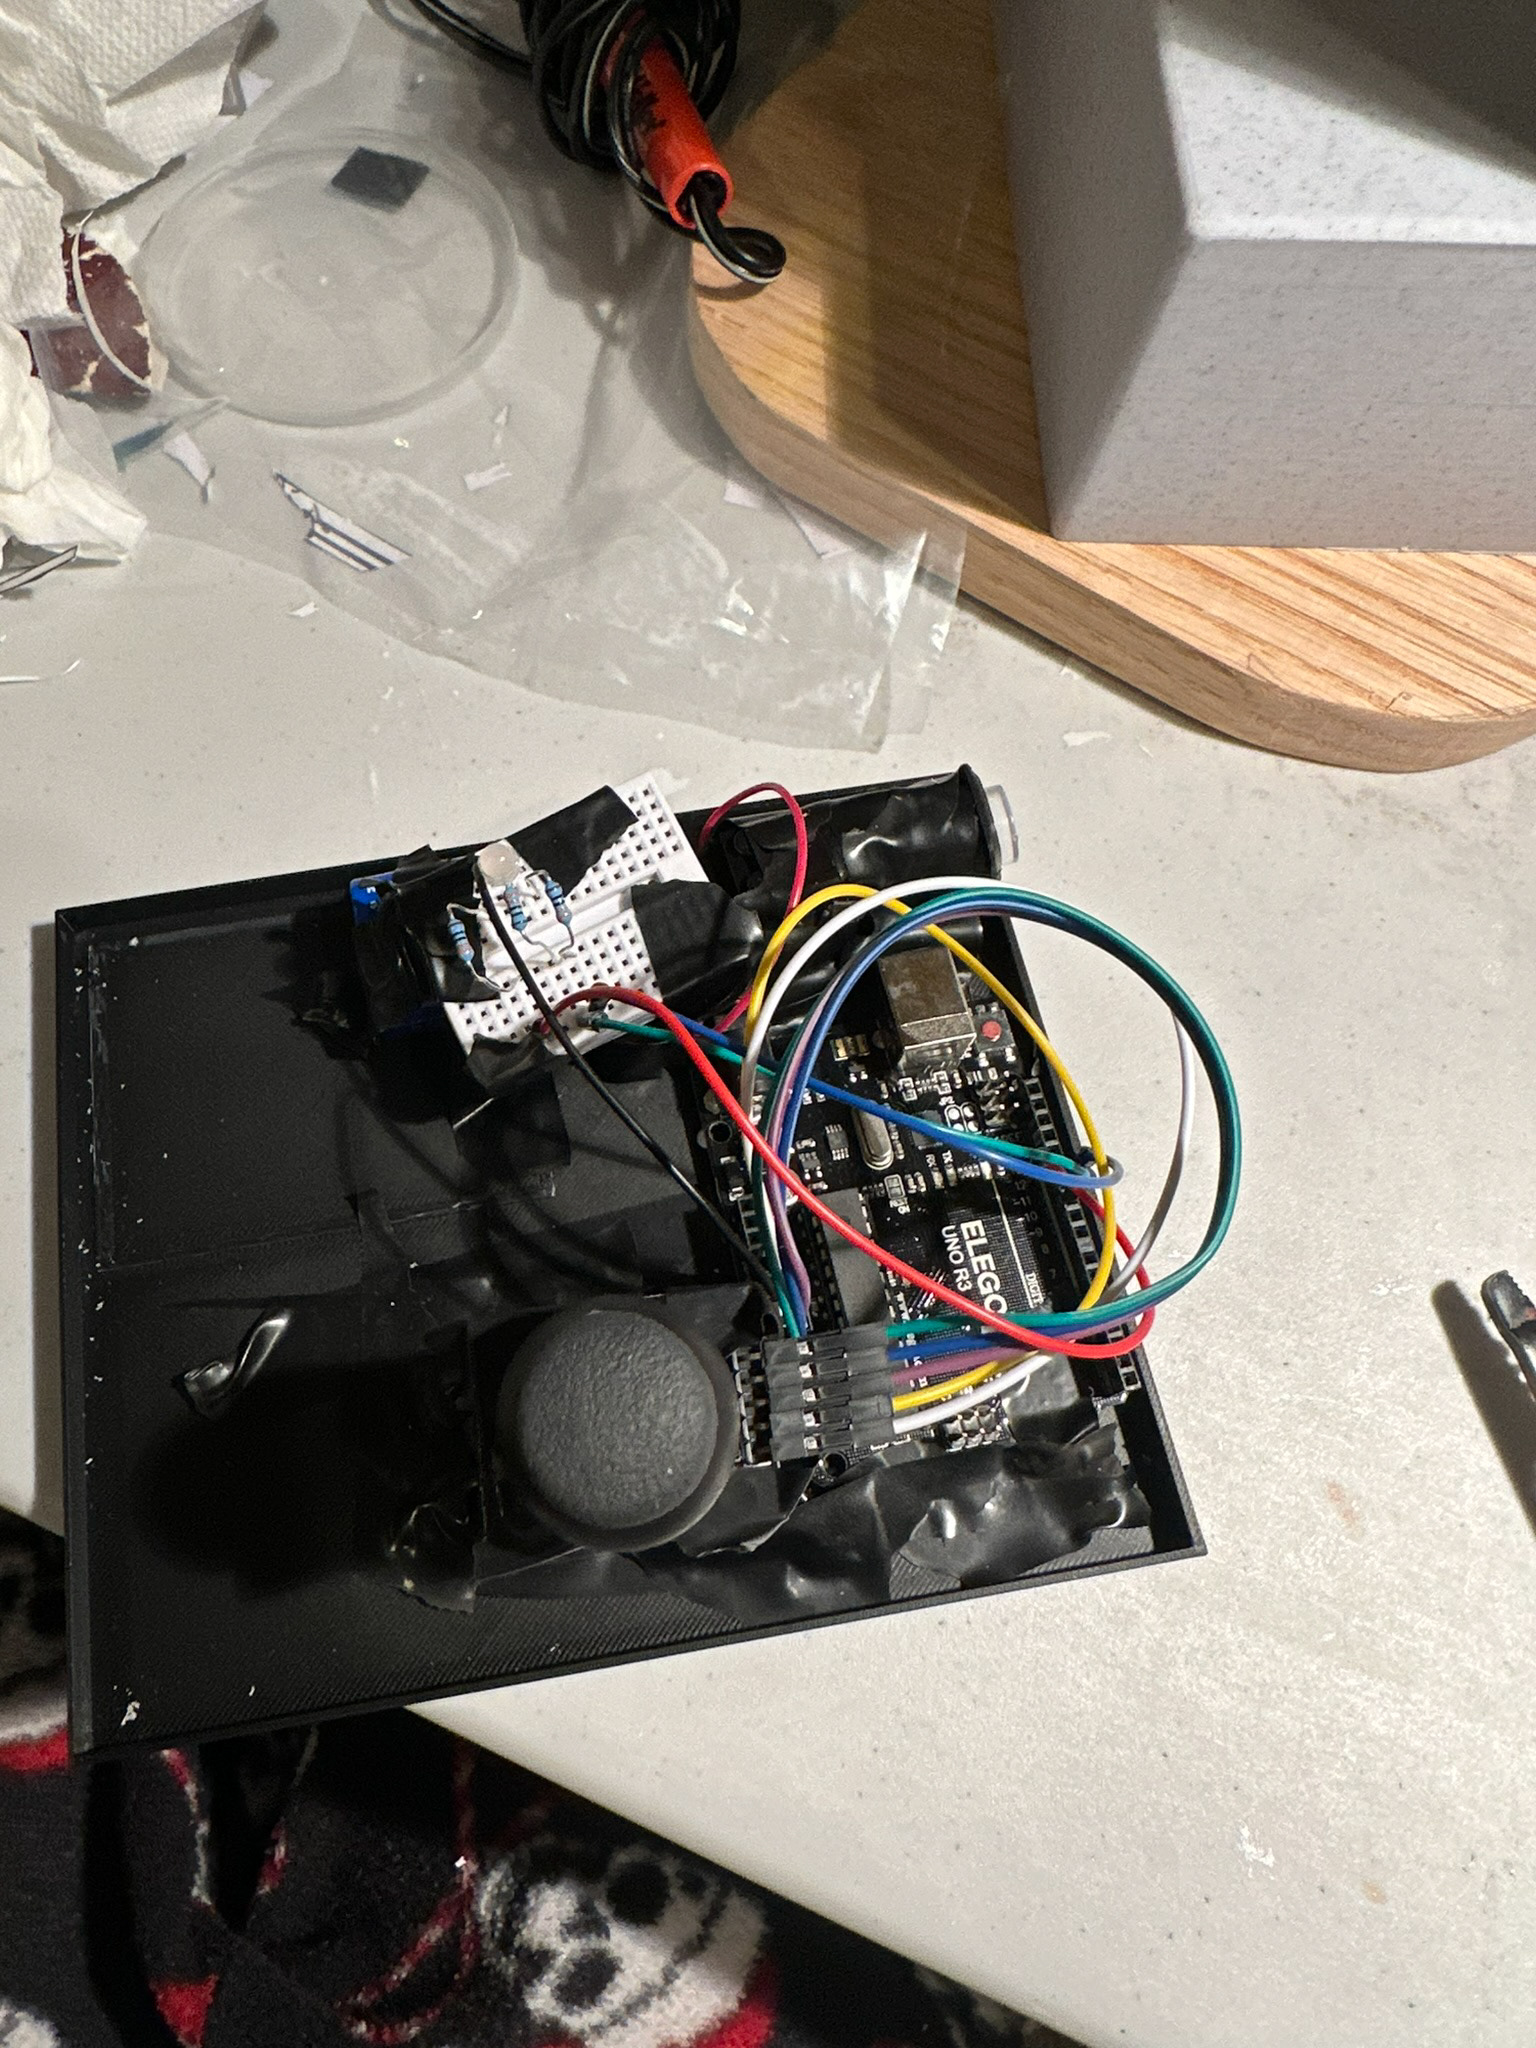
Finished the Inside
Harmony
"Don't Settle for one mood when we have many"
